Shipping options will vary based on availability and can be confirmed during checkout:
- Free Shipping: Delivered Within 10 - 14 Business Days
- Express Shipping: Delivered Within 8 - 10 Business Days
- Rush Order: 6 - 8 Days (Contact us to make sure the date)
Shop with peace of mind: Our global delivery reach means we can bring your sign right to your doorstep.
Plus, with our Shipping Pection, rest assured that any damage incurred en route will be met with a hassle-free replacement at no additional cost to you!
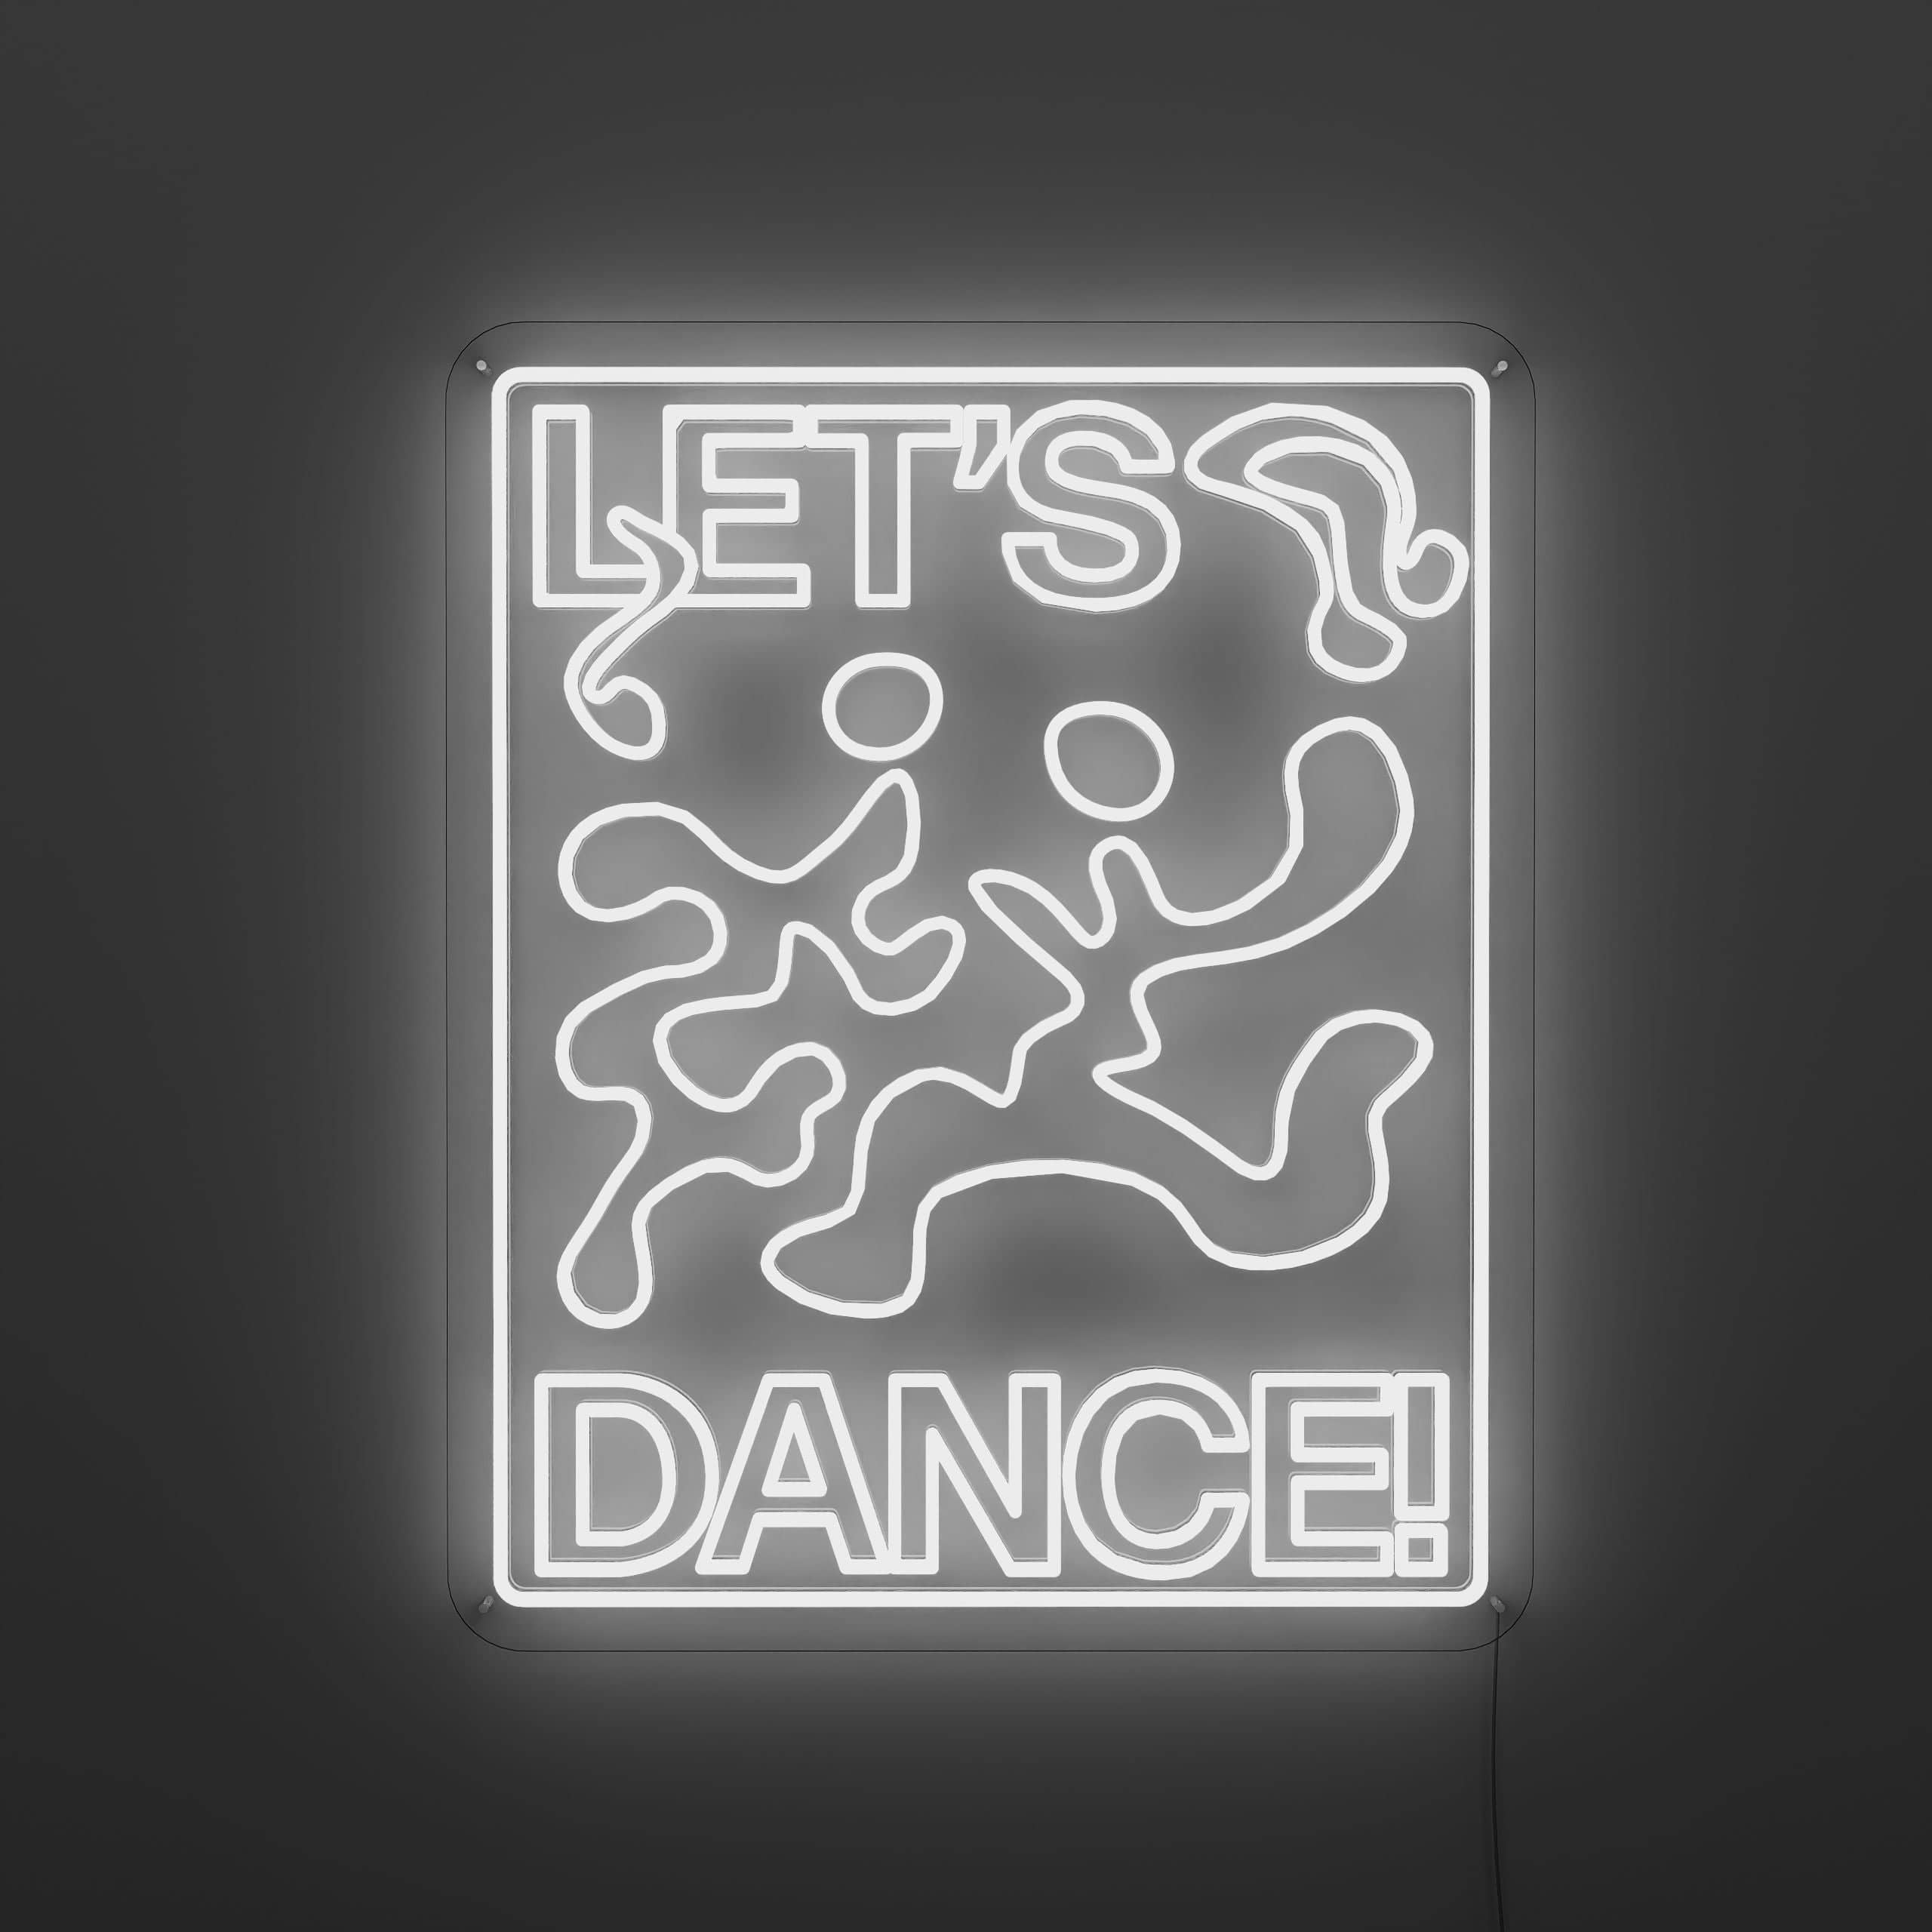
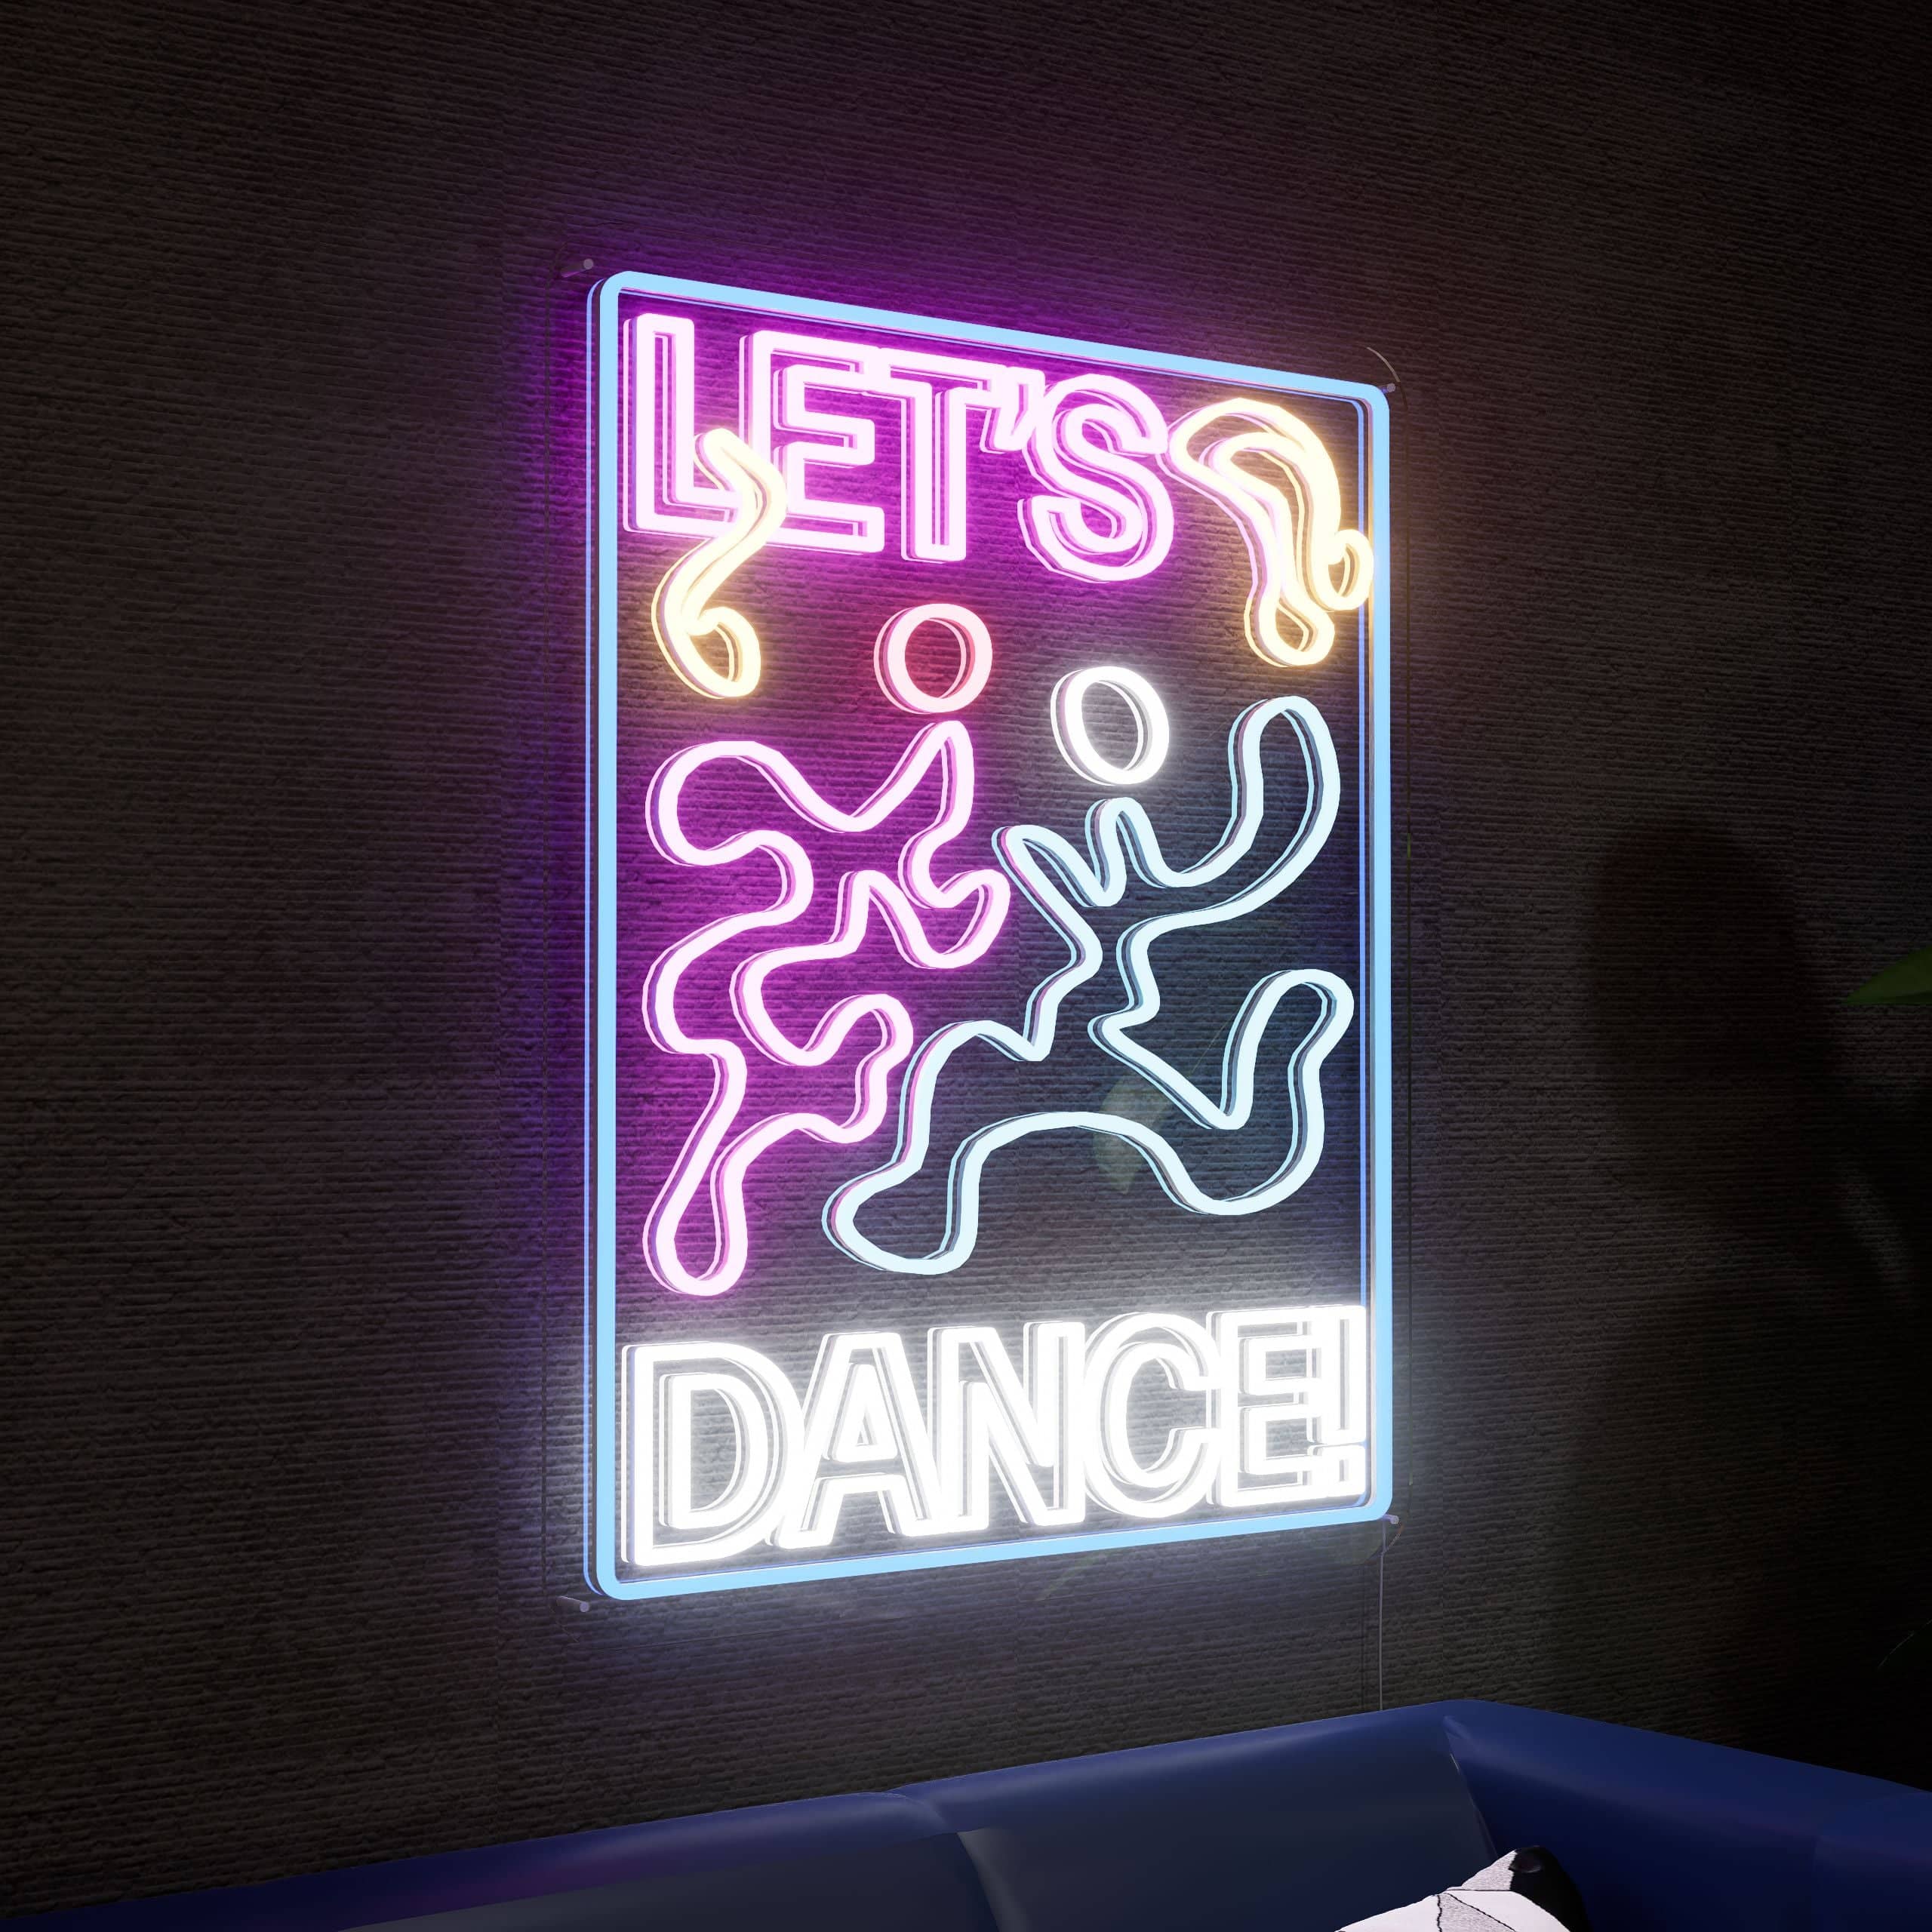
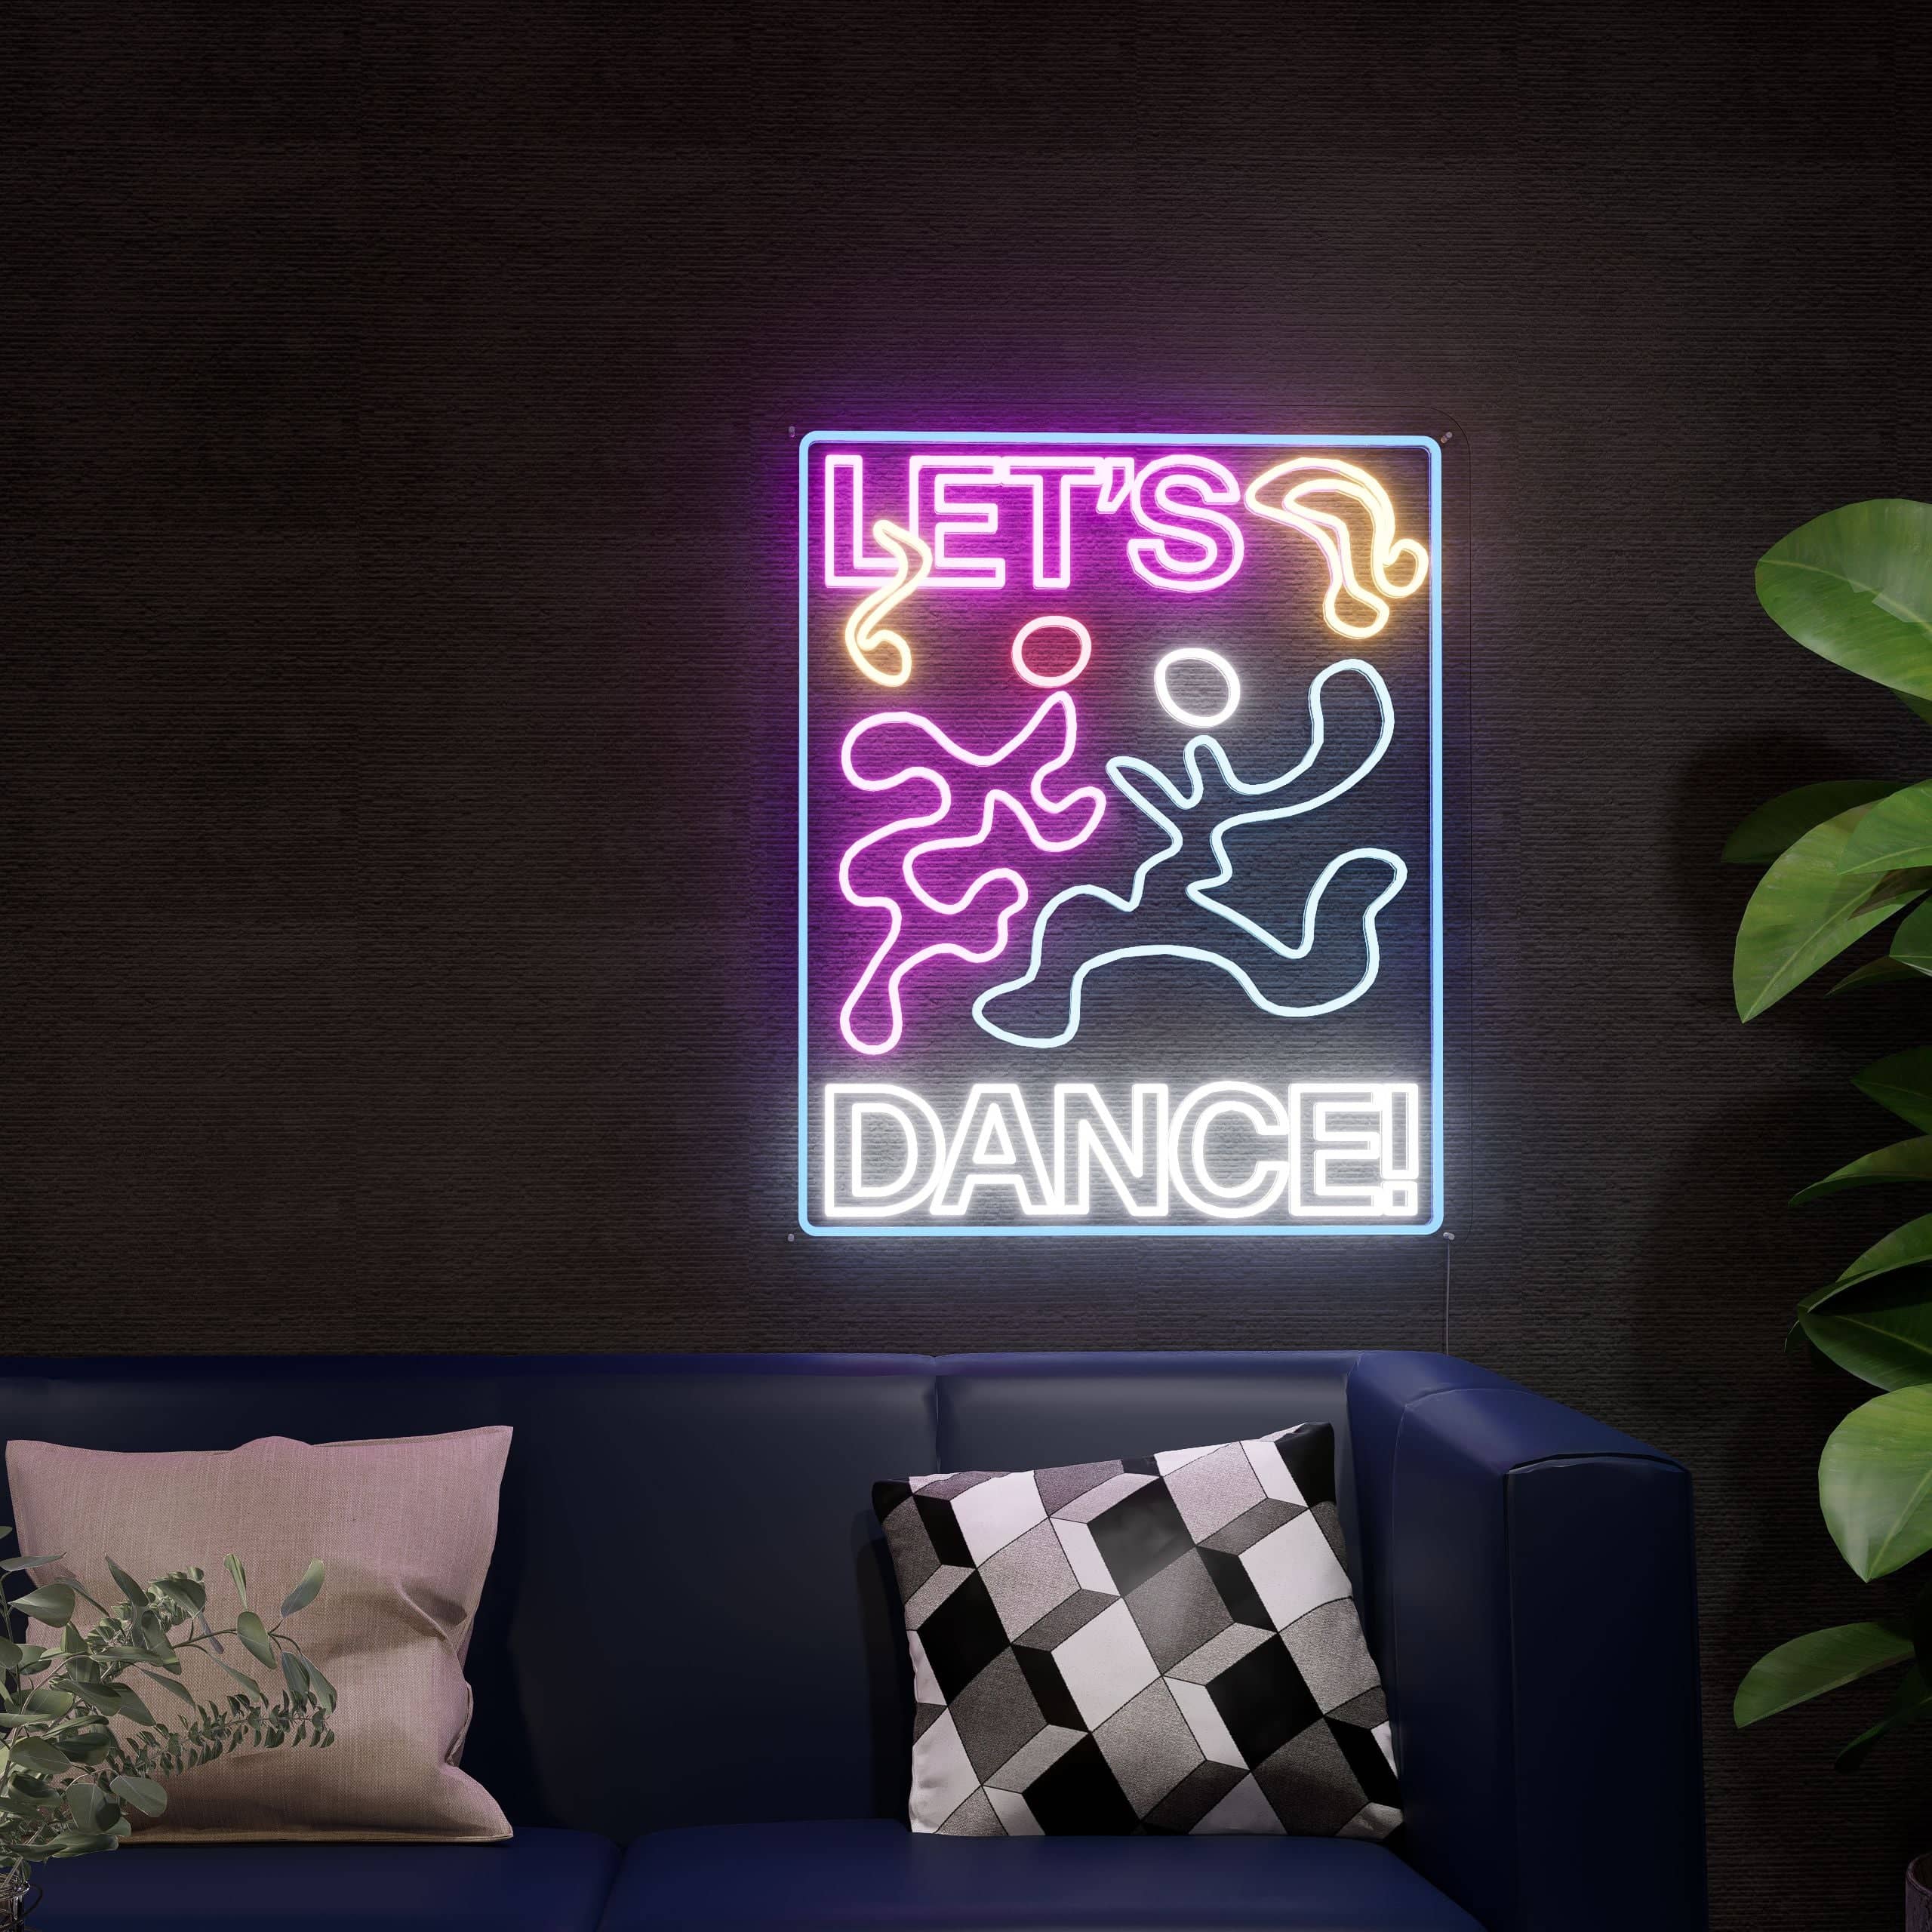
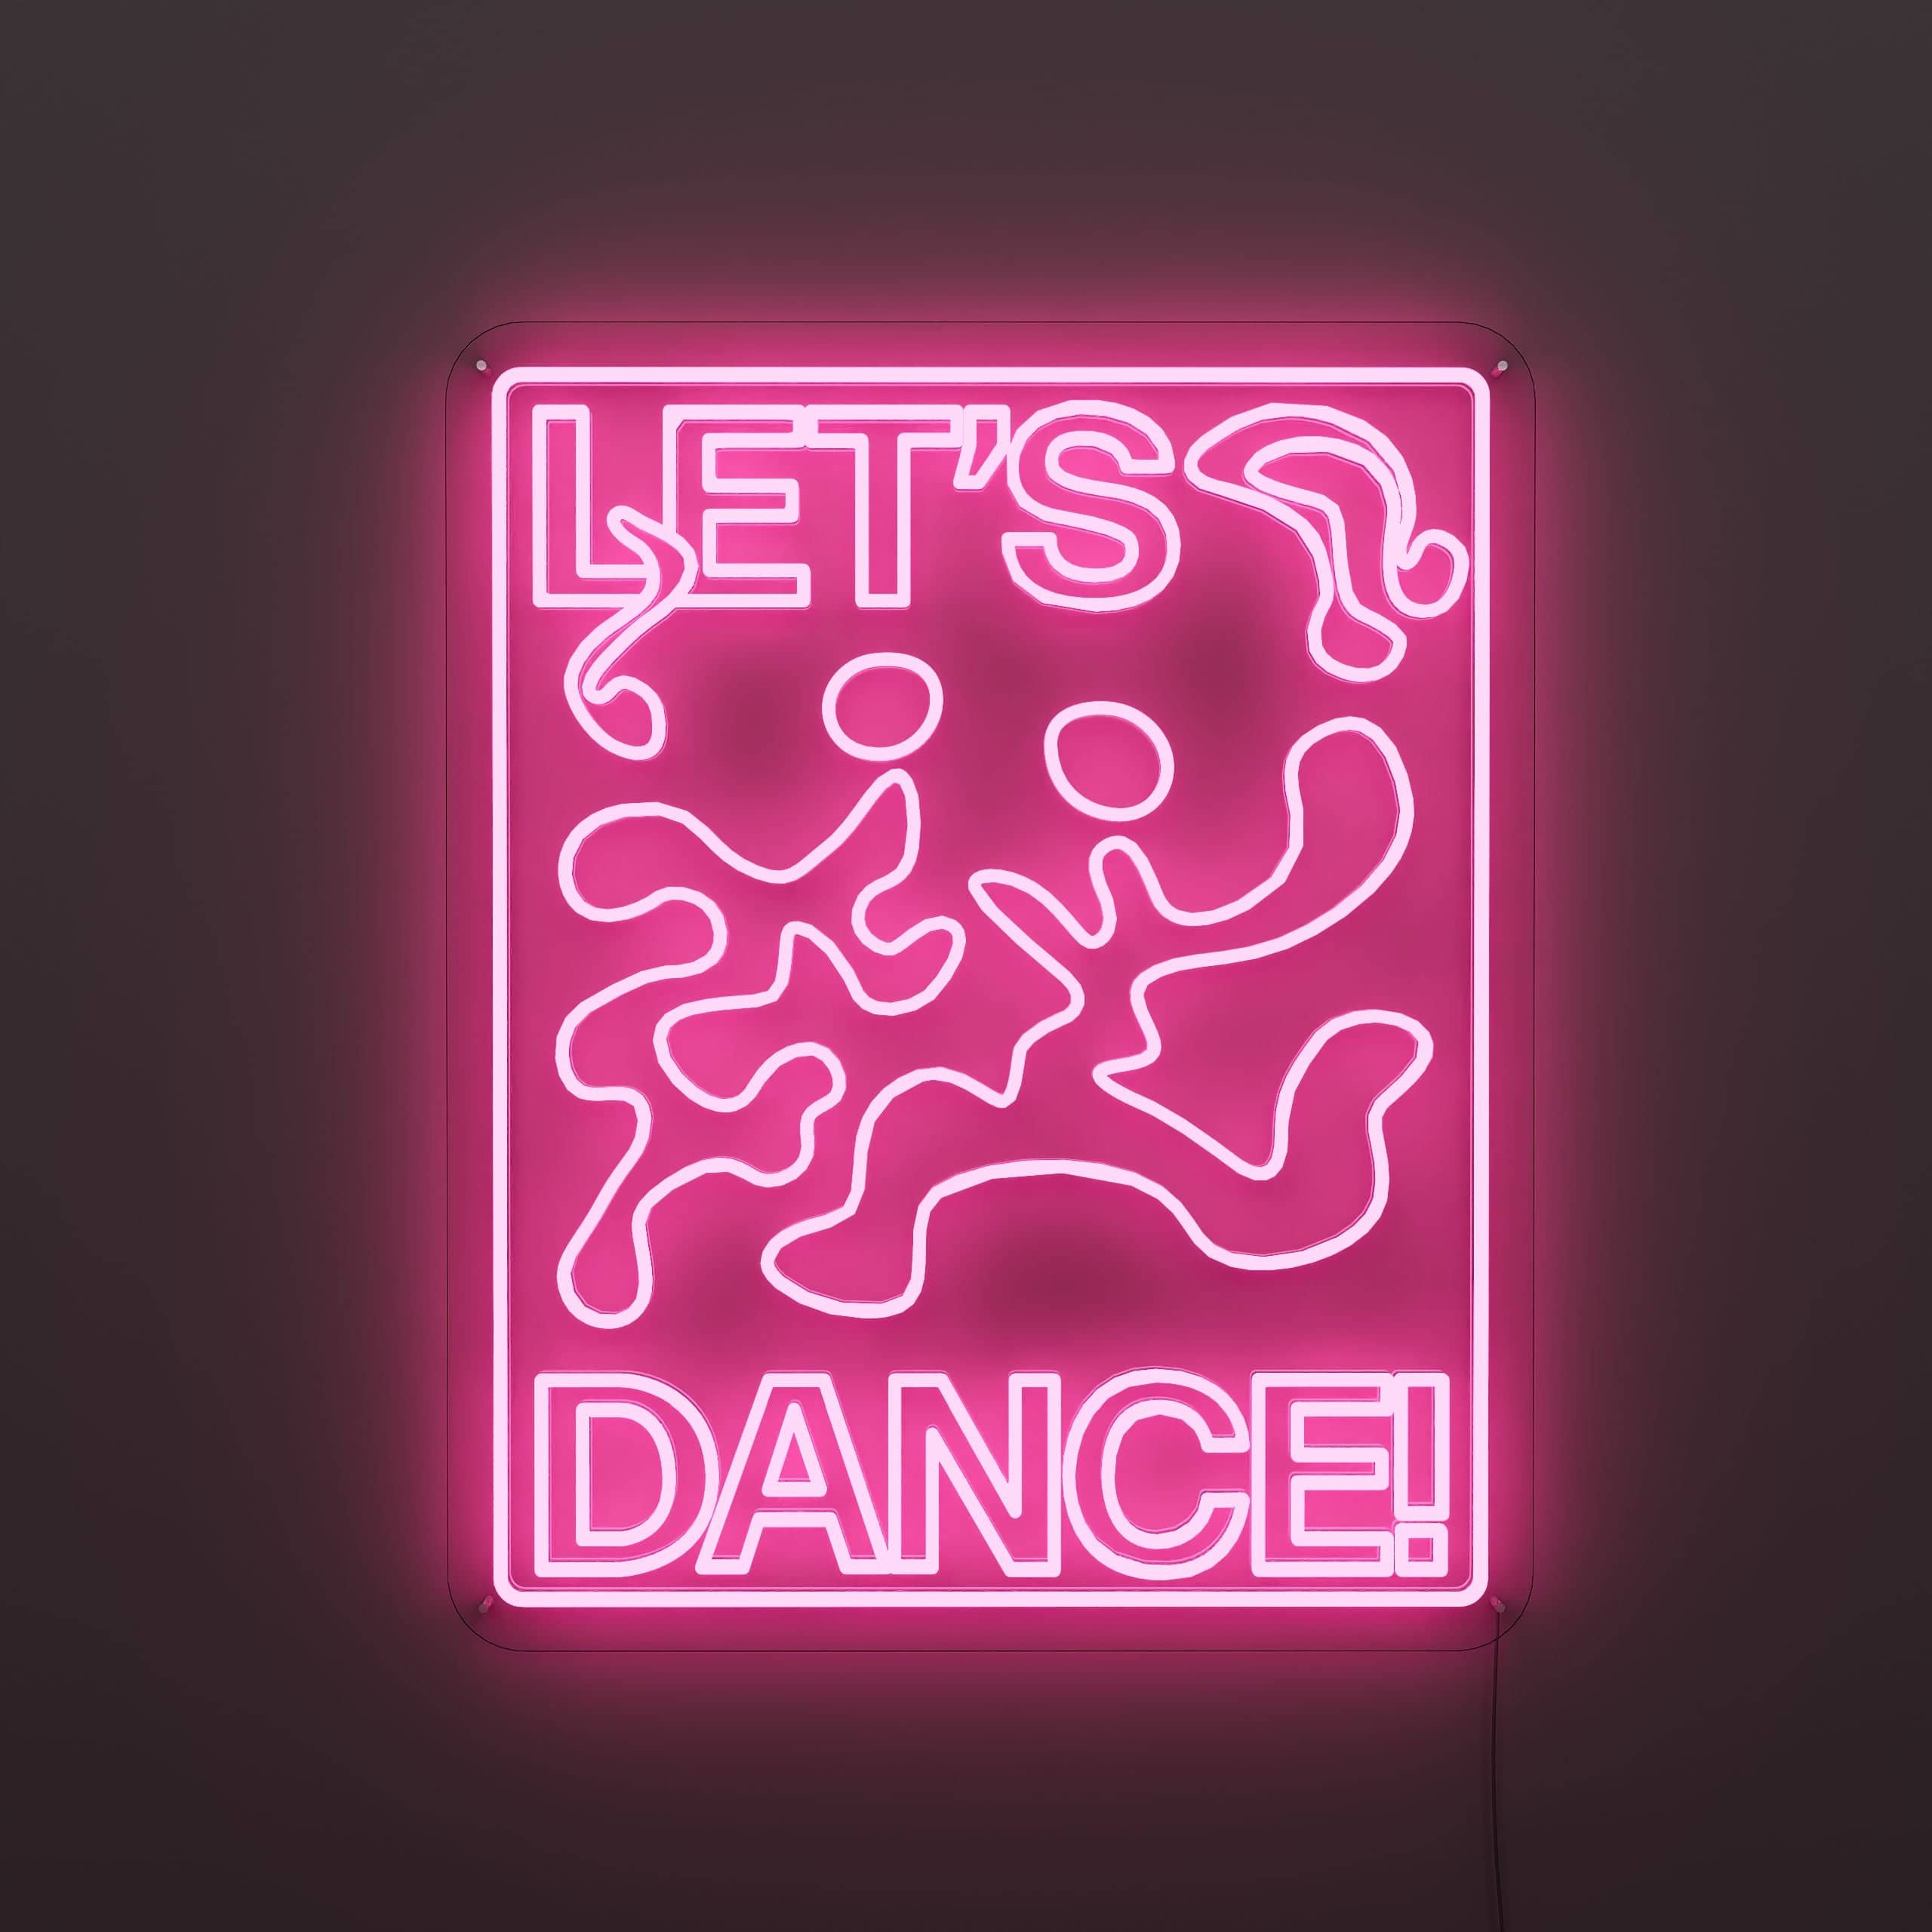
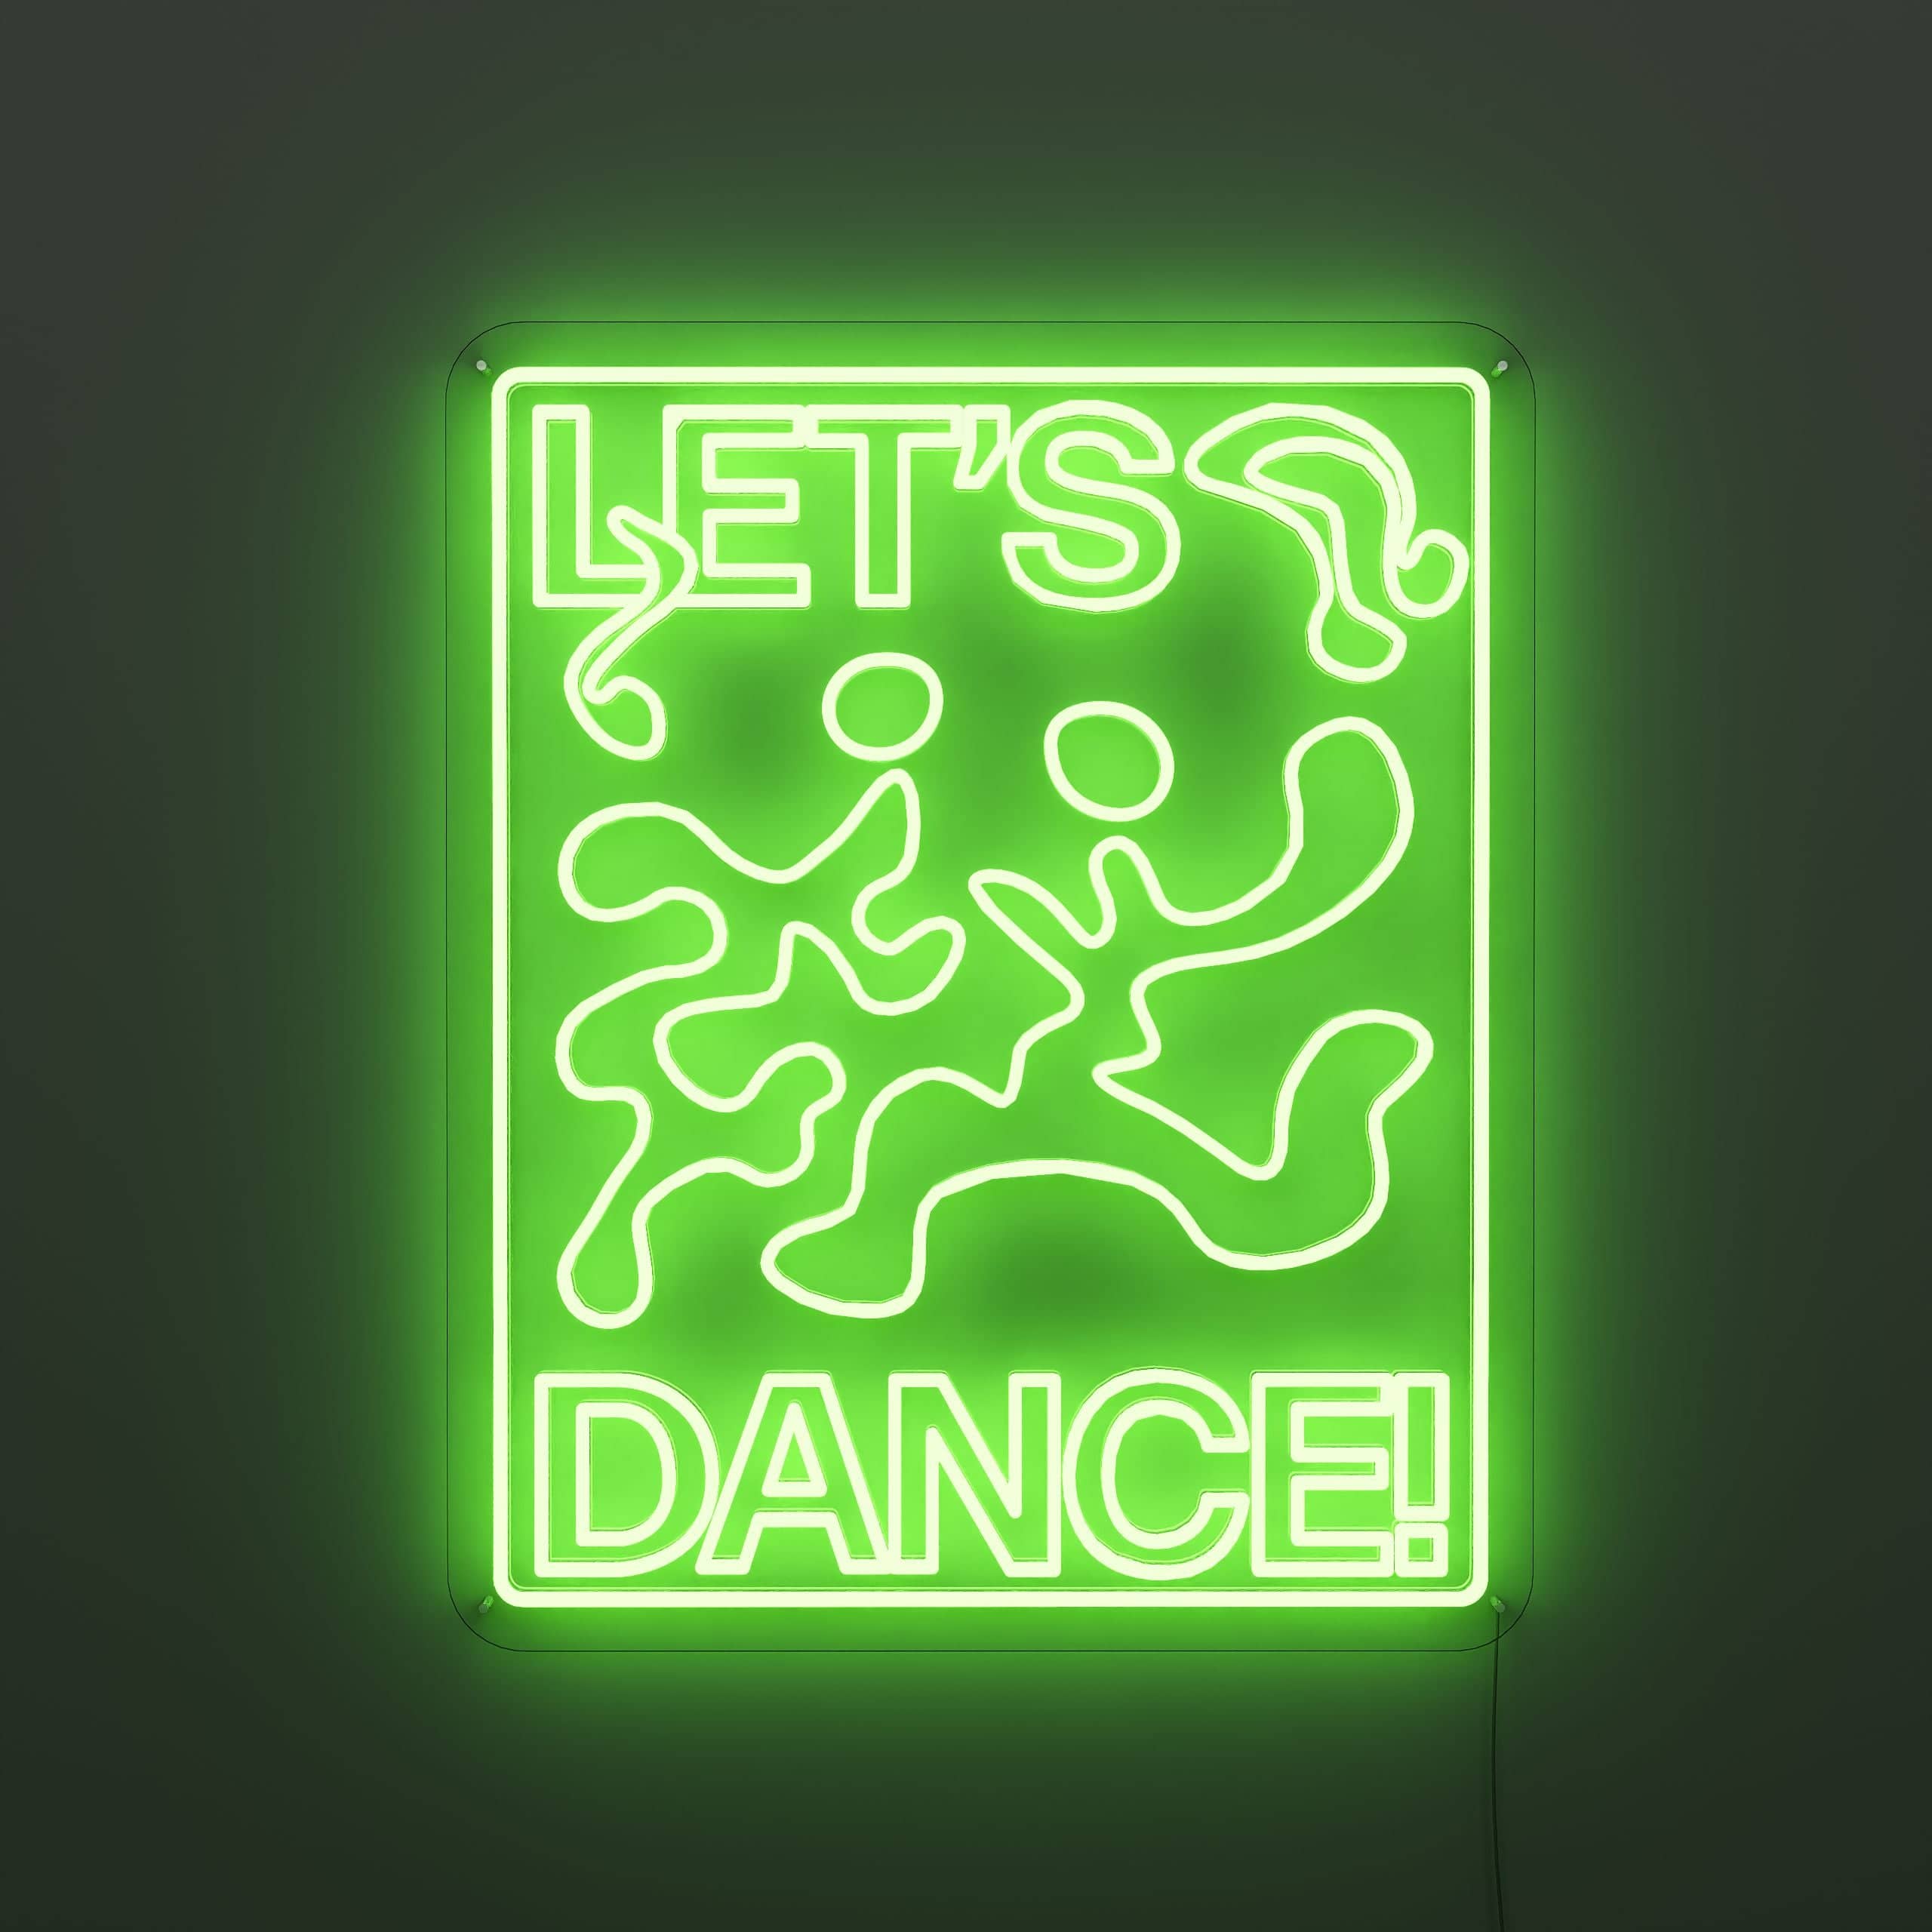
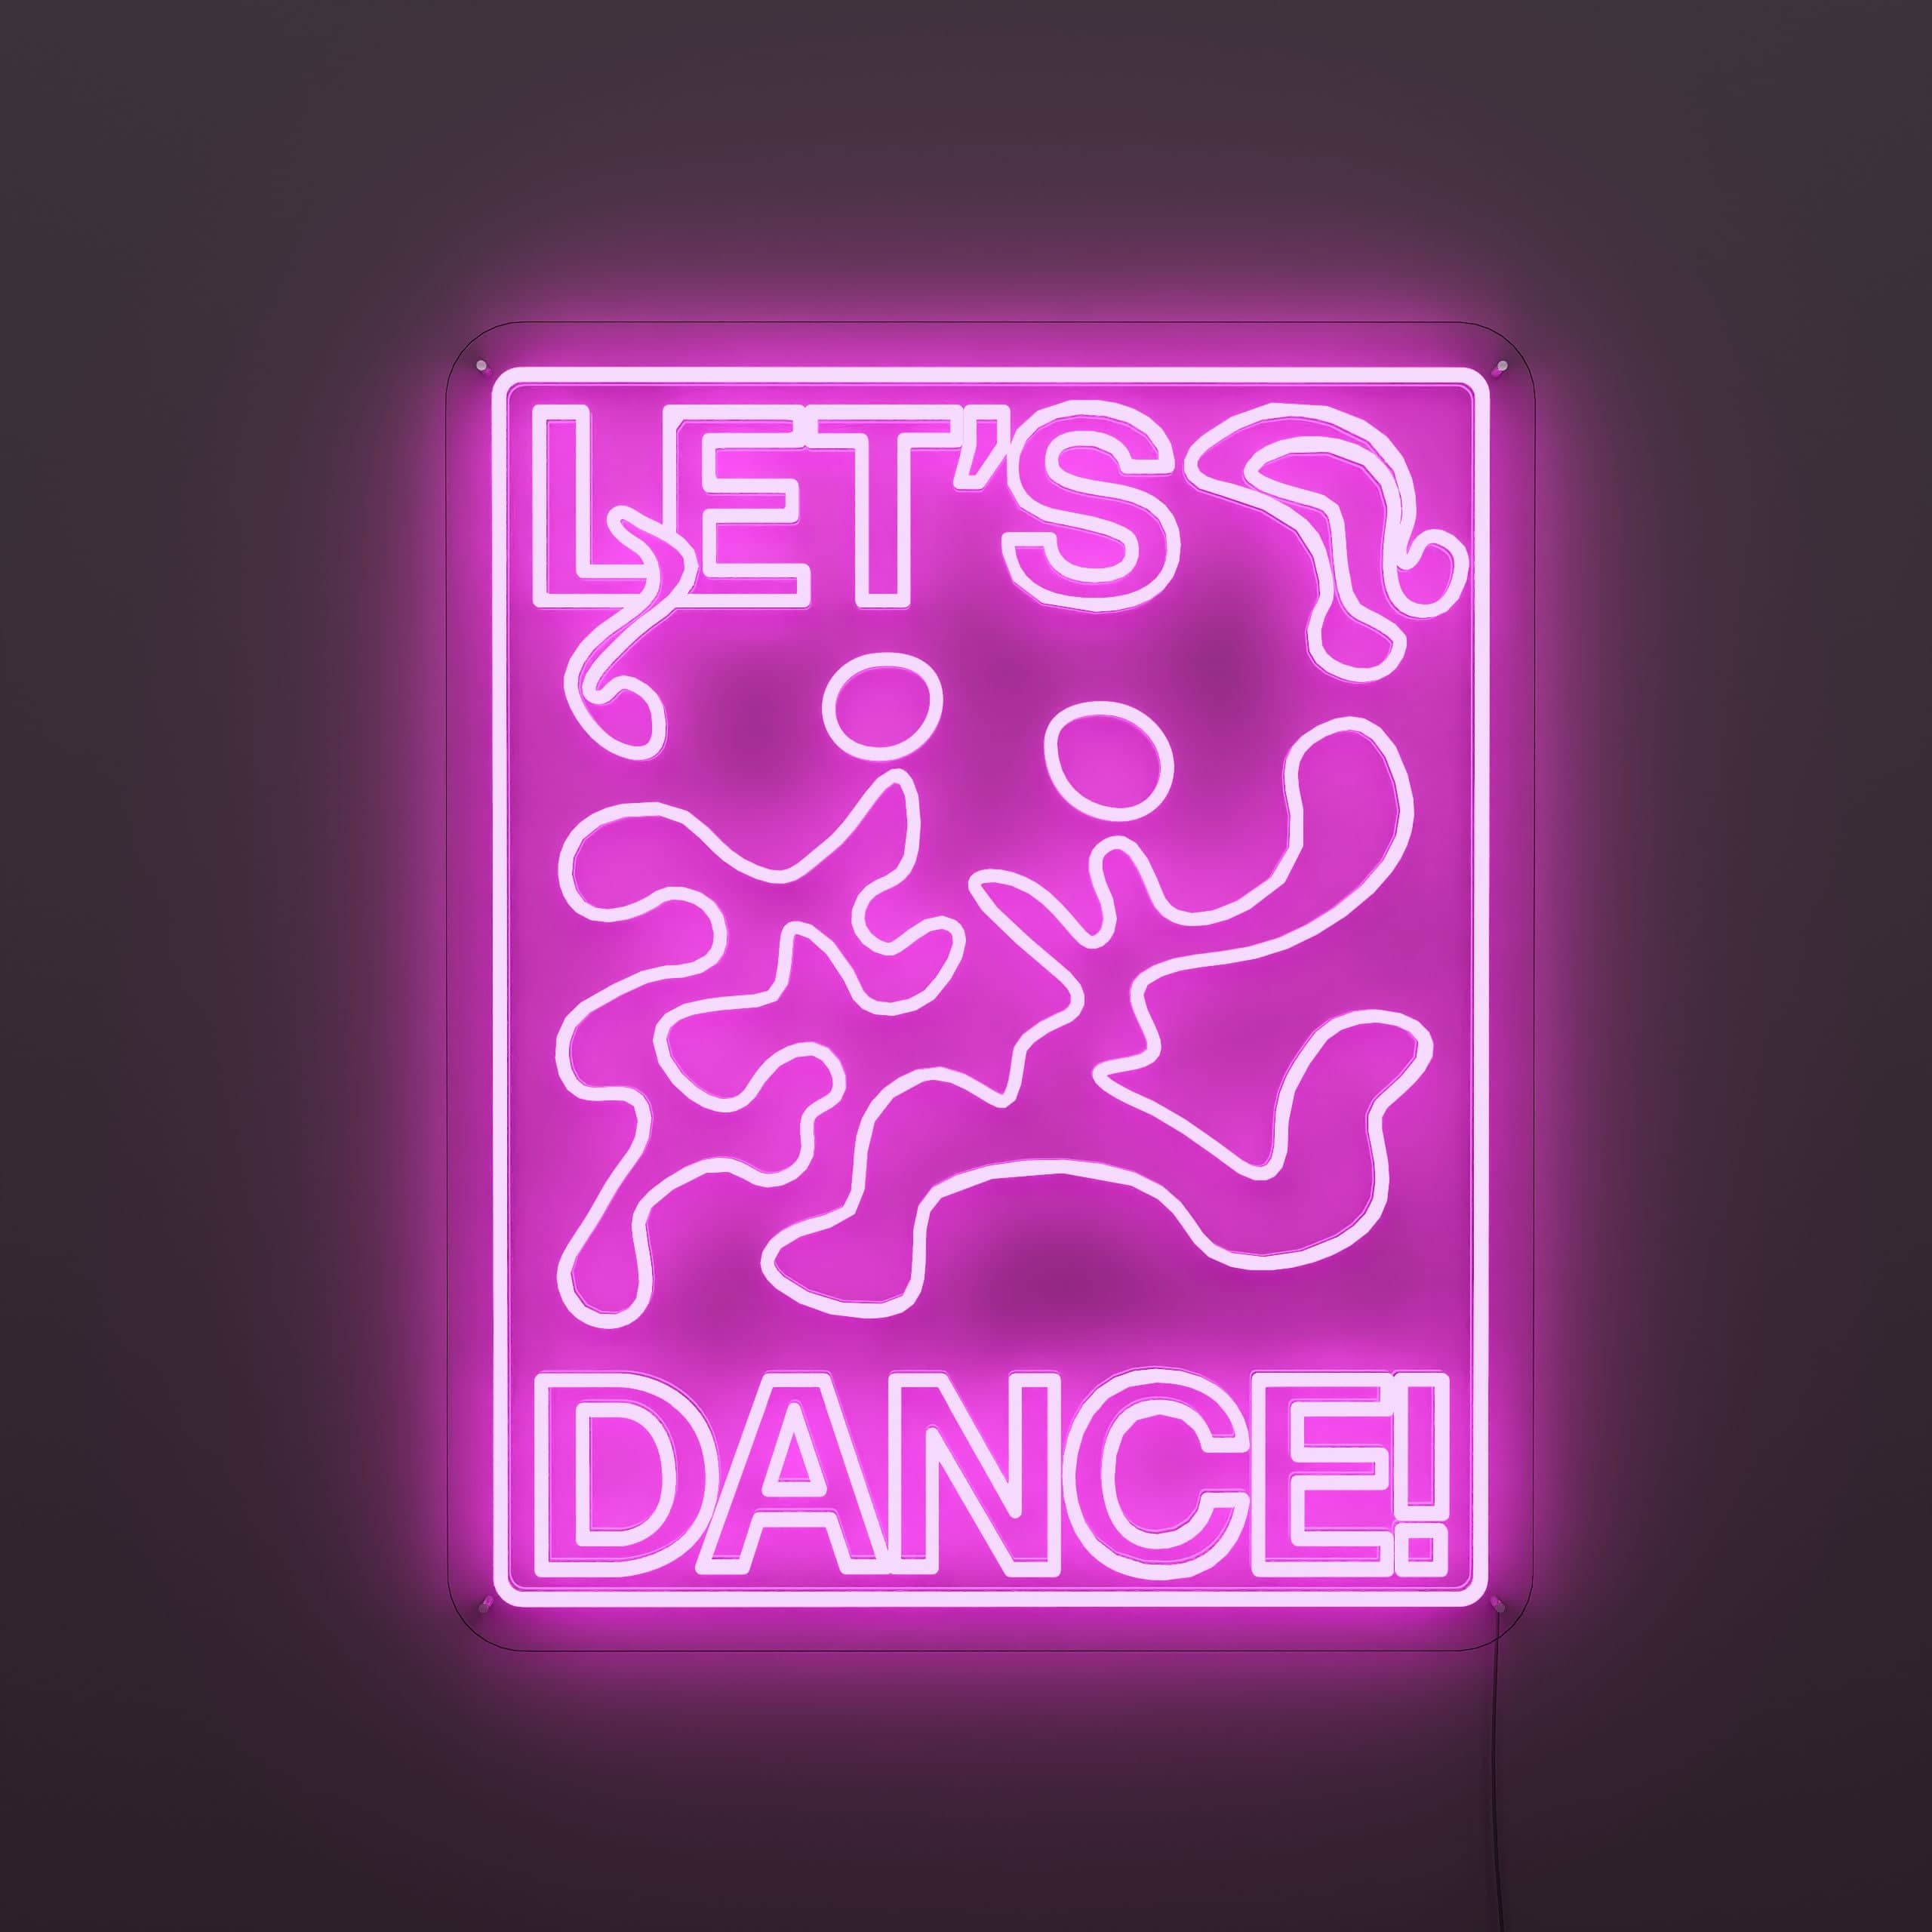
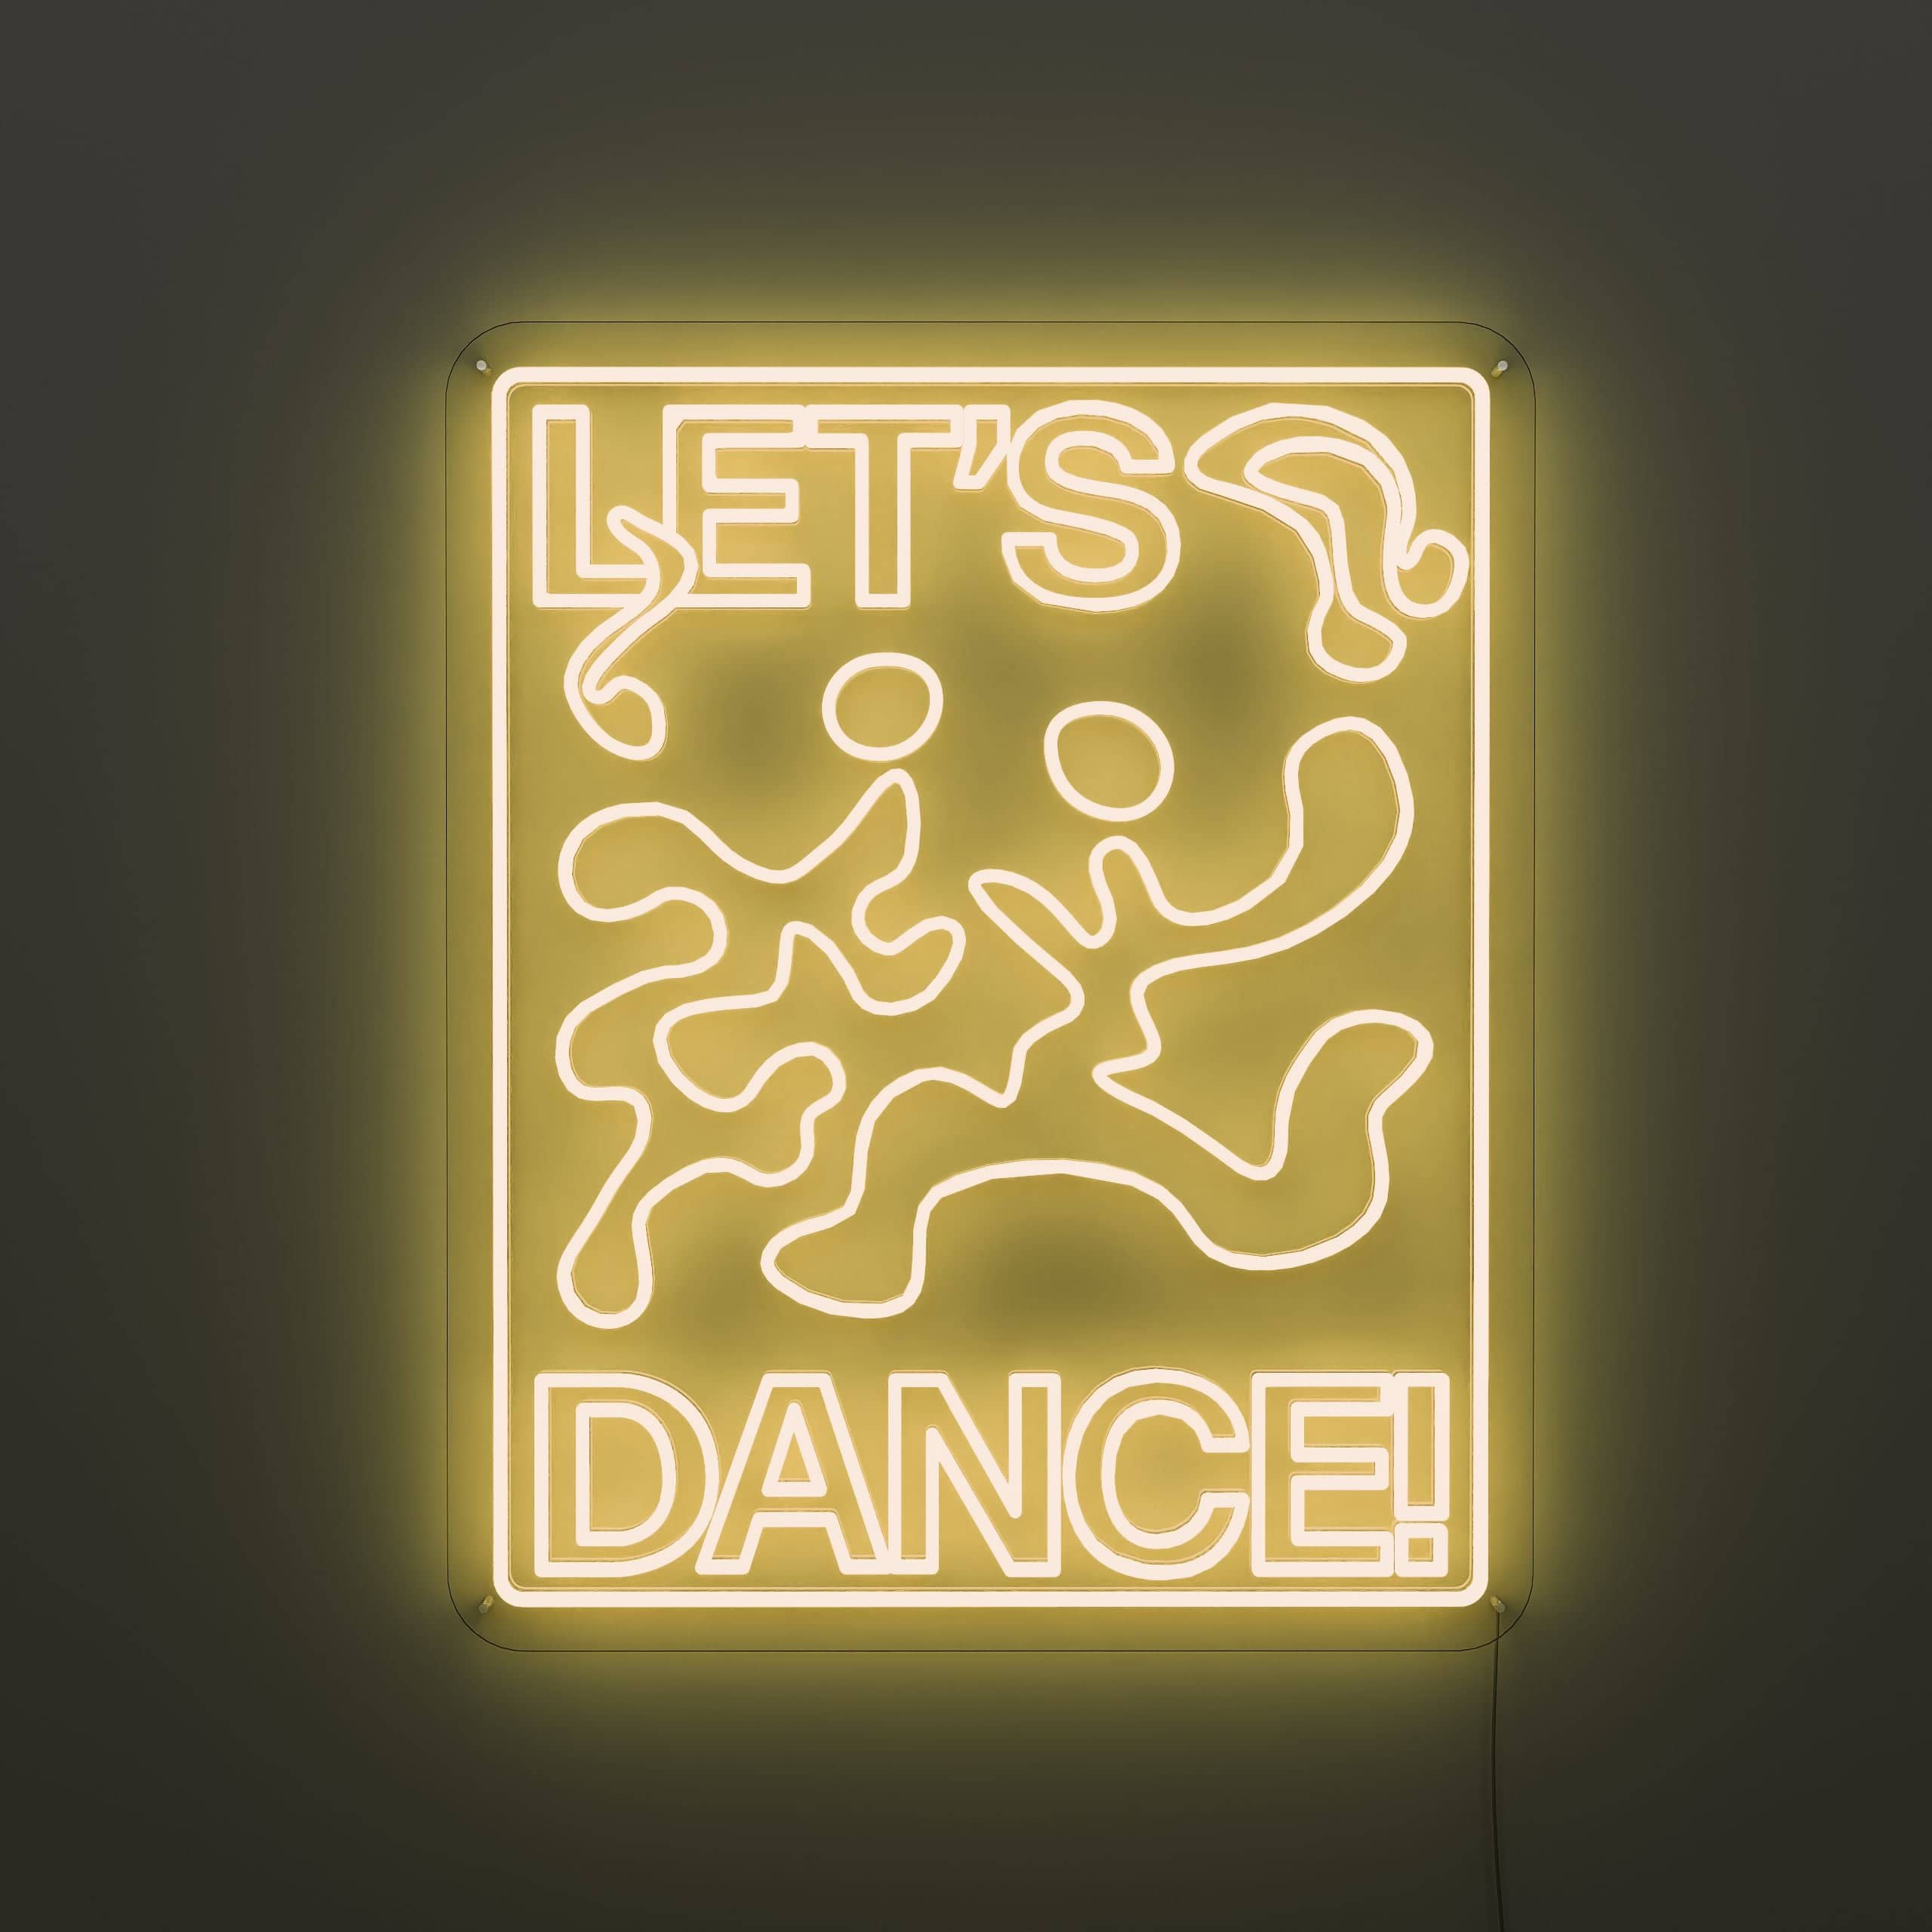
Each piece in the Let’s Dance Neon Sign Collection is designed to bring your space alive, making it a true reflection of your love for music and style. Explore more, and let’s light up your life with a custom led signs that speaks to your soul. Bring the concert vibe home with the Let's Dance Neon Sign.
Let's Dance Neon Sign Sets the Stage
The Let's Dance custom made neon signs casts a glow that moves the soul and sets feet tapping.Indeed, the vibrant colors sway with the rhythm of life, each shimmer a beat in your personal concert hall.Moreover, this sign is the silent singer in your home, a beacon that hums along with your favorite tunes.Furthermore, its light is a crowd that cheers in silence, a constant fan of your music choice.
Equally, the Neon Business Signs thrums with the heart of live gigs, a piece of the stage you can always keep. Additionally, the bright hues are the dancers in your room, twirling in light, never out of tune. Notably, every flicker is a note that sings without sound, a visual melody bound to astound. Thus, the Let's Dance sign is more than decor, it's a live show behind your door.
The Rhythm of Light with Let's Dance
The Let's Dance live music LED Neon Signs doesnt just light up a room, it starts the party every time you look at it. Besides, it invites you to lose yourself in the music, to be the star of your own stage.And so, the glow is a band that plays just for you, a personal concert in neon hues.
Therefore, it‘s a Neon Signs for Room that dances to your lifes playlist, a bright tribute to every hit. Thus, it lights up not just your space but your spirit, a sign that says live music lives here. Hence, this neon isn’t just about bright nights, it's about making every moment feel just right.
Illuminate Your Passion: Let’s Dance Neon Sign Collection
Looking to elevate your space with a unique touch? Our Let's Dance Neon Sign offers a range of custom neon signs that bring life to any environment. Imagine your walls glowing with the vibe of a Rave Sign in Neon or the energy of a Techno Music Neon Sign — perfect for creating a bold and stylish atmosphere. If you're a DJ or music lover, the Play It Twice Dj Neon Sign is a must-have, adding that extra flair to your setup and making every beat count.
Our collection doesn’t stop there. For the house music enthusiasts, the House Music All Night Music Neon Sign keeps the groove going, letting everyone know the music won’t stop anytime soon. And if you’re one to push the volume up, the If the Music's Too Loud Music Neon Sign captures that rebellious spirit that defines a true music lover. Looking for something truly unique? The Tai Chi Red and Blue Live Music Neon Sign brings an artistic blend of red and blue tones, perfect for a space that values both harmony and intensity.
- Easy to install,
- global free shipping
- energy efficiency,
it‘s the perfect addition to any music lover's space!
Bootent™ LED Materials
Our neon signs are crafted from neon flex material—PVC or Silicon piping filled with LED lights—affixed to recycled acrylic boards.
This advanced composition not only replicates the vibrant and bright glow of traditional neon but also enhances durability and affordability. Crucially, it sets Bootent™ LED apart from the materials used by other sellers on platforms like Amazon or Etsy.
We are committed to sustainability:
- - Our LED lights consume 6 times less energy than traditional bulbs and boast a lifespan of up to 100,000 hours.
- - We incorporate recycled materials into all of our products.
- - Our packaging is 100% recycled, eliminating unnecessary plastic.
Bootent™ LED represents a pioneering technology in the neon sign industry.
Fully compliant with FCC, UL, and Prop 65 standards, Bootent™ LED ensures that our customers are investing in a product that not only leads the market in quality and safety but also adheres to the strictest environmental and regulatory standards globally.
LE GUIDE COMPLET POUR L'INSTALLATION ET L'AFFICHAGE DES ENSEIGNES AU NÉON LED
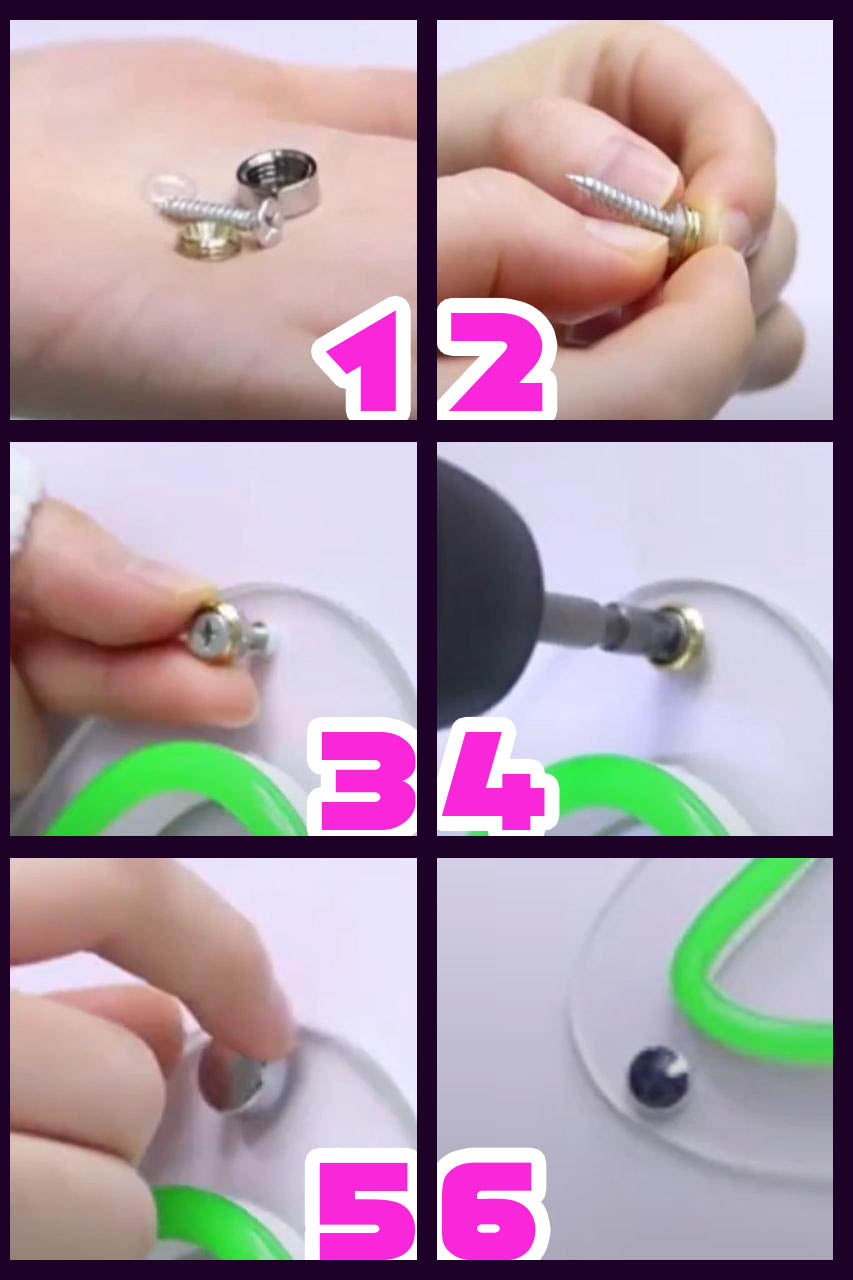
Comment installer votre enseigne au néon LED à l'aide de mini vis :
Si votre enseigne au néon est livrée avec un support en acrylique découpé et des mini vis. Suivez ces étapes simples pour l'accrocher en quelques minutes :
1. Placez l'enseigne néon à plat contre le mur ou l'espace prévu, en la soulevant pour éviter tout dommage.
2. Déterminez l'emplacement de suspension. Utilisez un marqueur pour marquer les trous pré-percés dans le mur où iront les vis.
3. Mettez le panneau de côté pour éviter de rayer le support acrylique. Utilisez une perceuse avec un foret hélicoïdal plus petit pour créer des trous pilotes sur les points marqués sur le mur.
4. Alignez le panneau avec les trous percés, en plaçant des rondelles en caoutchouc noires (ou or/argent) sur les trous. Insérez les petites vis argentées dans les trous. Fixez-les en les perçant dans les trous pilotes.
5. Répétez le processus pour toutes les vis, en vous assurant qu'elles sont bien fixées. Ajoutez les petits embouts argentés sur les rondelles en caoutchouc noir pour compléter le look. Dernière étape : branchez l'enseigne au transformateur, puis à la prise murale. Votre enseigne au néon devrait s'allumer sans aucun problème.
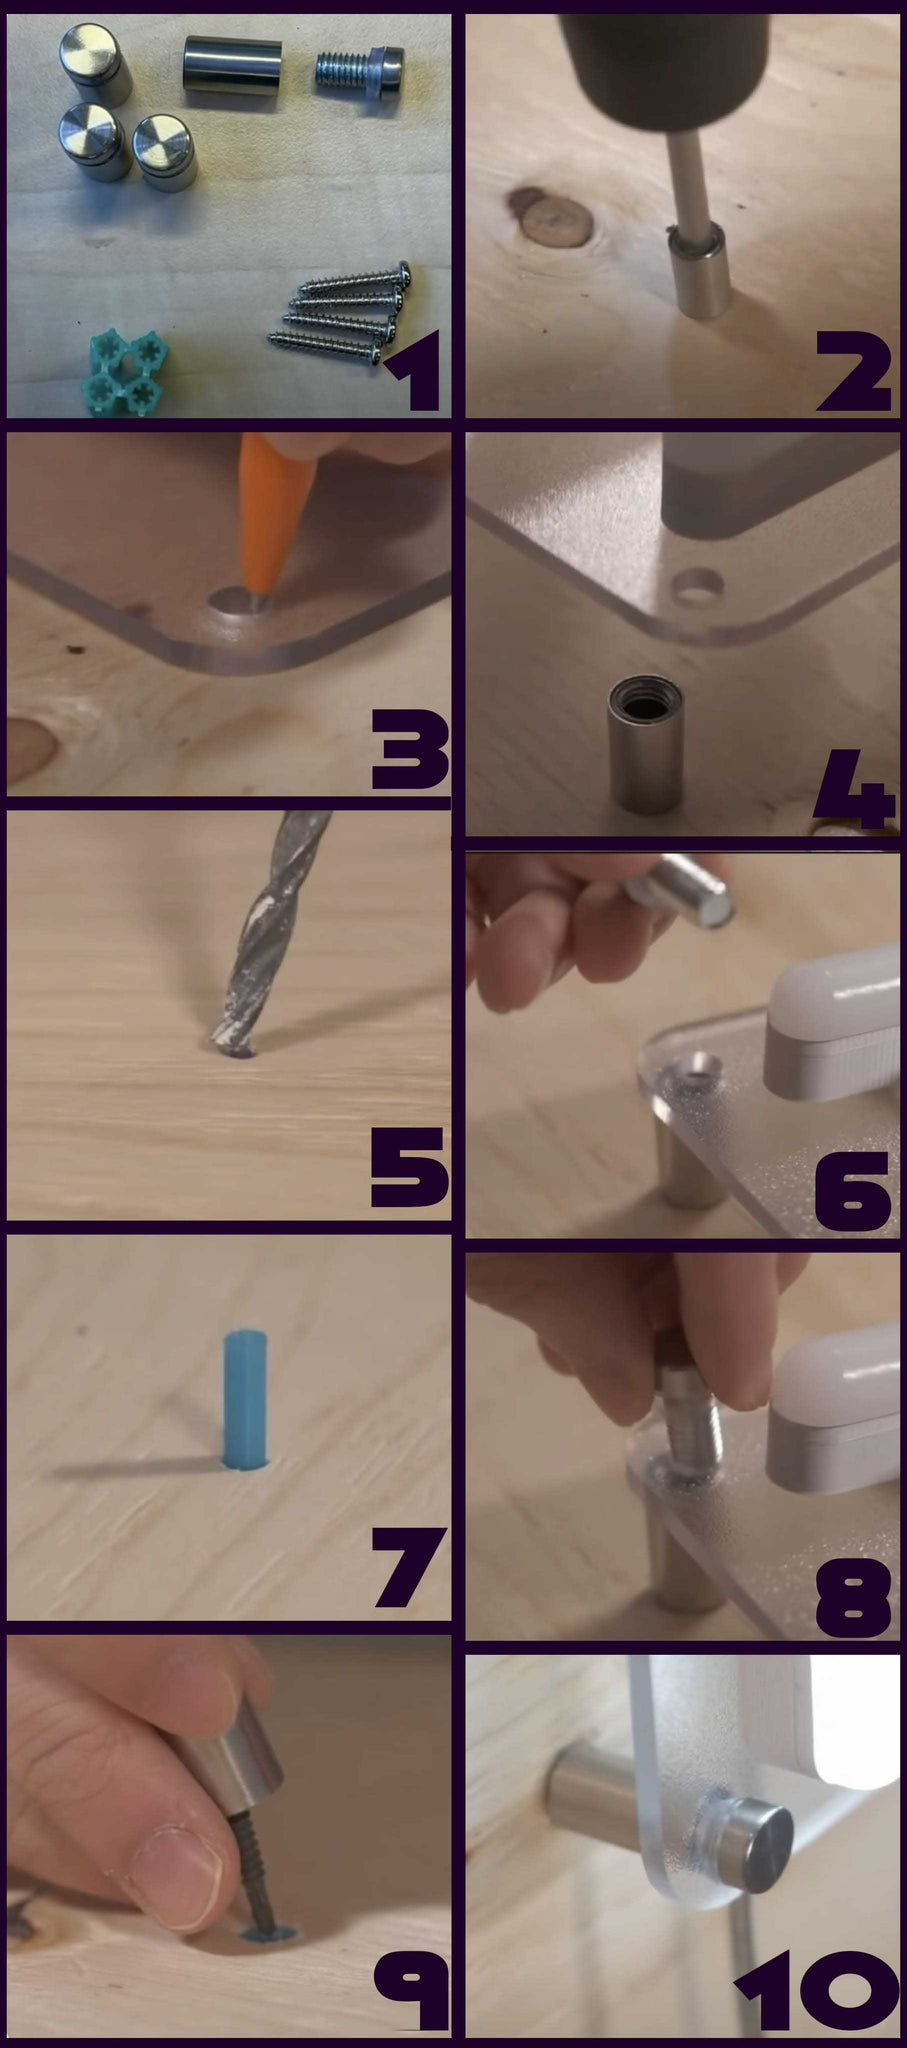
Comment accrocher une enseigne au néon à l'aide de vis d'écartement :
Les vis d'écartement sont idéales pour les installations en surface comme les murs. Suivez ces étapes pour accrocher votre enseigne au néon en utilisant cette méthode :
1. Positionnez l'enseigne néon à plat contre le mur ou l'espace souhaité, en vous assurant qu'elle est alignée.
2. Utilisez un marqueur pour marquer les trous pré-percés dans le mur où iront les vis. Confirmez l'emplacement de suspension avant de continuer.
3. Placez le panneau dans un endroit sûr pour protéger le support acrylique des rayures. Utilisez une perceuse avec un foret hélicoïdal plus petit pour créer des trous pilotes sur les points marqués sur le mur.
4. Dévissez les broches de montage et positionnez les bases creuses contre les avant-trous percés. Insérez les plus petites vis de fixation argentées dans les entrées creuses des broches de montage. Percez-les dans le mur, en fixant les bases creuses en place. Répétez ce processus pour toutes les bases creuses.
5. Positionnez le panneau contre les bases sécurisées, en veillant à un bon alignement. Utilisez des vis plus larges pour fixer le panneau à chaque base, en le fixant au mur. Vérifiez à nouveau que toutes les vis sont bien serrées. Dernière étape : branchez l'enseigne au néon suspendue au transformateur, puis à la prise murale. Il devrait s'éclairer.
Accrocher les enseignes au néon avec un câble :
Étape 1 : Mesurez l'écart entre les trous pré-percés sur le support acrylique de votre panneau. Marquez ces distances sur la surface supérieure pour les supports verticaux argentés.
Étape 2 : Positionnez les supports verticaux argentés sur les points marqués, en marquant les trois trous de vis sur chaque support pour le perçage.
Étape 3 : Percez des trous pilotes sur les points marqués, puis fixez les supports avec des vis à l'aide d'un foret tournevis.
Étape 4 : Mesurez et coupez les fils de suspension plastifiés à la longueur souhaitée, en laissant un surplus pour créer une boucle à l'extrémité.
Étape 5 : Fixez les fils aux supports en appuyant sur la bouche à ressort du support, en introduisant le fil et en relâchant la bouche pour saisir le fil.
Étape 6 : Enfilez une extrémité de chaque fil dans un sertissage argenté, puis dans le trou au dos de votre panneau, en le faisant passer à travers l'autre trou du sertissage. Fixez en comprimant le sertissage avec une pince. Répétez l'opération pour les autres fils.
Dernière étape : connectez votre enseigne au transformateur, puis branchez-la à la prise murale pour éclairer votre enseigne au néon.
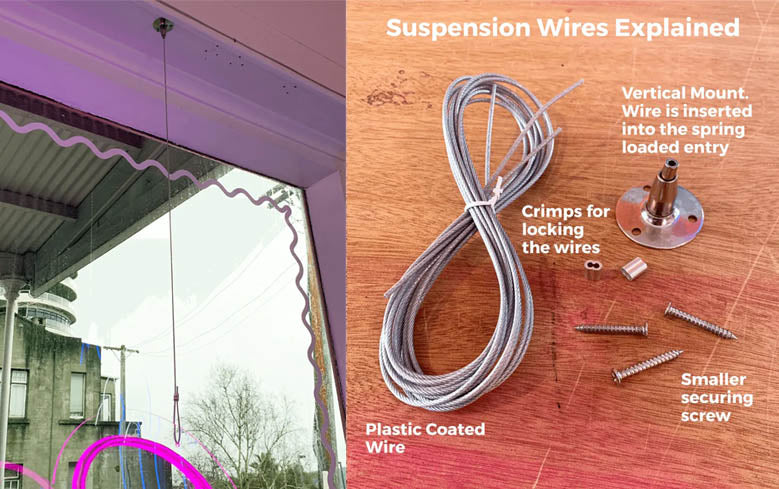
Vous êtes désormais équipé pour accrocher votre enseigne lumineuse sans effort à l'aide de fils de suspension !
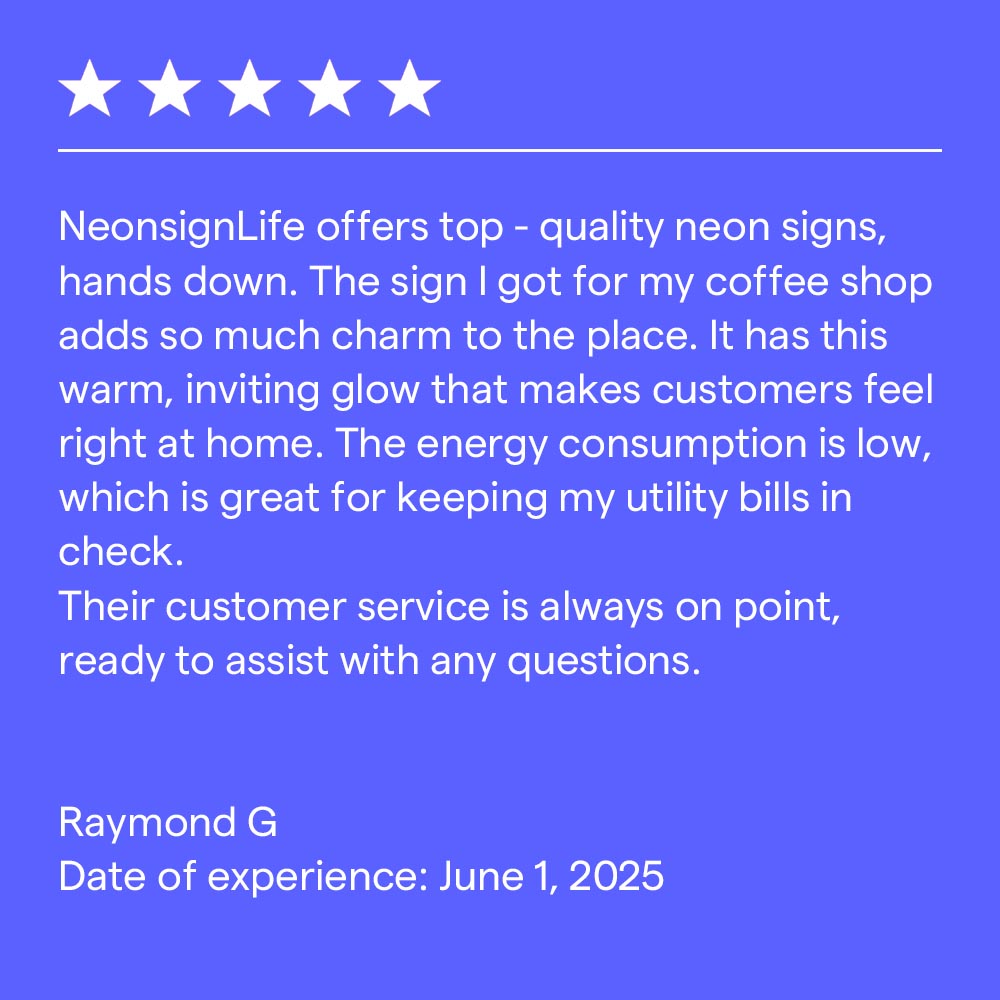
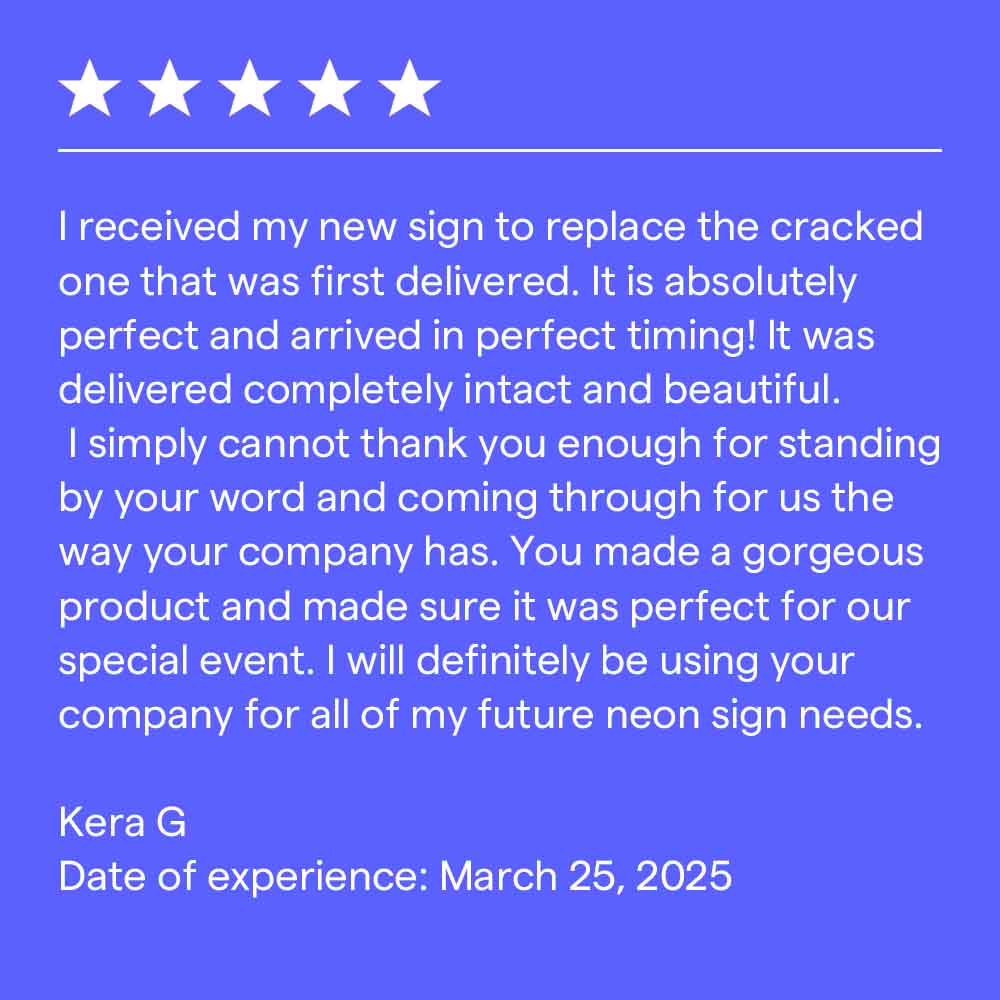
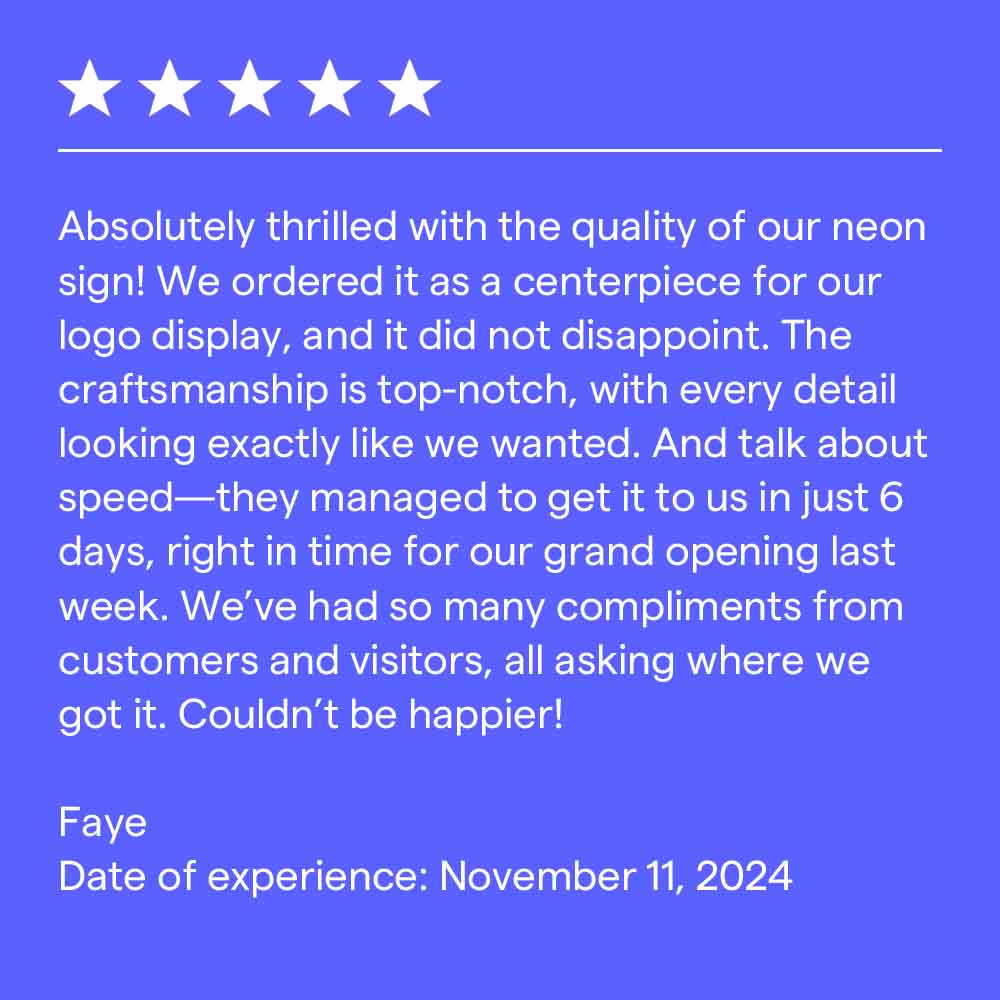
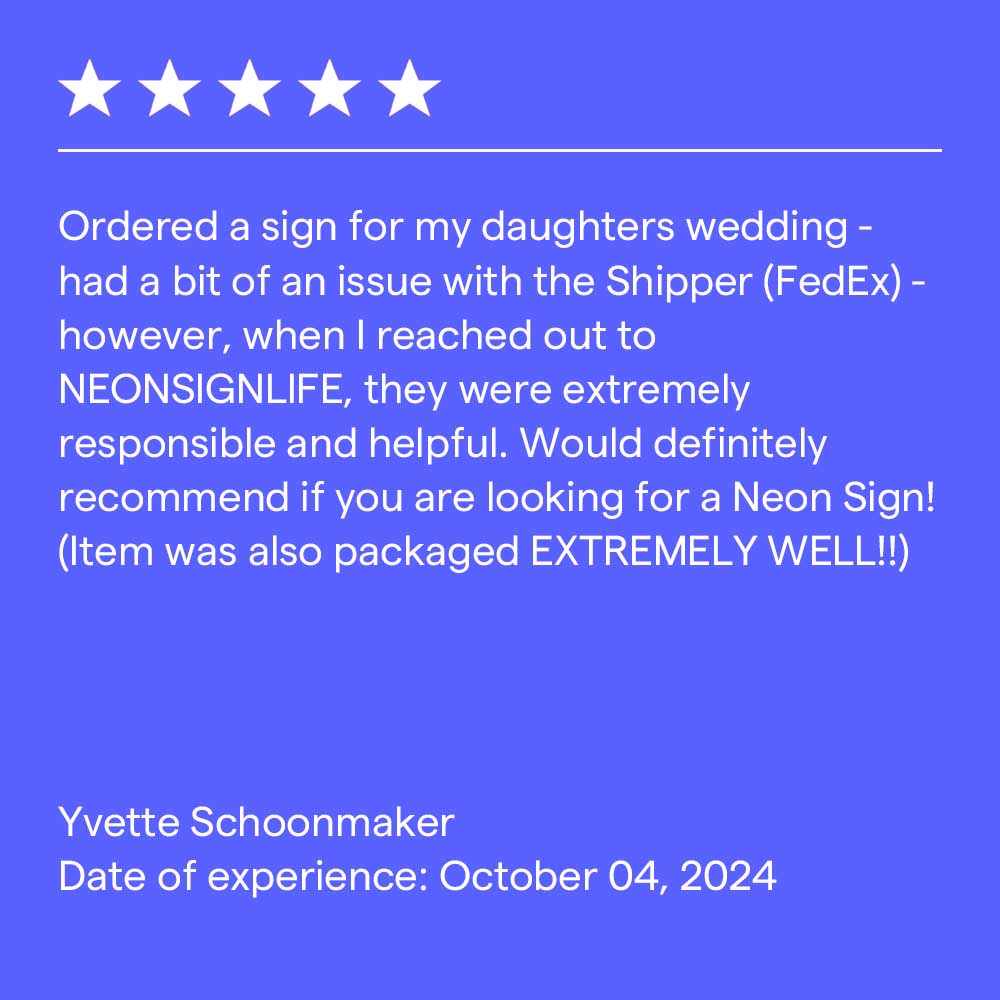
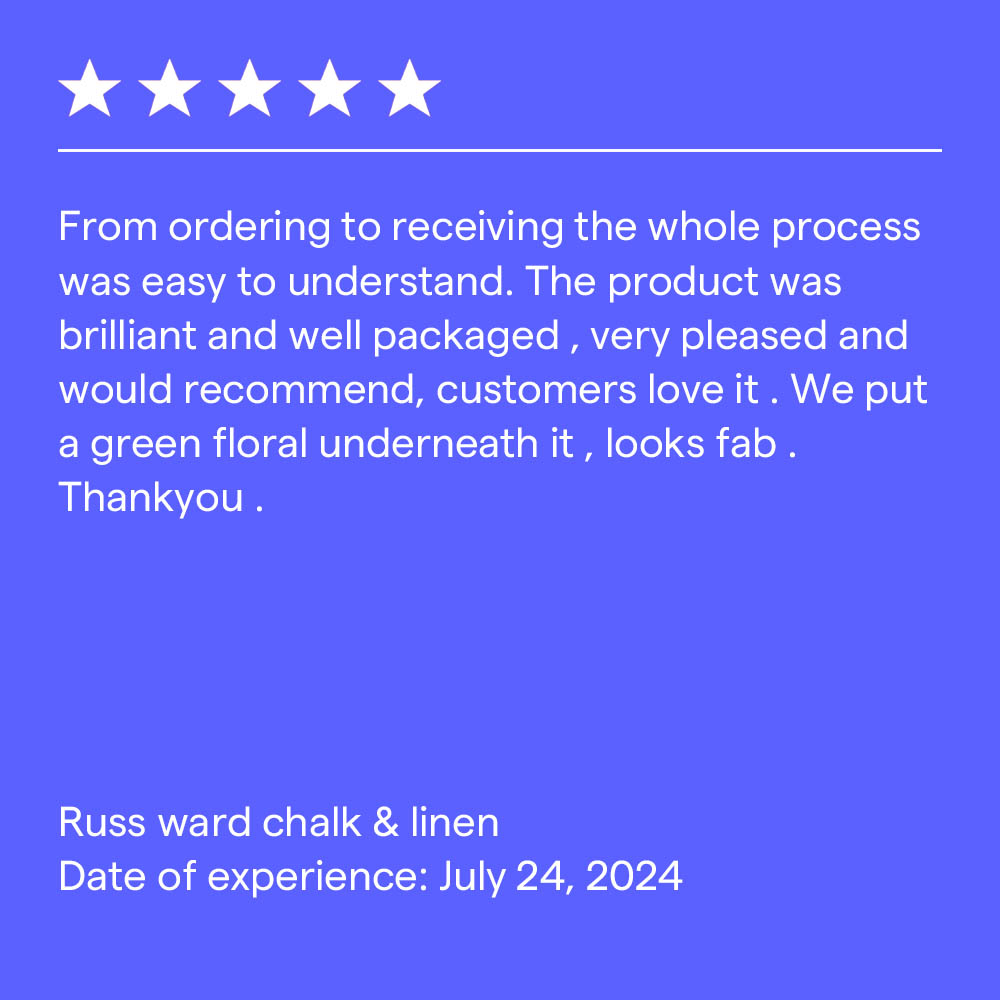
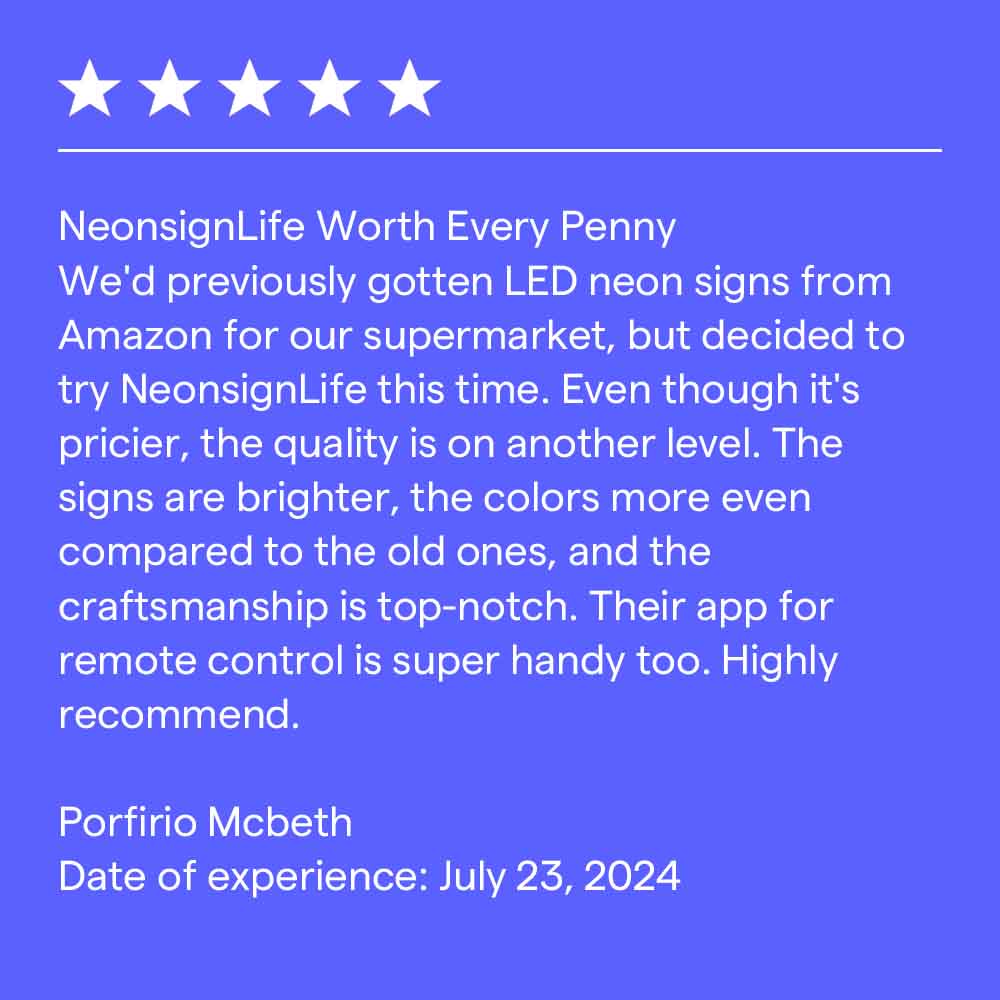
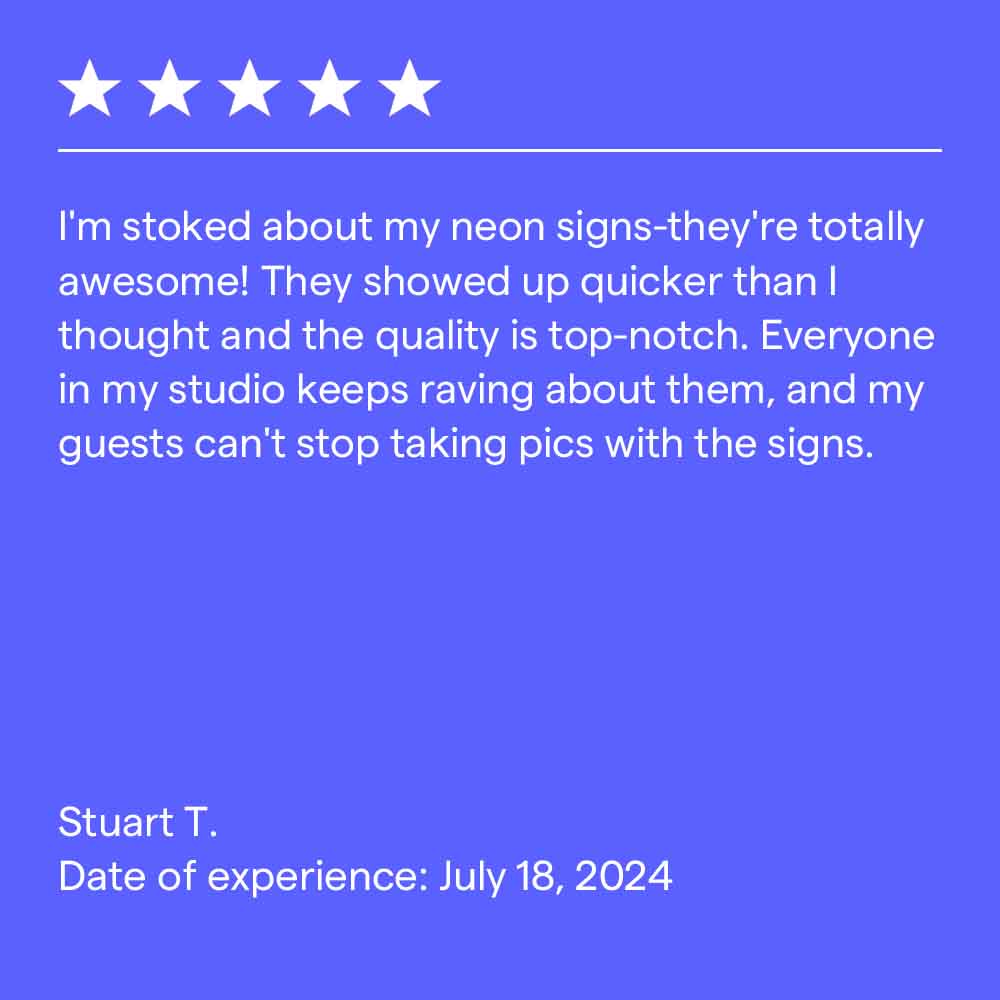
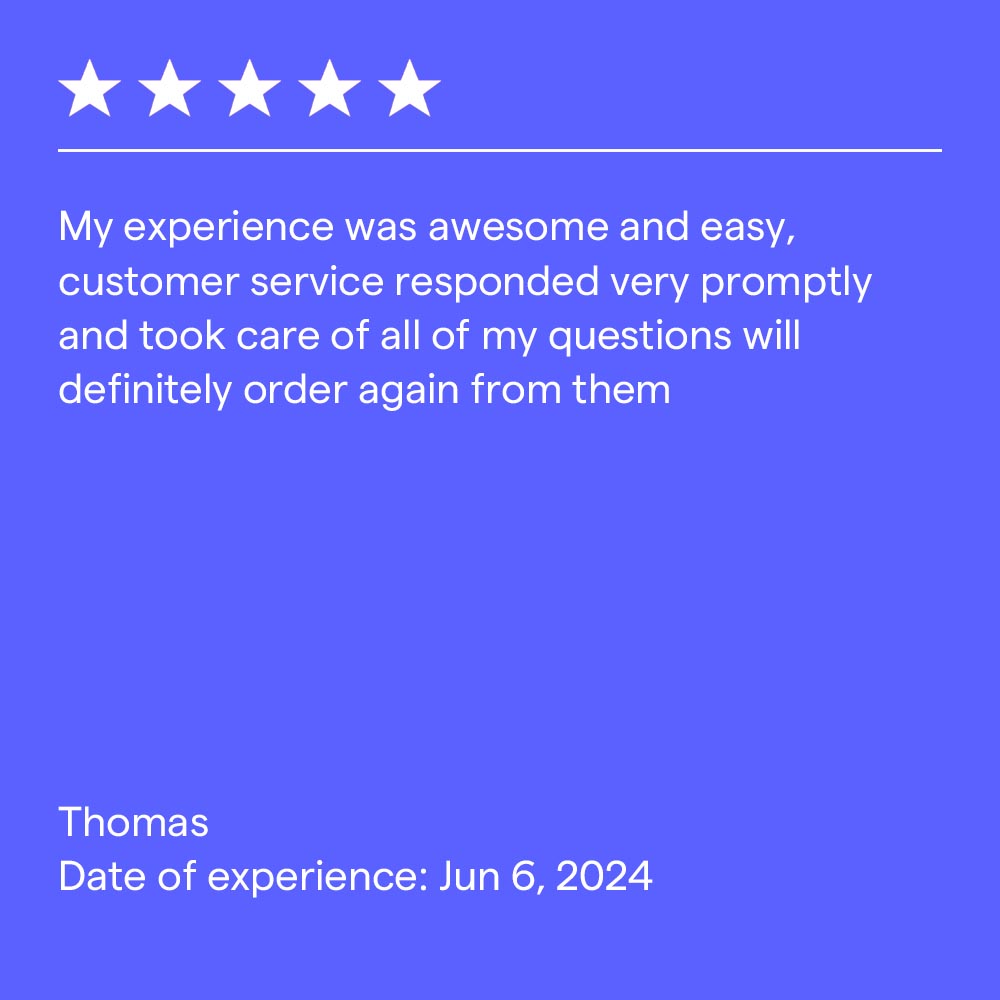
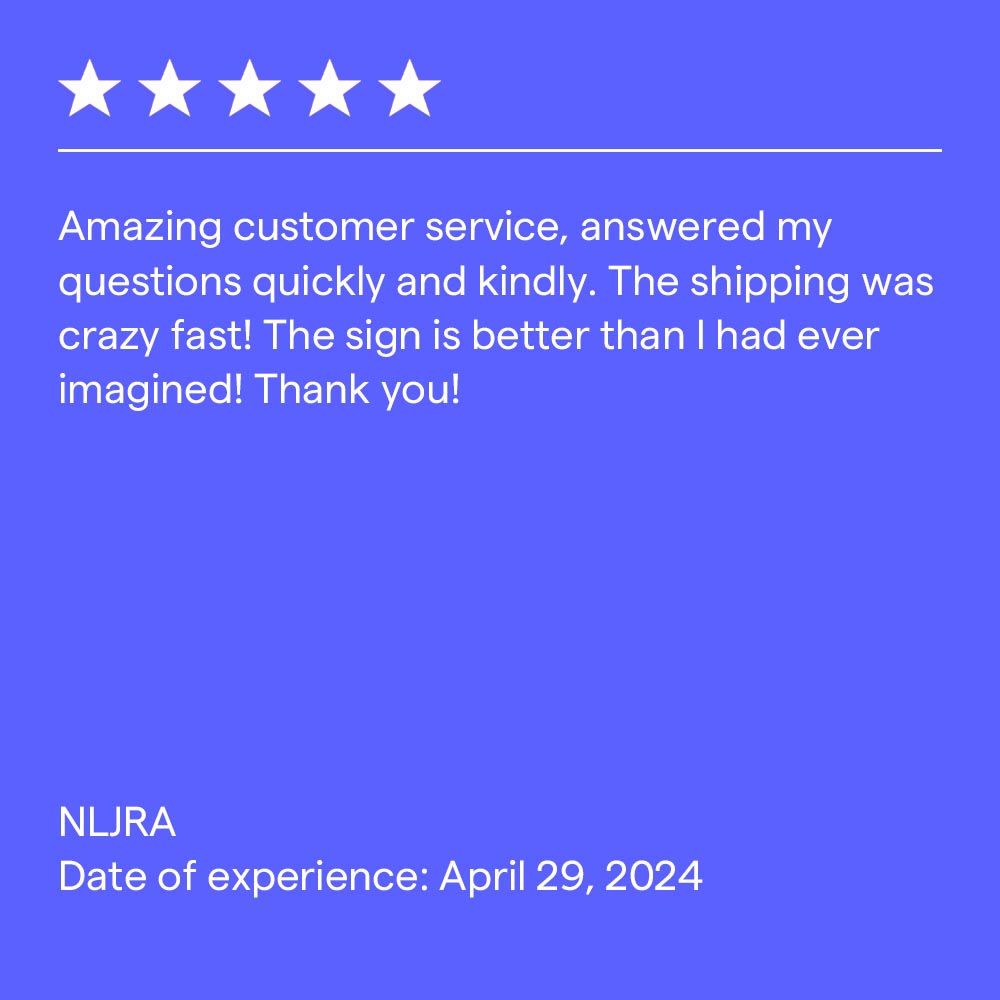
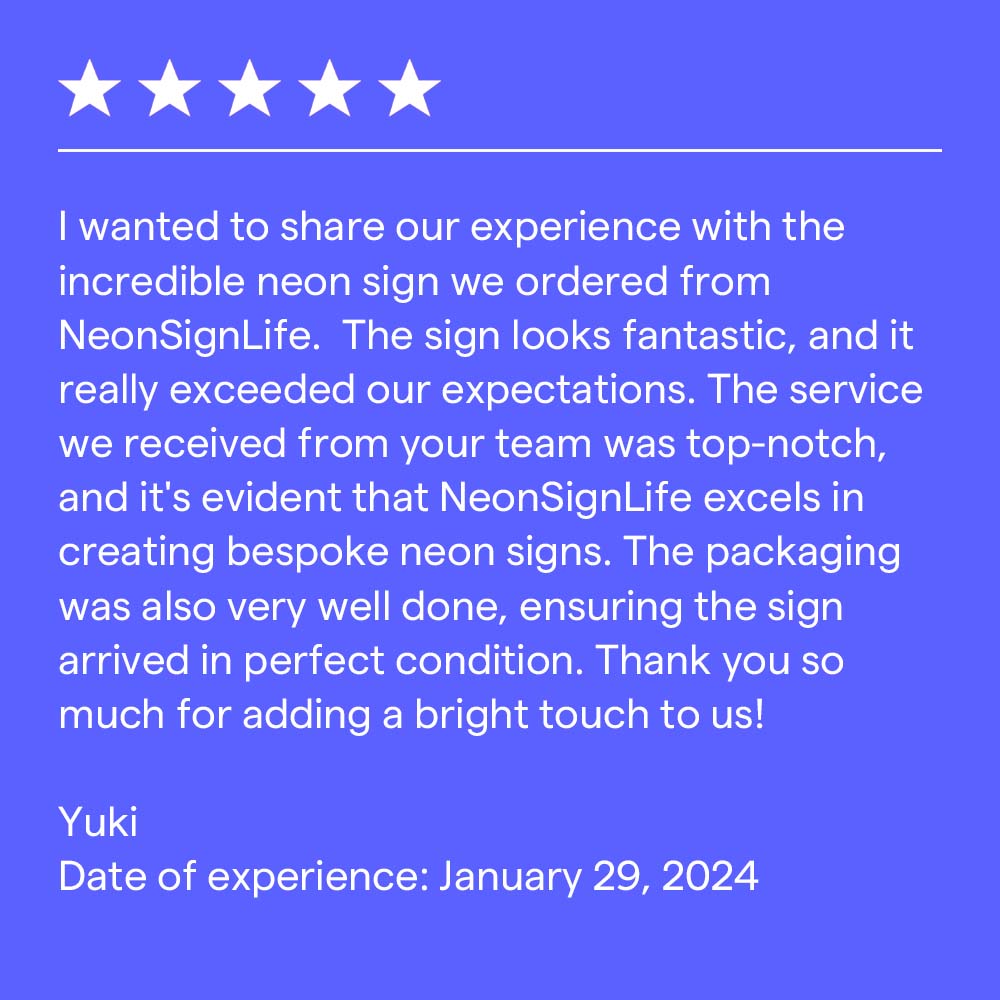
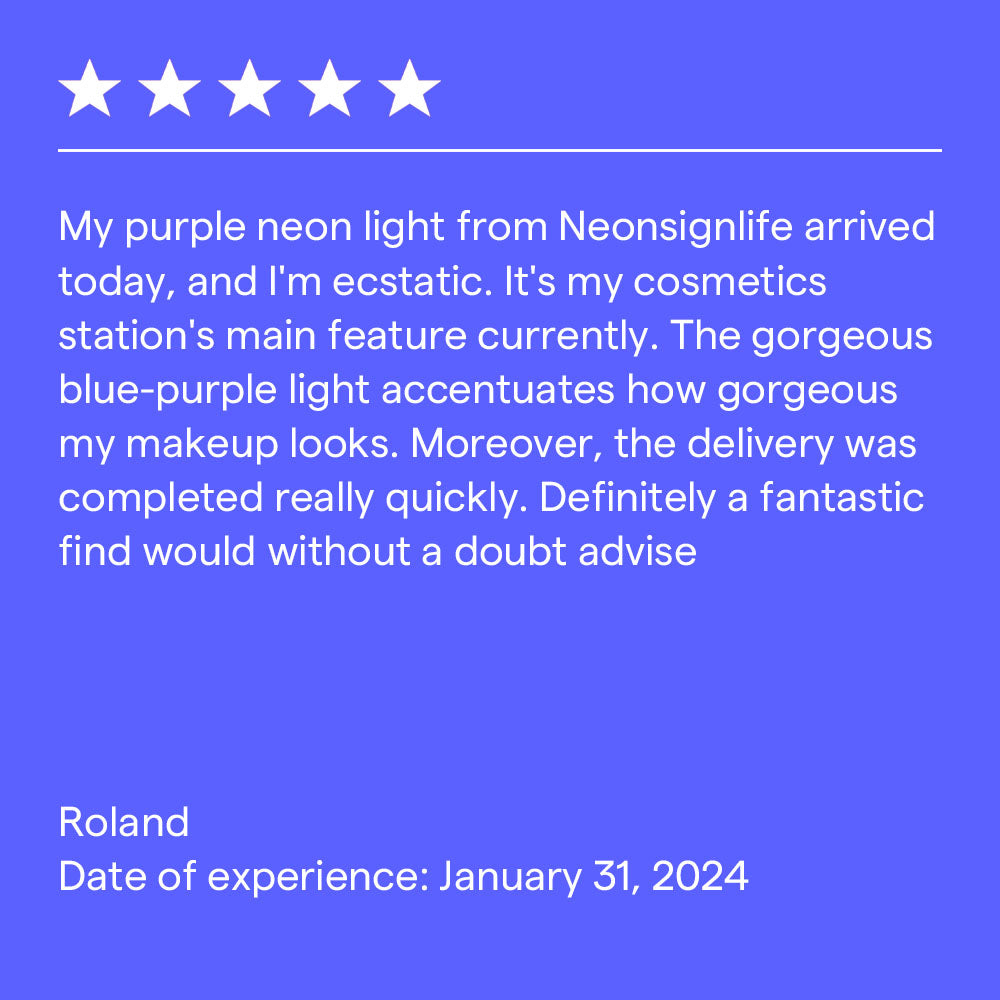
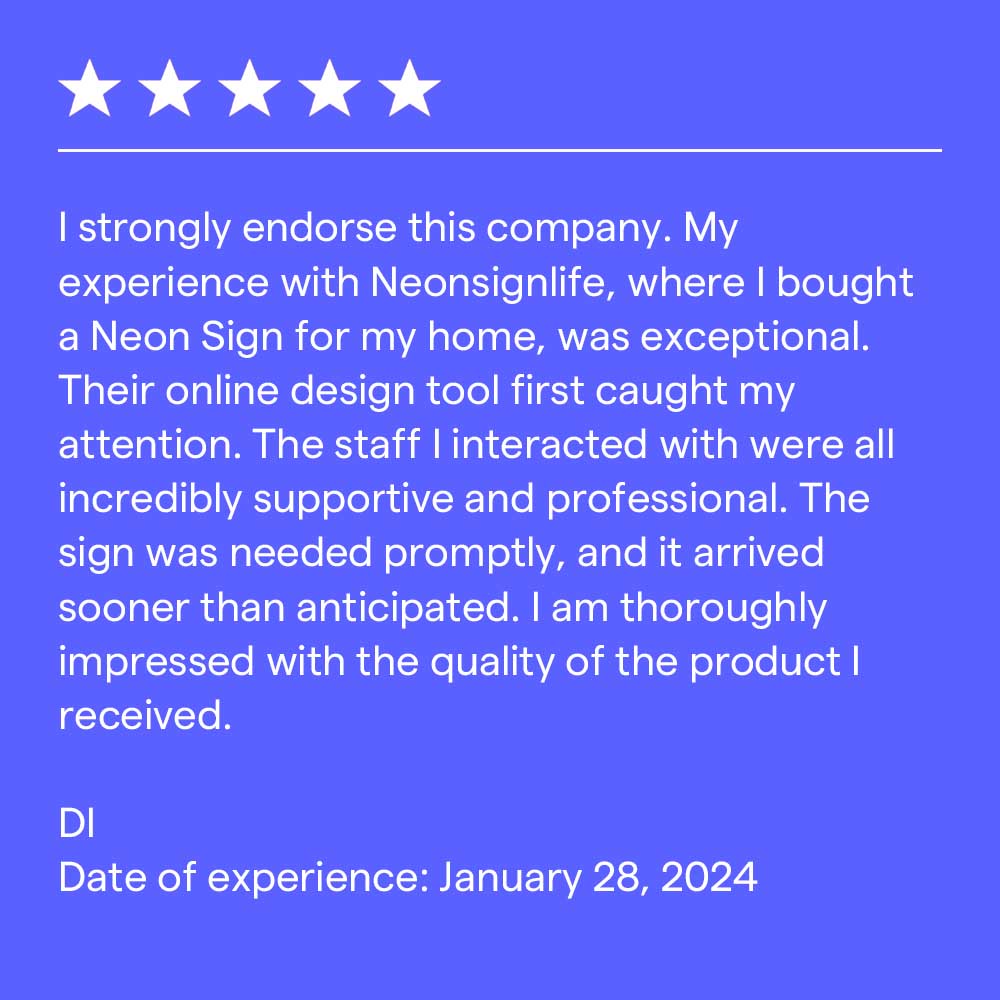
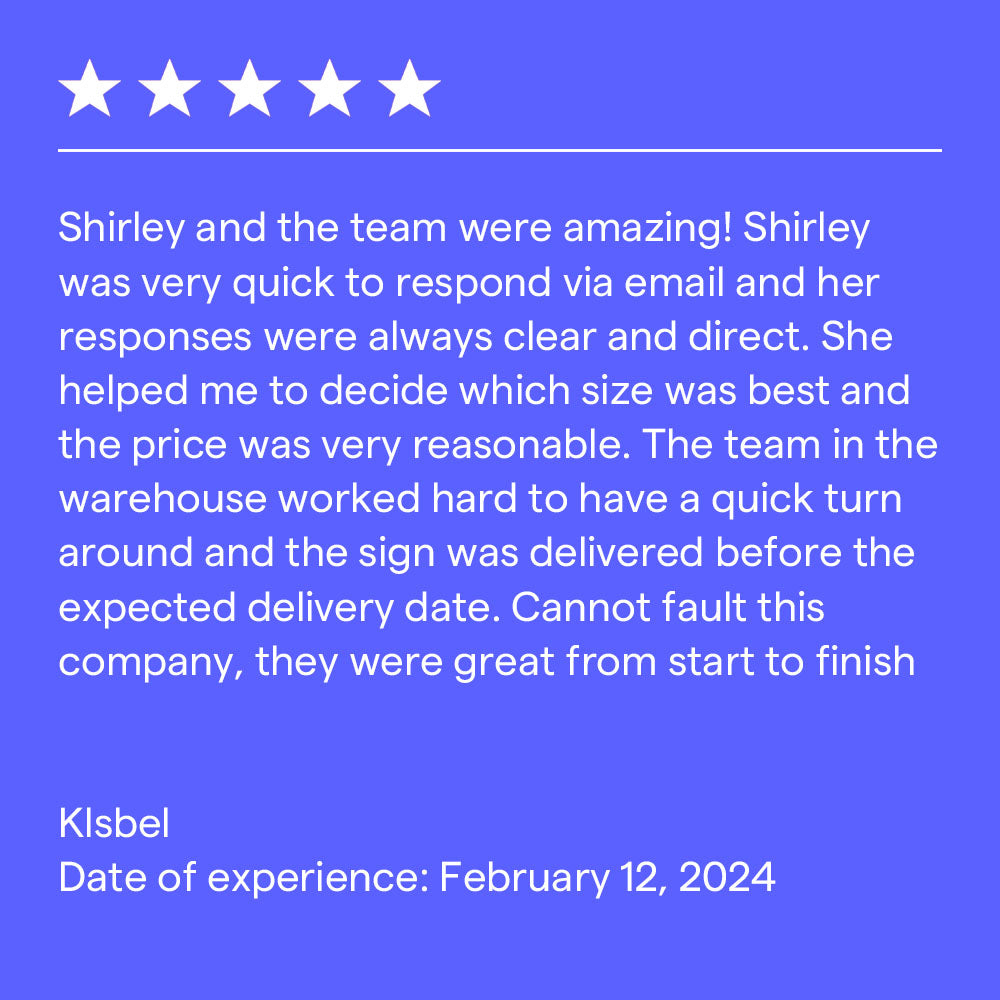
CUSTOMERS LOVE US OVER 500+ 5 START REVIEWS
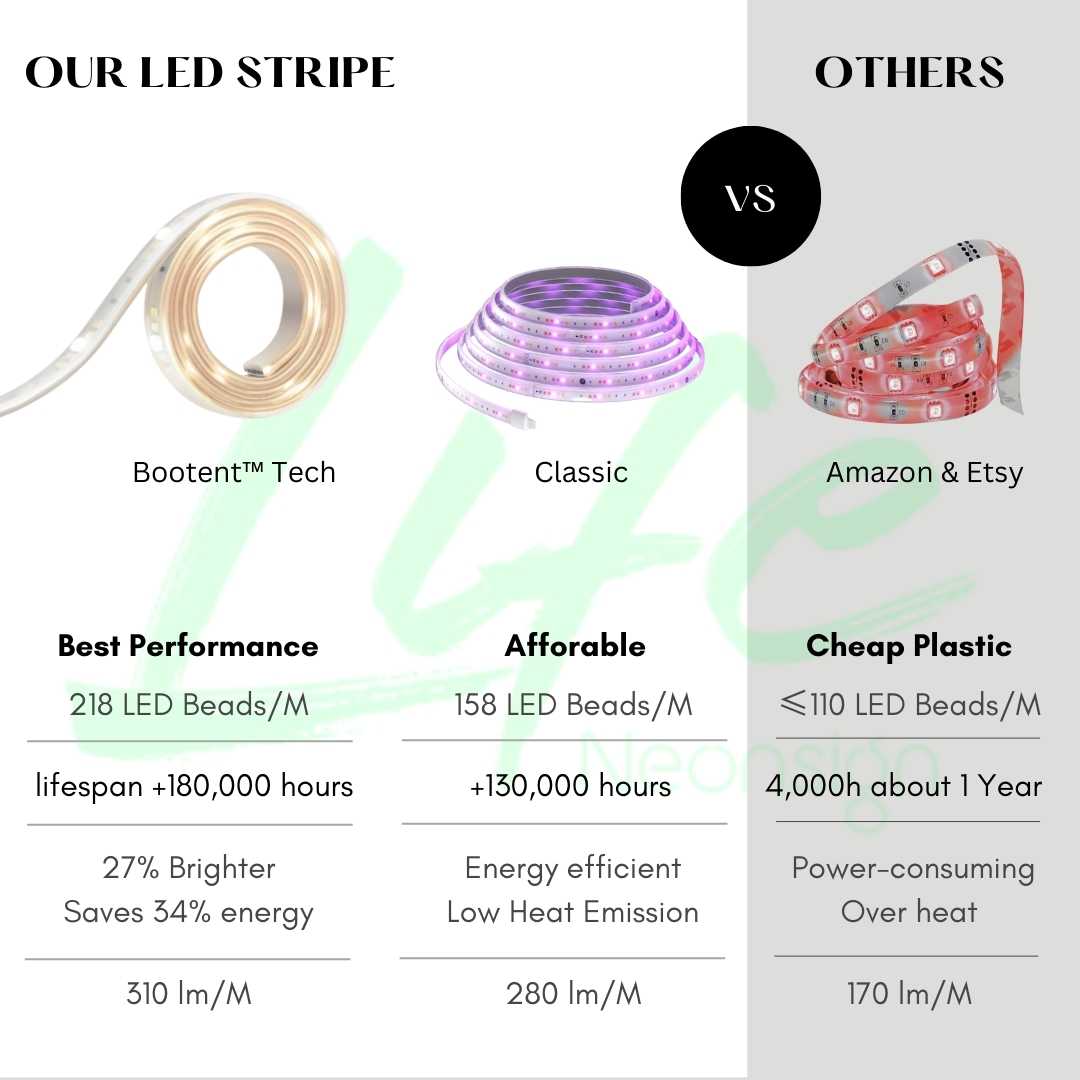
What is Bootent™ LED Tech
27% brighter + saves 34% energy
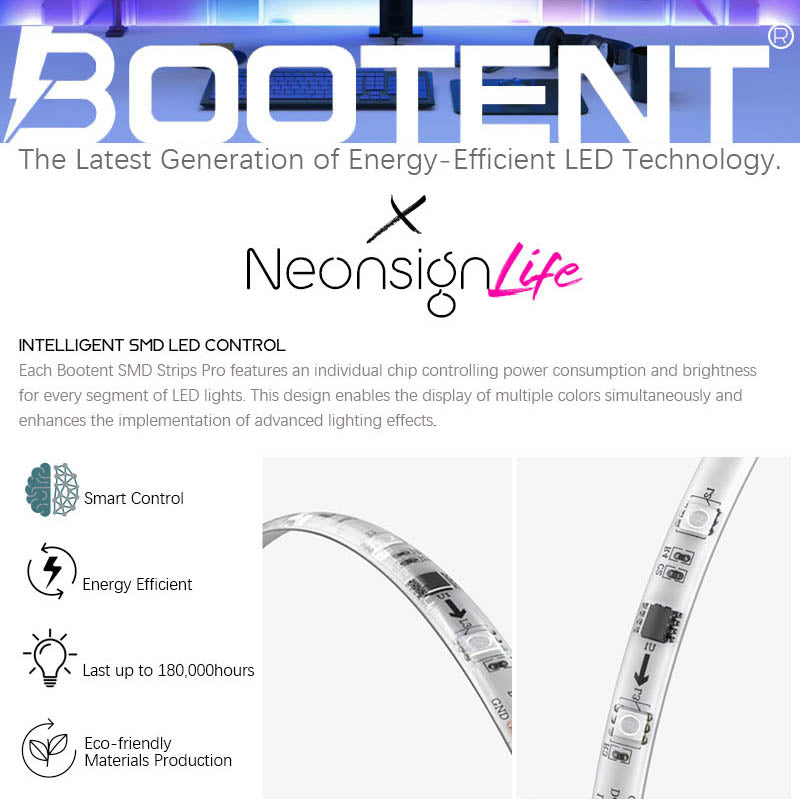
When it comes to LED neon signs, quality, safety, and sustainability are non-negotiable. That's why we've developed Bootent™ LED Tech - a groundbreaking technology that sets the new standard for the industry.
What is Bootent™ LED Tech
27% brighter + saves 34% energy
The result is an LED neon sign that lasts. Bootent™ LED Tech significantly reduces energy transfer, so your sign won’t even get warm, let alone hot.This protects you and the sign from damage!
What is Bootent™ LED Tech
27% brighter + saves 34% energy
Our hand-crafted LED neons receive careful attention as they are cut and shaped into the masterpieces of light you’re looking for
What's in the box
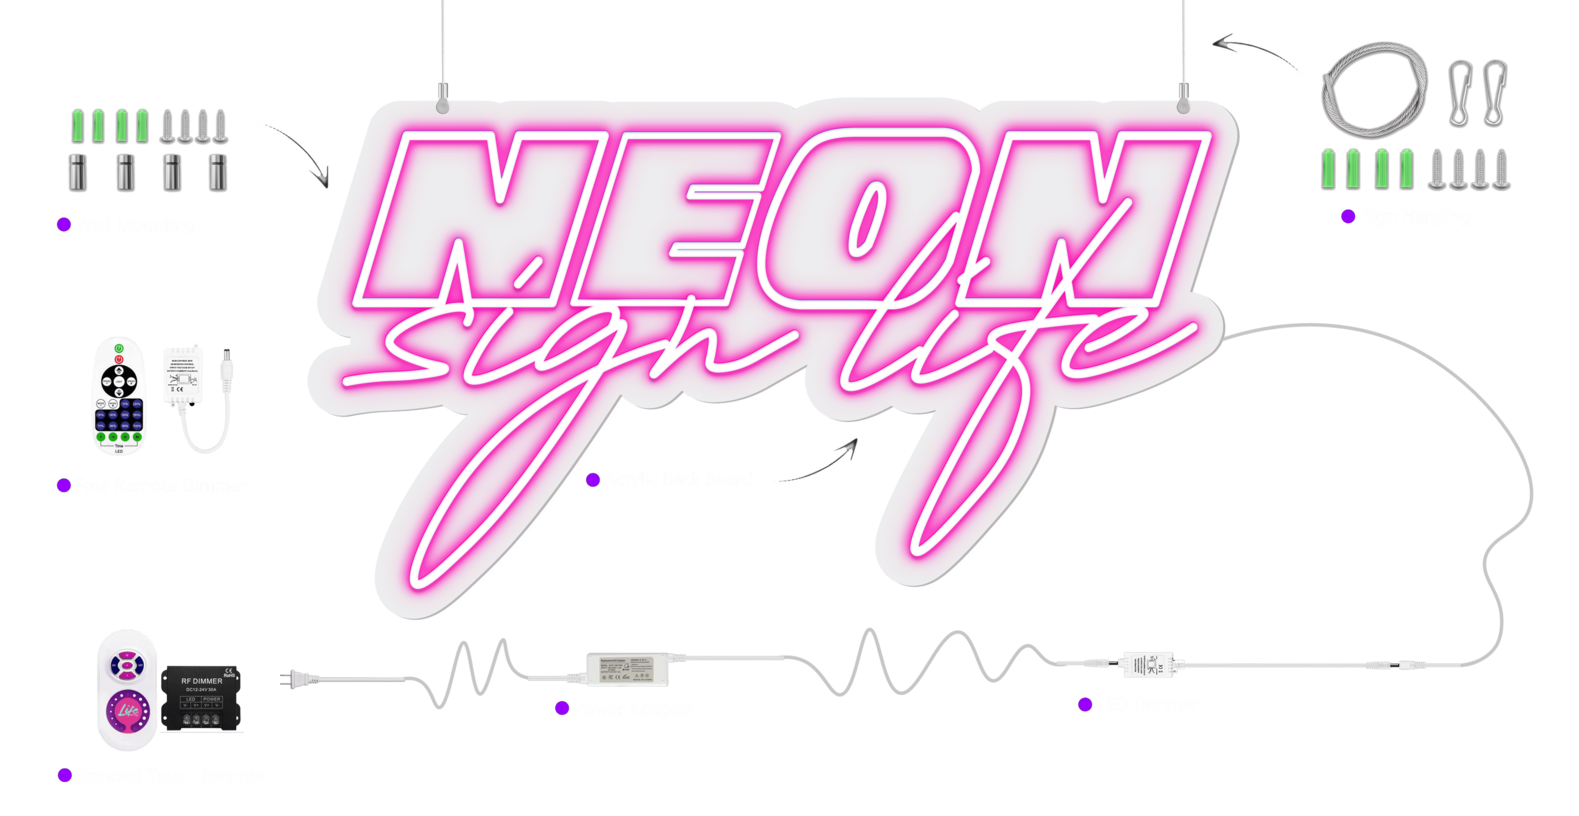
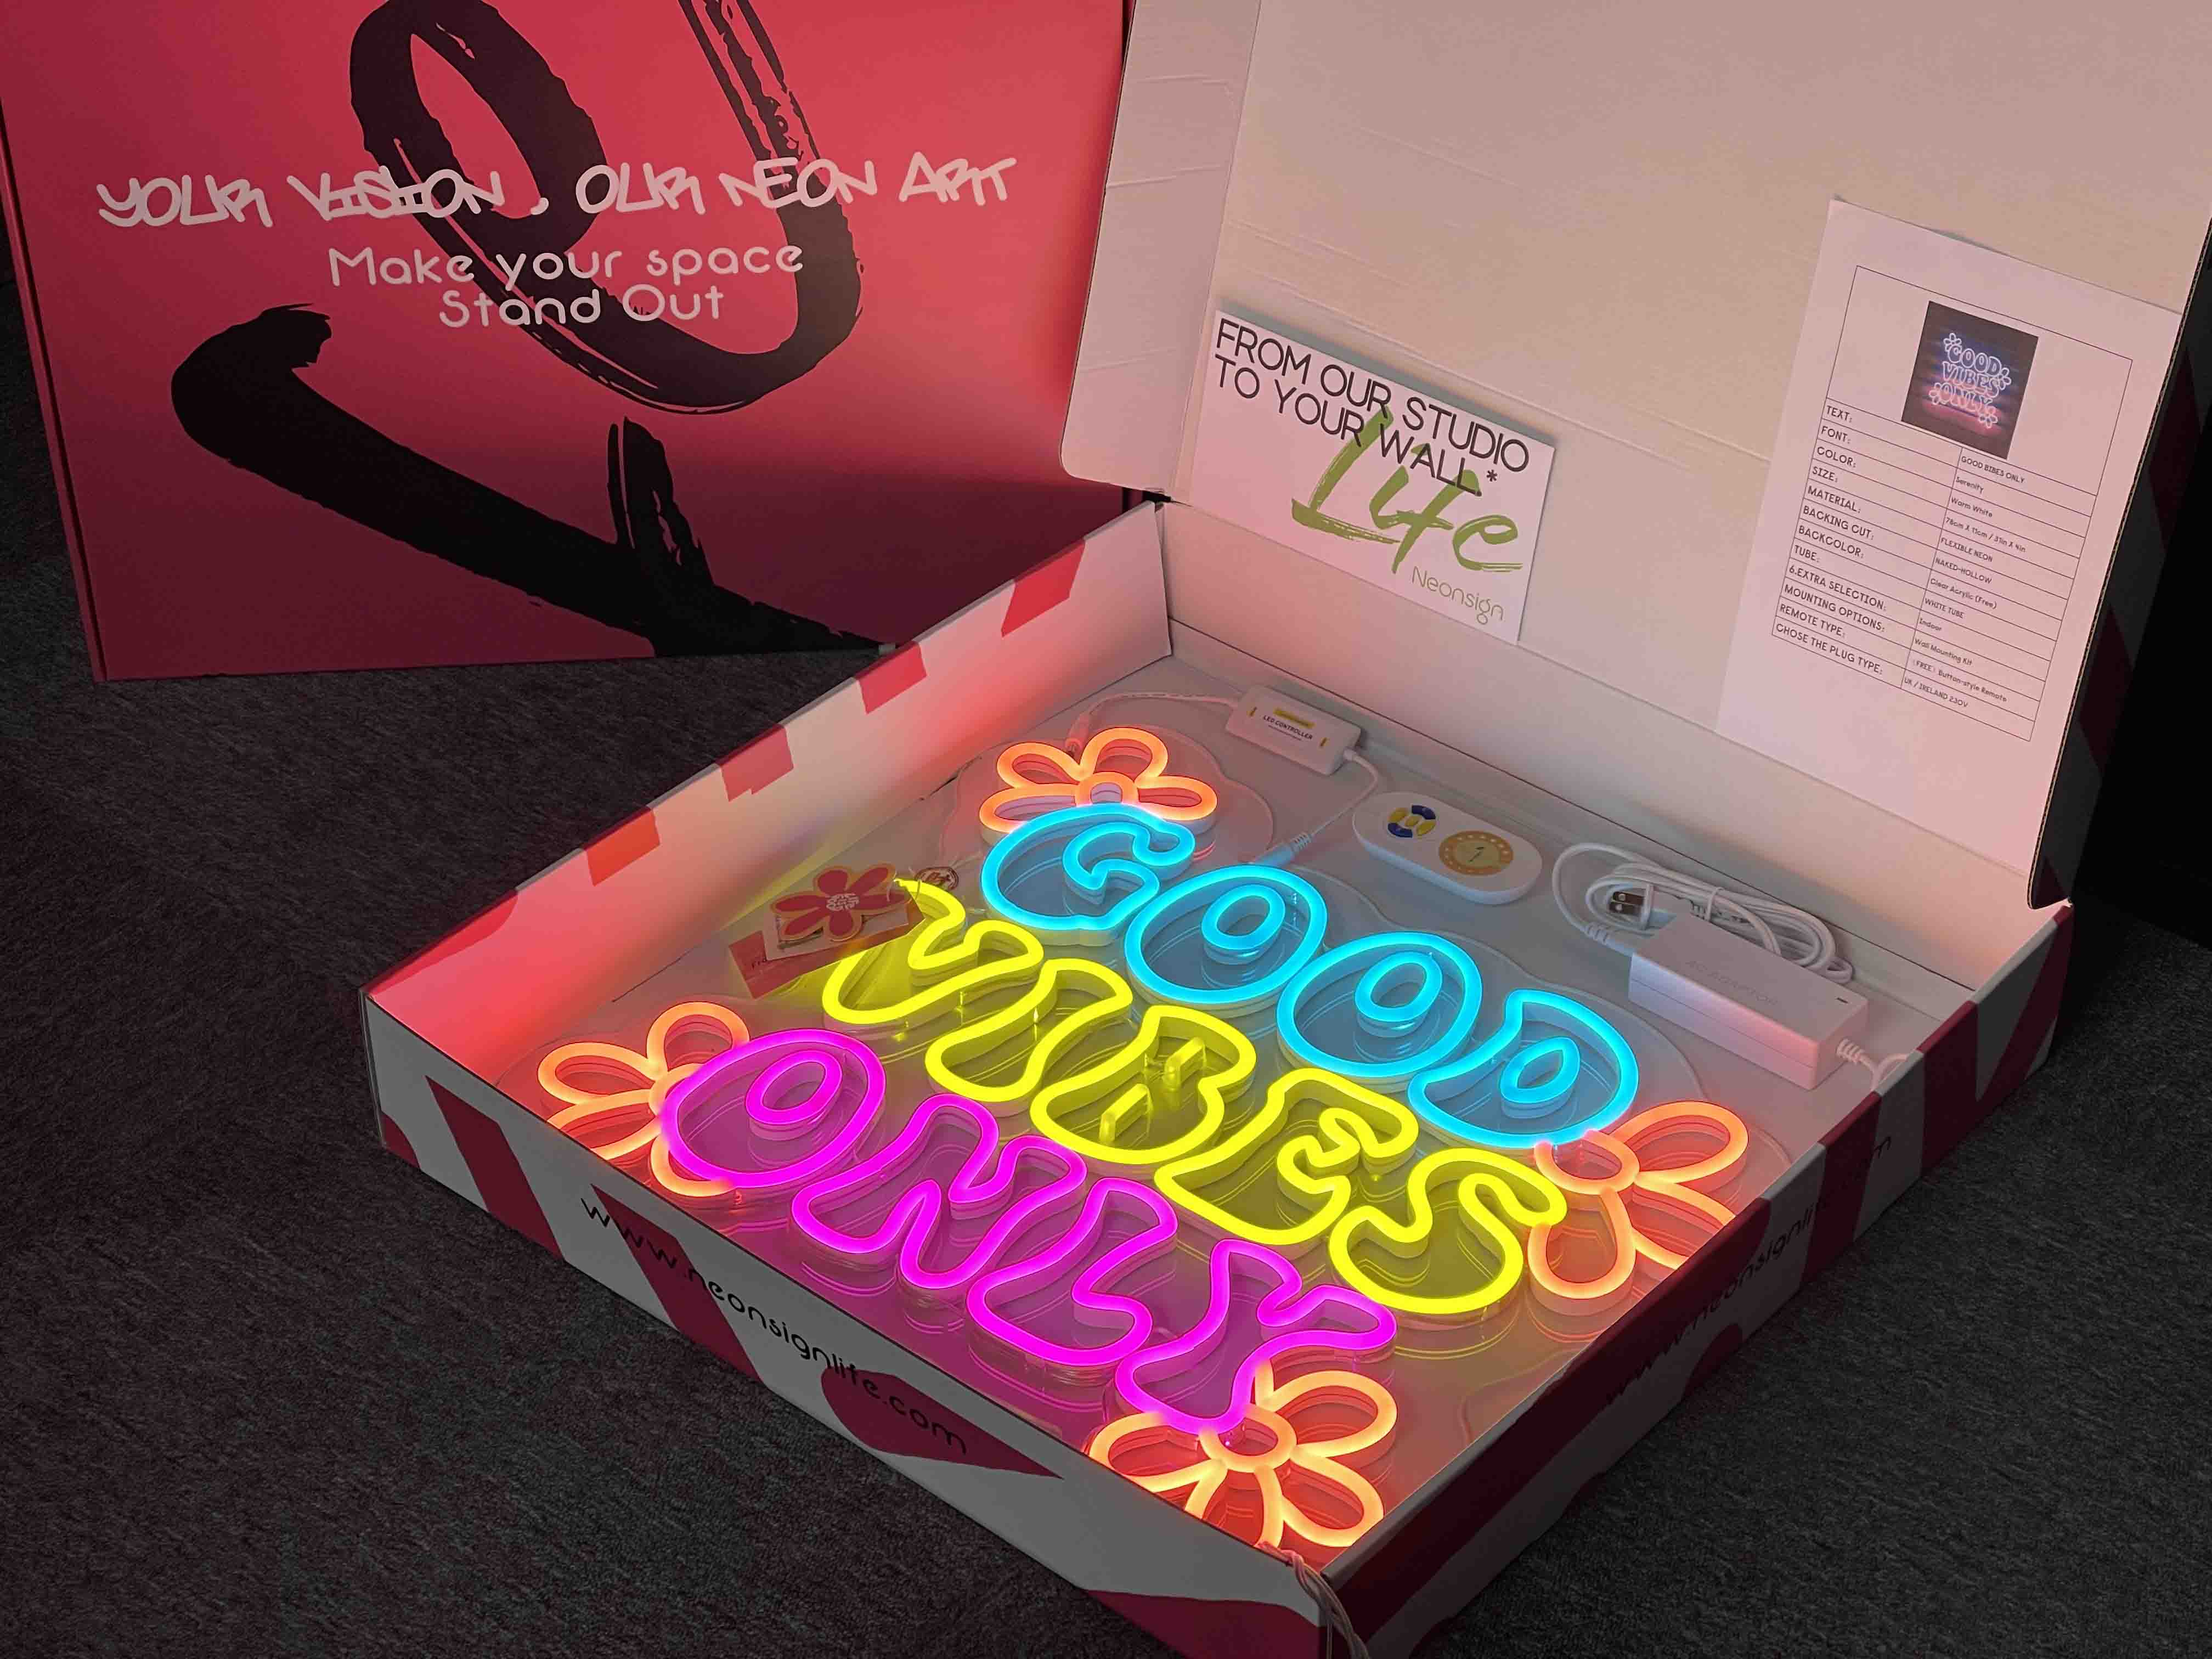
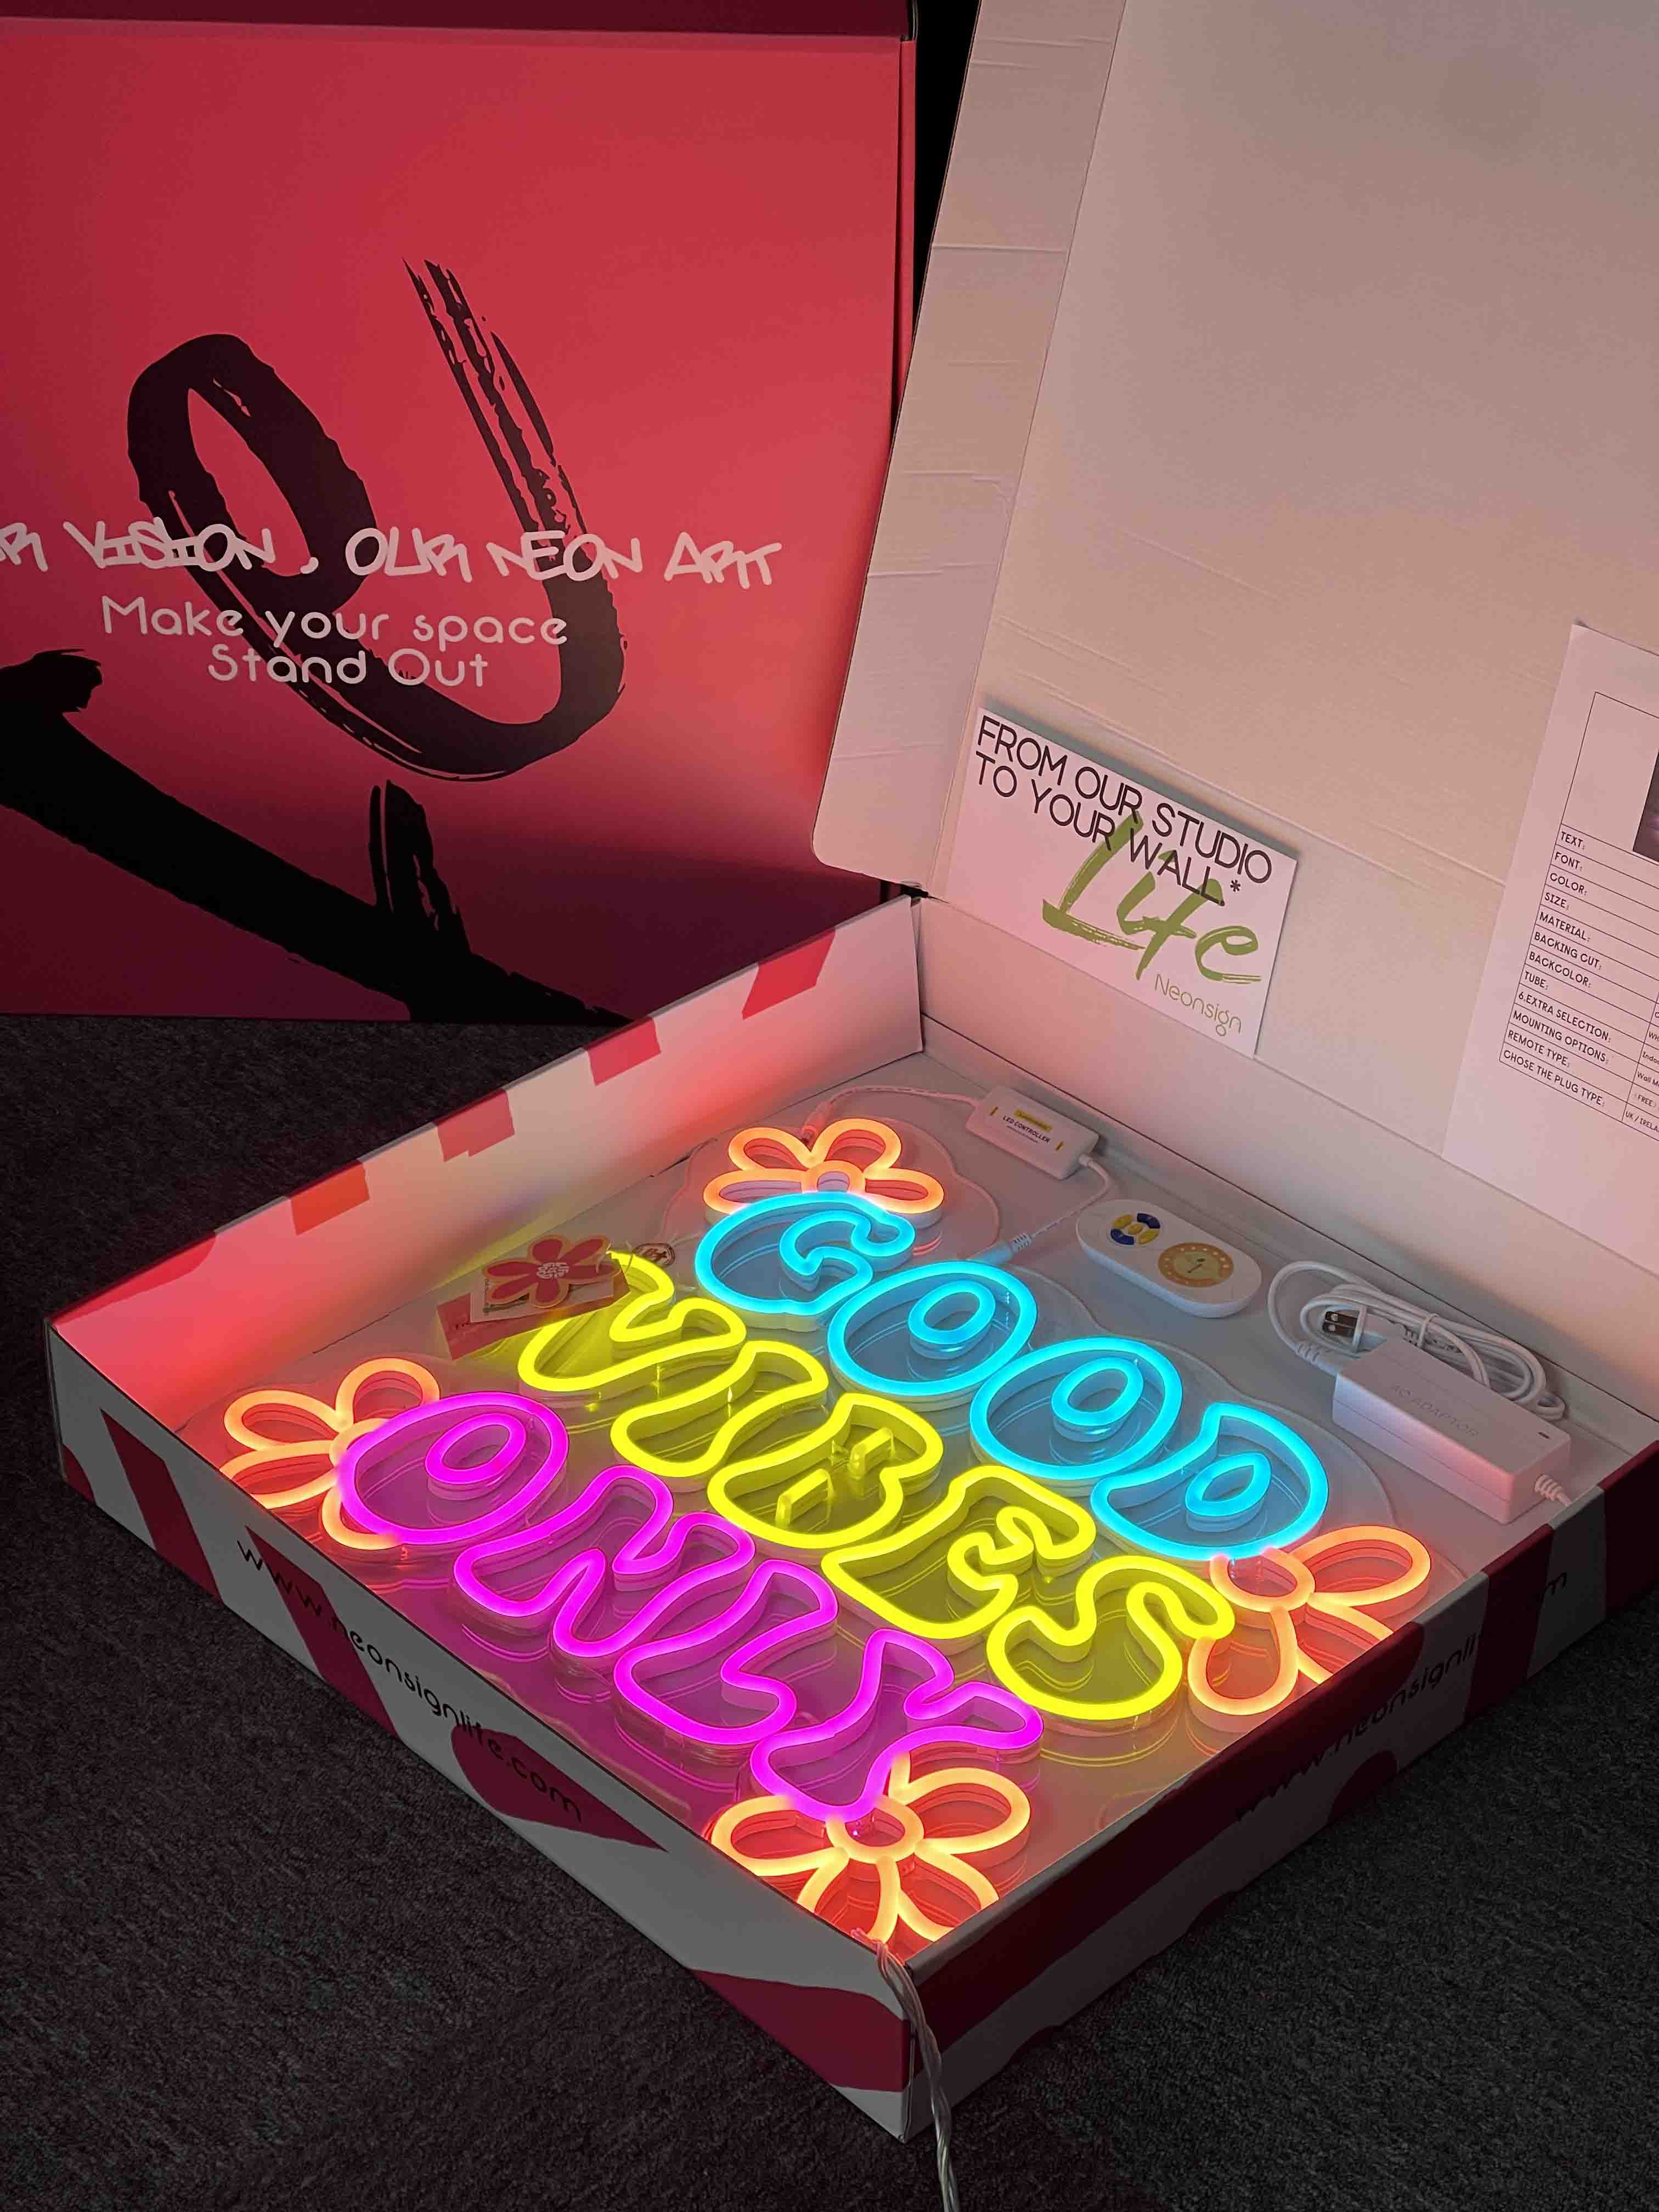
Included with Your LED Neon Piece; Extension cable; Installation screw kit; Dimmer switch;Power supply
SIMPLE INSTALLATION


FREQUENTLY ASKED QUESTIONS
Your sign is like a beautiful painting, but even easier to hang. You have three convenient options to choose from:
1. **Mount it to the wall:** Secure your sign directly onto the wall for a sleek and stable display. This option is perfect for showcasing your sign prominently in any room.
2. **Hang it from the ceiling:** Create a floating effect by hanging your sign from the ceiling. This method adds a unique and eye-catching dimension to your space.
3. **Use 3M strips:** For a hassle-free and non-invasive solution, use 3M strips to adhere your sign to the wall. These strips are strong and easy to remove, making them an excellent choice for renters or those who prefer not to drill holes.
If you cannot mount or hang your sign, we can offer you a stand option, providing flexibility and ease of placement. See examples of how to hang your sign here.
Every piece we create is 100% handmade, ensuring the highest standard of craftsmanship and quality. This meticulous process requires some time, and we appreciate your patience as we bring your vision to life.
**Standard Production and Delivery:**
- Generally, it takes 1 to 2 weeks to produce and deliver your beautiful piece after payment. This timeframe allows us to carefully craft and test each sign to ensure it meets our rigorous standards.
**Express Delivery Option:**
- If you need your sign sooner, we offer an express delivery option for an extra charge. This option ensures that your sign will be produced and delivered within 10-14 business days. You can select this option at checkout to expedite the process.
**Special Events and Dates:**
- If you require your sign for a specific event or special date, please make sure to contact us at contact@neonsignlife.com. We understand the importance of timely delivery for special occasions, and we will do our best to ensure your sign arrives on time.
**Worldwide Free Shipping:**
- We are pleased to offer free shipping worldwide, making it easy and affordable for you to receive your custom LED neon sign no matter where you are.
By choosing us, you are investing in a high-quality, handmade product that is worth the wait. We take pride in our work and are committed to delivering exceptional neon signs that light up your life.
Plugging in your LED neon sign is a simple and straightforward process that will have your wall glowing in no time. Follow these steps:
1. **Connect the Dimmer Switch:** Start by plugging your dimmer switch between your LED neon sign and the power supply. The dimmer switch allows you to control the brightness of your sign, providing the perfect ambiance for any setting.
2. **Attach the Power Supply:** Once the dimmer switch is securely connected, plug the power supply into a nearby electrical outlet. Ensure the connections are tight and secure to avoid any interruptions in power.
3. **Light Up Your Space:** With everything connected, turn on the power supply and watch your wall come to life with vibrant neon colors. Adjust the dimmer switch to achieve your desired brightness level, creating a captivating and personalized lighting experience.
Following these steps ensures a seamless setup, allowing you to enjoy the mesmerizing glow of your LED neon sign immediately.
Our standard neon signs are designed for indoor use only. However, we can make your sign outdoor compatible if you plan to hang it outside. Once you've placed your order, please let us know via email at contact@neonsignlife.com. Your sign will need to be specially made with a unique power supply, and there may be additional charges. Our team will provide all the details via email.
Please note that dimmers cannot be used on outdoor signs. Additionally, it's important to protect your sign from extreme weather conditions. Outdoor signs should not be mounted on metal structures to avoid potential issues.
We offer a 2-year warranty with all our LED neon signs. This warranty ensures that any manufacturing defects or issues with the sign will be covered, providing you with peace of mind. However, please note that the warranty does not cover damage resulting from incorrect installation or physical damage during usage.
If you encounter any issues with your sign, please contact us. We are committed to finding the best solution for you and ensuring your complete satisfaction.
Sometimes it's hard to imagine what your neon sign will look like in real life or decide on the best color. Don't worry—our designers will send you a mockup before finalizing your design. This way, you can see exactly how your sign will look, including size and colors, and make any necessary adjustments. This process ensures your sign is perfect and matches your vision before production begins.


