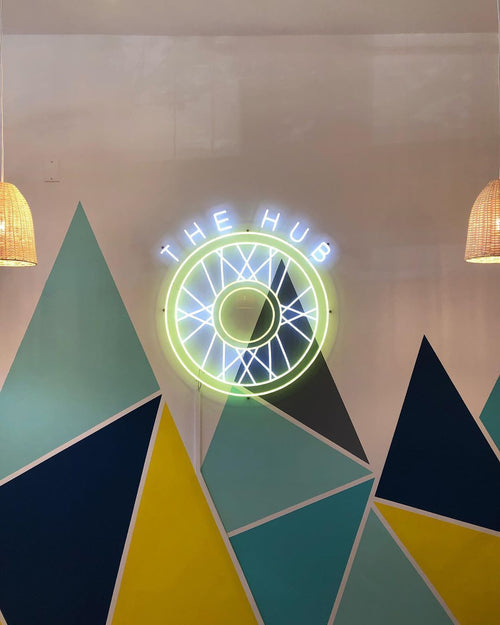
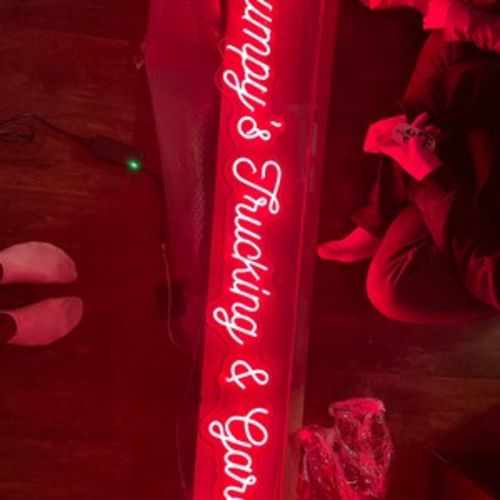
Custom LED signs have become increasingly popular in various settings, from businesses and events to personal spaces and home decor. They offer a dynamic way to convey messages, attract attention, and enhance the aesthetic of an environment. Whether you're looking to promote a business, celebrate a special occasion, or simply add a unique touch to your home, designing and creating a neon signs involves several steps, from concept to installation.
Understanding Your Purpose

Before diving into the design process, it's essential to clarify the purpose of your LED sign. Ask yourself the following questions:
-
What message do I want to convey?
- Are you advertising a business, announcing an event, or displaying artwork?
-
Where will the sign be displayed?
- The location can significantly influence the size, brightness, and design of the sign.
-
Who is my target audience?
- Understanding your audience will help tailor your message and design to resonate with them.
Step 1: Design Your Sign
Once you have a clear understanding of the purpose, you can begin designing your sign. Here are the key considerations:
-
Message and Content
- Keep it concise. Short, impactful messages are more likely to be read and remembered.
- Use bold, legible fonts that can be easily read from a distance.
-
Color Selection
- Choose colors that align with your branding or the message you want to convey.
- High contrast between text and background will improve visibility.
-
Size and Dimensions
- The size of your sign will depend on its location and intended visibility.
- Consider how far away viewers will be and design accordingly.
-
Graphics and Images
- Incorporate relevant graphics or images if they enhance your message.
- Ensure they are high quality to avoid pixelation on the final product.
-
Animation and Effects
- Custom LED signs can incorporate movement, such as scrolling text or flashing lights, to attract more attention.
- However, avoid excessive movement that may distract from the message.
Step 2: Choose the Right Materials
The materials you select for your LED sign will affect its durability, appearance, and functionality. Common materials include:
-
LED Modules
- Choose high-quality LED modules that are bright enough for your intended application.
- Consider RGB LEDs if you want to display multiple colors.
-
Backing Material
- Common options include acrylic, aluminum, or wood, depending on the look you desire.
- Ensure the backing material is weather-resistant if the sign will be displayed outdoors.
-
Power Supply
- Select an appropriate power supply that matches the voltage and wattage requirements of your LED modules.
- Consider energy-efficient options to reduce operational costs.
-
Enclosure
- An enclosure will protect your sign's internal components from dust, moisture, and other environmental factors.
- Consider ventilation to prevent overheating.
Step 3: Assemble Your Sign
With your design and materials in hand, you can begin assembling your Custom LED signs. Here’s a general step-by-step process:
-
Prepare the Backing
- Cut the backing material to the desired dimensions.
- Paint or finish the backing if necessary.
-
Install the LED Modules
- Mark the placement of your LED modules according to your design.
- Secure the modules to the backing using adhesive or screws.
-
Connect the Wiring
- Follow the manufacturer’s instructions to connect the LED modules to the power supply.
- Ensure all connections are secure and insulated to prevent short circuits.
-
Testing
- Before finalizing the assembly, test the LED sign to ensure all components are functioning correctly.
- Make any necessary adjustments to the brightness or color settings.
-
Enclosure Assembly
- If you’re using an enclosure, carefully place your assembled sign inside and secure it.
- Ensure there’s enough ventilation and that all components are protected.
Step 4: Installation
Once your sign is assembled, it’s time to install it in your chosen location. Here are some installation tips:
-
Choose the Right Location
- Select a location that maximizes visibility and accessibility.
- Consider factors like foot traffic, lighting conditions, and potential obstructions.
-
Mounting Options
- Depending on the design, you may need brackets, wall mounts, or a freestanding structure.
- Ensure the mounting method is secure and can withstand environmental conditions.
-
Wiring Considerations
- Plan the wiring route to ensure it is neat and safe.
- Use conduit or cable covers to protect wiring, especially outdoors.
-
Final Testing
- Once installed, conduct a final test to ensure the sign functions correctly in its new location.
- Make any necessary adjustments to the angle or brightness settings.
Step 5: Maintenance
To ensure your Custom LED signs remains in good condition, regular maintenance is essential:
-
Cleaning
- Dust and dirt can accumulate on the sign. Use a soft cloth and mild cleaner to wipe down the surface periodically.
- Avoid using abrasive materials that may scratch the surface.
-
Check Connections
- Regularly inspect the wiring and connections to ensure they are secure and free from damage.
- Look for signs of wear or corrosion that may affect performance.
-
Software Updates (if applicable)
- If your sign includes programmable features, check for software updates to improve functionality or add new features.
-
Replace Bulbs/Modules
- Over time, LED modules may dim or fail. Be prepared to replace individual modules as needed.
Conclusion
Creating a custom LED sign is an exciting project that combines creativity, design, and technology. By following the steps outlined above, you can design, build, and install a sign that effectively communicates your message and enhances your space. Whether for business promotion, event celebration, or personal expression, a well-crafted LED sign can leave a lasting impression.


