Custom neon
- Bootent® LED Materials
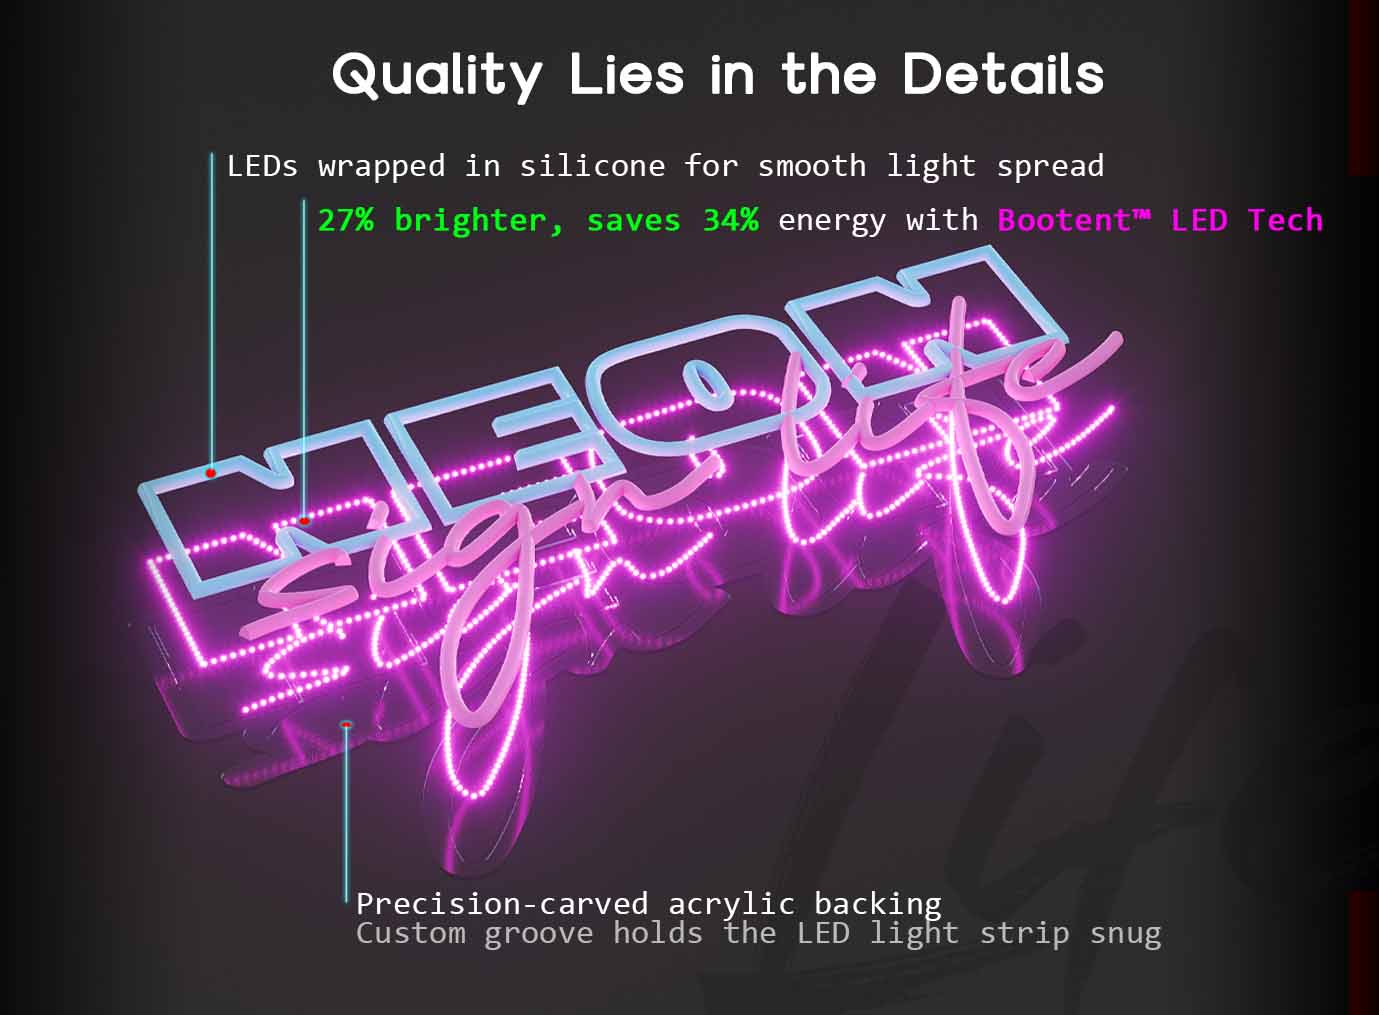
Our neon signs are crafted from neon flex material—PVC or Silicon piping filled with LED lights—affixed to recycled acrylic boards. This advanced composition not only replicates the vibrant and bright glow of traditional neon but also enhances durability and affordability. Crucially, it sets Bootent® LED apart from the materials used by other sellers on platforms like Amazon or Etsy.
We are committed to sustainability:
- Our LED lights consume 6 times less energy than traditional bulbs and boast a lifespan of up to 100,000 hours.
- We incorporate recycled materials into all of our products.
- Our packaging is 100% recycled, eliminating unnecessary plastic.
Bootent® LED represents a pioneering technology in the neon sign industry. Fully compliant with FCC, UL, and Prop 65 standards, Bootent® LED ensures that our customers are investing in a product that not only leads the market in quality and safety but also adheres to the strictest environmental and regulatory standards globally.
Shipping options will vary based on availability and can be confirmed during checkout:
- Opt for our no-cost Worldwide Standard Shipping and expect your item within 9 to 14 days.
- Enjoy Express Shipping for delivery within 8 to 9 days.
Shop with peace of mind: Our global delivery reach means we can bring your sign right to your doorstep. Plus, with our insured shipping, rest assured that any damage incurred en route will be met with a hassle-free replacement at no additional cost to you!
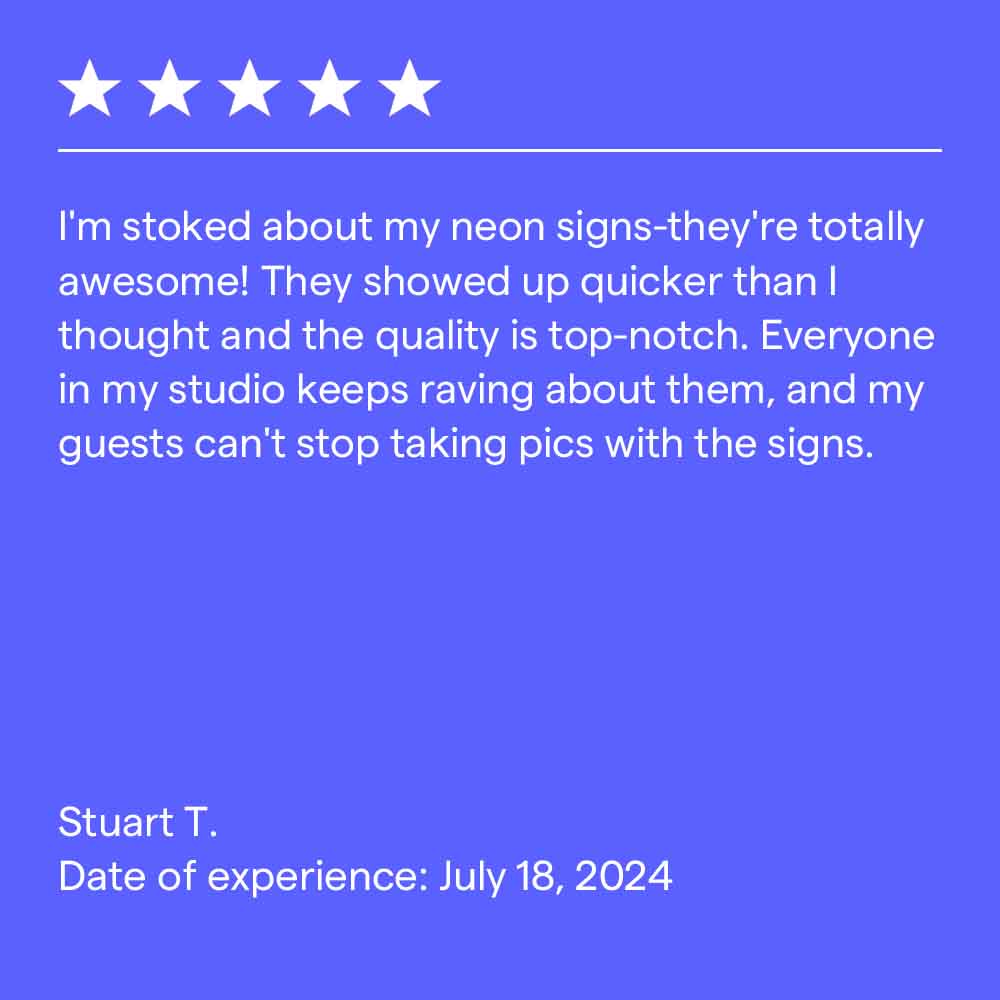
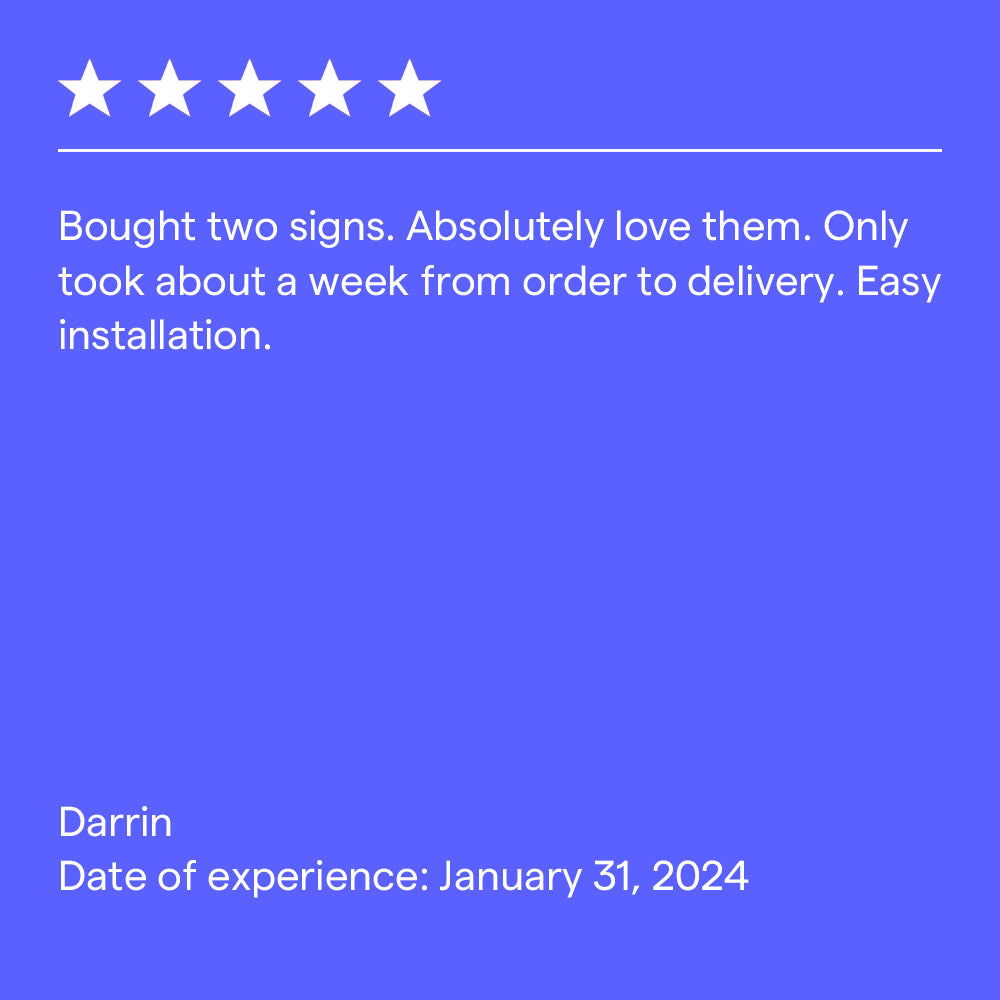
OVER 500+ 5 START REVIEWS
CUSTOMERS LOVE US
What's in the box
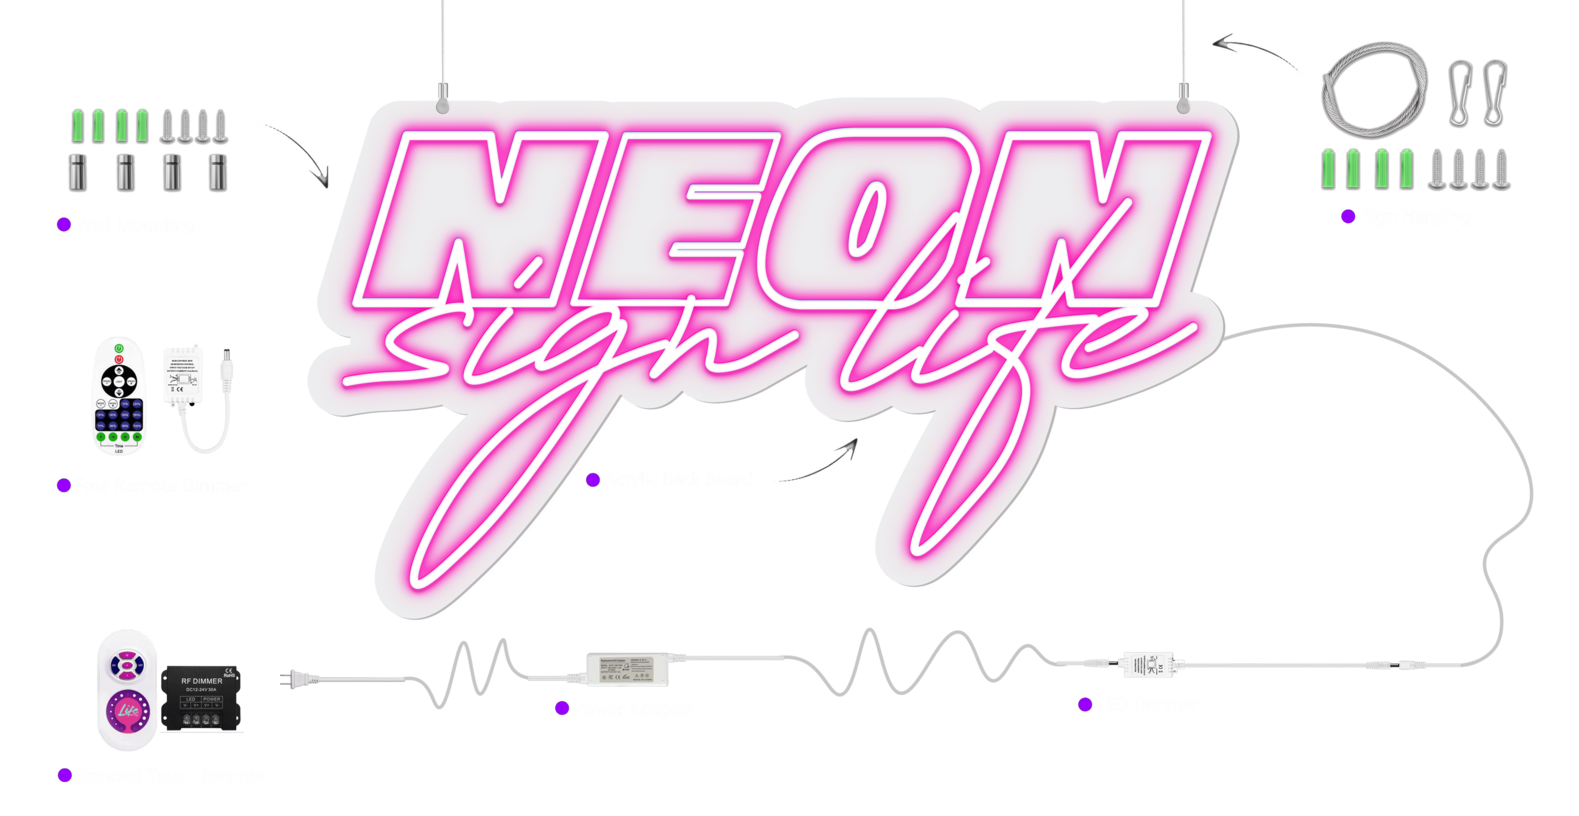
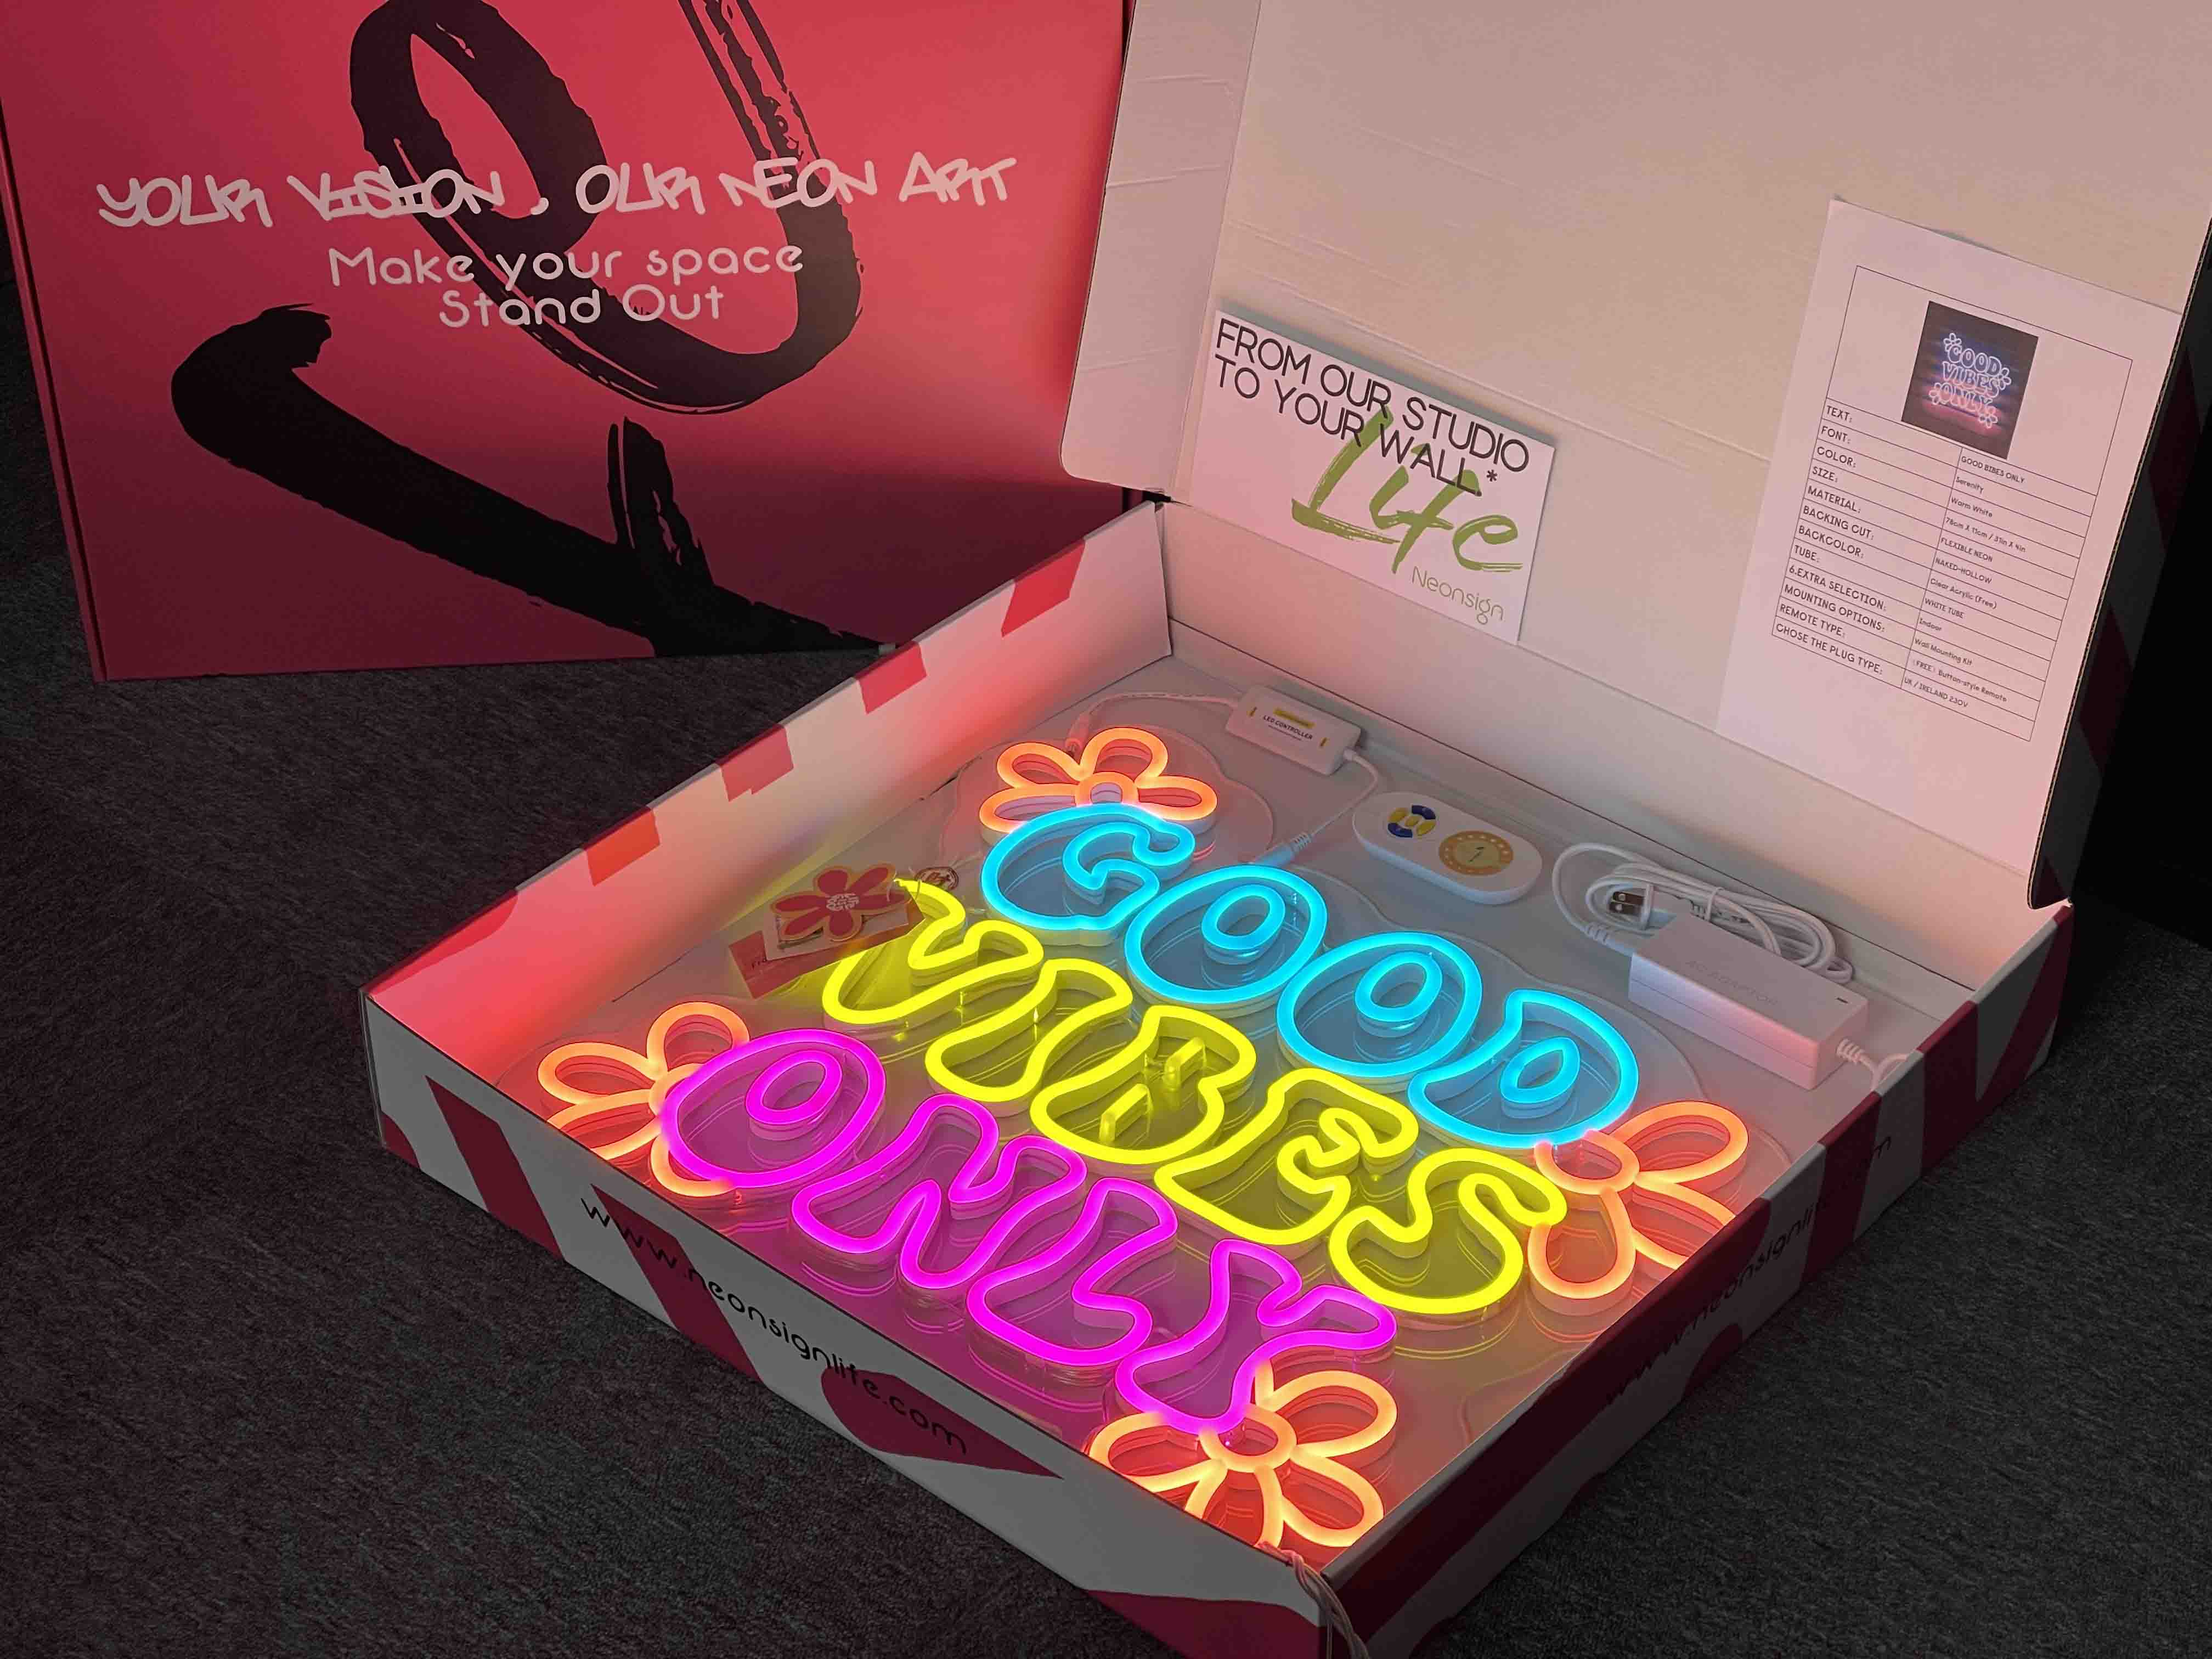
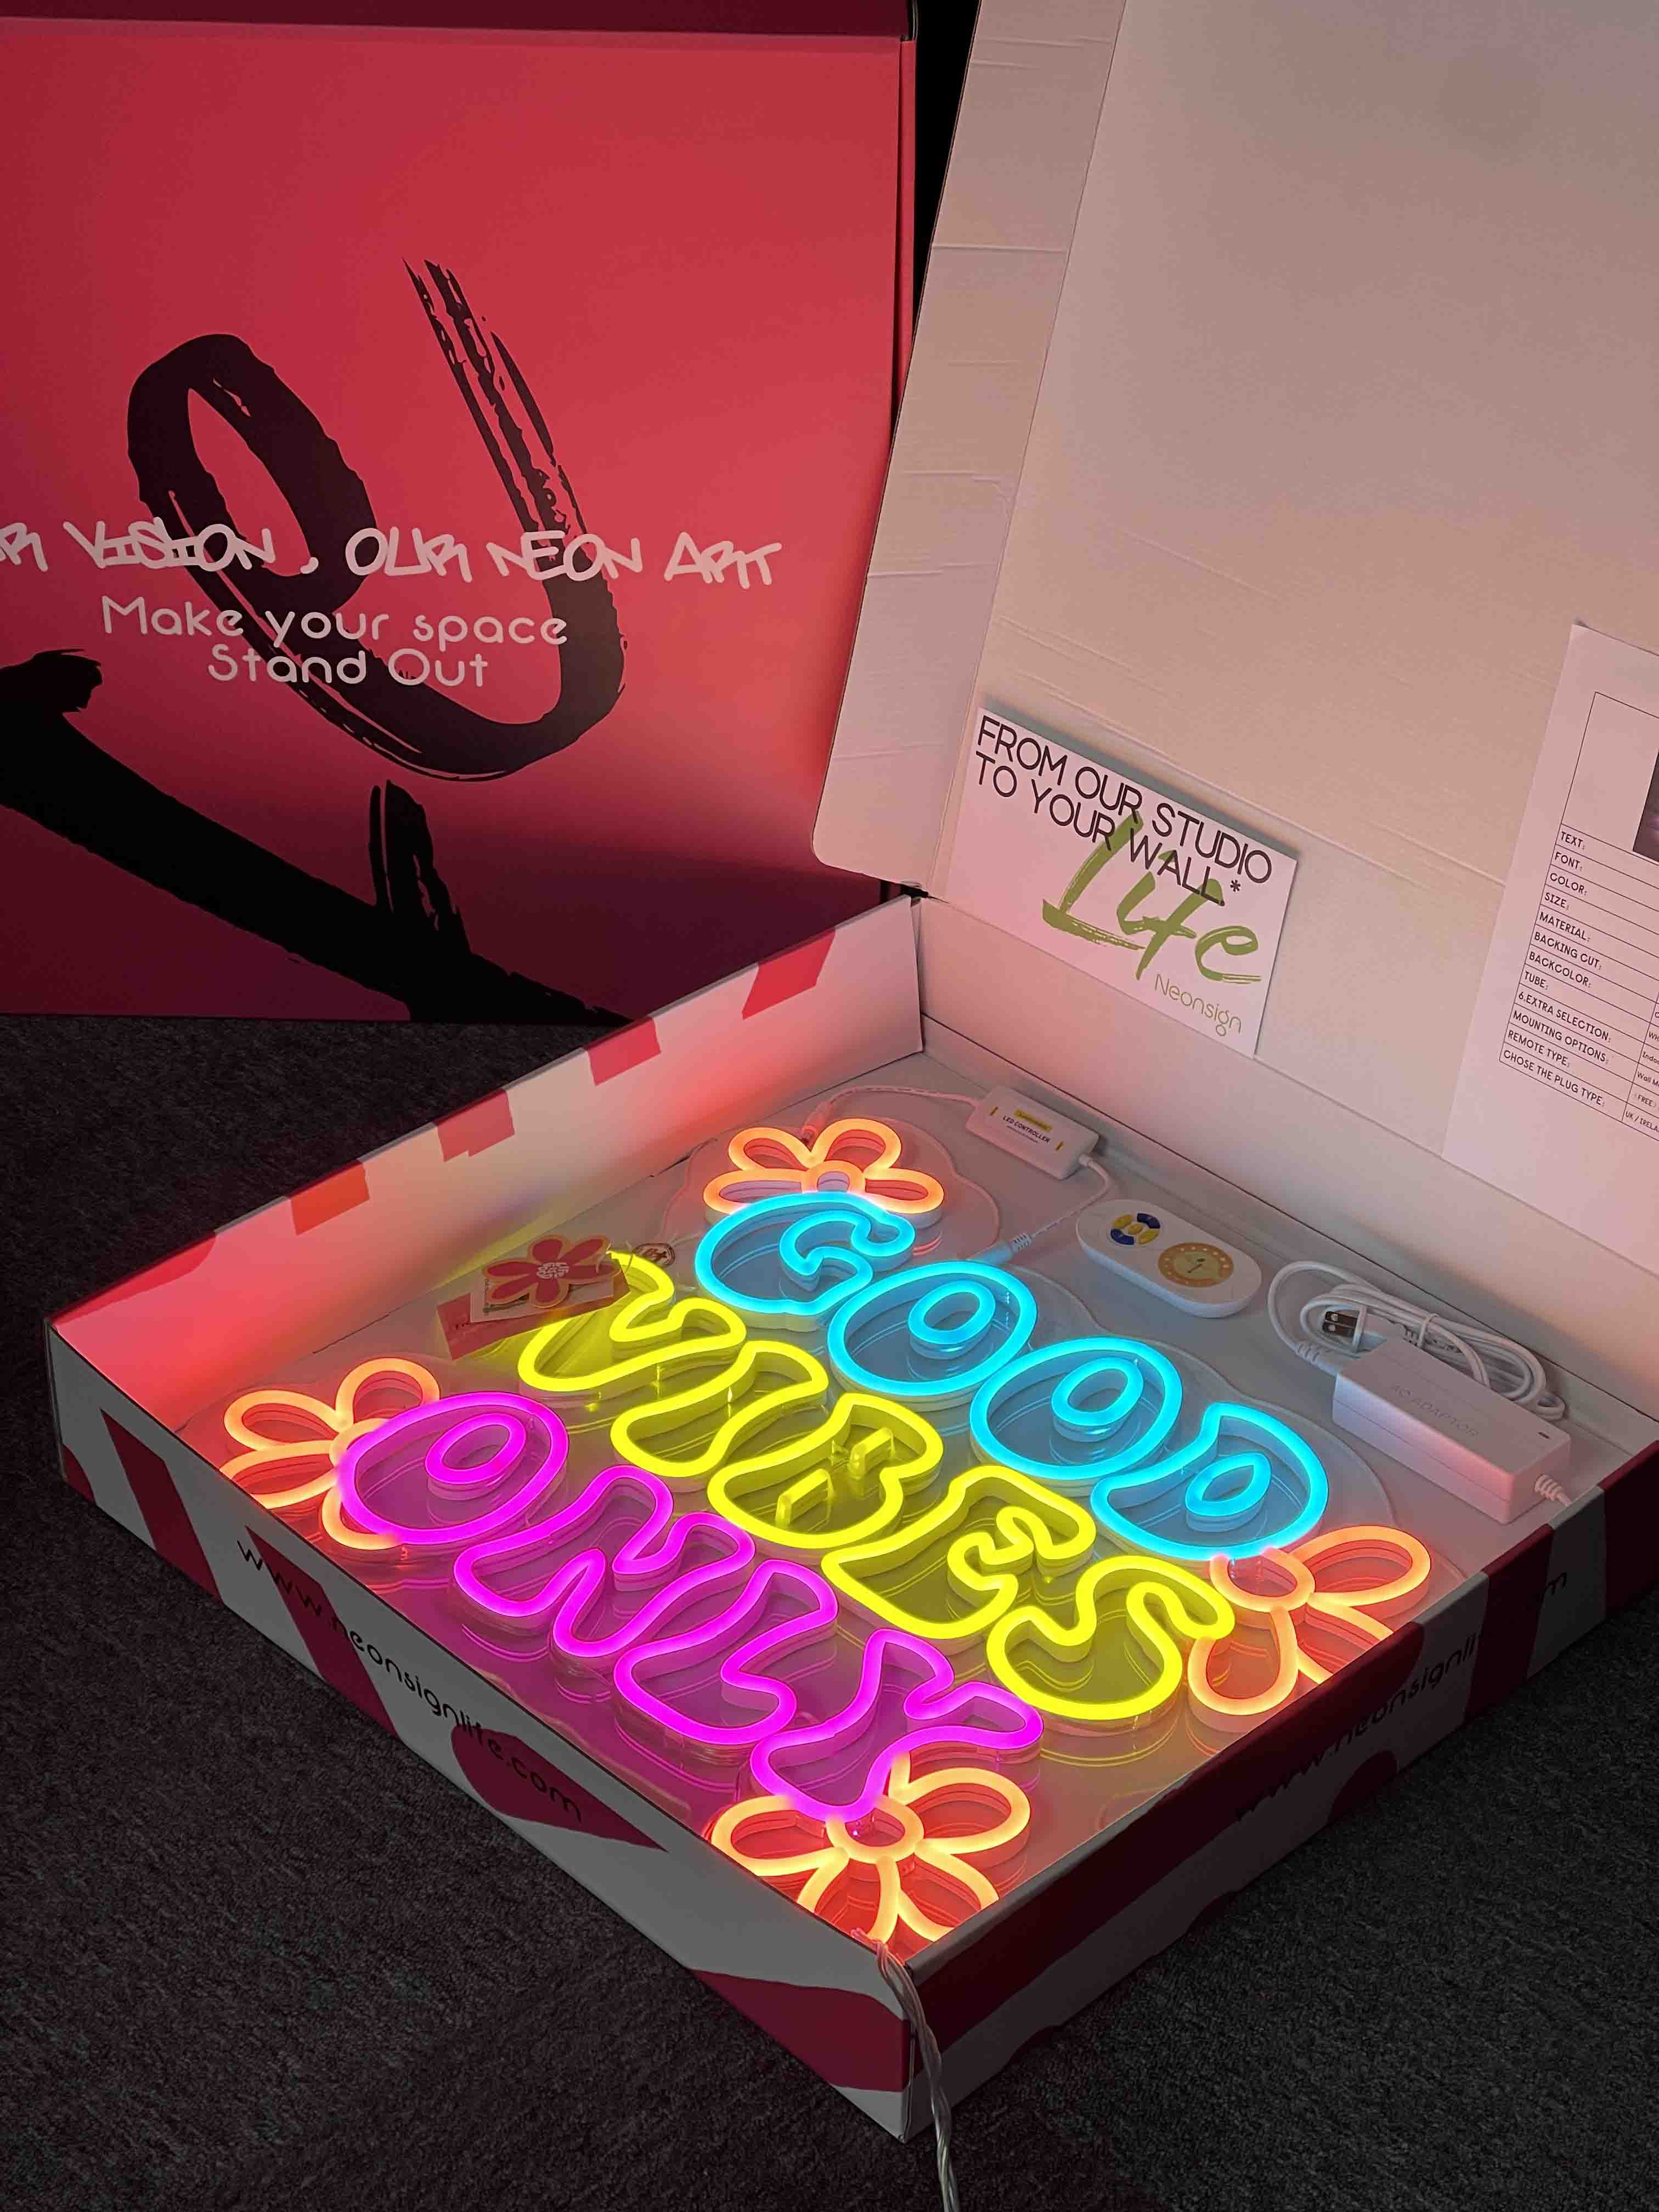
1.LED neon piece ; 2. Extension cable ; 3. Installation screw kit ; 4. Dimmer switch ; 5. Power supply
easy to install
shop with our guarantee
THE BEST BITS



Shipping options will vary based on availability and can be confirmed during checkout:
- Free Shipping: Delivered Within 9 - 12 Business Days
- Express Shipping: Delivered Within 6 - 9 Business Days
- Rush Order: 4 - 6 Days (Contact us to make sure the date)
Shop with peace of mind: Our global delivery reach means we can bring your sign right to your doorstep.
Plus, with our Shipping Pection, rest assured that any damage incurred en route will be met with a hassle-free replacement at no additional cost to you!
Bootent™ LED Materials
Our neon signs are crafted from neon flex material—PVC or Silicon piping filled with LED lights—affixed to recycled acrylic boards.
This advanced composition not only replicates the vibrant and bright glow of traditional neon but also enhances durability and affordability. Crucially, it sets Bootent™ LED apart from the materials used by other sellers on platforms like Amazon or Etsy.
We are committed to sustainability:
- - Our LED lights consume 6 times less energy than traditional bulbs and boast a lifespan of up to 100,000 hours.
- - We incorporate recycled materials into all of our products.
- - Our packaging is 100% recycled, eliminating unnecessary plastic.
Bootent™ LED represents a pioneering technology in the neon sign industry.
Fully compliant with FCC, UL, and Prop 65 standards, Bootent™ LED ensures that our customers are investing in a product that not only leads the market in quality and safety but also adheres to the strictest environmental and regulatory standards globally.
Following the instraction to Install th led neon signs
Viedo in YouTube:
Install a custom neon sign
THE COMPLETE GUIDE TO INSTALLING AND DISPLAYING LED NEON SIGNS

How to Install LED Neon Signs Using Mini Screws:
If your neon sign comes with cut acrylic backing and Mini Screws. Follow these simple steps to hang it in minutes:
1. Place the neon sign flat against the intended wall or space, lifting it to avoid any damage.
2. Determine the hanging location. Use a marker pen to mark the pre-drilled holes in the wall where the screws will go.
3. Set the sign aside to avoid scratching the acrylic backing. Use a drill with a smaller twist drill bit to create pilot holes on the marked points on the wall.
4. Align the sign with the drilled holes, placing black (or gold/silver) rubber washers over the holes. Therefore Insert the small silver screws through the holes. Secure them by drilling them into the pilot holes.
5. Repeat the process for all screws, ensuring they are secured. Add the small silver end caps onto the black rubber washers to complete the look. Final Step: Plug the sign into the transformer and then into the wall outlet. Your neon sign should illuminate without any issues.
How to Hang a neon sign Using Stand-off Screws:
Stand-off screws are ideal for surface installations like walls. Follow these steps to hang your neon sign using this method:
1. Position the neon sign flat against the desired wall or space, ensuring it is aligned.
2. Use a marker pen to mark the pre-drilled holes in the wall where the screws will go. Confirm the hanging location before proceeding.
3. Place the sign in a safe location to protect the acrylic backing from scratches. Use a drill with a smaller twist drill bit to create pilot holes on the marked points on the wall.
4. Unscrew the mounting pins and position the hollow bases against the drilled pilot holes. Such as Insert the smaller silver securing screws through the hollow entries of the mounting pins. Drill them into the wall, securing the hollow bases in place. Repeat this process for all hollow bases.
5. Position the sign against the secured bases, ensuring proper alignment. For instance Use wider screws to attach the sign to each base, fastening it to the wall. Double-check that all screws are tight.
6. Plug the hanging neon sign into the transformer and then into the wall outlet. It should illuminate.

Install Led Neon Signs by Hanging The Neon Signs with cable:
Measure the gap between the pre-drilled holes on your sign's acrylic backing. Mark these distances on the overhead surface for the silver vertical mounts.
Position the silver vertical mounts on the marked points, marking the three screw holes on each mount for drilling.
Drill pilot holes on marked points, then secure the mounts with screws using a screwdriver drill bit.
Measure and cut the plastic-coated hanging wires to the desired length, leaving extra for creating a loop at the end.
Attach the wires to the mounts by pressing down on the mount's spring-powered mouth, feeding the wire in, and releasing the mouth to grip the wire.
Thread one end of each wire through a silver crimp, then through the hole on your sign's backing, looping it back through the other hole in the crimp. Secure by compressing the crimp with pliers.Moreover Repeat for other wires.
Final Step: Connect your neon sign to the transformer, then plug it into the wall outlet to light up your neon sign.
Now you're equipped to effortlessly hang your neon sign using suspension wires!
If you still need any help just whats app us

FREQUENTLY ASKED QUESTIONS
Materials and prices
Our neon sign quotes include all taxes and shipping fees.
The cost varies by the LED material used. For example, our high-end Bootent LED, which has a five-year warranty, costs more than the standard flexible silicone LEDs.
We also offer budget-friendly options similar to materials on Etsy or Amazon, which are 18% cheaper than our regular neon lights.
We recommend choosing materials based on your specific needs, especially for one-time events.
1. Bootent LED Tech® Material
For those looking for the best in the market, our Bootent LED Tech® is the top choice. It offers a five-year warranty, exceptional energy efficiency, and high brightness levels, making it ideal for commercial or outdoor use. This material not only shines brighter but also lasts longer.
2. Flexible Neon Material
Commonly used by local businesses, Flexible Neon is a versatile material that features excellent water resistance. It contains 188 LED beads per meter and offers remote control capabilities via smartphone, making it perfect for large signage projects. Its brightness exceeds 250 lumens, providing clear visibility even from a distance.
3. Classic LED Strip
The Classic LED Strip is widely used for various events, including weddings. It offers good water resistance and has 182 LED beads per meter. We provide an extra 5% discount on this material, making it a cost-effective option for broader applications.
4. DIY LED Strip
Ideal for smaller projects, the DIY LED Strip is cost-efficient with about 118 beads per meter and suits neon signs smaller than 60cm in width. This material supports a 5V USB interface, making it easy to use and accessible for personal projects at home.
Other
You can contact us through our contact page! We will be happy to assist you.


