
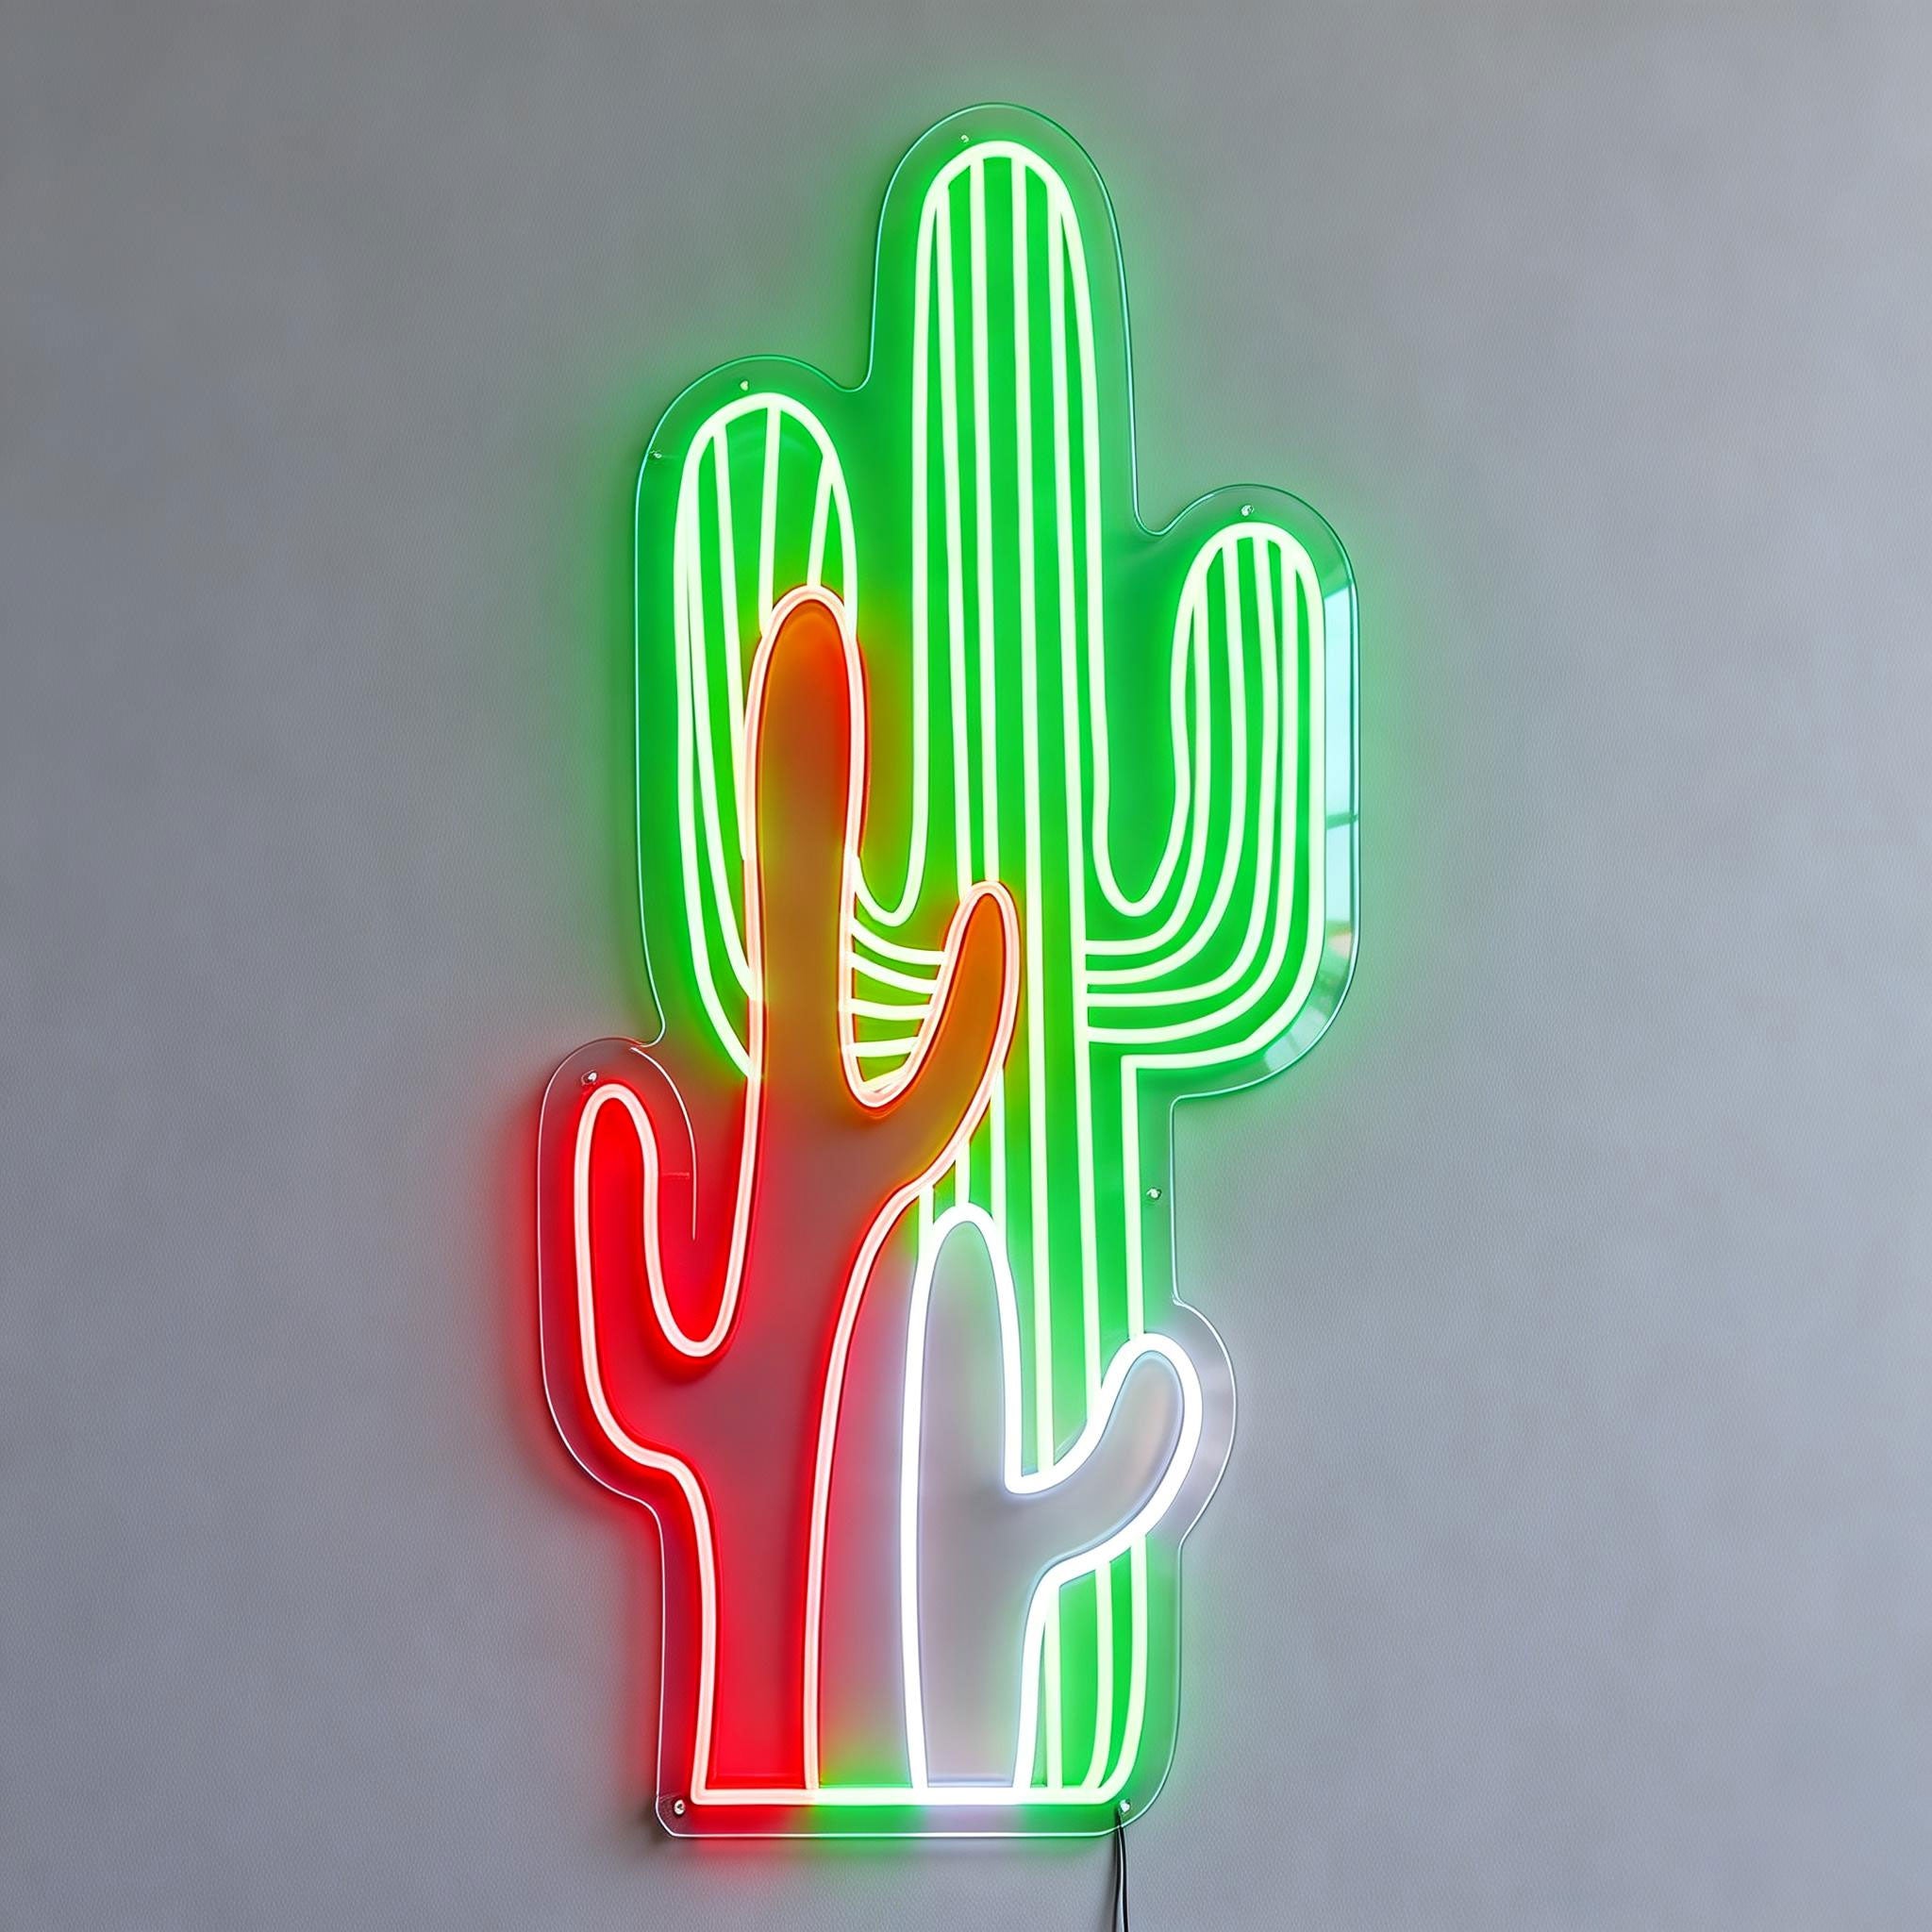

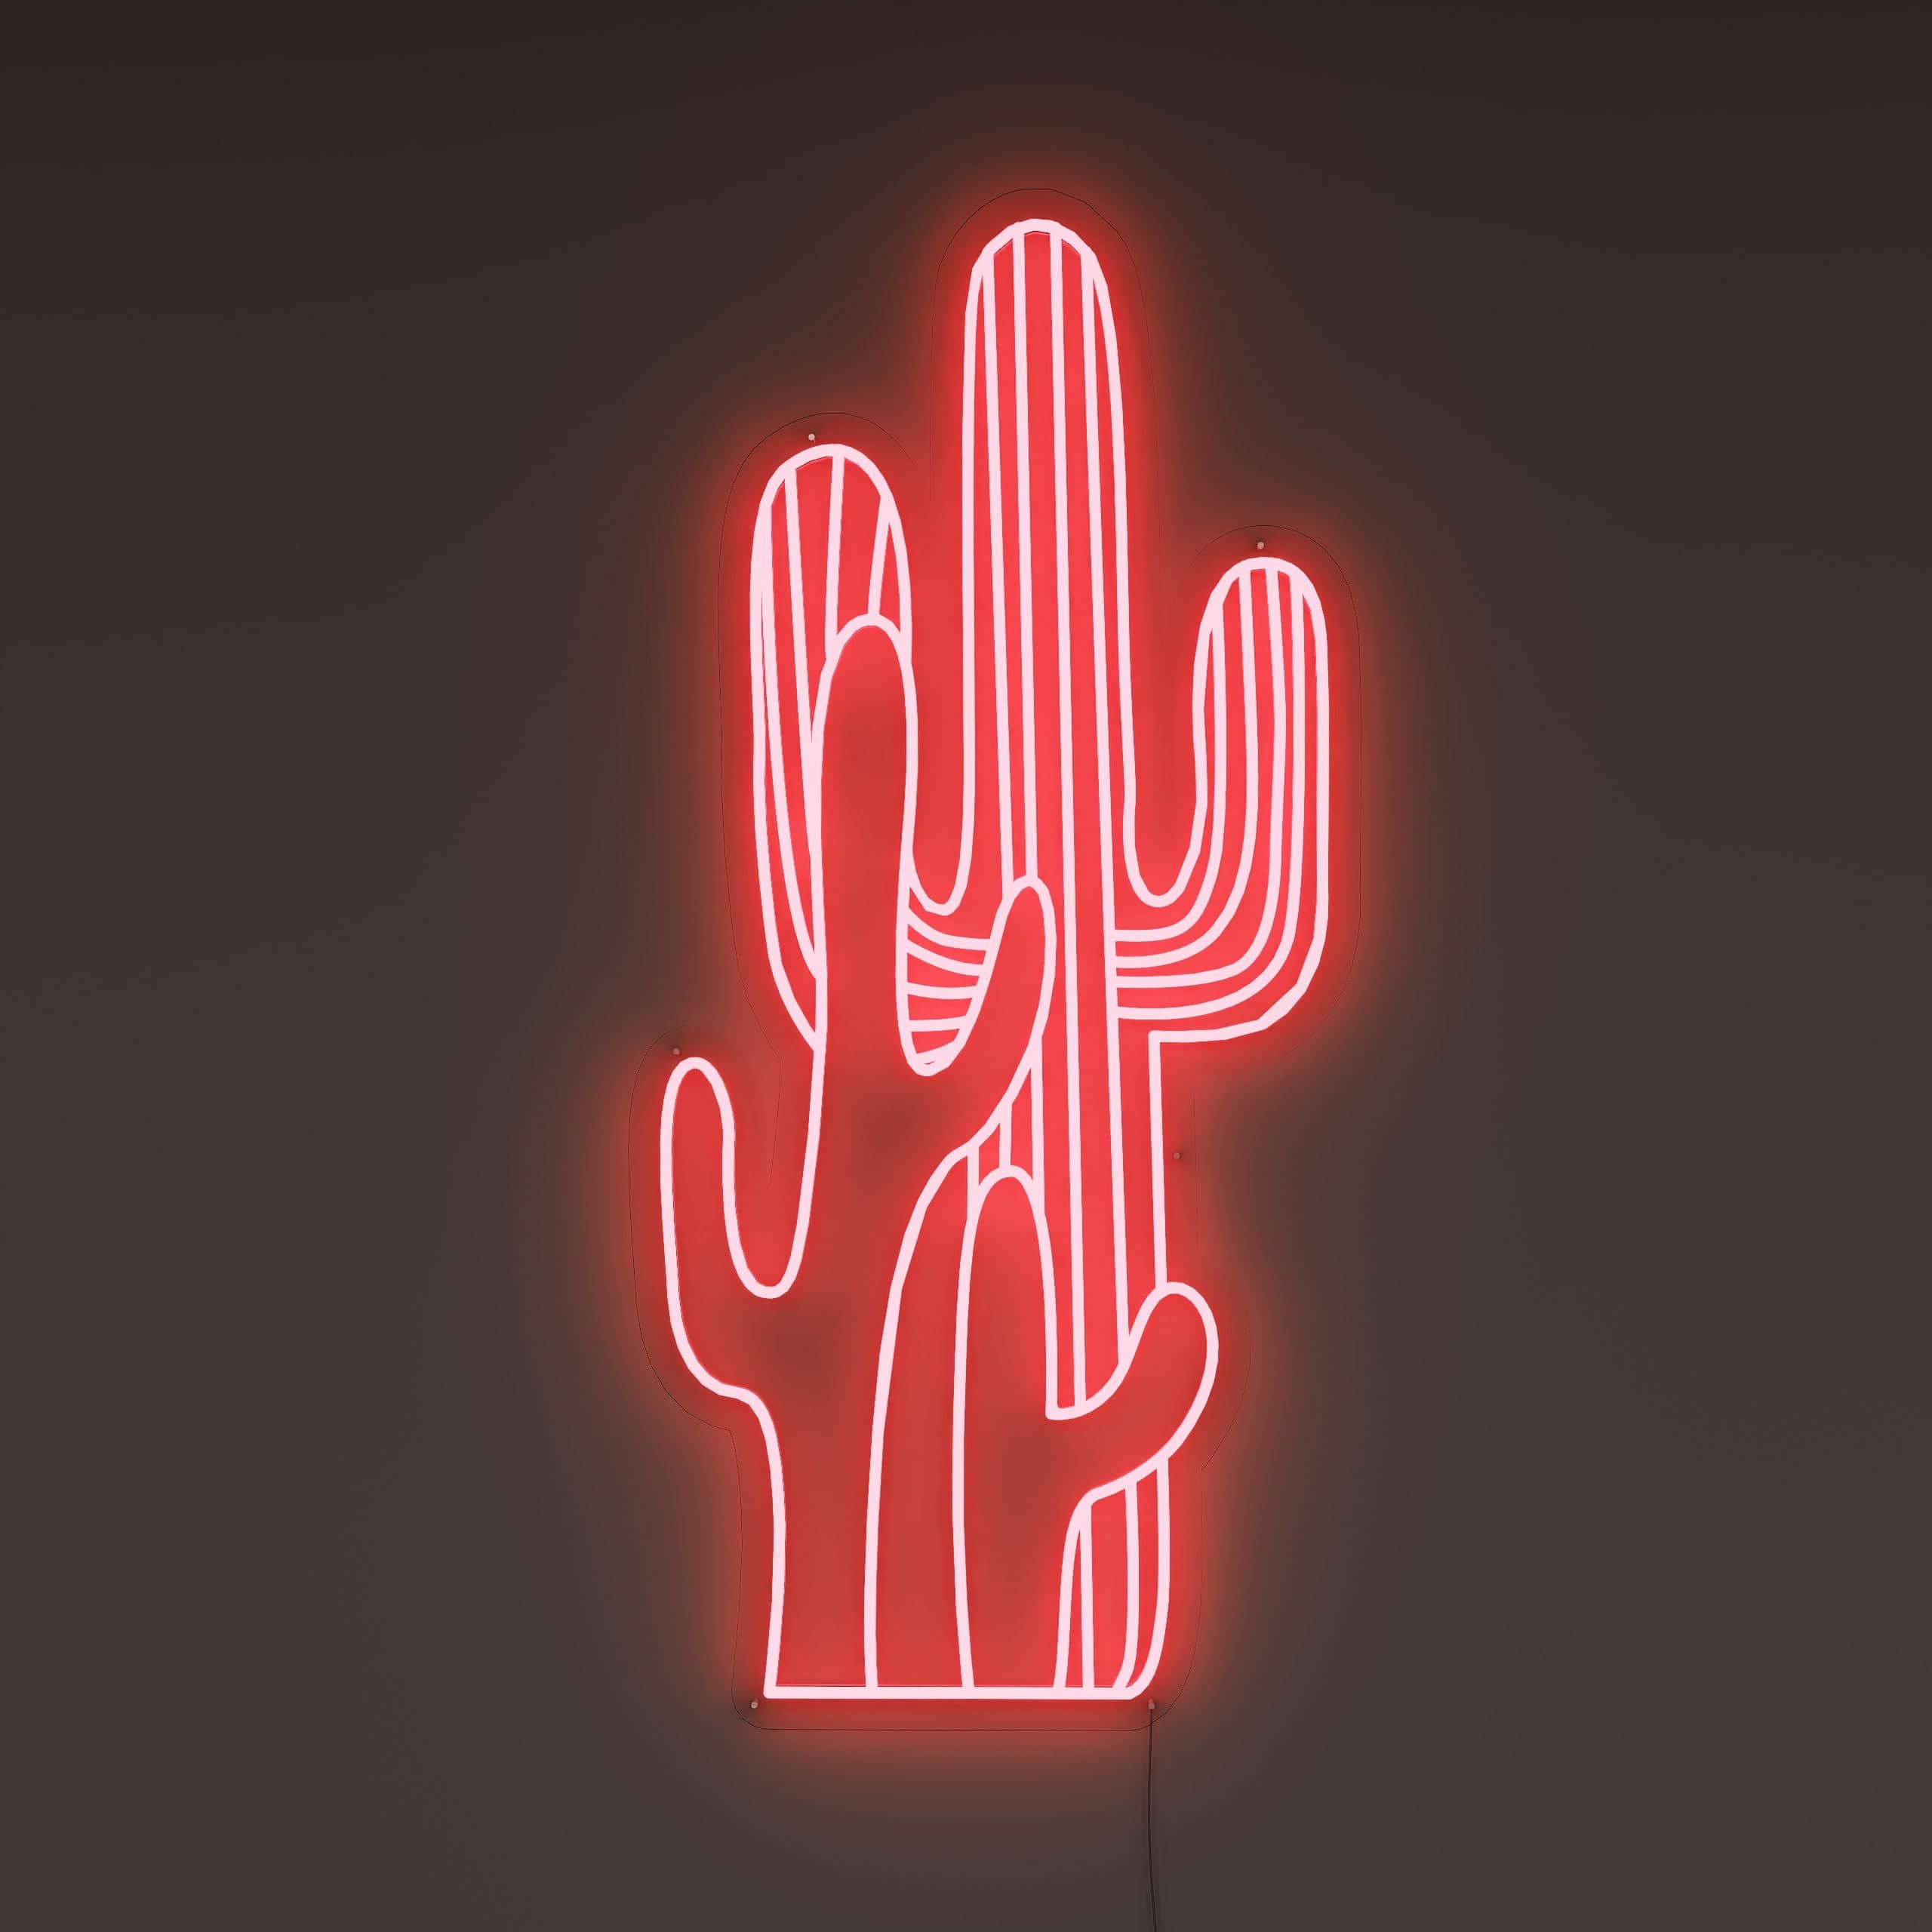
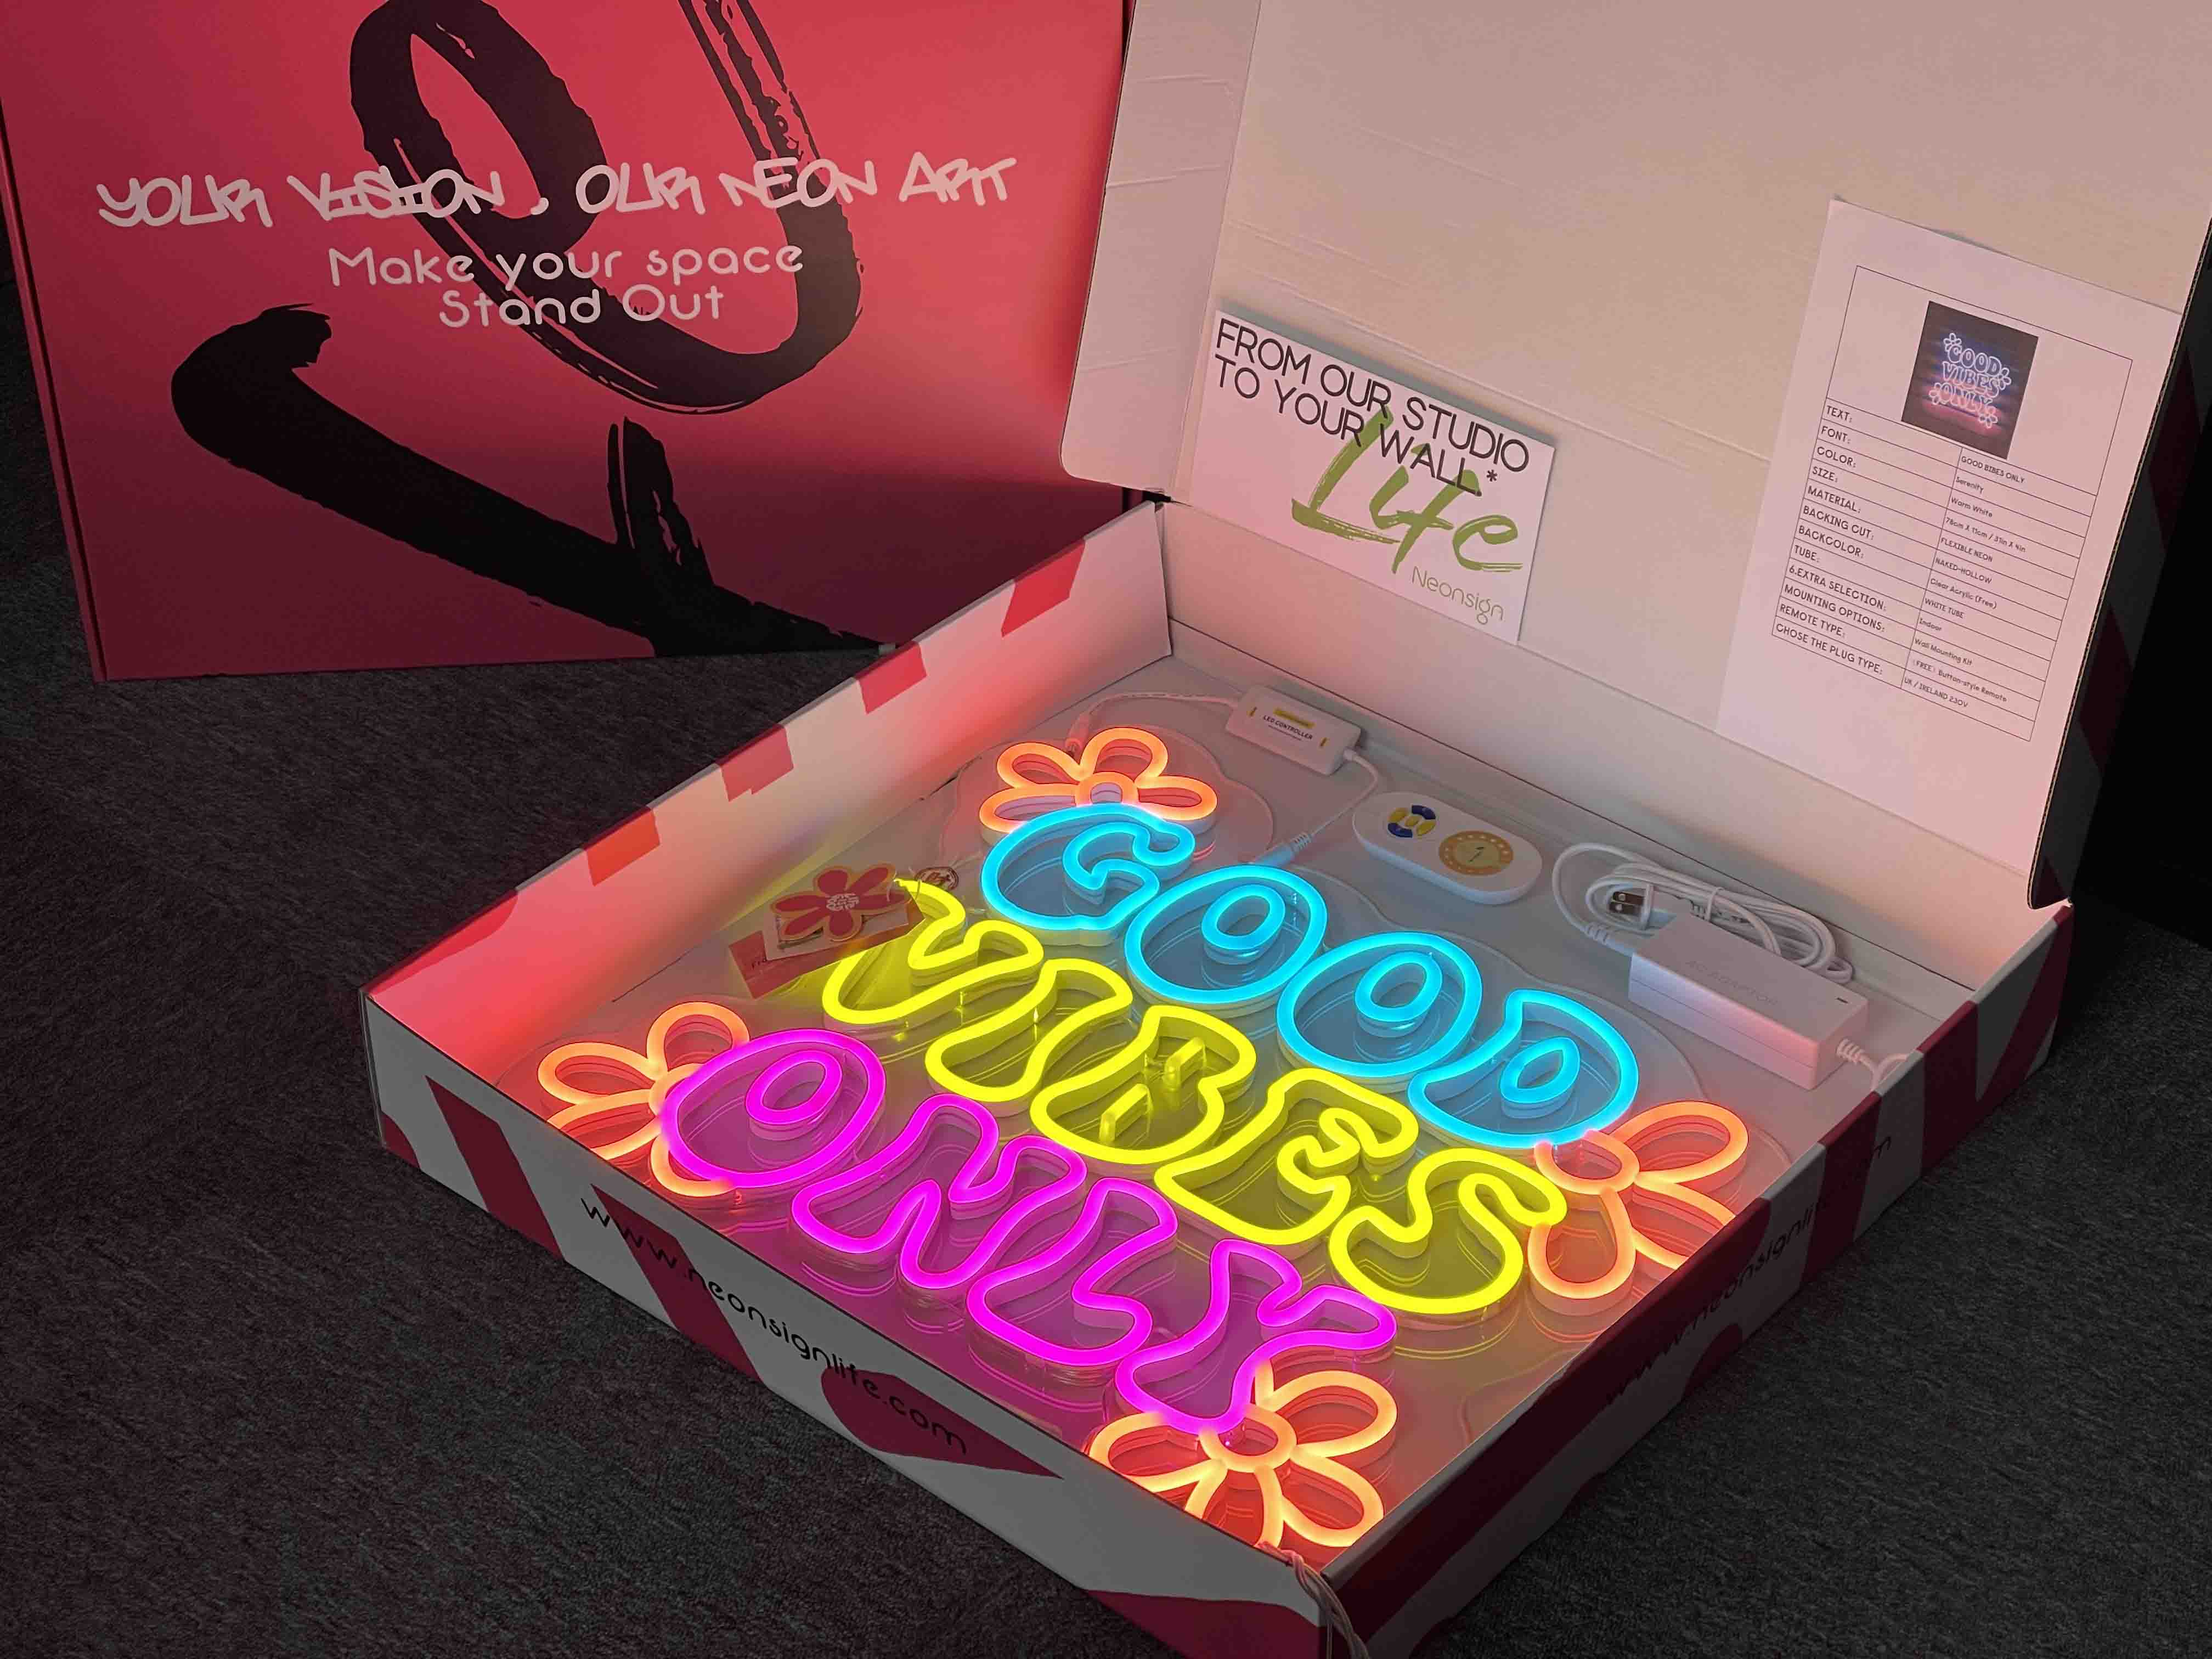
Multicolor Cactus Neon Sign
COLOR
SIZE
Shipping options will vary based on availability and can be confirmed during checkout:
- Free Shipping: Delivered Within 9 - 14 Days
- Express Shipping: Delivered Within 8 - 9 Days
- Rush Order: 6 - 8 Days (Contact us to make sure the date)
Shop with peace of mind: Our global delivery reach means we can bring your sign right to your doorstep.
Plus, with our Shipping Pection, rest assured that any damage incurred en route will be met with a hassle-free replacement at no additional cost to you!
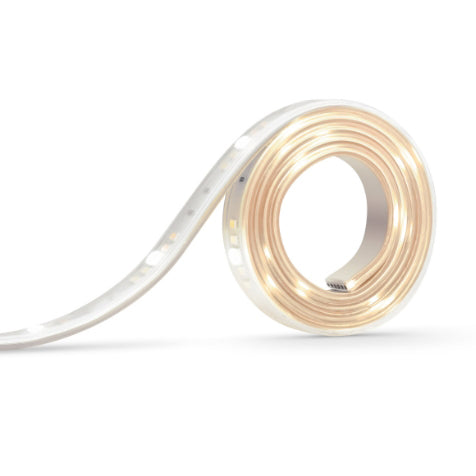
Bootent™ LED Materials
Our neon signs are crafted from neon flex material—PVC or Silicon piping filled with LED lights—affixed to recycled acrylic boards.
This advanced composition not only replicates the vibrant and bright glow of traditional neon but also enhances durability and affordability. Crucially, it sets Bootent™ LED apart from the materials used by other sellers on platforms like Amazon or Etsy.
We are committed to sustainability:
- - Our LED lights consume 6 times less energy than traditional bulbs and boast a lifespan of up to 100,000 hours.
- - We incorporate recycled materials into all of our products.
- - Our packaging is 100% recycled, eliminating unnecessary plastic.
Bootent™ LED represents a pioneering technology in the neon sign industry.
Fully compliant with FCC, UL, and Prop 65 standards, Bootent™ LED ensures that our customers are investing in a product that not only leads the market in quality and safety but also adheres to the strictest environmental and regulatory standards globally.
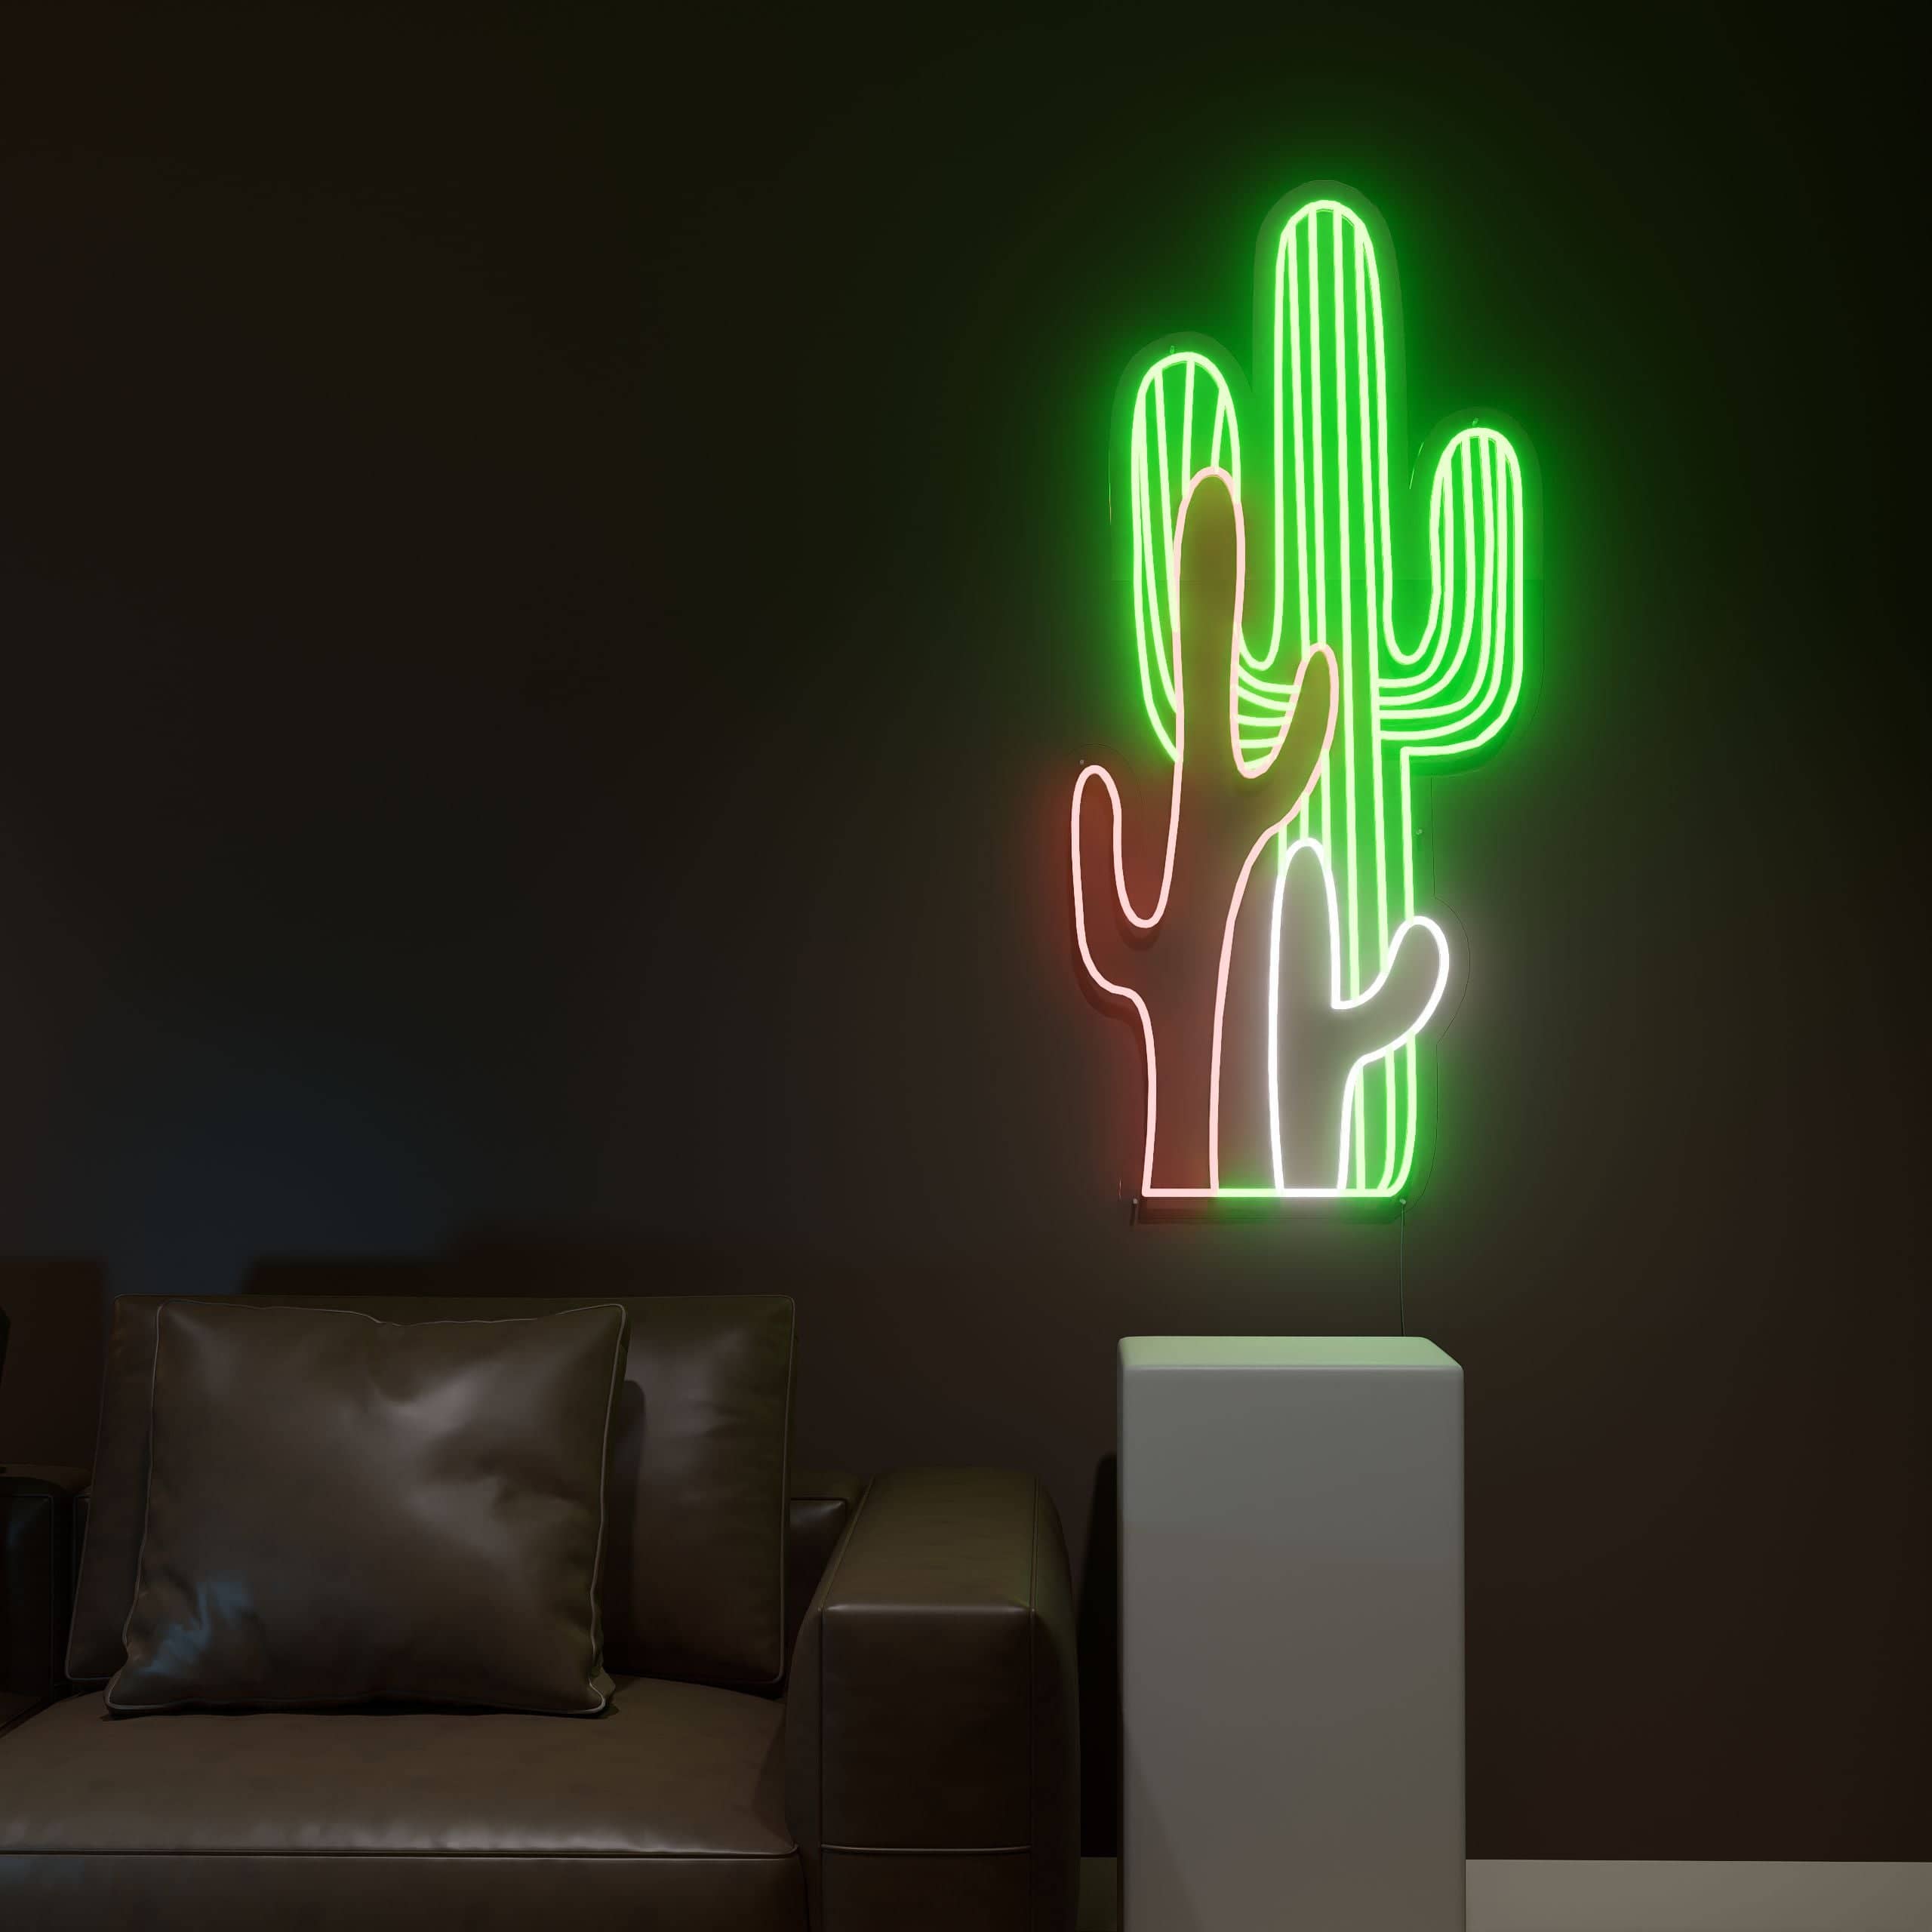
Cactus Neon Sign: Illuminate Your Space with Vibrant Colors
Brighten Your Space with Multicolor Cactus Neon Sign. The Multicolor Cactus Neon Sign adds vibrant, playful light to any room, creating a lively atmosphere. Imagine a glowing cactus that brings desert charm to your decor. Designed for custom made neon signs easy installation, it’s a seamless addition to any setting.Its energy-efficient design ensures minimal power use while delivering a steady, captivating glow.
This neon business signs is both safe and durable, providing long-lasting light that adds colorful flair to any room.The cactus neon sign isn’t just decor—it’s a stylish, practical gift that transforms spaces for any occasion. Personalize your space with led neon signs?and enjoy a sign that keeps your room full of life and character, perfect for any event.
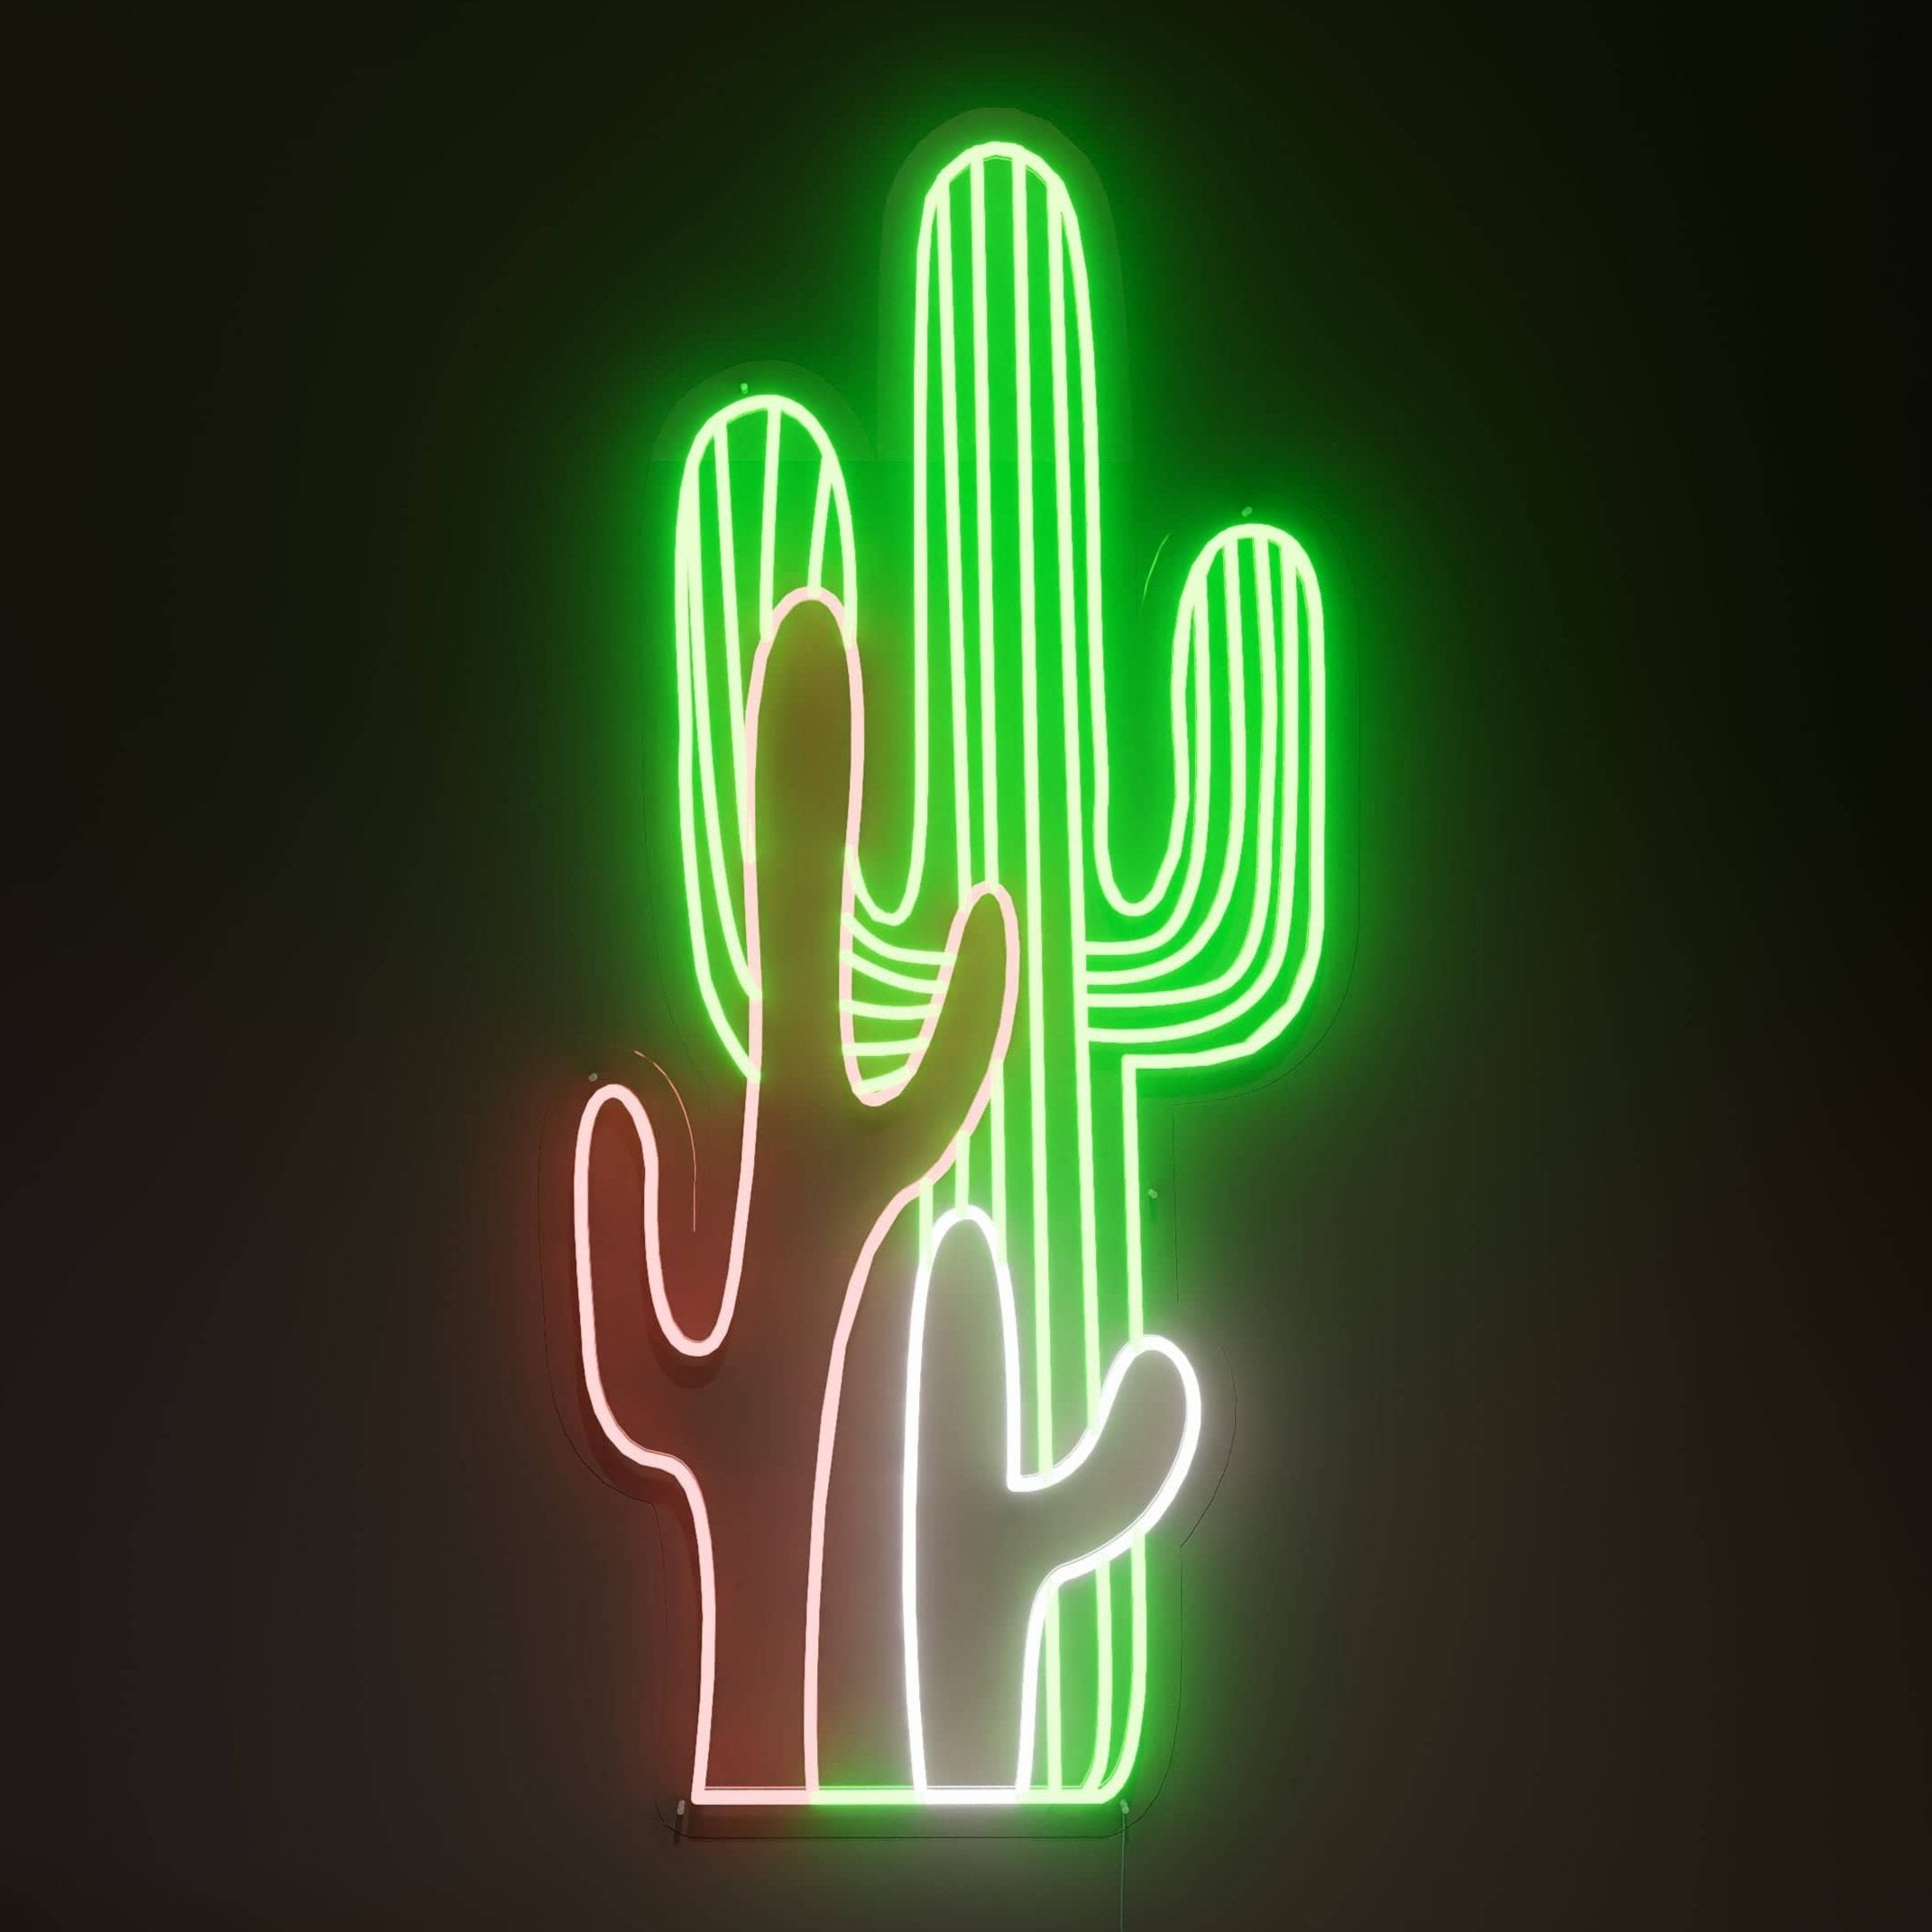
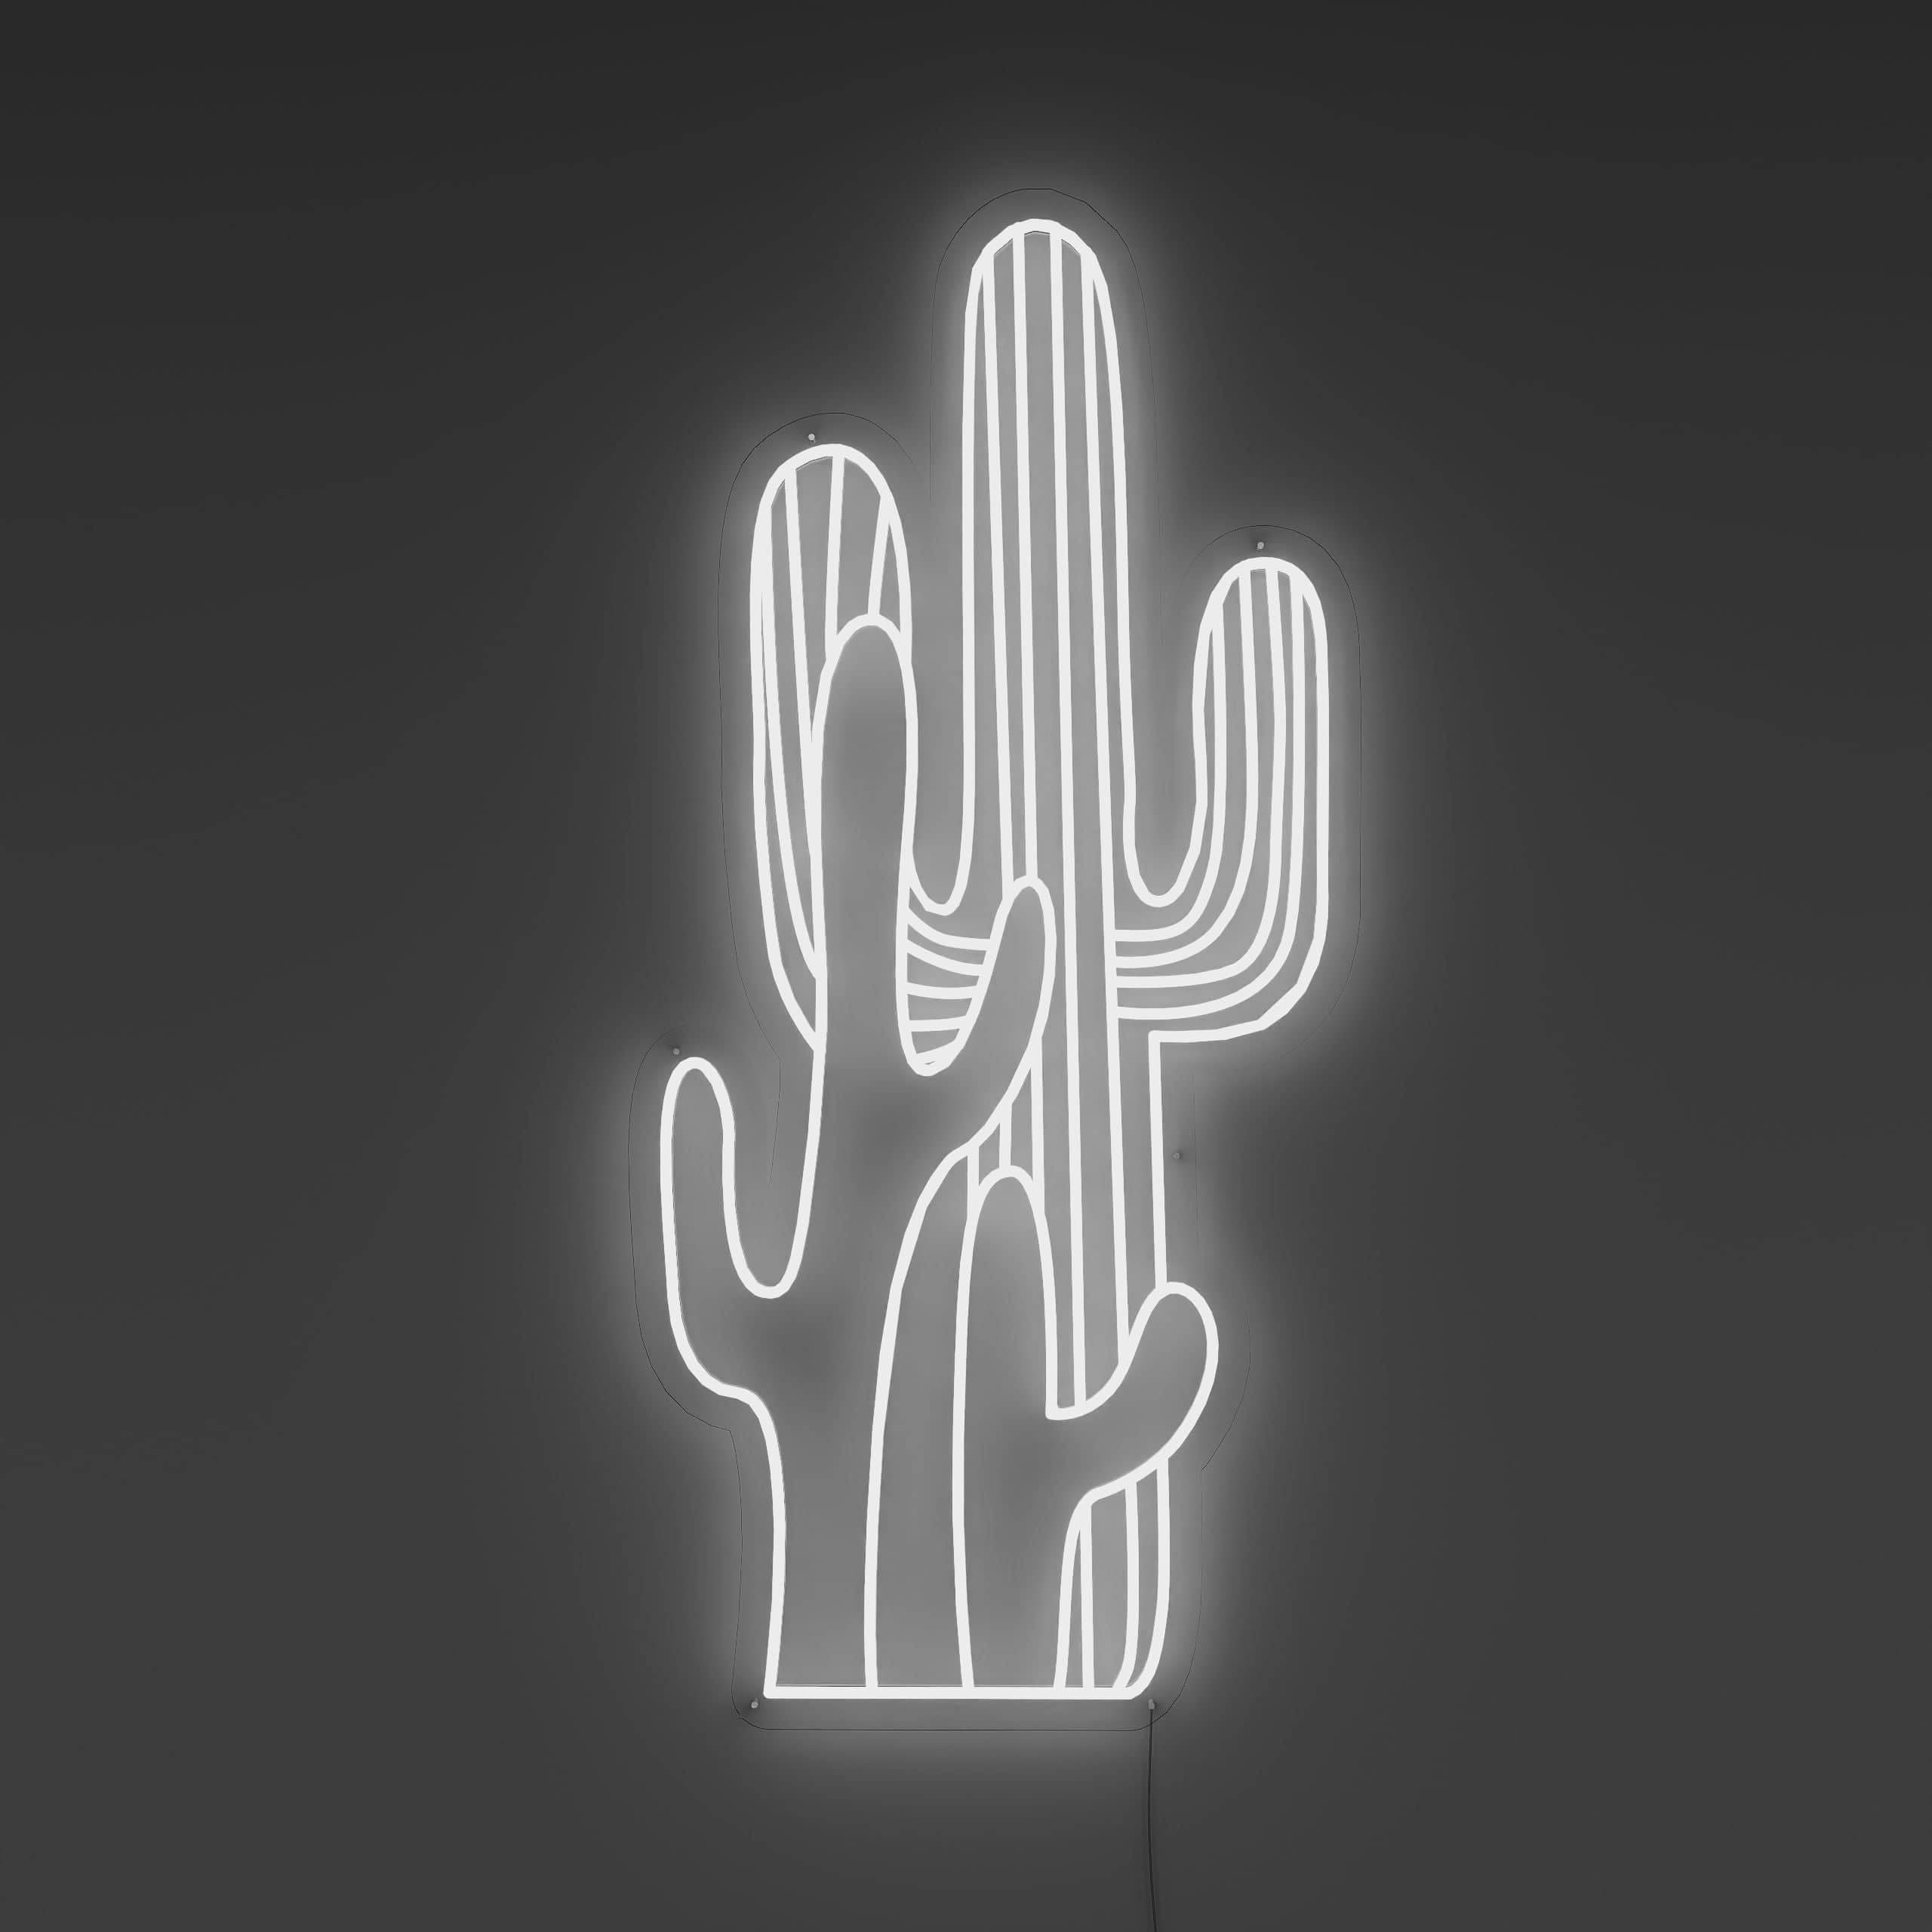
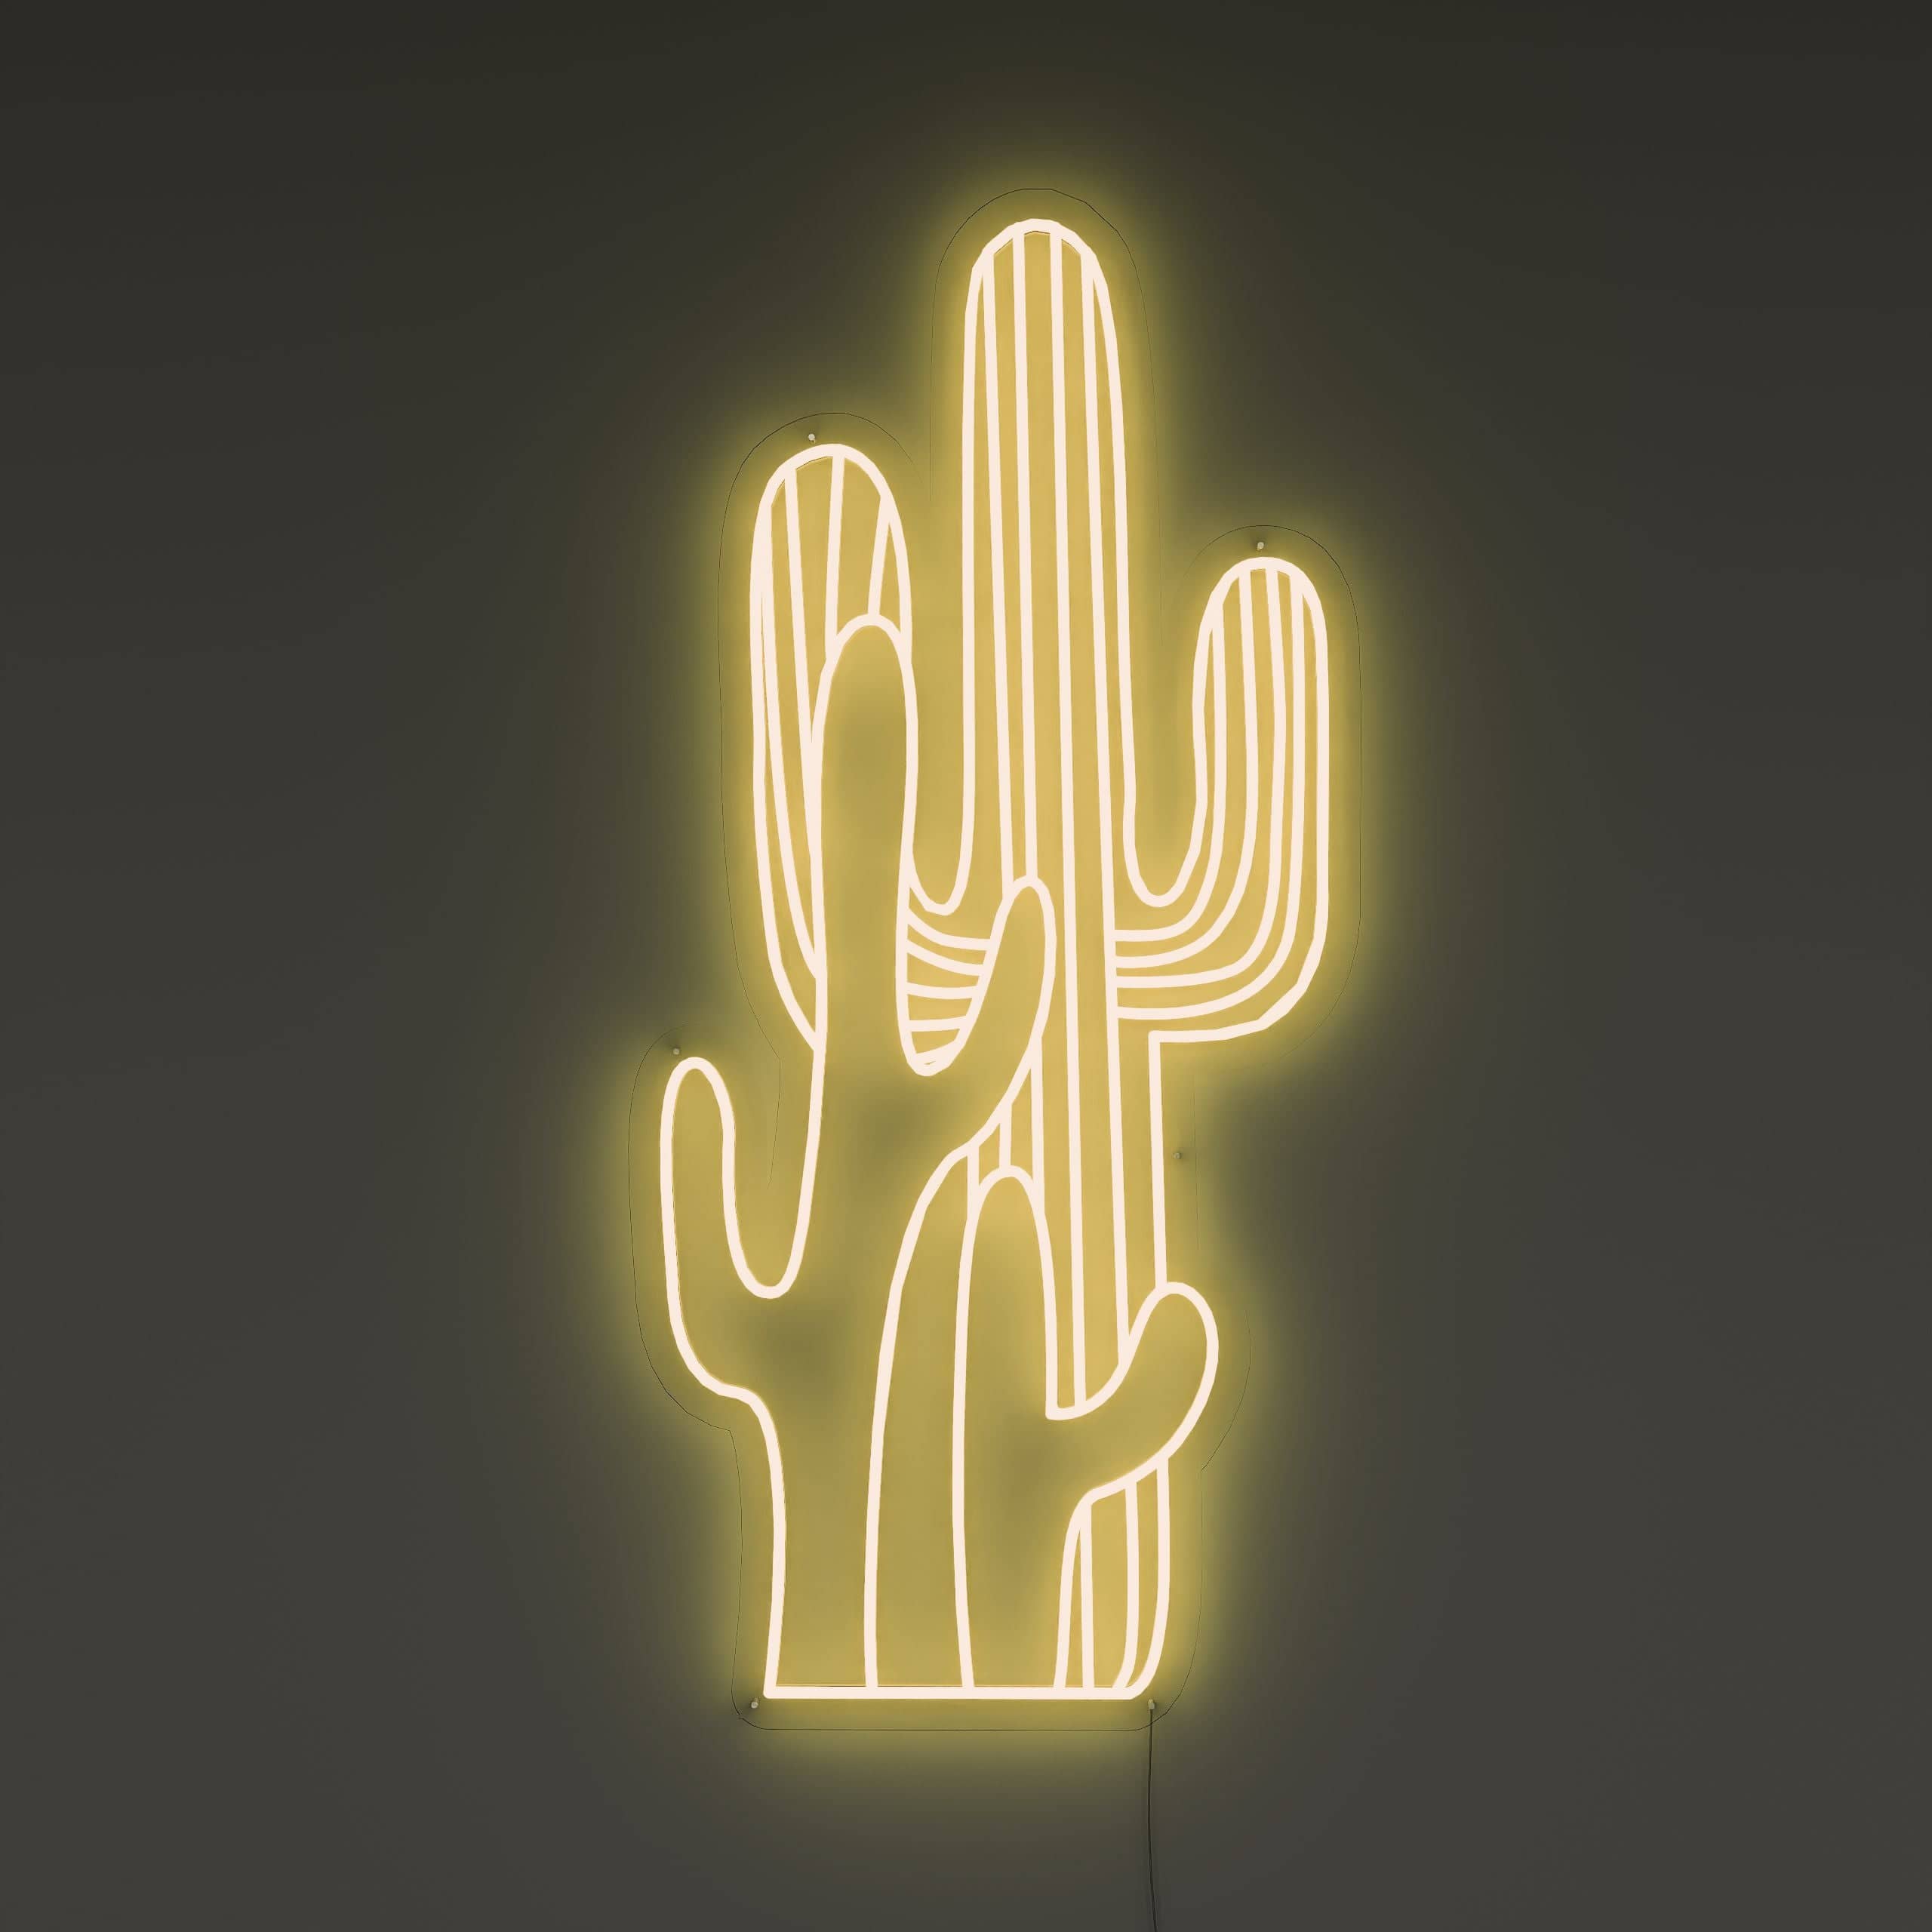
'Fluorescent Cactus' Lights Up Your Room plant neon sign
This 'Fluorescent Cactus' plant neon sign is like a sunny day for your room. It's bright and happy. While just like a real cactus under the big blue sky. Putting it up is super easy, like sticking a picture on the wall. And the best part? It comes to you from far away. While with no need to pay extra for the trip. Plus, neon signs for room's friendly to the earth, shining without using a lot of power.
This cactus neon open sign isn't just a light; it's like a piece of the desert that reminds you to smile and enjoy the simple things.So, why not invite 'Fluorescent Cactus' into your space? It's not just any sign; it's your own little spot of sunshine. While ready to make every day brighter.
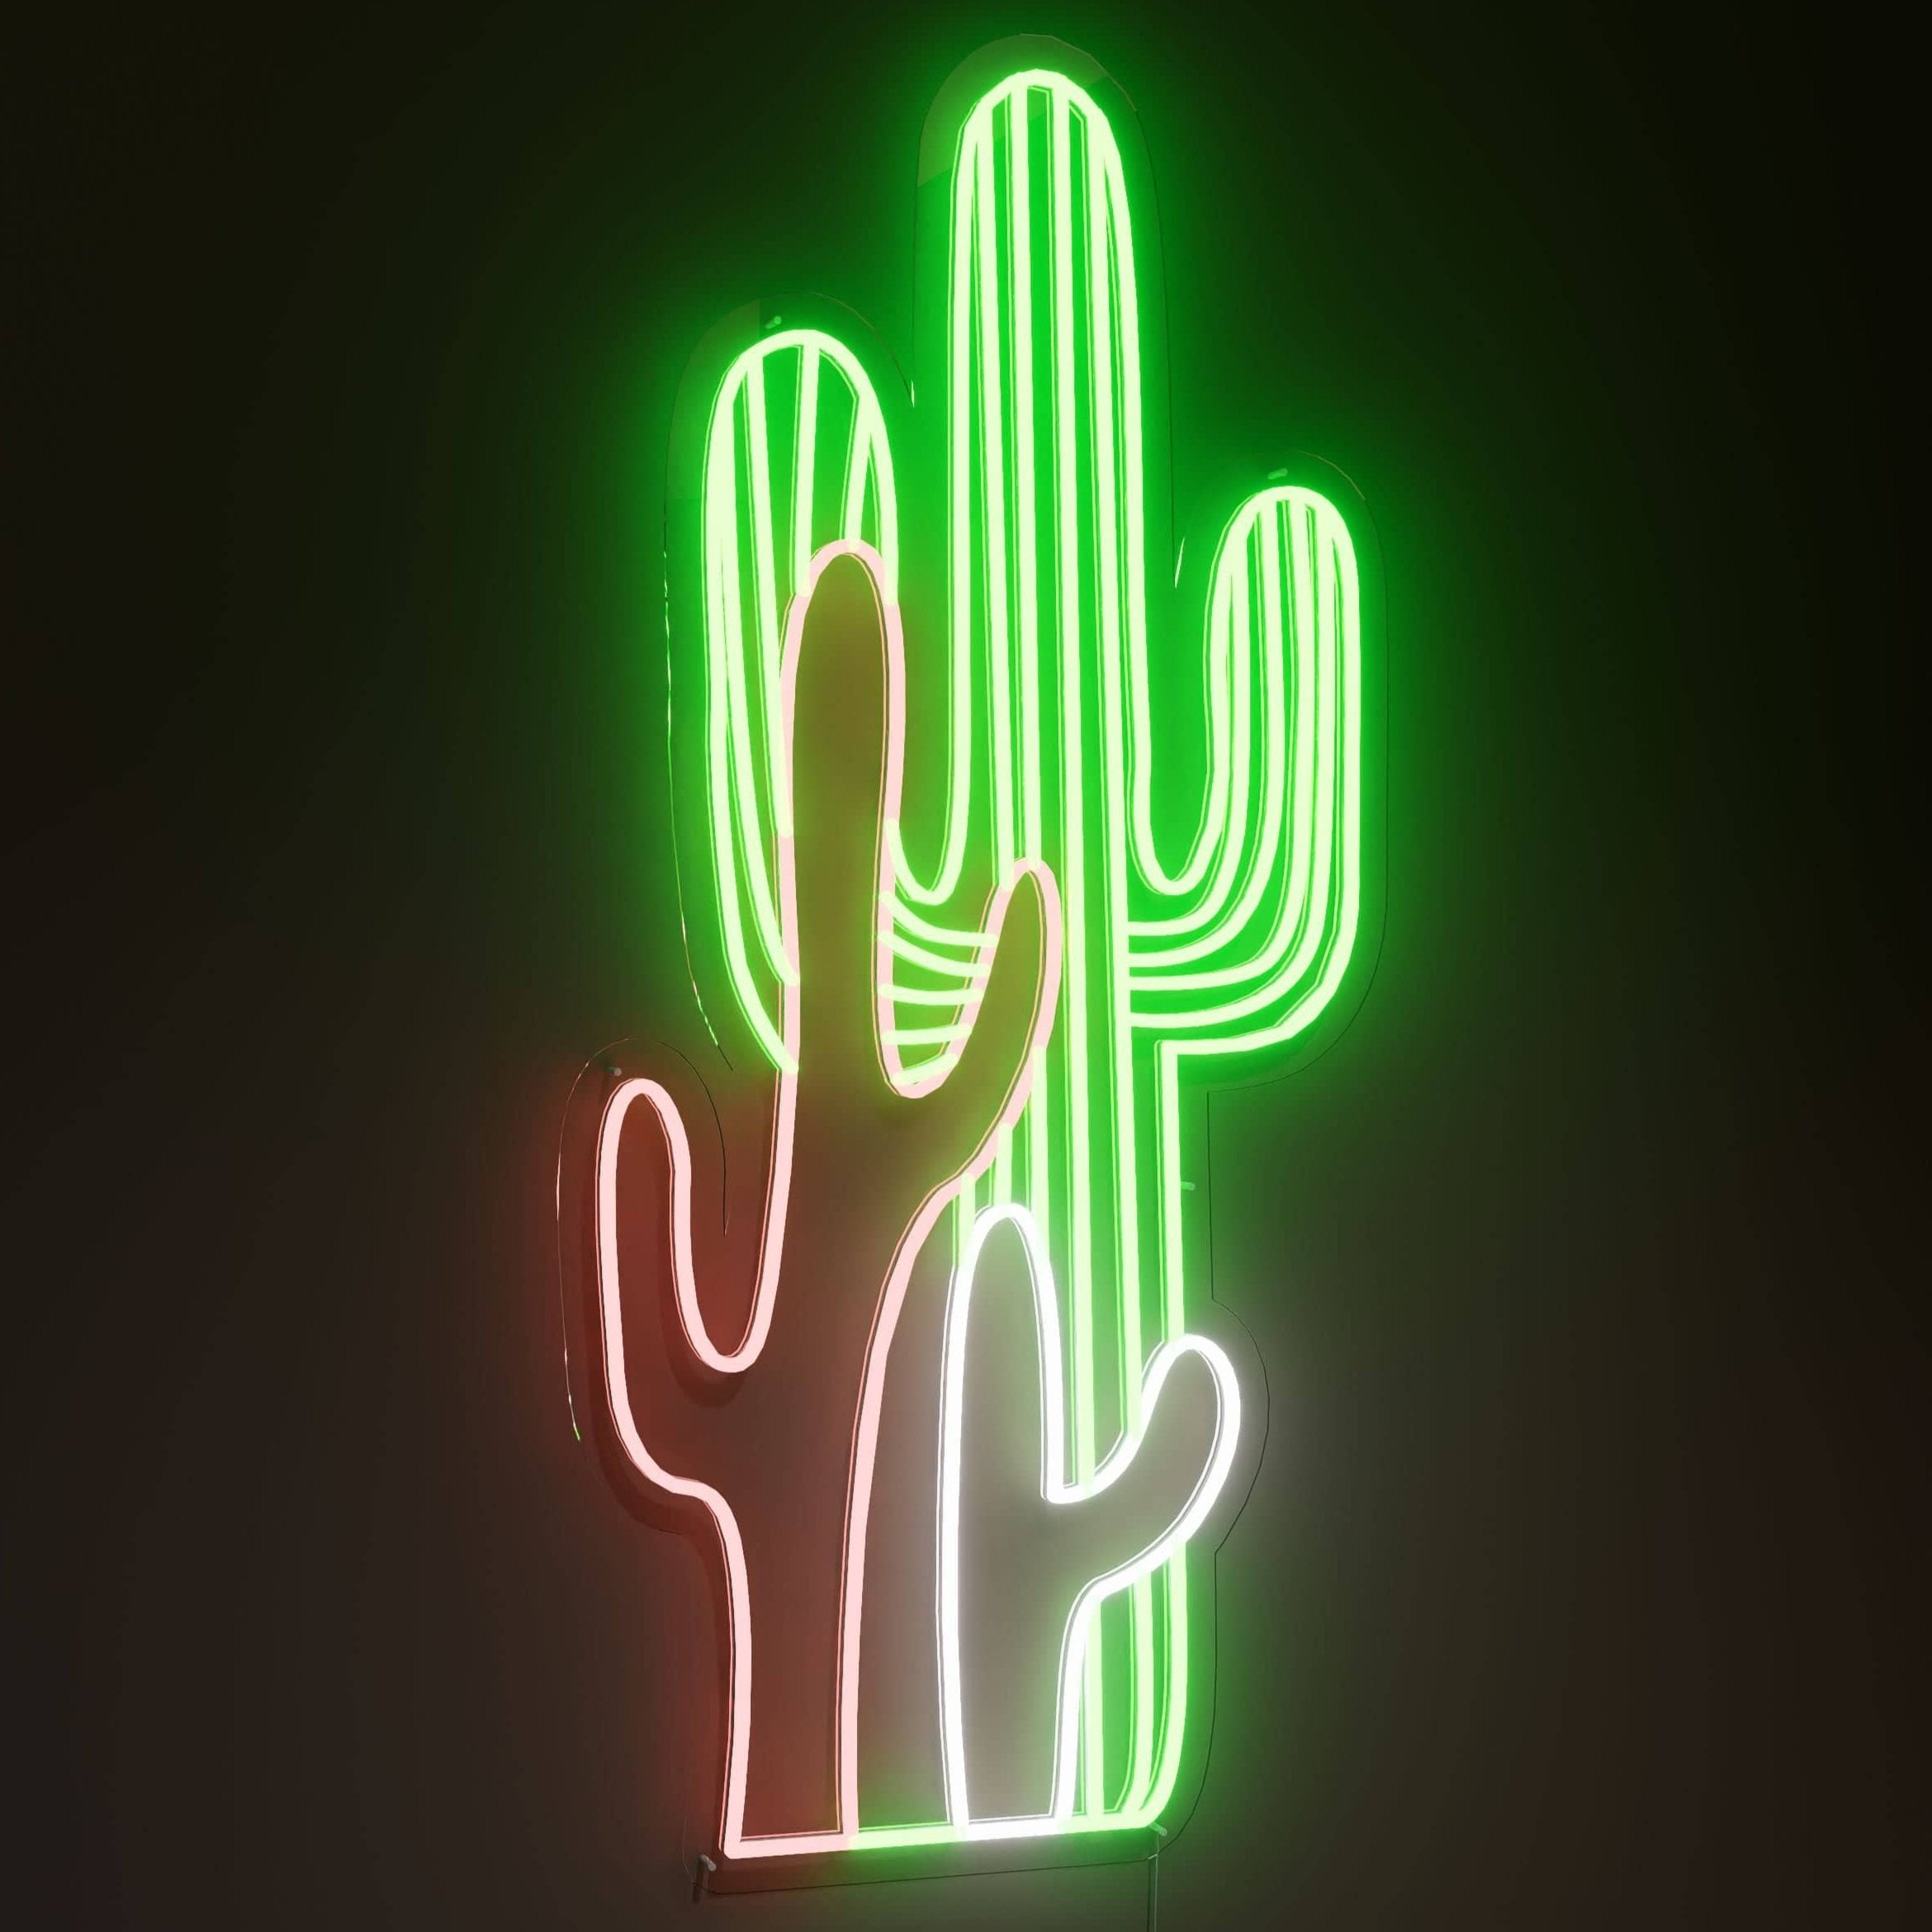
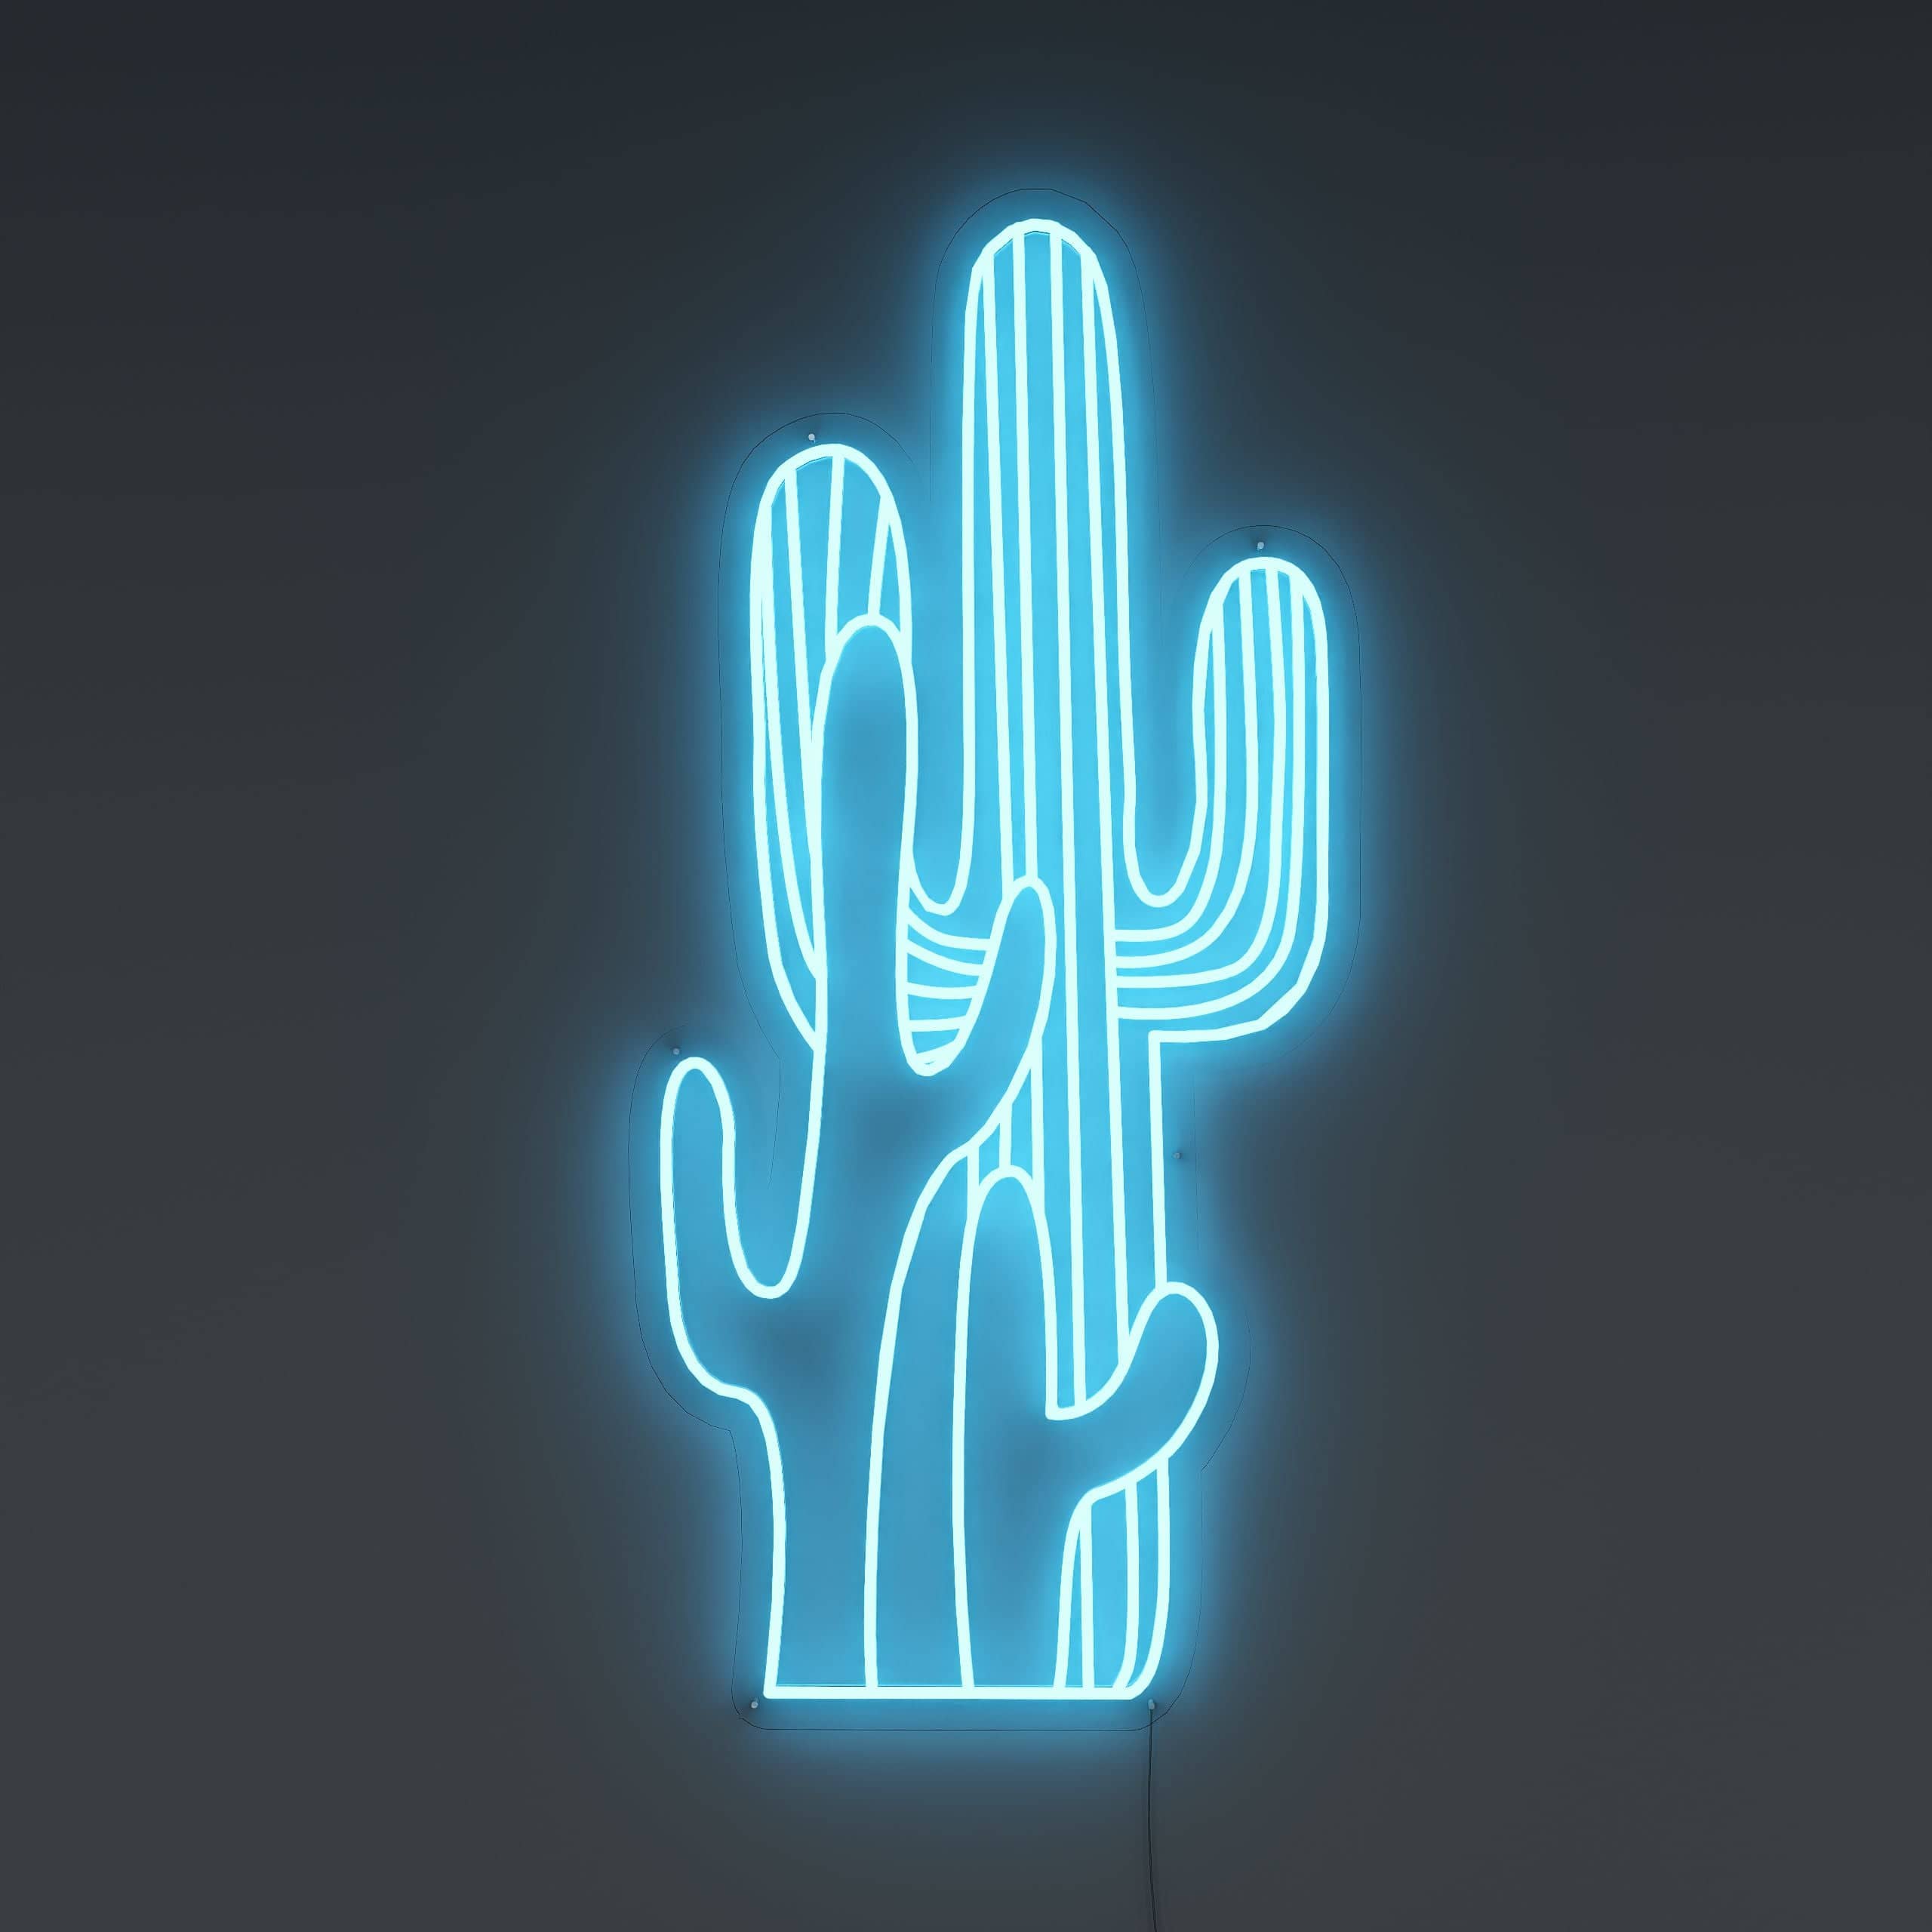
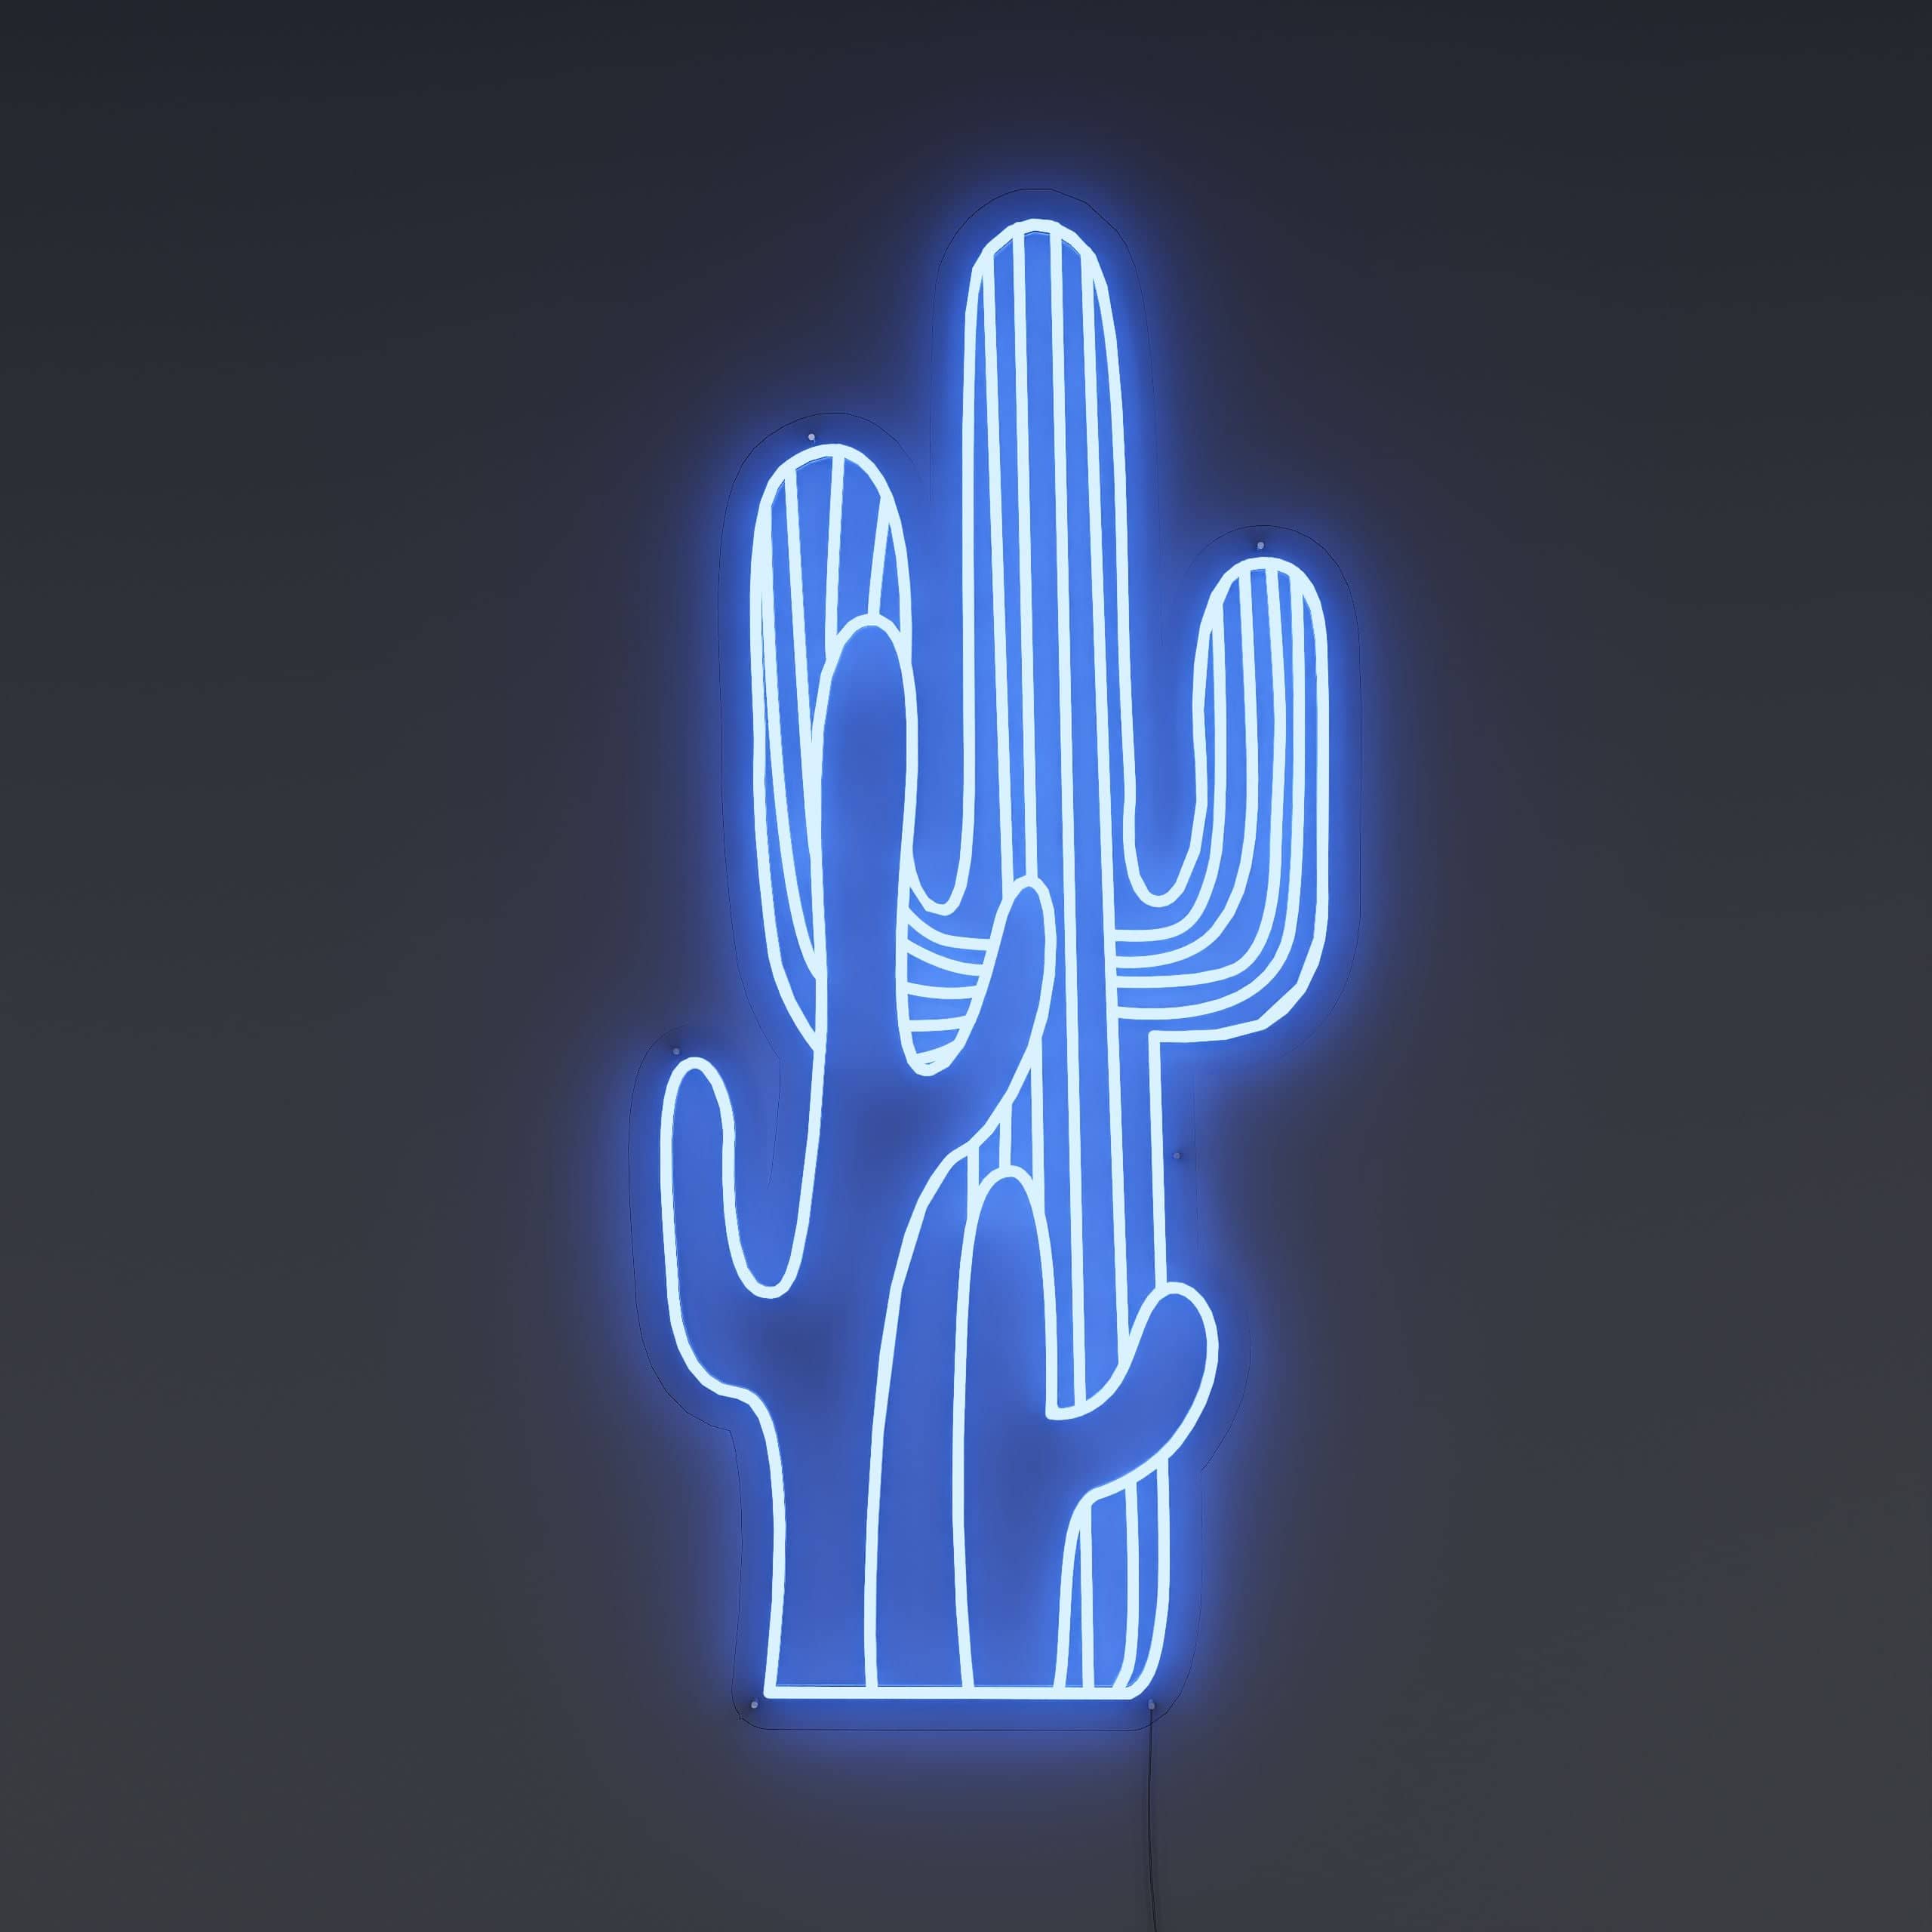
Brighten Up Your Space with the Multicolor Cactus Neon Sign and Other Floral-Inspired Designs
Looking for a unique way to add color and personality to your room? Our Multicolor Cactus Neon Sign?is perfect for anyone who loves a bold, modern take on natural decor. With its vibrant hues, this cactus sign brings a playful, energetic vibe to any space, whether it’s a living room, bedroom, or office.
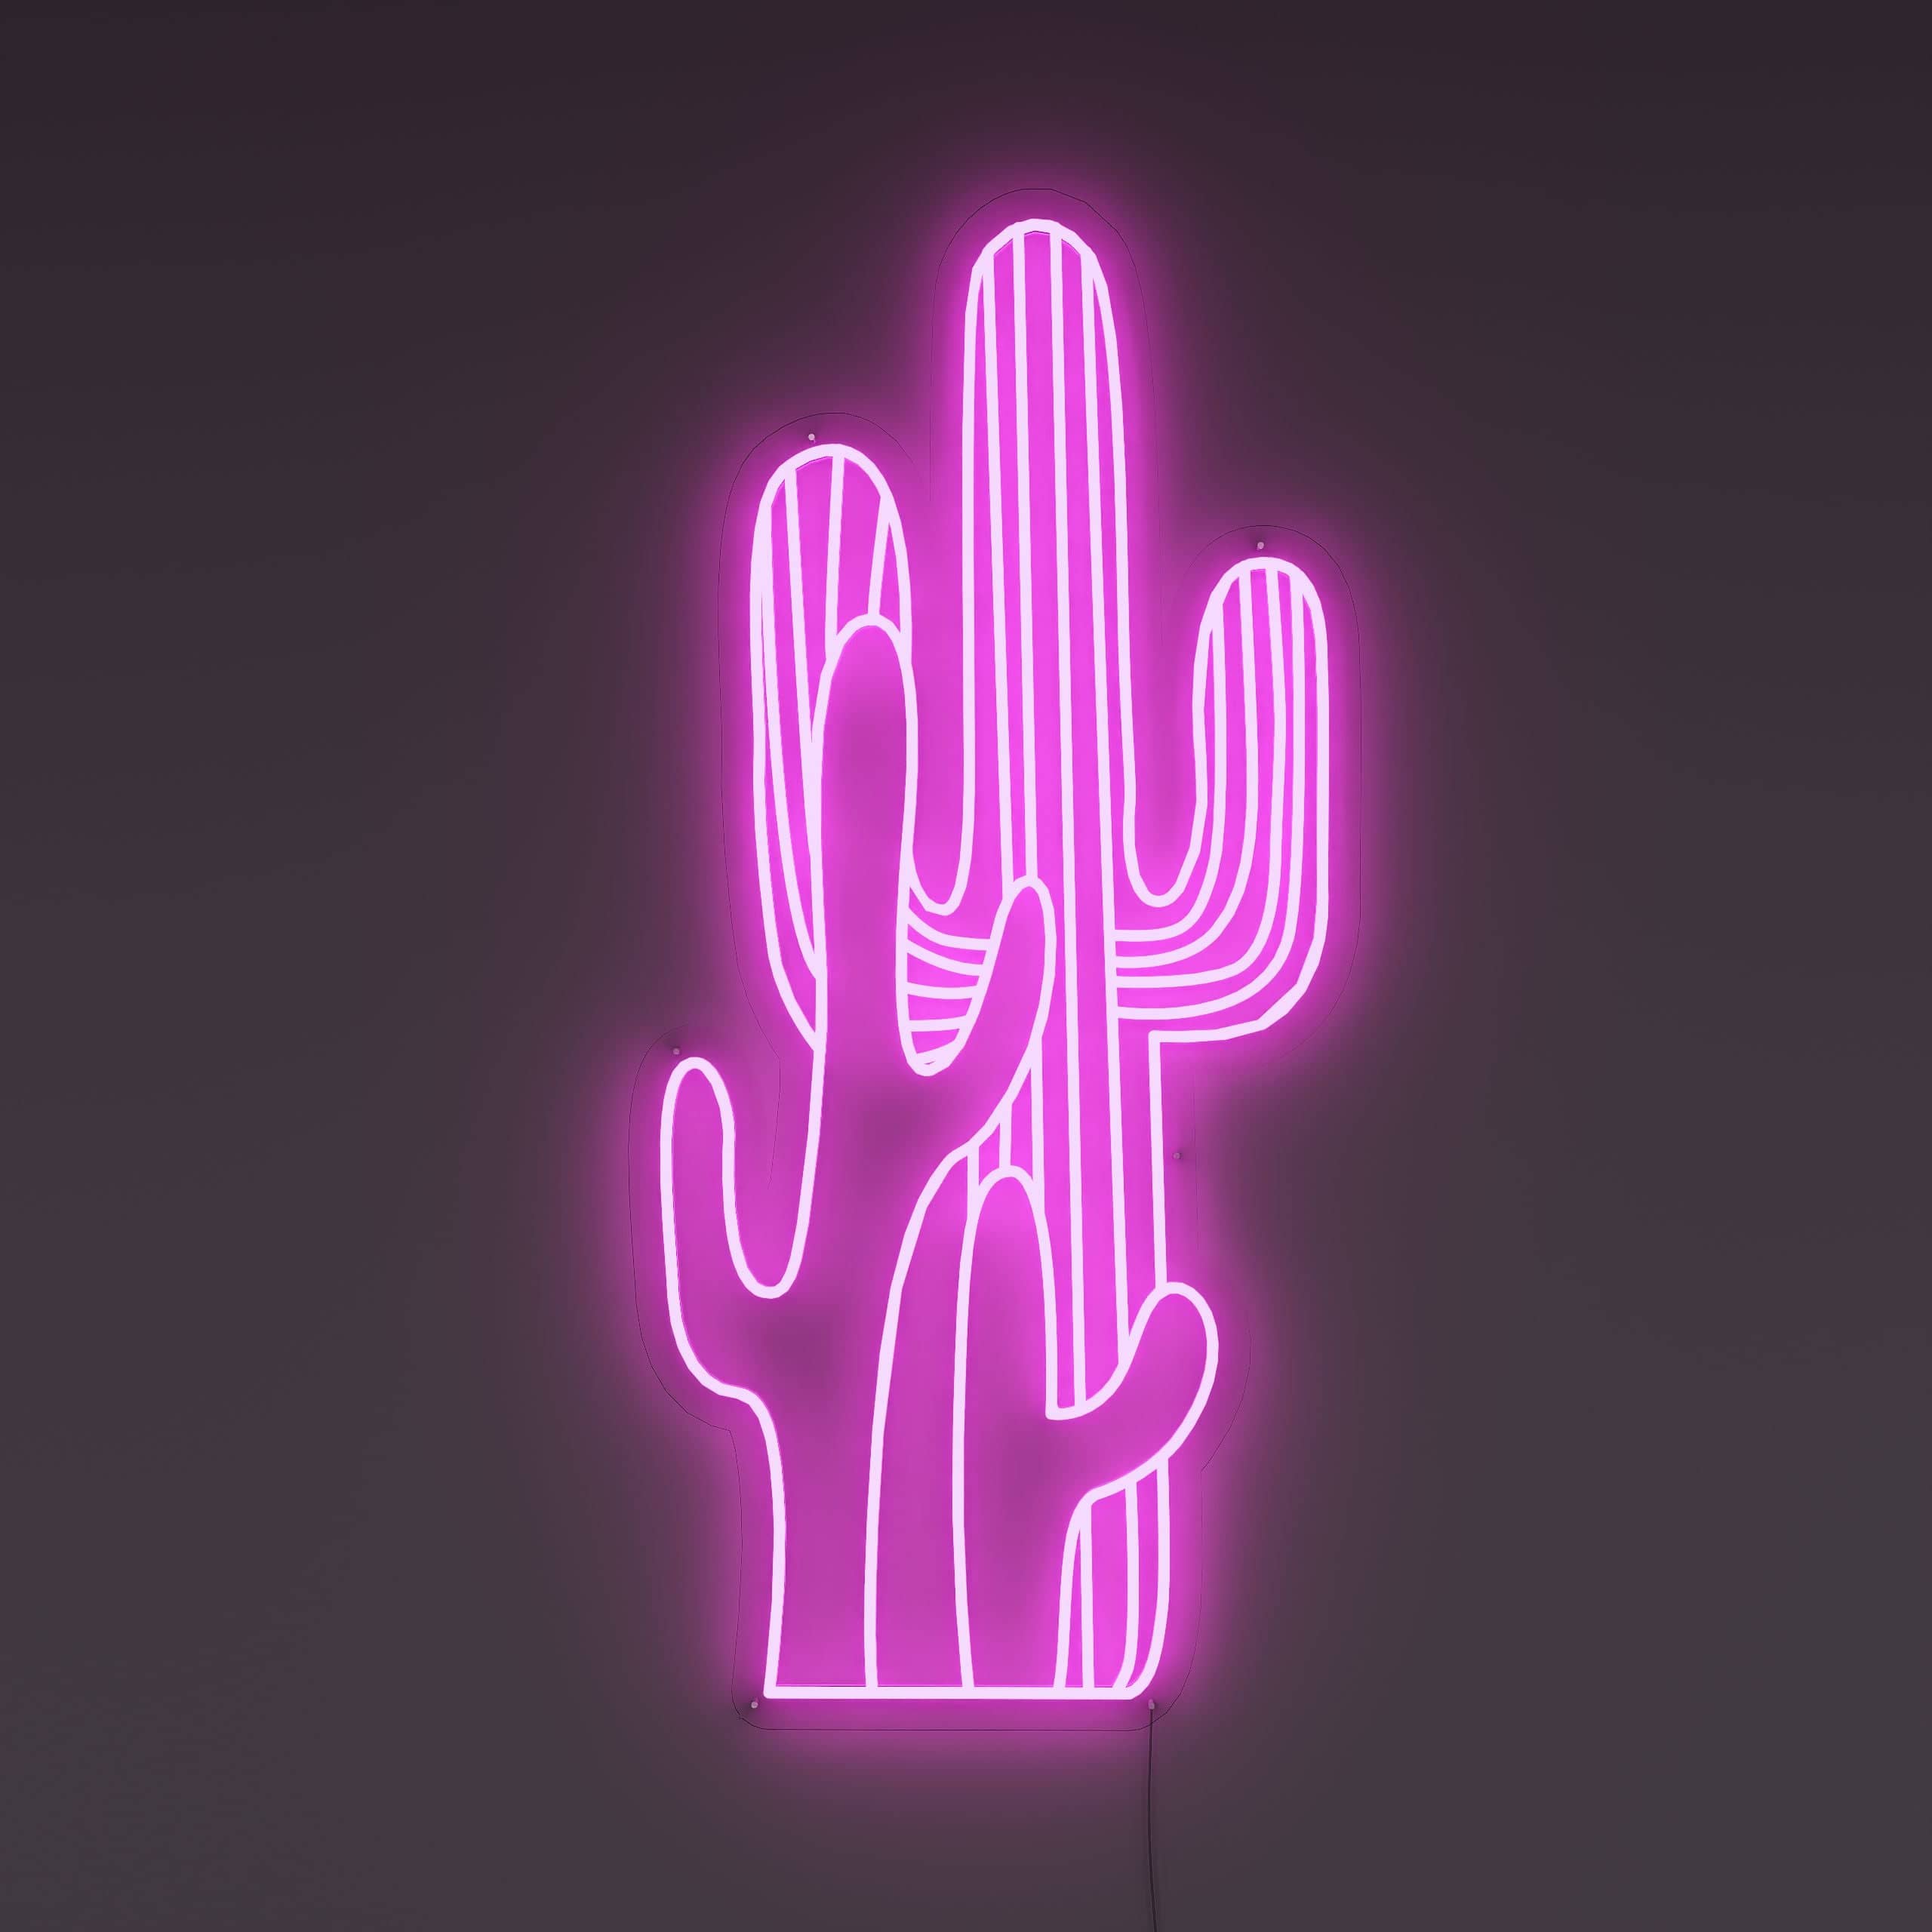
And there’s more! Our Licking Rose Flower Neon Sign makes a statement with its artistic design, ideal for those who want a bit of edge and elegance. The Love Together Forever Flower Neon Sign is a beautiful choice for creating a romantic and heartwarming atmosphere. For a fresh and bright feel, the Tulips flower neon sign?captures the charm of spring blooms, while the Butterfly Flower Neon Sign?brings a whimsical, nature-inspired glow to your walls.
Explore our collection and discover the perfect custom neon sign to light up your space with charm and creativity!
- Easy to install,
- with free global shipping
- energy-efficient,it's perfect for any room.
?
?
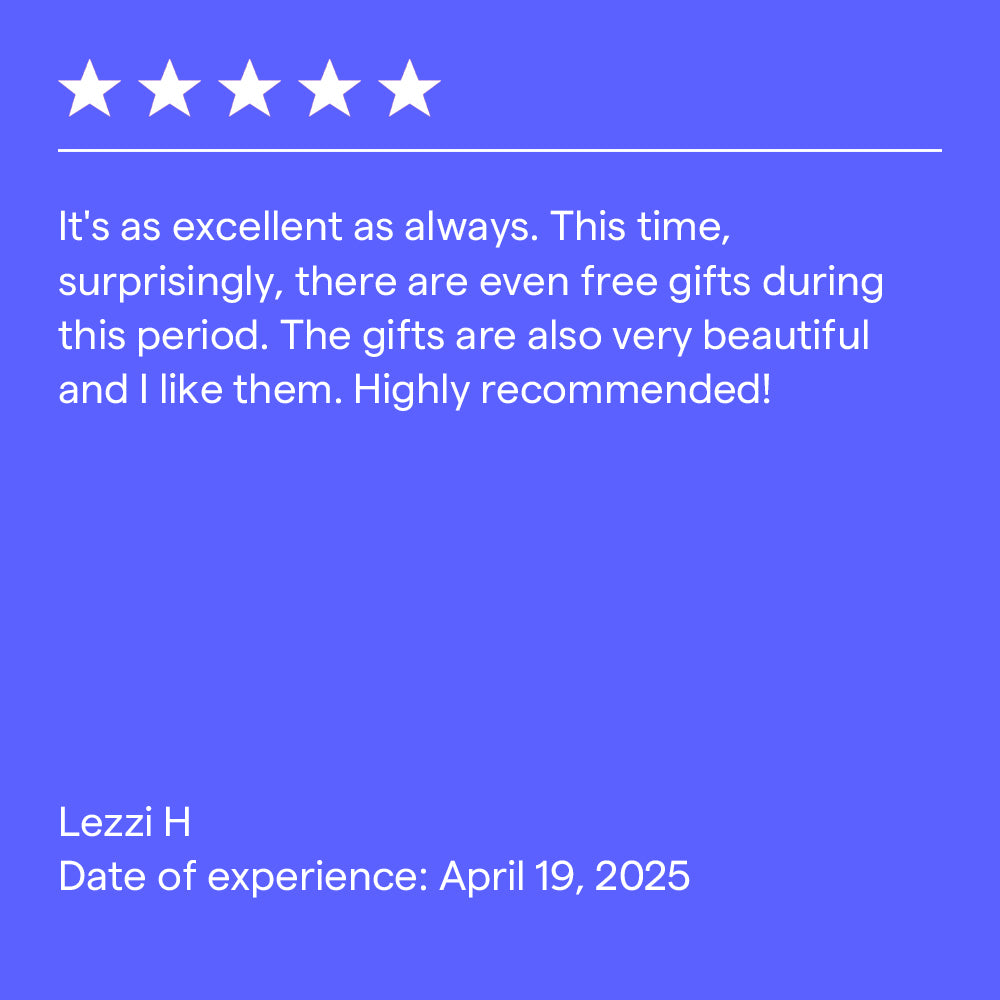
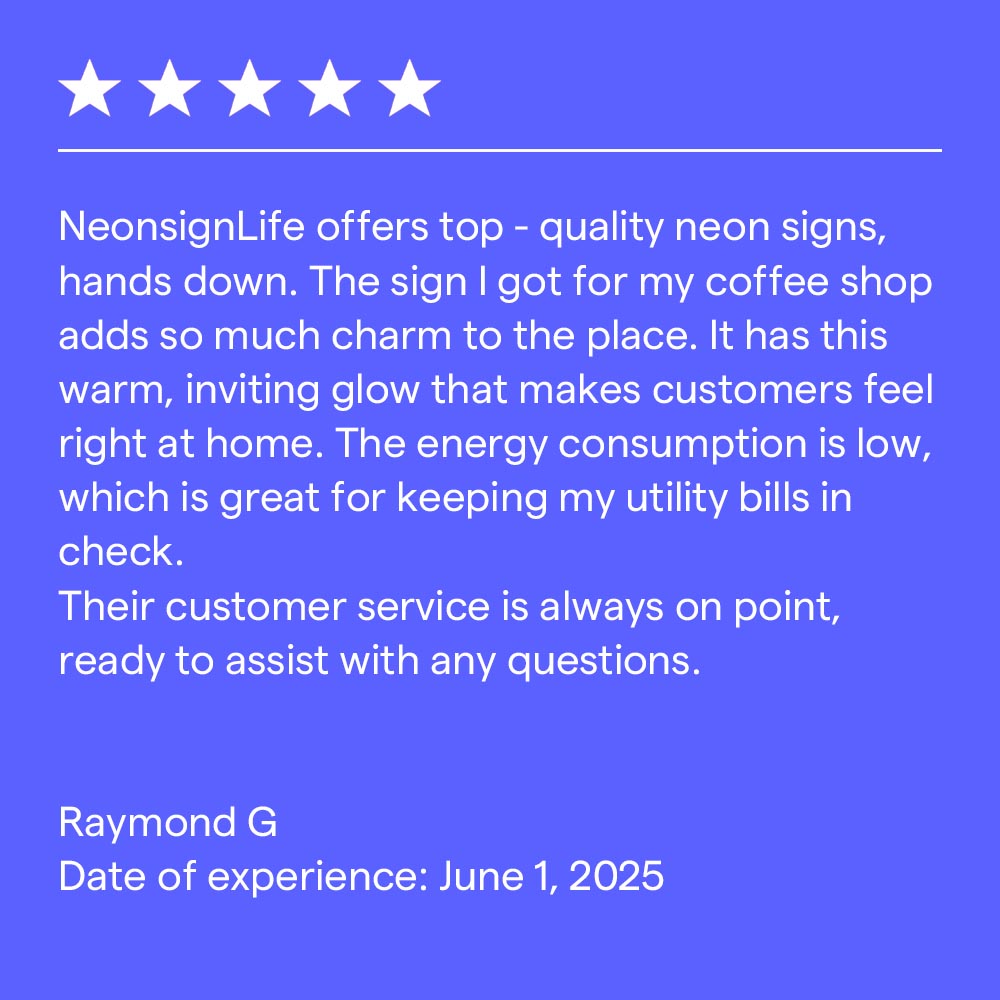
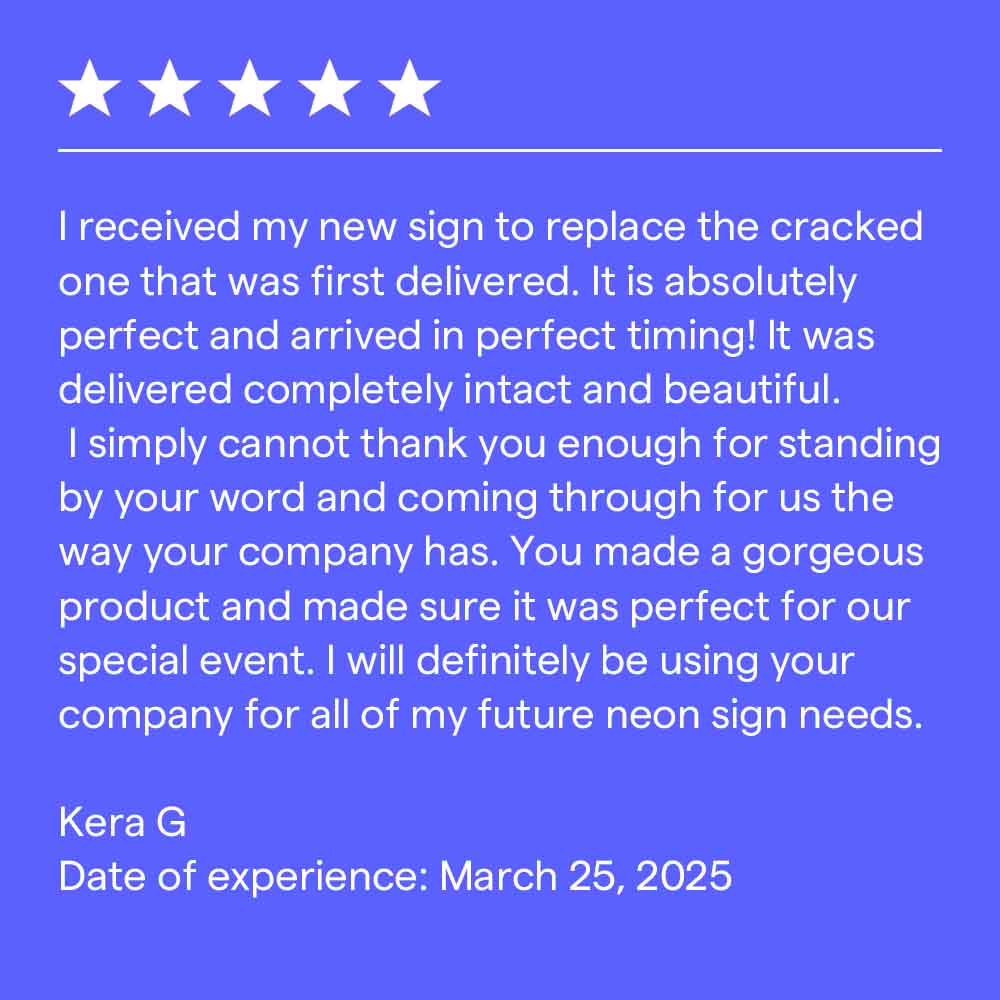
CUSTOMERS LOVE US OVER 500+ 5 START REVIEWS

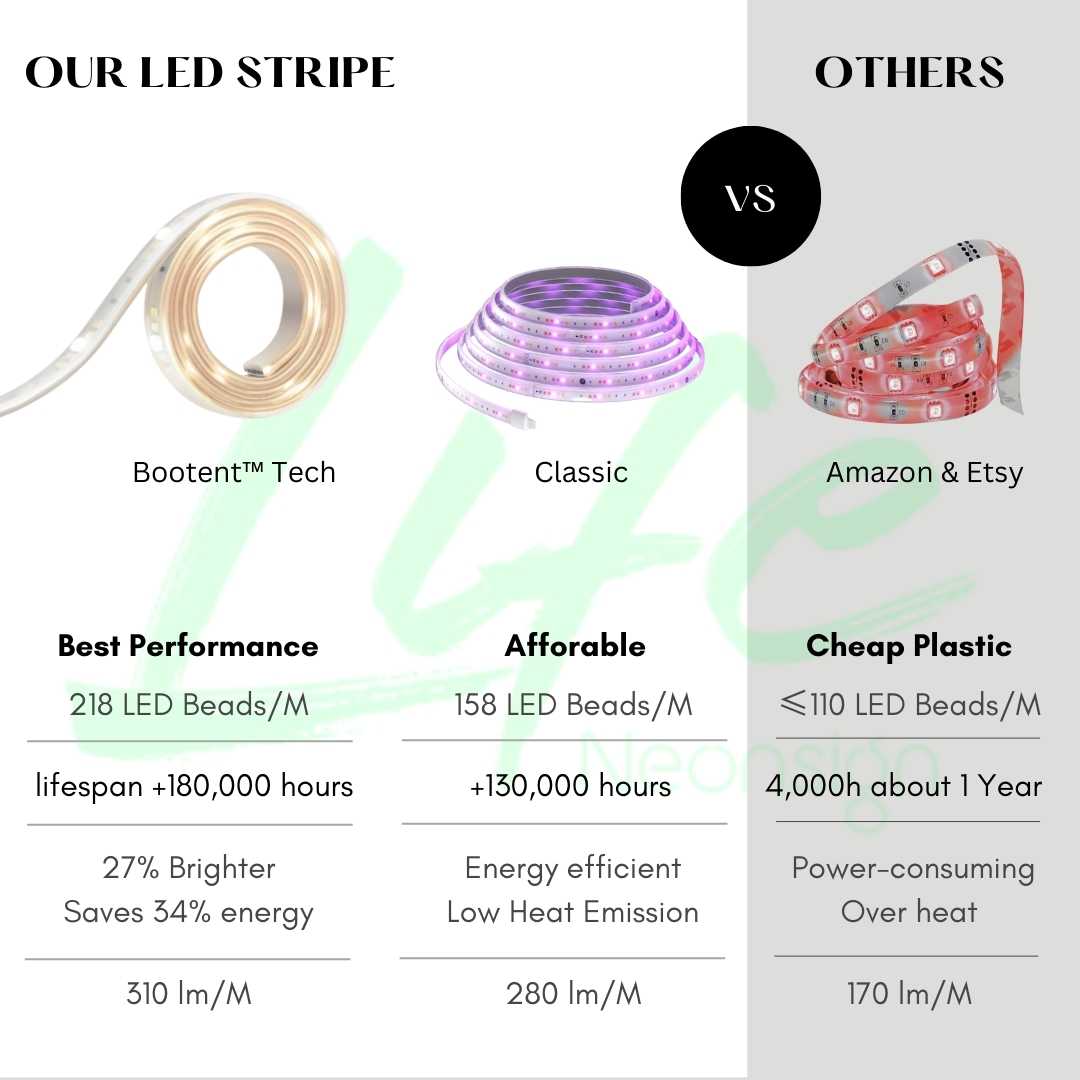
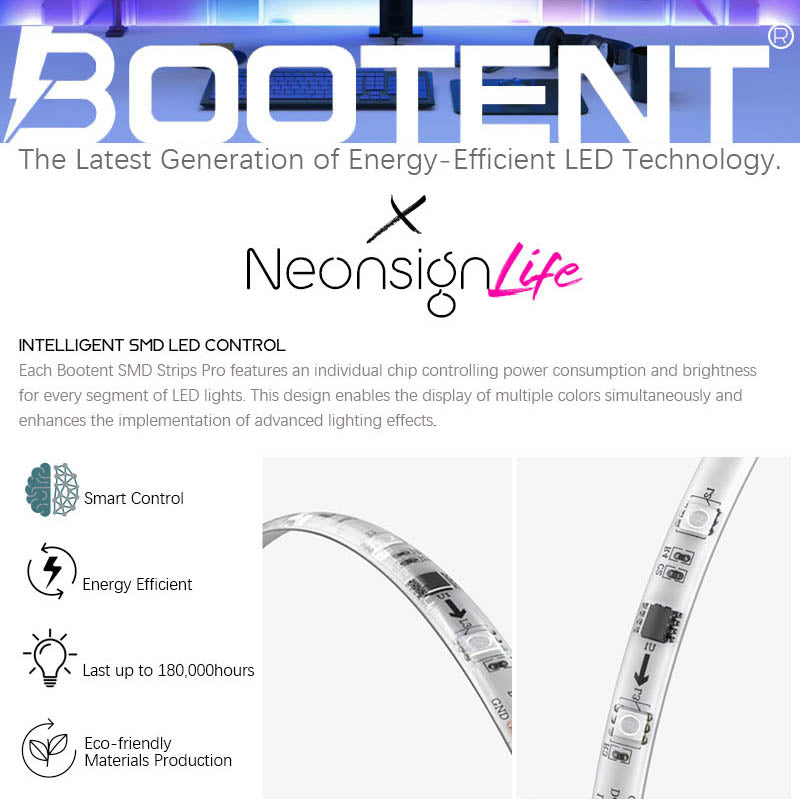
What is Bootent™ LED Tech
27% brighter + saves 34% energy
When it comes to LED neon signs, quality, safety, and sustainability are non-negotiable. That's why we've developed Bootent™ LED Tech - a groundbreaking technology that sets the new standard for the industry.
What is Bootent™ LED Tech
27% brighter + saves 34% energy
The result is an LED neon sign that lasts. Bootent™ LED Tech significantly reduces energy transfer, so your sign won’t even get warm, let alone hot.This protects you and the sign from damage!
What is Bootent™ LED Tech
27% brighter + saves 34% energy
Our hand-crafted LED neons receive careful attention as they are cut and shaped into the masterpieces of light you’re looking for
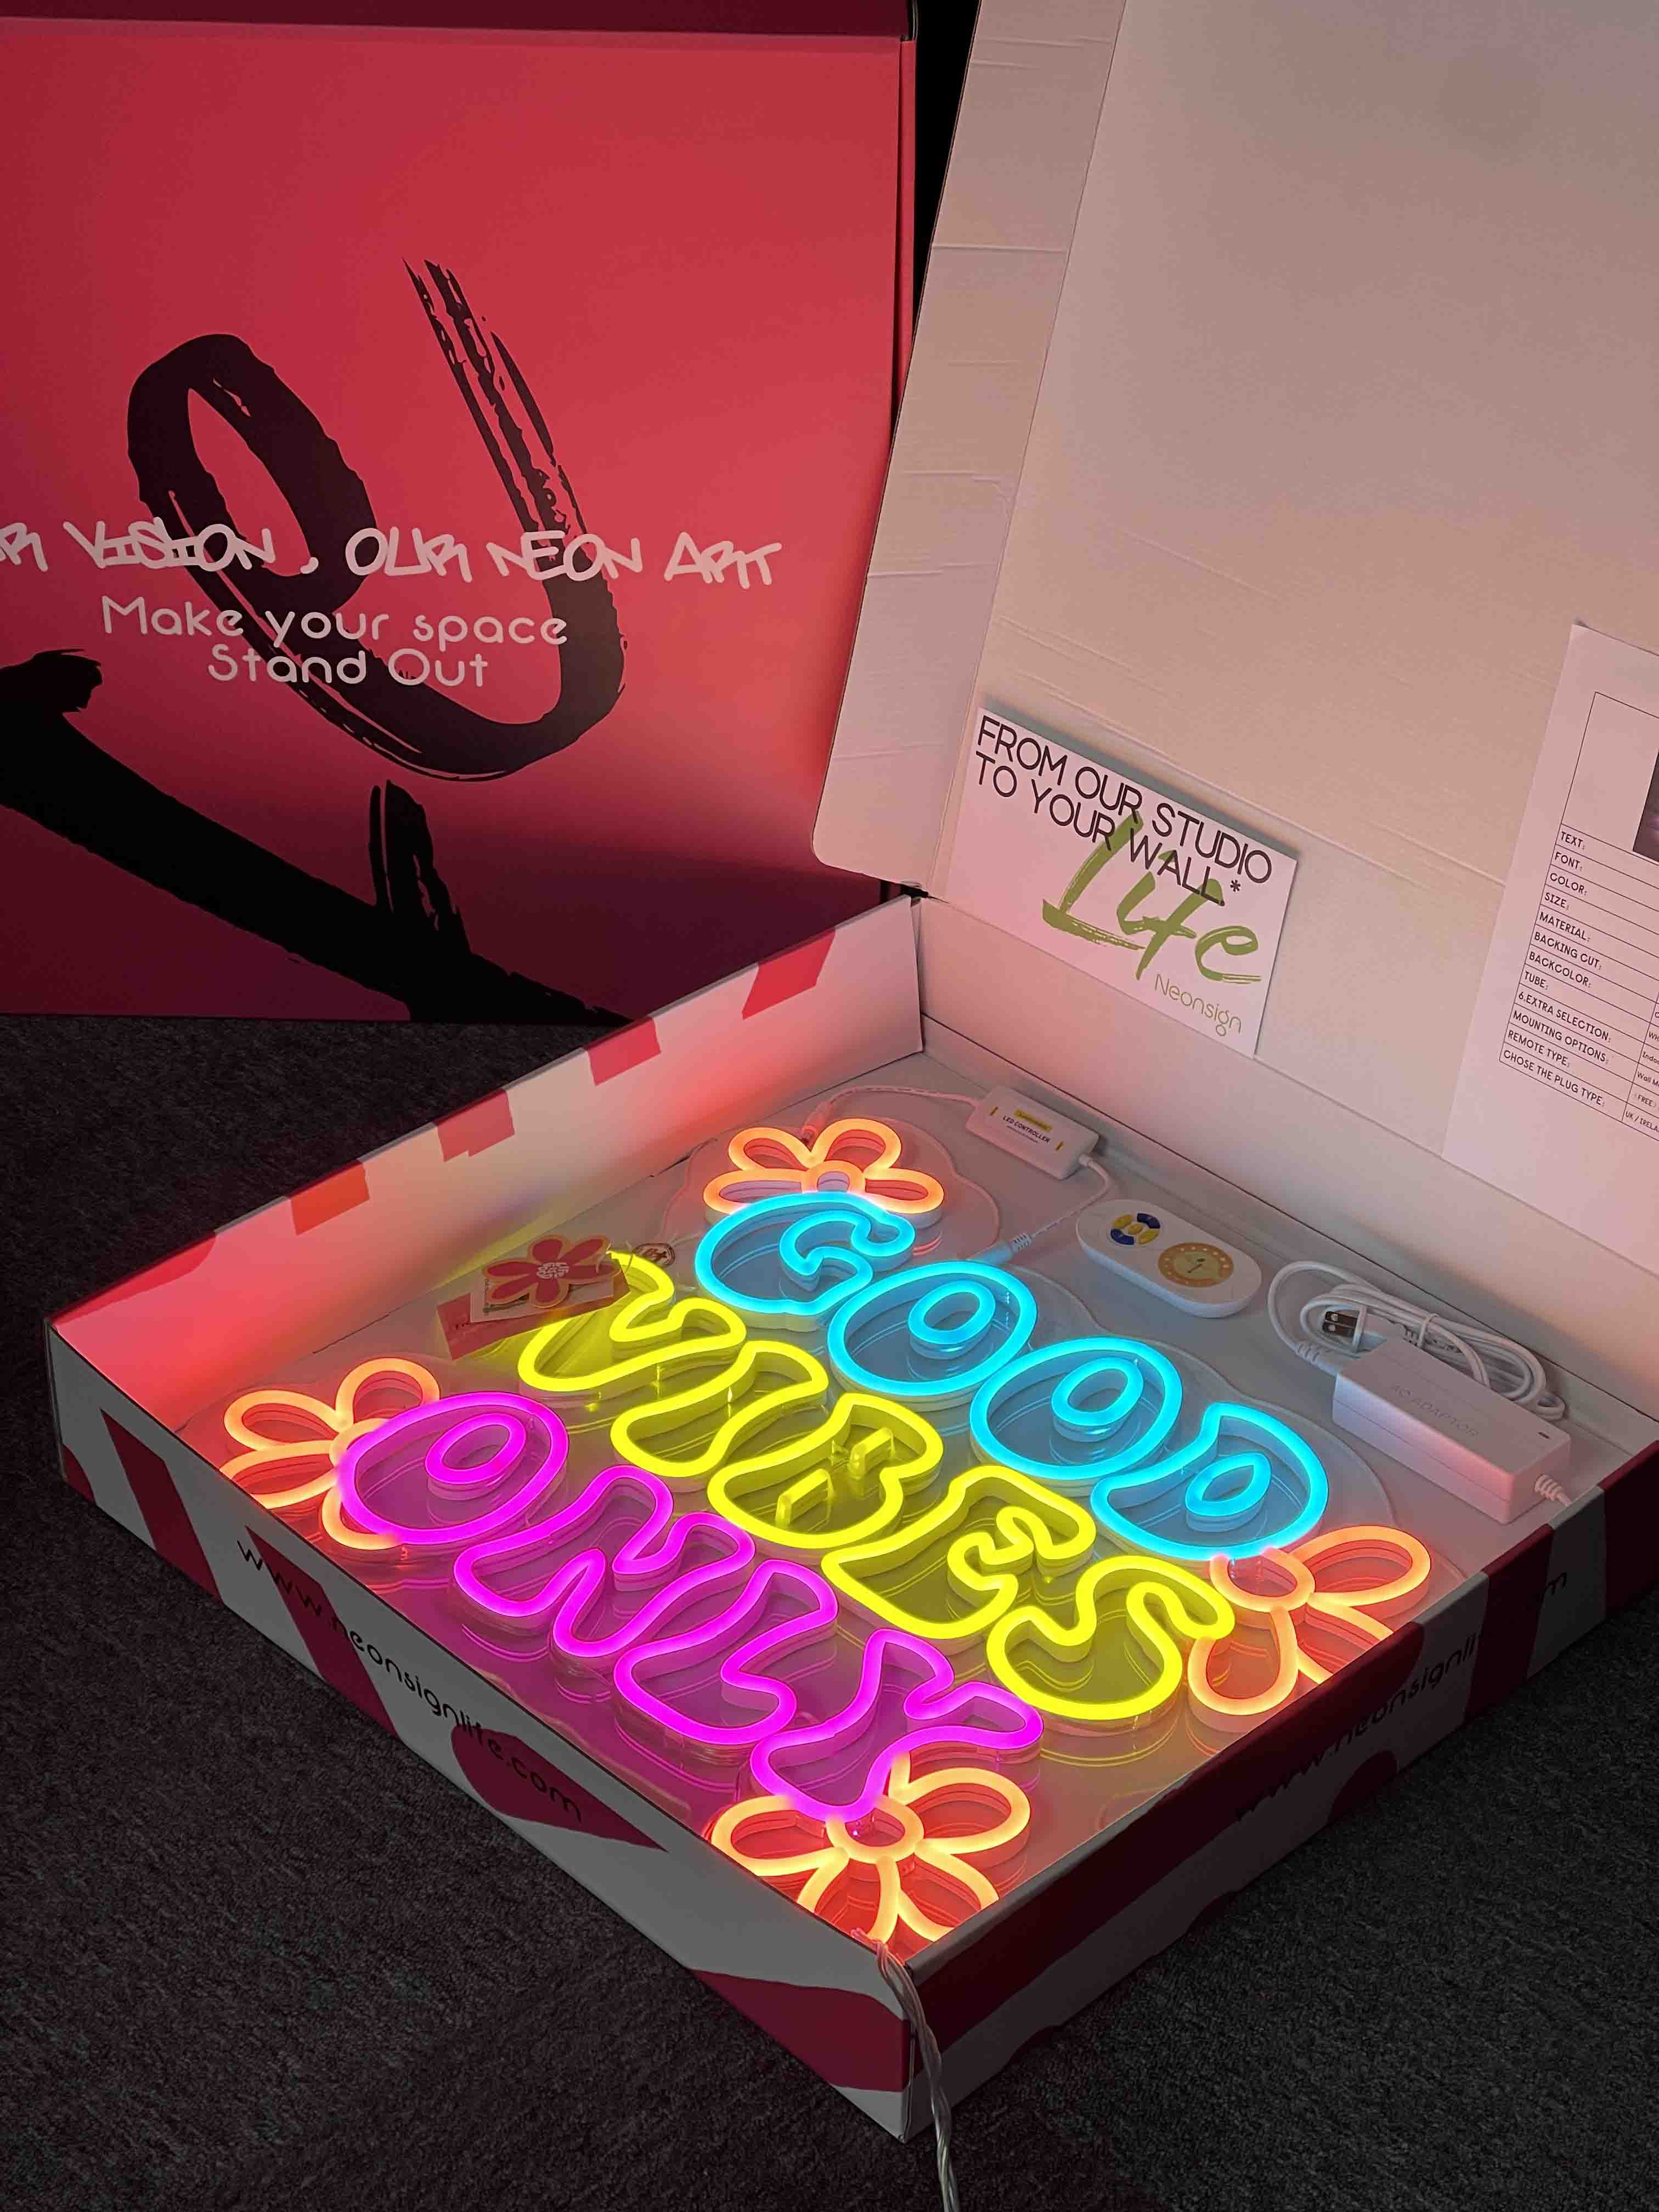
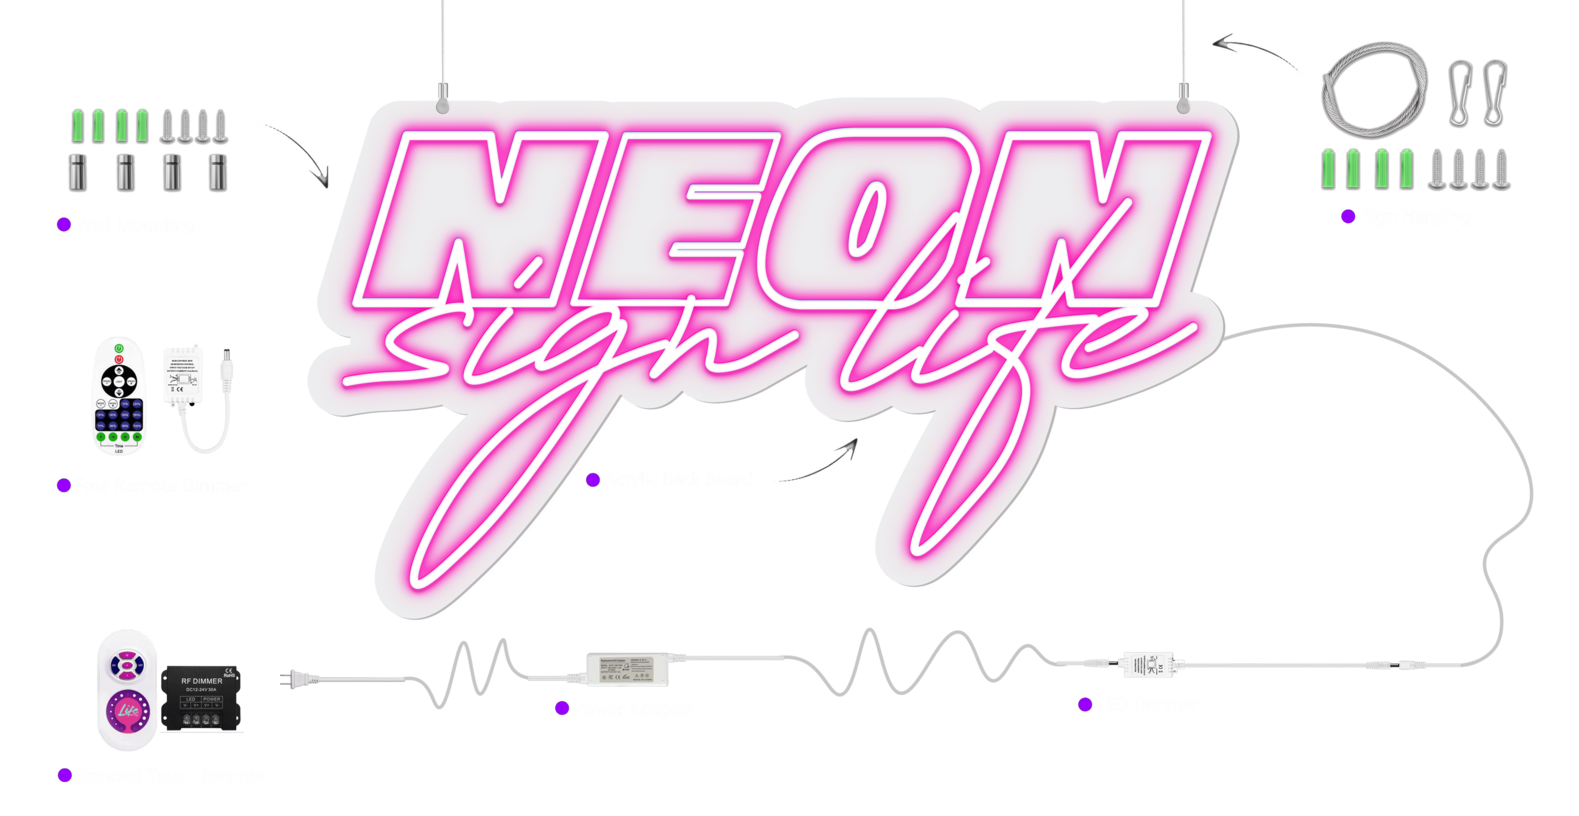
What's in the box
Included with Your LED Neon Piece; Extension cable; Installation screw kit; Dimmer switch;Power supply
SIMPLE INSTALLATION


FREQUENTLY ASKED QUESTIONS
Your sign is like a beautiful painting, but even easier to hang. You have three convenient options to choose from:
1. **Mount it to the wall:** Secure your sign directly onto the wall for a sleek and stable display. This option is perfect for showcasing your sign prominently in any room.
2. **Hang it from the ceiling:** Create a floating effect by hanging your sign from the ceiling. This method adds a unique and eye-catching dimension to your space.
3. **Use 3M strips:** For a hassle-free and non-invasive solution, use 3M strips to adhere your sign to the wall. These strips are strong and easy to remove, making them an excellent choice for renters or those who prefer not to drill holes.
If you cannot mount or hang your sign, we can offer you a stand option, providing flexibility and ease of placement. See examples of how to hang your sign here.
Every piece we create is 100% handmade, ensuring the highest standard of craftsmanship and quality. This meticulous process requires some time, and we appreciate your patience as we bring your vision to life.
**Standard Production and Delivery:**
- Generally, it takes 1 to 2 weeks to produce and deliver your beautiful piece after payment. This timeframe allows us to carefully craft and test each sign to ensure it meets our rigorous standards.
**Express Delivery Option:**
- If you need your sign sooner, we offer an express delivery option for an extra charge. This option ensures that your sign will be produced and delivered within 10-14 business days. You can select this option at checkout to expedite the process.
**Special Events and Dates:**
- If you require your sign for a specific event or special date, please make sure to contact us at contact@neonsignlife.com. We understand the importance of timely delivery for special occasions, and we will do our best to ensure your sign arrives on time.
**Worldwide Free Shipping:**
- We are pleased to offer free shipping worldwide, making it easy and affordable for you to receive your custom LED neon sign no matter where you are.
By choosing us, you are investing in a high-quality, handmade product that is worth the wait. We take pride in our work and are committed to delivering exceptional neon signs that light up your life.
Plugging in your LED neon sign is a simple and straightforward process that will have your wall glowing in no time. Follow these steps:
1. **Connect the Dimmer Switch:** Start by plugging your dimmer switch between your LED neon sign and the power supply. The dimmer switch allows you to control the brightness of your sign, providing the perfect ambiance for any setting.
2. **Attach the Power Supply:** Once the dimmer switch is securely connected, plug the power supply into a nearby electrical outlet. Ensure the connections are tight and secure to avoid any interruptions in power.
3. **Light Up Your Space:** With everything connected, turn on the power supply and watch your wall come to life with vibrant neon colors. Adjust the dimmer switch to achieve your desired brightness level, creating a captivating and personalized lighting experience.
Following these steps ensures a seamless setup, allowing you to enjoy the mesmerizing glow of your LED neon sign immediately.
Our standard neon signs are designed for indoor use only. However, we can make your sign outdoor compatible if you plan to hang it outside. Once you've placed your order, please let us know via email at contact@neonsignlife.com. Your sign will need to be specially made with a unique power supply, and there may be additional charges. Our team will provide all the details via email.
Please note that dimmers cannot be used on outdoor signs. Additionally, it's important to protect your sign from extreme weather conditions. Outdoor signs should not be mounted on metal structures to avoid potential issues.
We offer a 2-year warranty with all our LED neon signs. This warranty ensures that any manufacturing defects or issues with the sign will be covered, providing you with peace of mind. However, please note that the warranty does not cover damage resulting from incorrect installation or physical damage during usage.
If you encounter any issues with your sign, please contact us. We are committed to finding the best solution for you and ensuring your complete satisfaction.
Sometimes it's hard to imagine what your neon sign will look like in real life or decide on the best color. Don't worry—our designers will send you a mockup before finalizing your design. This way, you can see exactly how your sign will look, including size and colors, and make any necessary adjustments. This process ensures your sign is perfect and matches your vision before production begins.
