Introduction to Custom Neon Light Design
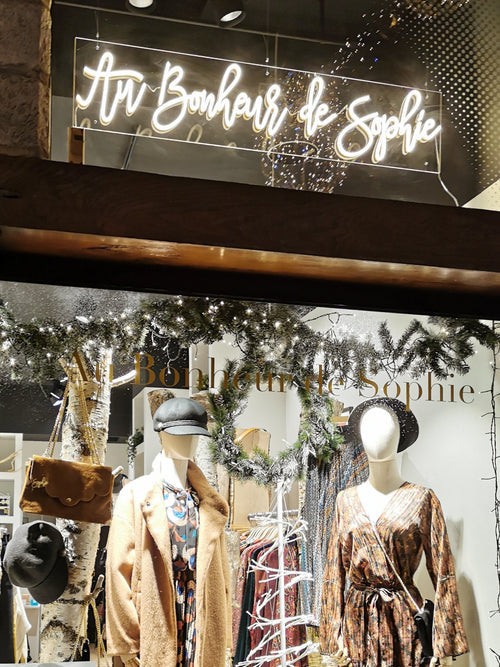
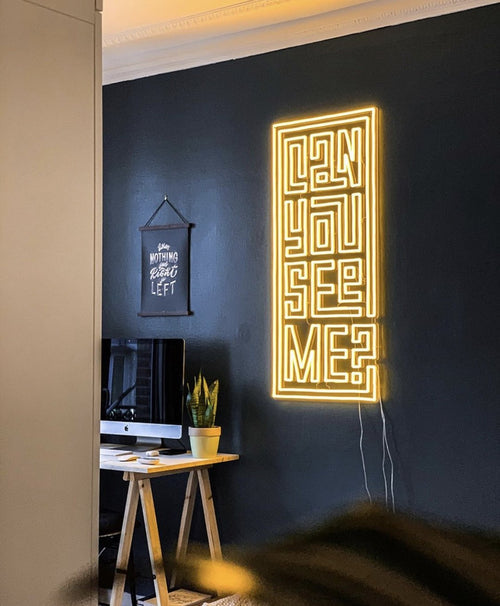
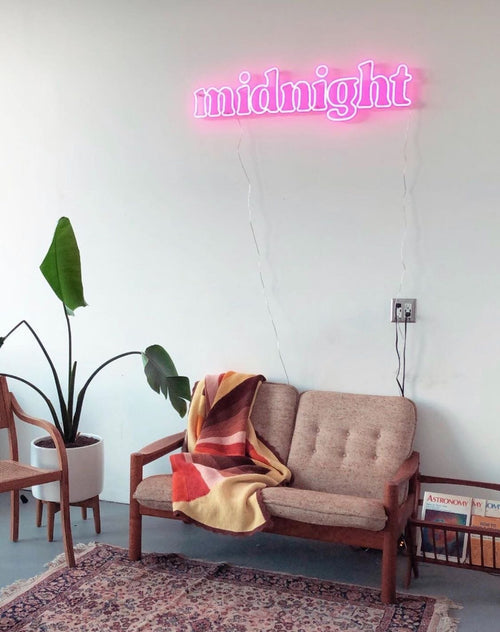
Neon lights have transcended their original purpose as signage to become a popular element in home decor, art installations, and personal expression. Their vibrant colors, flexible shapes, and luminous glow can transform any space, making it inviting and unique. Whether you’re designing for a business, an event, or your personal space, understanding how to create a custom neon light design is crucial.
1. Finding Inspiration for Your Design
a. Explore Existing Neon Designs
Before embarking on your own design, immerse yourself in the world of neon lights. Browse through online galleries, social media platforms like Instagram and Pinterest, and visit local businesses that utilize neon signage. Take note of what resonates with you—colors, shapes, themes, and typography.
b. Identify Your Purpose
Your design should reflect its intended purpose. Ask yourself the following questions:
- Is it for a business, such as a café or bar?
- Is it meant for personal decor in a home setting?
- Will it be used for an event or celebration?
Identifying the purpose will guide your design choices.
c. Create a Mood Board
Gather images, colors, and materials that inspire you. A mood board will help you visualize your ideas and serve as a reference throughout the design process. Include different custom neon light design, color palettes, and even textures that inspire the vibe you want to achieve.
2. Conceptualizing Your Design

a. Sketching Ideas
Once you have a mood board, begin sketching your ideas. You don’t need to be an artist—simple outlines and shapes will suffice. Focus on:
- Overall shape (e.g., geometric, organic)
- Key elements (e.g., words, symbols)
- Color combinations
Consider how the design will look in different settings. Would it be best suited as a standalone piece, or should it integrate with other decor elements?
b. Typography and Graphics
If your design includes text, pay attention to typography. Choose fonts that reflect the tone of your design—playful, elegant, modern, or vintage. You can create custom lettering by manipulating existing fonts or hand-drawing letters.
For graphic elements, think about simple shapes or icons that complement your message. The cleaner the design, the more impactful the final product will be.
3. Choosing Materials for Your Neon Light
a. Neon vs. LED Neon
Traditional neon lights are made from glass tubes filled with neon gas, which illuminate when an electric current passes through. However, for DIY projects, LED neon flex is often more practical. LED neon replicates the appearance of traditional neon while offering advantages like:
- Lower energy consumption
- Greater flexibility in shapes and designs
- Safety and ease of installation
b. Backing Material
Your neon light design will need a backing to hold the lights in place. Options include:
- Acrylic sheets: Lightweight and can be cut to shape.
- Wood: Provides a rustic look and can be stained or painted.
- Metal: Offers a modern aesthetic but may require additional tools for cutting and shaping.
4. Designing the Layout
a. Digital Mockups
Before proceeding with the physical creation, use graphic design software like Adobe Illustrator or free alternatives like Canva to create a digital mockup of your design. This step allows you to visualize how the colors and shapes will look together and make necessary adjustments.
b. Measuring and Scaling
Determine the size of your custom neon light design. Consider the space where it will be displayed. Use a ruler or measuring tape to ensure your design will fit appropriately. Pay attention to the scale of elements; they should be balanced and harmonious.
5. Assembling Your Custom Neon Light
a. Cutting the Backing
Once your layout is finalized, cut your backing material to size. Use appropriate tools for the material:
- For acrylic, a jigsaw or laser cutter works well.
- For wood, a saw can help you achieve the desired shape.
- For metal, ensure you have safety gear and the correct tools for cutting.
b. Attaching the Neon Lights
If using LED neon flex, it typically comes with an adhesive backing. Carefully peel and stick it onto the backing according to your design. For more complex designs, you may need to use clips or screws to secure the lights in place.
c. Wiring and Power Supply
Ensure you follow safety guidelines when connecting your neon lights to a power supply. If you’re unfamiliar with electrical work, consider consulting a professional. Use the appropriate voltage and connectors, ensuring everything is safely insulated.
6. Testing Your Design
Once assembled, plug in your custom neon light design to test it. Check for any flickering or sections that may not be illuminating correctly. Make necessary adjustments by reconnecting wires or replacing faulty sections.
7. Installation and Display
a. Choosing the Right Location
Consider where you want to display your neon light. Ensure it’s in a place where it can be easily viewed and appreciated. Wall-mounted designs should be positioned at eye level, while freestanding designs may require stable surfaces.
b. Mounting Your Neon Light
Depending on the design, mounting options include:
- Wall brackets or hangers for wall-mounted pieces.
- Stands or bases for freestanding lights.
- Adhesive strips or hooks for lightweight designs.
c. Power Access
Ensure your design is near a power source or consider using extension cords if necessary. For safety, avoid placing wires in high-traffic areas where they might be tripped over.
8. Maintenance and Care
a. Cleaning Your Neon Light
Regular maintenance will keep your neon sign light looking vibrant. Use a soft, dry cloth to wipe down the surfaces. Avoid using harsh chemicals that might damage the materials.
b. Troubleshooting Issues
If your neon light stops working, check the power supply and connections first. Look for any damaged wires or components. If necessary, consult the manufacturer’s guidelines for repairs or replacements.
9. Marketing and Sharing Your Design
If you’re creating custom neon light design for a business or as a hobby, consider sharing your work online. Social media platforms, particularly Instagram and TikTok, are great for showcasing your designs. Use relevant hashtags to reach a broader audience.
a. Creating a Portfolio
Document your projects and create a portfolio to display your best work. Include high-quality images and descriptions of each piece, detailing your design process and materials used.
b. Selling Your Custom Designs
If you’re interested in selling your designs, set up an online store on platforms like Etsy or Shopify. Ensure you provide clear product descriptions and high-quality images. Engaging with your audience through social media can also drive traffic to your store.
Conclusion
Creating a custom neon light design is a fulfilling and creative process that allows for personal expression and artistry. From finding inspiration to installation, each step provides an opportunity to explore your creativity and design skills. Whether you choose traditional neon glass tubes or opt for flexible LED neon, the possibilities are endless.


