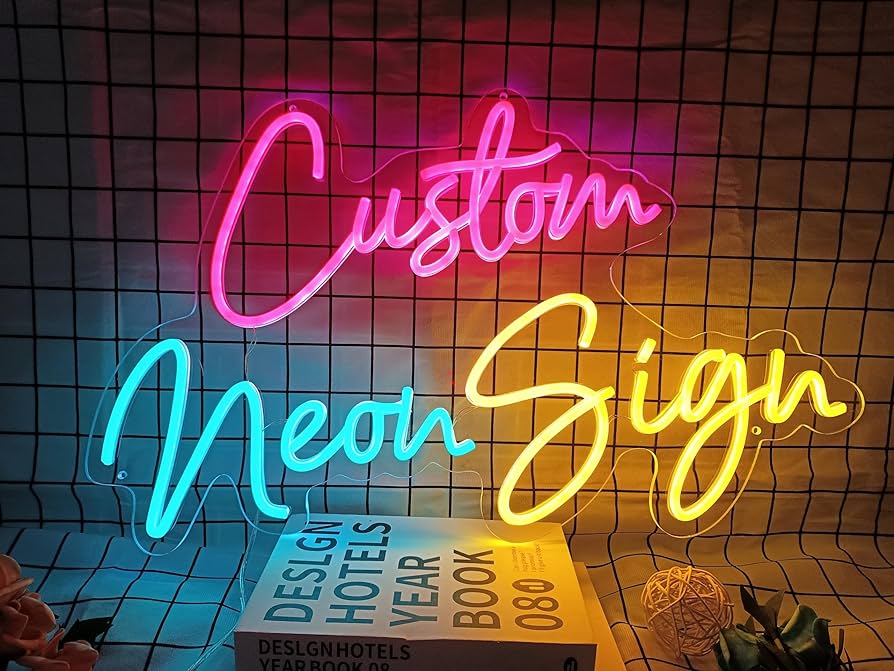
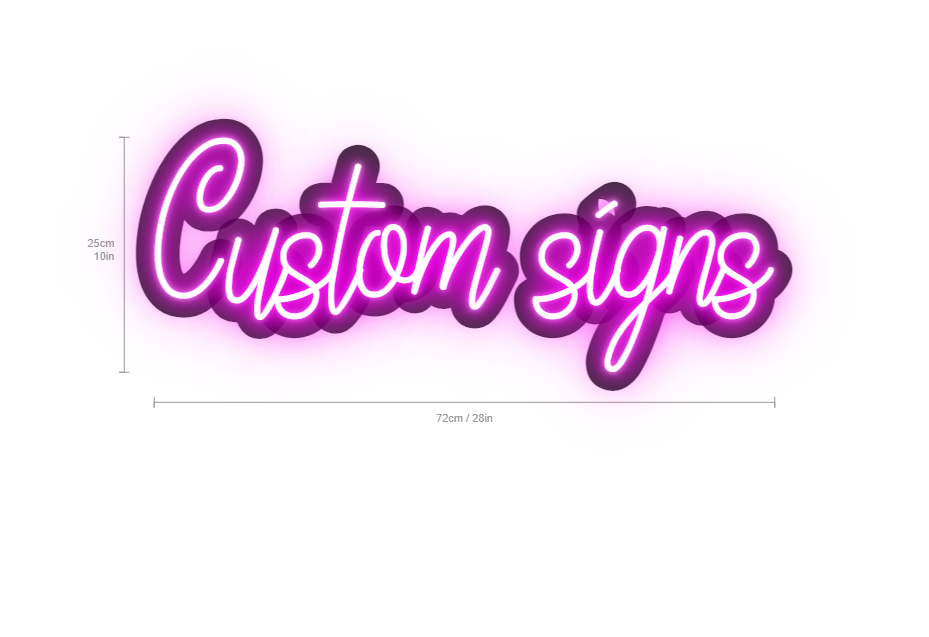
In the world of modern decor, few things are as eye-catching and expressive as a neon sign. These glowing works of art have evolved from classic advertising symbols to trendy design pieces for homes, events, and businesses. Whether you're looking to brighten up a personal space or draw attention to your brand, custom neon sign offer a perfect blend of style, creativity, and functionality. In this guide, we'll walk you through the fascinating process of designing your own custom neon sign, exploring everything from initial inspiration to the final glowing product.
The Power of Neon: Why Custom Signs Stand Out
Neon signs are more than just light fixtures; they’re statements. Here’s why custom neon signs have become so popular:
-
Bold Aesthetic: Neon signs instantly draw attention. Their vibrant glow and sharp colors make them stand out in any setting, creating a focal point that commands attention.
-
Personal Expression: With a custom neon sign, the possibilities are limitless. You can transform any phrase, image, or design into a glowing masterpiece that represents your personal style or brand identity.
-
Mood Lighting: Neon’s soft, warm light adds ambiance to any room. Whether you want to create a cozy atmosphere in your living room or energize a business space, a neon sign can enhance the overall vibe.
-
Timeless Appeal: While trends come and go, neon has a retro appeal that transcends time. It evokes feelings of nostalgia while still remaining modern and fresh in today’s design world.
Step 1: Conceptualizing Your Custom Neon Sign

Before you dive into the design process, take some time to think about what you want your custom neon sign to say—both literally and figuratively. Here are some key questions to guide your brainstorming process:
-
What message do you want to convey? Think about words, phrases, or images that resonate with you or represent your brand. This could be a motivational quote, a fun nickname, a logo, or even a symbol.
-
Where will you place it? The environment plays a crucial role in how your sign will look. Will it hang in a dimly lit room where it can shine, or will it compete with other bright decor? The placement will also help determine the size, shape, and color.
-
What is the purpose of your sign? Is it purely decorative, or does it need to serve a functional purpose? Business owners, for example, may want a sign that doubles as branding, while someone decorating their home may focus more on aesthetic appeal.
Consider creating a mood board with visual inspirations, typography examples, and color schemes that you’re drawn to. This will help you stay focused and inspired as you move forward in the design process.
Step 2: Choosing Your Text and Font Style
Once you've settled on the message or design, it’s time to think about how it will be presented. Text-based neon signs are incredibly popular, and selecting the right font can make all the difference.
-
Font Style: The font you choose will define the personality of your neon sign. For example, a script or cursive font creates an elegant, flowing feel, while bold, block fonts make for a modern and clean design. For more playful, quirky vibes, you can go for a decorative or hand-drawn font.
-
Legibility: It’s essential that your sign is readable, especially from a distance. Thin, overly intricate fonts may look beautiful on paper, but they might lose their impact when turned into neon. Choose a font that balances style and clarity.
-
Custom Logos or Icons: If your sign is more than just text, think about incorporating custom logos, icons, or symbols. These can add an extra layer of personalization, especially for businesses looking to showcase their brand in a unique way.
Step 3: Picking the Perfect Colors
The beauty of neon signs lies in their vibrant hues. Neon tubes come in a wide variety of colors, ranging from classic reds, blues, and yellows to more subtle pastels like baby pink or mint green. LED-based custom neon sign offer even more flexibility with color options, as they can change shades or emit softer glows.
Here’s what to consider when choosing colors for your custom neon sign:
-
Contrast: Make sure your chosen colors contrast well with the background where your sign will hang. For example, a neon white sign on a light-colored wall might not stand out as much as it would on a darker backdrop.
-
Mood: Each color carries a specific vibe or emotion. Warm colors like red, orange, and yellow give off a lively, energetic feel, while cooler shades like blue, green, and purple create a calm, relaxed atmosphere.
-
Brand Colors: For businesses, it’s crucial to stick to your brand colors to ensure consistency. This will help reinforce brand identity and make your neon sign feel like a natural extension of your business.
Step 4: Size, Shape, and Layout
The size and shape of your neon sign will depend on the space where it will be displayed. Here are a few practical tips to keep in mind:
-
Space Availability: Measure the area where you plan to hang the sign. You don’t want a sign that’s too large and overwhelms the space or too small that it doesn’t make an impact.
-
Shape and Layout: Neon signs can be designed in virtually any shape or layout. Some people prefer a classic rectangular or square frame, while others might opt for a freeform shape that mirrors the text or image. Curved text, diagonal layouts, and overlapping designs can add a dynamic feel to your sign.
Step 5: Material Choices – Glass or LED Neon?
When it comes to neon signs, there are two main material options: traditional glass neon or modern LED neon.
-
Glass Neon: Traditional neon signs are made using glass tubes filled with gas, which creates that authentic, old-school neon glow. These signs are highly durable but require careful handling, as the glass can be fragile. They’re perfect for those looking to achieve that classic neon aesthetic.
-
LED Neon: LED neon signs use flexible silicone tubes that mimic the look of traditional neon but are more energy-efficient and easier to work with. They’re lightweight, less fragile, and available in a broader range of colors and effects. For most home and commercial uses, LED neon is the preferred choice due to its durability and versatility.
Step 6: Installation and Display
Once your custom neon sign is crafted, it’s time to bring it into your space. Installing a neon sign is relatively simple, but here are some considerations to keep in mind:
-
Wall Mounting: Most custom neon sign come with pre-drilled holes or hanging hardware, making them easy to mount on a wall. Be sure to use the proper anchors or hooks based on the weight of your sign.
-
Freestanding Signs: For events or pop-up installations, you may want a neon sign that doesn’t need to be mounted. Freestanding signs can be placed on tables, shelves, or even hung from temporary stands.
-
Power Supply: Neon signs are powered by transformers or adapters, so you’ll need a nearby electrical outlet. Be sure to consider cord placement when deciding where to display your sign.
Conclusion: Lighting Up Your Space with Luminous Creations
Custom neon signs are more than just lighting; they’re a form of self-expression, art, and ambiance. From cozy homes to bustling businesses, they transform ordinary spaces into luminous, eye-catching environments. Designing a custom neon sign is a creative process that allows you to turn your vision into a glowing reality, tailored specifically to your needs and style.
Whether you’re creating a bold branding piece for your business or adding a personal touch to your home decor, your custom neon sign is sure to light up any room. So go ahead—get creative, experiment with colors, fonts, and shapes, and let your luminous creation shine!


