
Want to add a vibrant, personalized glow to your space? You’re not alone. Many DIY enthusiasts and home decor lovers are asking the same question: “How do you make a custom neon sign at home?” This informational guide walks you through every step — from materials and tools to expert tips and safety precautions — so you can create your very own custom neon masterpiece.
Why DIY Neon Signs Are Trending
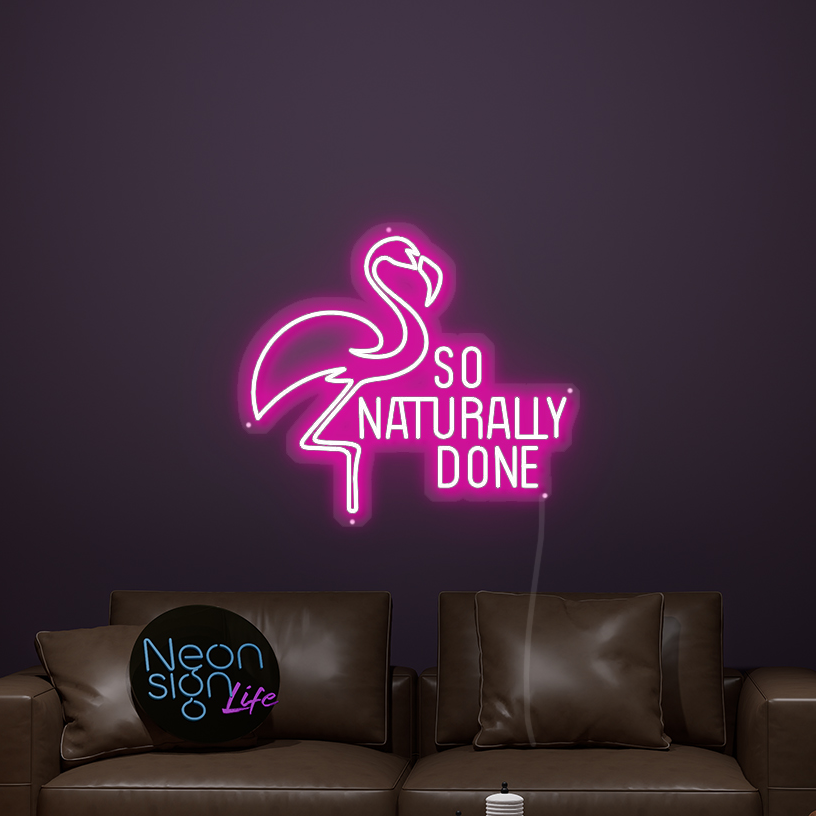
Custom neon signs have become a popular trend in 2024, with homeowners, event planners, and small business owners seeking personalized decor. Thanks to LED flex neon tubing, it’s now easier than ever to make neon signs at home — no dangerous gas or glassblowing required.
Creating a DIY neon sign lets you:
-
Save money
-
Customize colors, fonts, and messages
-
Enjoy a fun and creative project
Let’s dive into how you can get started.
Materials You’ll Need
Before answering “How do you make a custom neon sign at home?”, gather the necessary tools:
Basic Materials:
-
LED neon flex strip (your chosen color)
-
Transparent acrylic board or wood backing
-
12V power adapter and dimmer (optional)
-
Strong adhesive or glue gun
-
Wire cutters and pliers
-
Paper template of your design
Pro Tip: LED neon flex is a safer and more flexible alternative to traditional glass neon tubing.
Step-by-Step Guide: How to Make a Custom Neon Sign at Home
1. Sketch Your Design
Draw your custom text or image on paper at the actual size. You can use free tools like Canva or Photoshop to generate designs and print them out. Make sure your font isn’t too sharp — rounded or cursive fonts bend better with neon flex.
2. Prepare the Backboard
Cut your acrylic board or wooden base to your desired shape. Tape your printed design to the backboard — this will serve as a tracing guide.
3. Bend and Attach the LED Neon Flex
Carefully bend the LED neon strip along the outline of your design. Use your glue gun or adhesive clips to secure the strip in place. Take your time around curves and corners.
Tips for Bending
-
Avoid sharp turns — LED flex has a minimum bending radius.
-
Heat the tubing slightly with a hairdryer for easier bending.
-
Work in small sections to maintain control.
4. Connect the Power Supply
Once the tubing is secure, connect it to the 12V adapter. Always check polarity (positive to positive). You can also add a dimmer for adjustable brightness.

5. Mount and Display Your Sign
You’re done! Mount the finished sign on your wall using command strips, screws, or a stand — and watch your space come to life with custom glow.
Common Mistakes to Avoid
-
Using fonts with sharp angles
-
Rushing the bending process
-
Overheating the tubing
-
Skipping the power test before mounting
Learning how to make a custom neon sign at home comes with a learning curve, but it’s absolutely worth it when you see the final result light up.
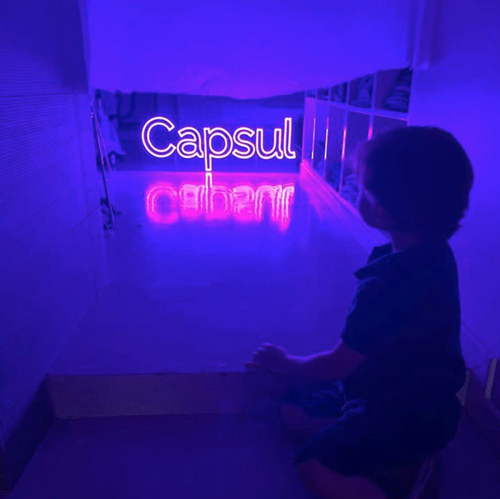
Real-Life Experience: My First DIY Neon Project
When I built my first neon sign, I used a cursive "hello" design on a circular acrylic board. The biggest challenge was maintaining tension in tight curves, but using a heat gun helped tremendously. The end result? A glowing sign that now sits above my workspace — and a newfound appreciation for LED neon crafting!
Final Thoughts
Learning how to make a custom neon sign at home isn’t just about decoration — it’s a creative journey. With the right tools, guidance, and a little patience, anyone can turn a simple idea into glowing reality.