Designing, creating, and installing a custom neon sign involves multiple steps, from concept to execution. This guide will explore the various aspects of the process, including design considerations, materials, manufacturing techniques, installation, and maintenance.
1. Understanding Neon Signs
Neon signs have been a popular form of advertising and decoration since the early 20th century. Traditionally, they are made using glass tubes filled with neon gas, which emits a bright glow when electrified. Modern alternatives include LED neon signs, which mimic the appearance of traditional neon but are often more energy-efficient and durable.
2. Design Considerations

A. Purpose and Audience
The first step in designing a custom neon sign is understanding its purpose. Are you creating a sign for a business, an event, or personal use? Knowing your audience is equally important. A vibrant sign may appeal to younger customers, while a classic design might attract an older demographic.
B. Message and Text
Decide on the message you want to convey. Keep it simple, as custom neon signs are best for short phrases or words. Consider using a catchy slogan, your business name, or a fun quote. Ensure that the font is readable from a distance; bold, sans-serif fonts are typically easier to read.
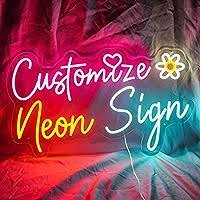
C. Color Scheme
Choose colors that reflect your brand or the mood you wish to convey. Neon colors are bright and vibrant, but ensure that they harmonize with the surroundings. Traditional neon colors include bright reds, blues, greens, and yellows, but you can also use pastel shades for a softer look.
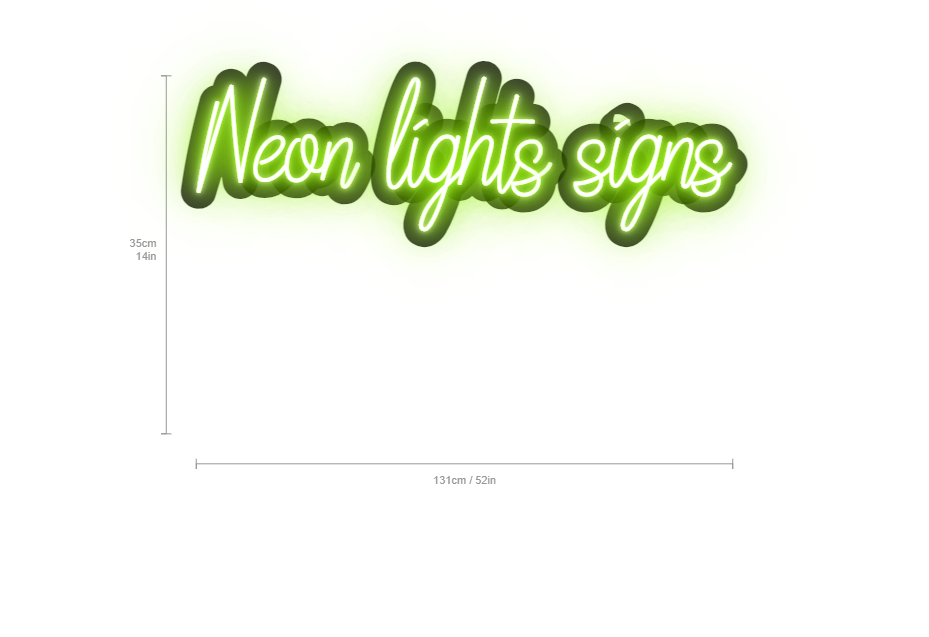
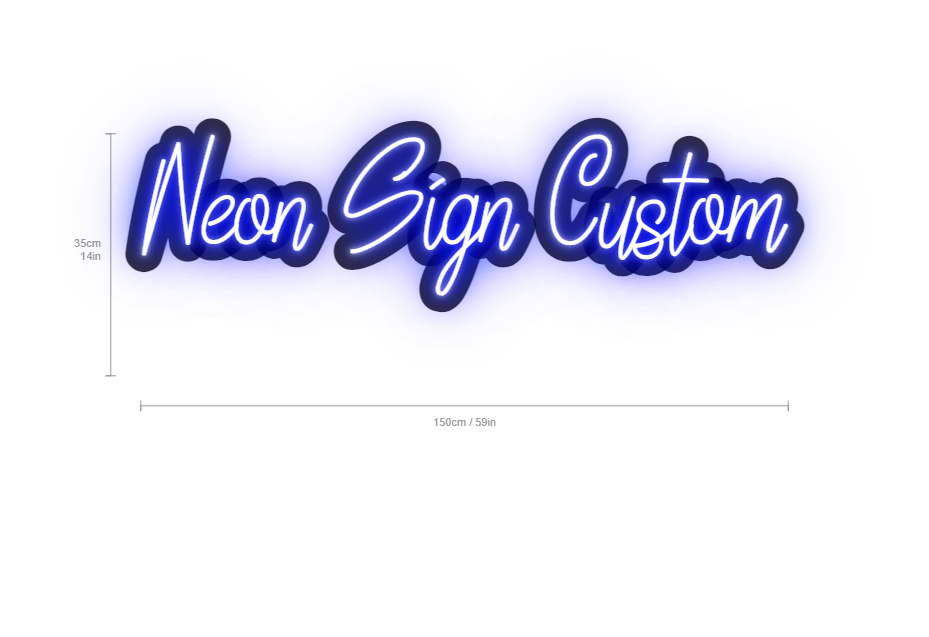
D. Size and Scale
The size of the sign is crucial, as it needs to be visible and legible from a distance. Consider where the sign will be placed and how far away viewers will typically be. A larger sign may be more impactful, but it should also fit comfortably within the intended space.
3. Materials and Manufacturing Techniques
A. Traditional Neon vs. LED Neon
-
Traditional Neon Signs:
- Made from glass tubes filled with neon or argon gas.
- Require skilled glassblowers to create the desired shapes.
- Provide a classic, vibrant glow but can be fragile and less energy-efficient.
-
LED Neon Signs:
- Made from flexible LED strips that imitate the look of neon.
- More durable and energy-efficient.
- Easier to work with, allowing for more complex designs.
B. Components
When creating a neon sign, consider the following components:
- Glass Tubes or LED Strips: The primary element of the custom neon sign.
- Transformers: Needed for traditional neon signs to convert standard voltage to the high voltage required for gas illumination.
- Backing Material: Often acrylic or metal, used to support the sign.
- Wiring and Connectors: Necessary for power connections, particularly for LED signs.
4. Manufacturing Process
The manufacturing process for a custom neon sign varies based on whether you choose traditional neon or LED.
A. Traditional Neon Sign Manufacturing:
- Design Drafting: Sketch the design and plan dimensions.
- Glass Shaping: Skilled artisans heat glass tubes and bend them into the desired shapes.
- Gas Filling: The tubes are evacuated and filled with neon or argon gas.
- Electrical Connection: Transformers are attached to provide power.
B. LED Neon Sign Manufacturing:
- Design Layout: Use design software to create a digital version of the sign.
- Cutting LED Strips: Cut LED strips to match the design layout.
- Wiring Setup: Connect the strips and prepare them for installation.
- Testing: Ensure all lights function properly before final installation.
5. Installation
Proper installation is crucial for both functionality and safety. Here’s a step-by-step guide:
A. Location Assessment
Determine the best location for your sign. Consider visibility, electrical access, and mounting surfaces. Make sure the area complies with local regulations regarding signage.
B. Mounting Options
- Wall-Mounted: Most common for indoor and outdoor signs.
- Hanging: Suspended from the ceiling or other structures, ideal for businesses with open layouts.
- Freestanding: Useful for events or outdoor displays.
C. Electrical Connections
Ensure that the custom neon sign is safely connected to an appropriate power source. For traditional neon signs, hire a licensed electrician to handle the high-voltage wiring. For LED signs, ensure the connections are secure and waterproof if necessary.
D. Safety Measures
Always follow safety guidelines during installation. Use appropriate tools, wear protective gear, and secure the sign properly to prevent falls.
6. Maintenance
Regular maintenance ensures that your neon sign remains functional and visually appealing.
A. Cleaning
Dust and dirt can accumulate on your sign over time. Use a soft, damp cloth to clean the surface without scratching it. For LED signs, ensure that no moisture enters the electrical components.
B. Troubleshooting
For traditional neon signs, flickering or dimming may indicate a problem with the transformer or gas levels. LED signs may need replacements for individual bulbs or strips if they stop working.
C. Professional Servicing
If you encounter issues beyond simple troubleshooting, consult professionals specializing in neon sign repairs. Regular inspections can help identify potential problems before they become major issues.
7. Cost Considerations
The cost of a custom neon sign varies significantly based on size, materials, and complexity. Here are some general pricing guidelines:
-
Traditional Neon Signs: These can range from $200 to several thousand dollars, depending on the design and size. More intricate designs will naturally cost more due to the labor involved in glass bending.
-
LED Neon Signs: Typically less expensive, with prices ranging from $100 to $1,500, depending on size and complexity. They are often considered more budget-friendly in the long run due to their energy efficiency and durability.
-
Installation Costs: Depending on your location and the complexity of the installation, hiring professionals can add $50 to $200 to your overall cost.
8. Conclusion
Creating a custom neon sign is a rewarding endeavor that combines creativity with technical skills. By carefully considering the design, materials, manufacturing processes, installation methods, and maintenance, you can ensure that your neon sign serves its intended purpose effectively and adds aesthetic value to your space. Whether you opt for the traditional allure of neon gas or the modern convenience of LED, a well-crafted neon sign can leave a lasting impression.