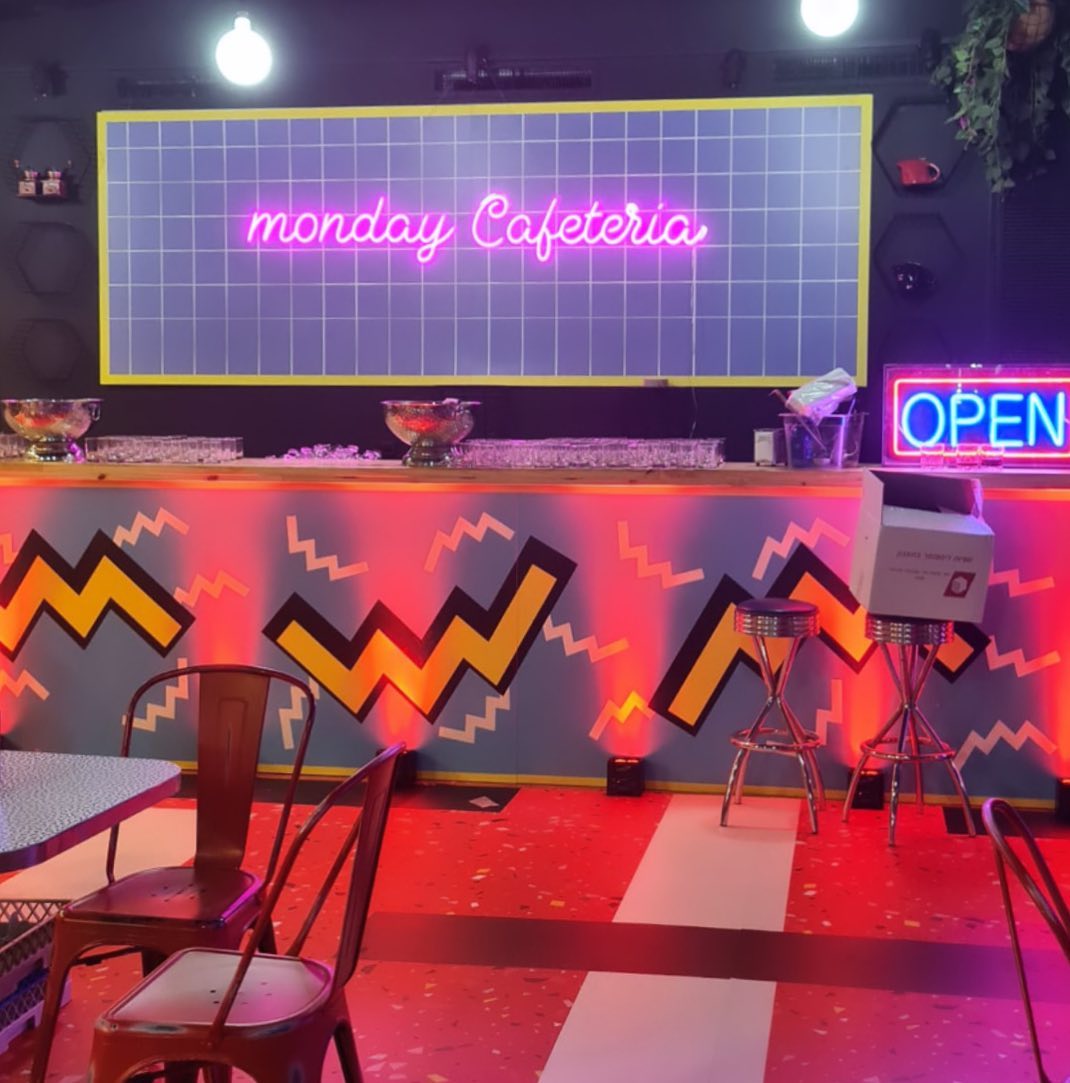
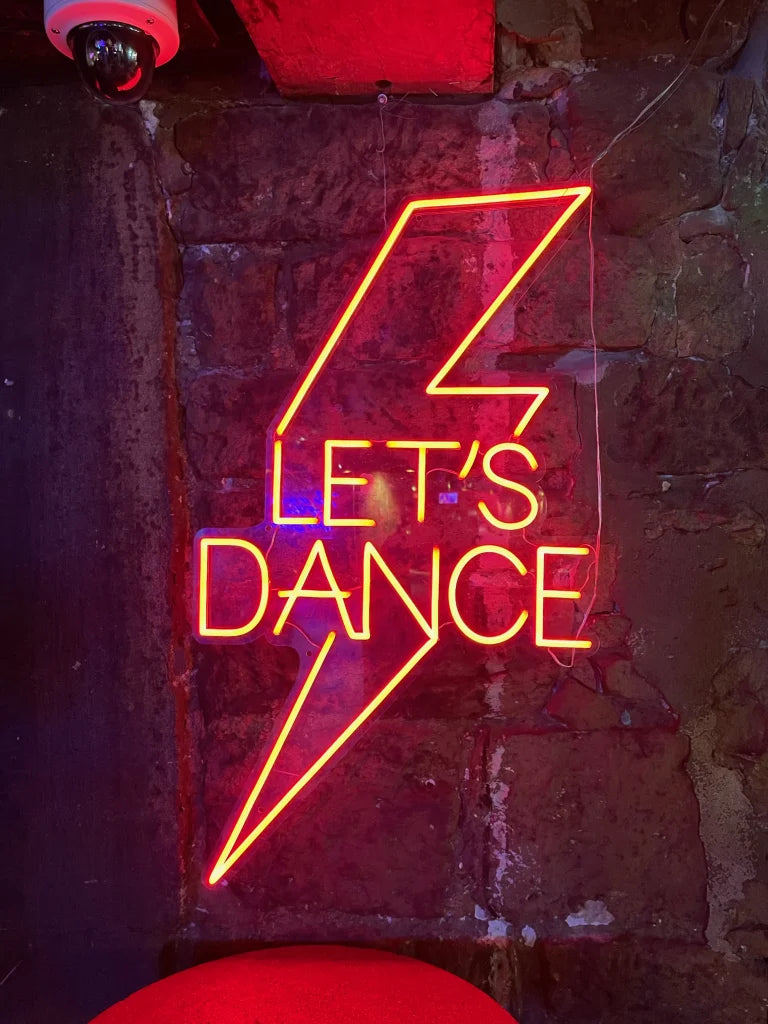
Neon signs have been captivating audiences for decades with their vibrant colors and glowing allure. They can convey a variety of messages, from simple words to intricate designs. Creating a customized neon sign involves a combination of creativity, technical knowledge, and an understanding of the message you want to communicate. In this comprehensive guide, we’ll break down the steps involved in designing a neon sign, emphasizing the considerations you need to make to ensure your sign is effective and aesthetically pleasing.
1. Define the Purpose of Your Neon Sign
The first step in creating a customized neon sign is to define its purpose. What message do you want to communicate? The purpose can vary widely:
- Business Promotion: Signs like “Open,” “Sale,” or your business name can attract customers.
- Home Decor: A personalized sign with a meaningful quote or your family name can enhance your living space.
- Event Signage: Signs for weddings, parties, or other events can add a fun element to your décor.
- Artistic Expression: Some may want to create a unique piece of art that showcases their creativity.
Once you have a clear understanding of the purpose, you can proceed to the next steps.
2. Choose Your Message

The message is the core of your neon sign. It should be short, impactful, and easy to read. Consider the following tips when choosing your message:
- Keep It Short: Customized neon signs are typically most effective with short phrases or single words. Aim for brevity to enhance readability.
- Use Catchy Phrases: If your sign is for a business, a catchy slogan can help attract attention.
- Consider Your Audience: Tailor your message to resonate with the audience you want to reach. For instance, a whimsical message might work well for a children’s party, while a sleek, professional sign may be better for a corporate setting.
3. Select the Font Style
The font style you choose will greatly impact the overall look and feel of your neon sign. Here are some factors to consider:
- Readability: Ensure that the font is easily readable from a distance. Avoid overly intricate or cursive fonts that may be difficult to decipher.
- Personality: The font should reflect the personality of the message. For instance, a playful font may work for a children's event, while a bold sans-serif might be better for a business sign.
- Consistency: If your sign is part of a branding effort, ensure the font aligns with your overall branding strategy.
4. Choose the Color Scheme
Color plays a vital role in the effectiveness of neon signs. Here’s how to select the right color scheme:
- Understand Color Psychology: Different colors evoke different emotions. For instance, blue can be calming, while red can create a sense of urgency. Choose colors that align with the message you wish to communicate.
- Contrast: Ensure there is a good contrast between the text and the background to enhance visibility. Light text on a dark background, or vice versa, tends to work well.
- Brand Colors: If the customized neon sign is for a business, incorporate your brand colors for consistency and recognition.
5. Determine the Size and Shape
The size and shape of your neon sign will influence its visibility and aesthetic appeal. Here are some considerations:
- Space Availability: Measure the space where you plan to place the sign to determine the appropriate size. A sign that is too large may overwhelm a small space, while a sign that is too small may go unnoticed.
- Shape: Neon signs can be created in various shapes, from standard rectangles to custom shapes that reflect your message. Custom shapes can add a unique touch to your sign.
6. Consider the Material
When it comes to neon signs, you’ll typically have a choice between traditional glass neon tubes and modern LED neon flex. Here’s a comparison:
- Glass Neon Tubes: These are the classic neon signs made from glass tubes filled with gas. They offer vibrant colors and a traditional look but can be fragile and more expensive.
- LED Neon Flex: This option uses flexible LED lights to create a neon-like effect. They are more durable, energy-efficient, and easier to install, making them a popular choice for modern signs.
7. Create a Mockup
Before finalizing your design, create a mockup of your customized neon sign. This step allows you to visualize how your design will look in real life. You can use design software or even sketch it out on paper. Here’s what to include:
- Text Placement: Experiment with the layout of the text and any additional elements you want to include.
- Color Visualization: Use colors that you’ve selected to see how they work together.
- Overall Balance: Ensure that the design feels balanced and visually appealing.
8. Find a Reputable Manufacturer
Once you have your design finalized, it’s time to find a manufacturer or artist who can bring your neon sign to life. Here are some tips for selecting the right one:
- Research: Look for manufacturers with positive reviews and a portfolio of previous work. Online marketplaces often feature a variety of creators specializing in custom neon signs.
- Discuss Your Vision: Communicate your ideas clearly to the manufacturer, sharing your design mockup and any specific requirements you have.
- Get Quotes: Request quotes from multiple manufacturers to ensure you’re getting a fair price for your sign.
9. Installation Considerations
Once your neon sign is created, you’ll need to consider installation. Here are some important points:
- Location: Choose a location that maximizes visibility. If it’s for a business, placing it near the entrance can attract customers.
- Mounting Options: Decide how you want to mount the sign. Options include wall mounting, hanging from the ceiling, or placing it on a stand.
- Electrical Needs: Ensure that you have access to a power source if your sign requires electricity. If using LED neon flex, installation may be simpler since they often come with plug-and-play options.
10. Maintenance and Care
To ensure your neon sign stays vibrant and lasts for years, consider the following maintenance tips:
- Cleaning: Regularly dust your sign and clean it with a soft, damp cloth. Avoid using harsh chemicals that could damage the surface.
- Check Connections: If your sign is electrical, periodically check the connections to ensure they’re secure and functioning properly.
- Professional Help: If any issues arise, consult a professional for repairs to prevent further damage.
Conclusion
Creating a customized neon sign is a rewarding process that combines artistry with communication. By defining your purpose, selecting the right message, font, color scheme, size, and material, and collaborating with a reputable manufacturer, you can create a sign that not only looks fantastic but also effectively communicates your desired message.


