Custom neon
- Bootent® LED Materials
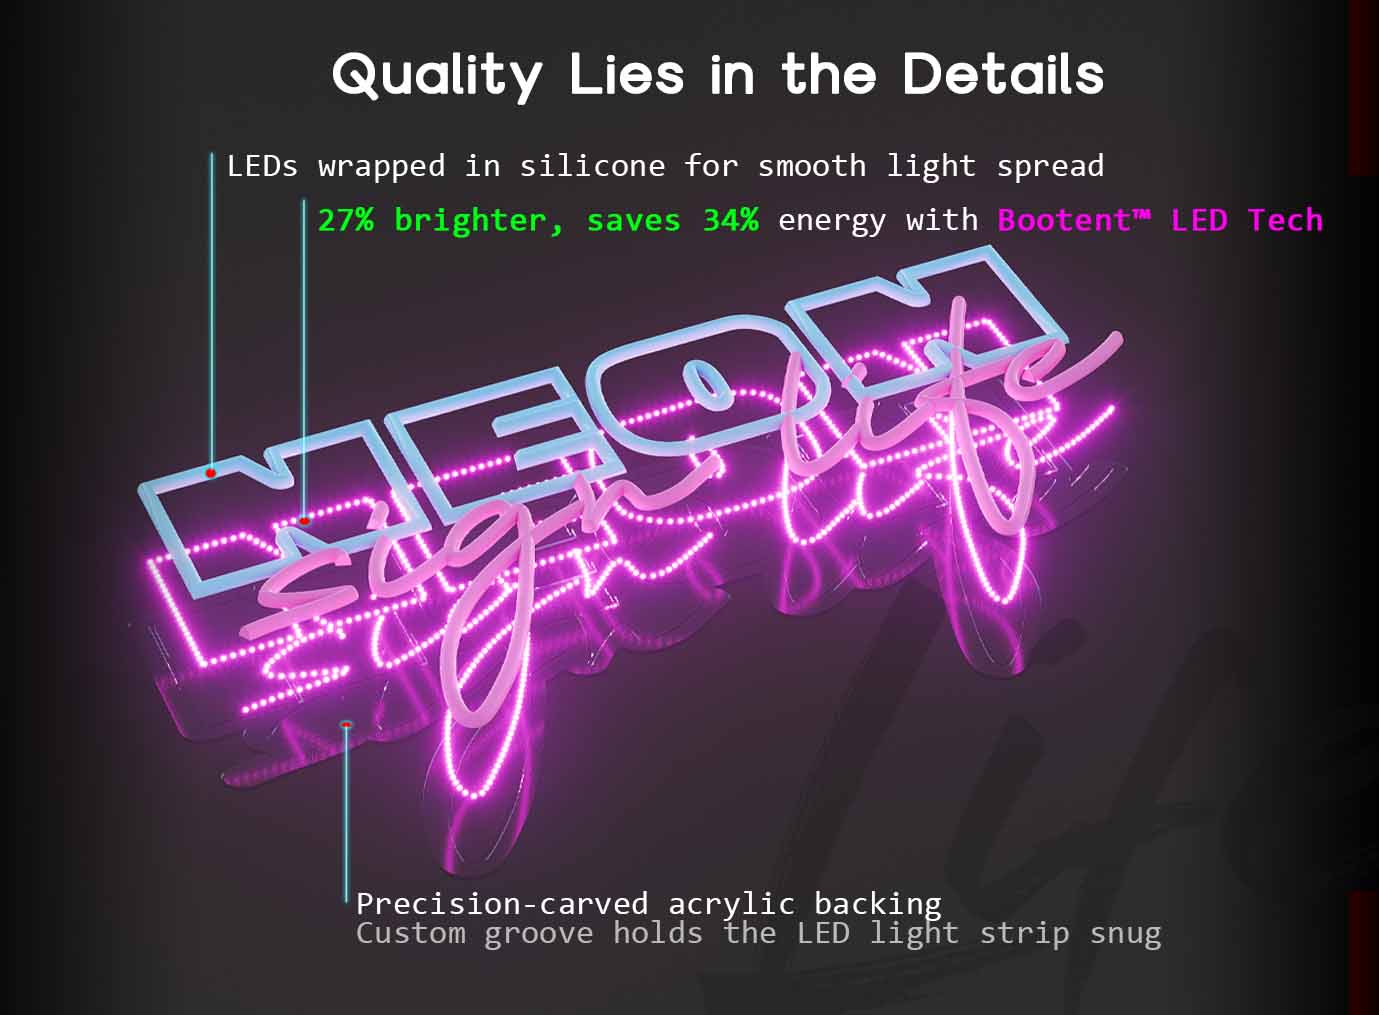
Our neon signs are crafted from neon flex material—PVC or Silicon piping filled with LED lights—affixed to recycled acrylic boards. This advanced composition not only replicates the vibrant and bright glow of traditional neon but also enhances durability and affordability. Crucially, it sets Bootent® LED apart from the materials used by other sellers on platforms like Amazon or Etsy.
We are committed to sustainability:
- Our LED lights consume 6 times less energy than traditional bulbs and boast a lifespan of up to 100,000 hours.
- We incorporate recycled materials into all of our products.
- Our packaging is 100% recycled, eliminating unnecessary plastic.
Bootent® LED represents a pioneering technology in the neon sign industry. Fully compliant with FCC, UL, and Prop 65 standards, Bootent® LED ensures that our customers are investing in a product that not only leads the market in quality and safety but also adheres to the strictest environmental and regulatory standards globally.
Shipping options will vary based on availability and can be confirmed during checkout:
- Opt for our no-cost Worldwide Standard Shipping and expect your item within 9 to 14 days.
- Enjoy Express Shipping for delivery within 8 to 9 days.
Shop with peace of mind: Our global delivery reach means we can bring your sign right to your doorstep. Plus, with our insured shipping, rest assured that any damage incurred en route will be met with a hassle-free replacement at no additional cost to you!
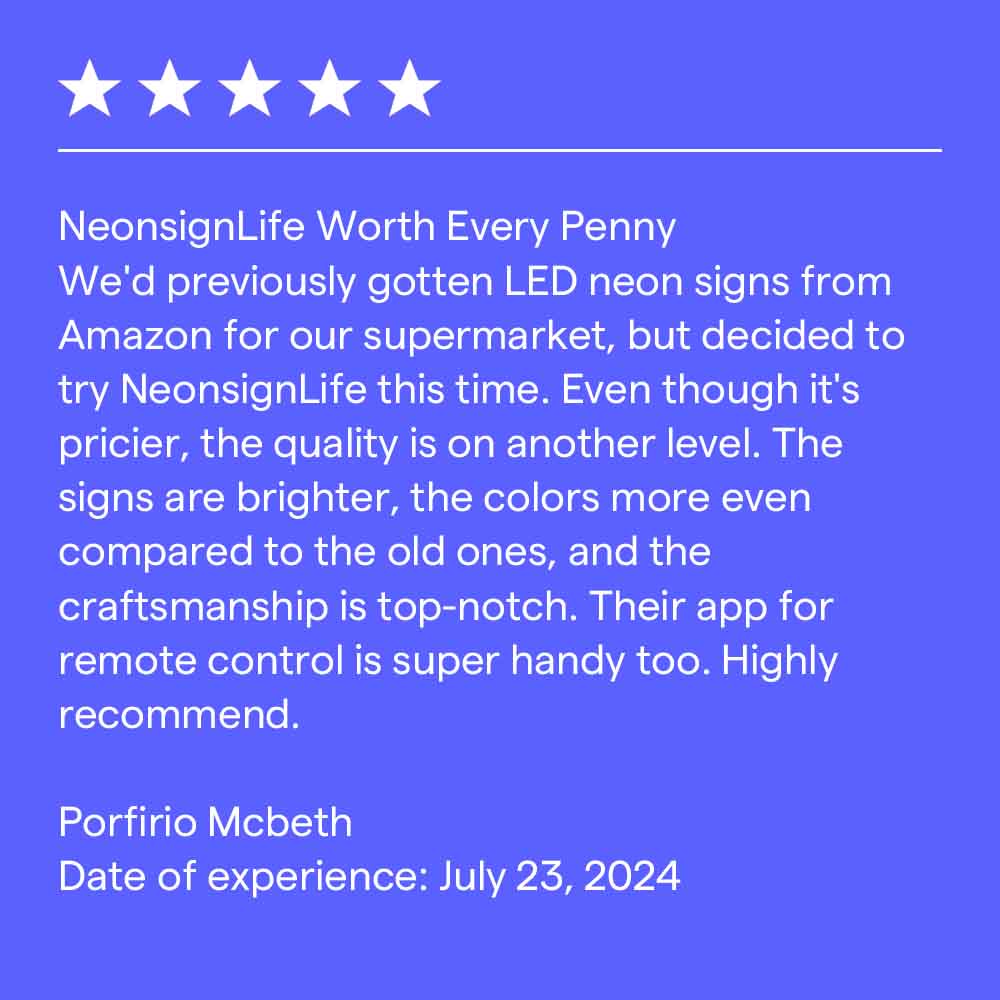
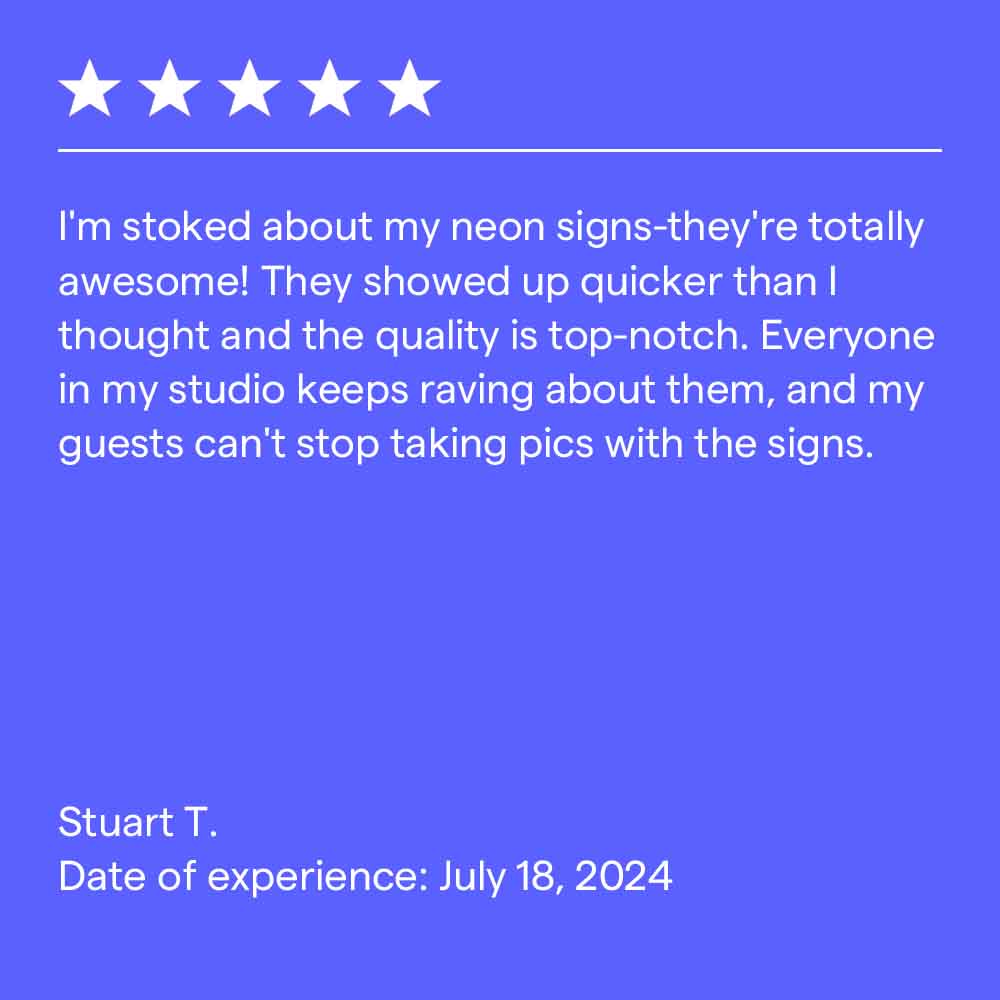
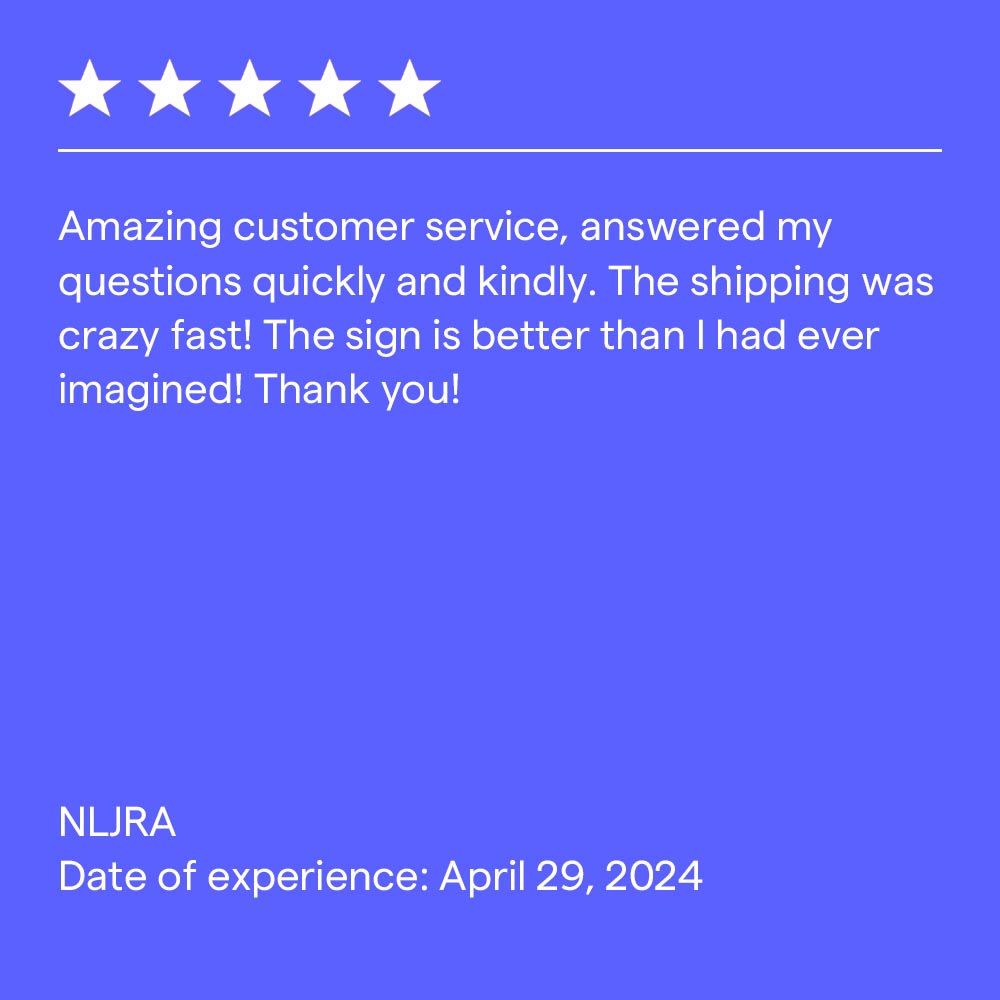
OVER 500+ 5 START REVIEWS
CUSTOMERS LOVE US
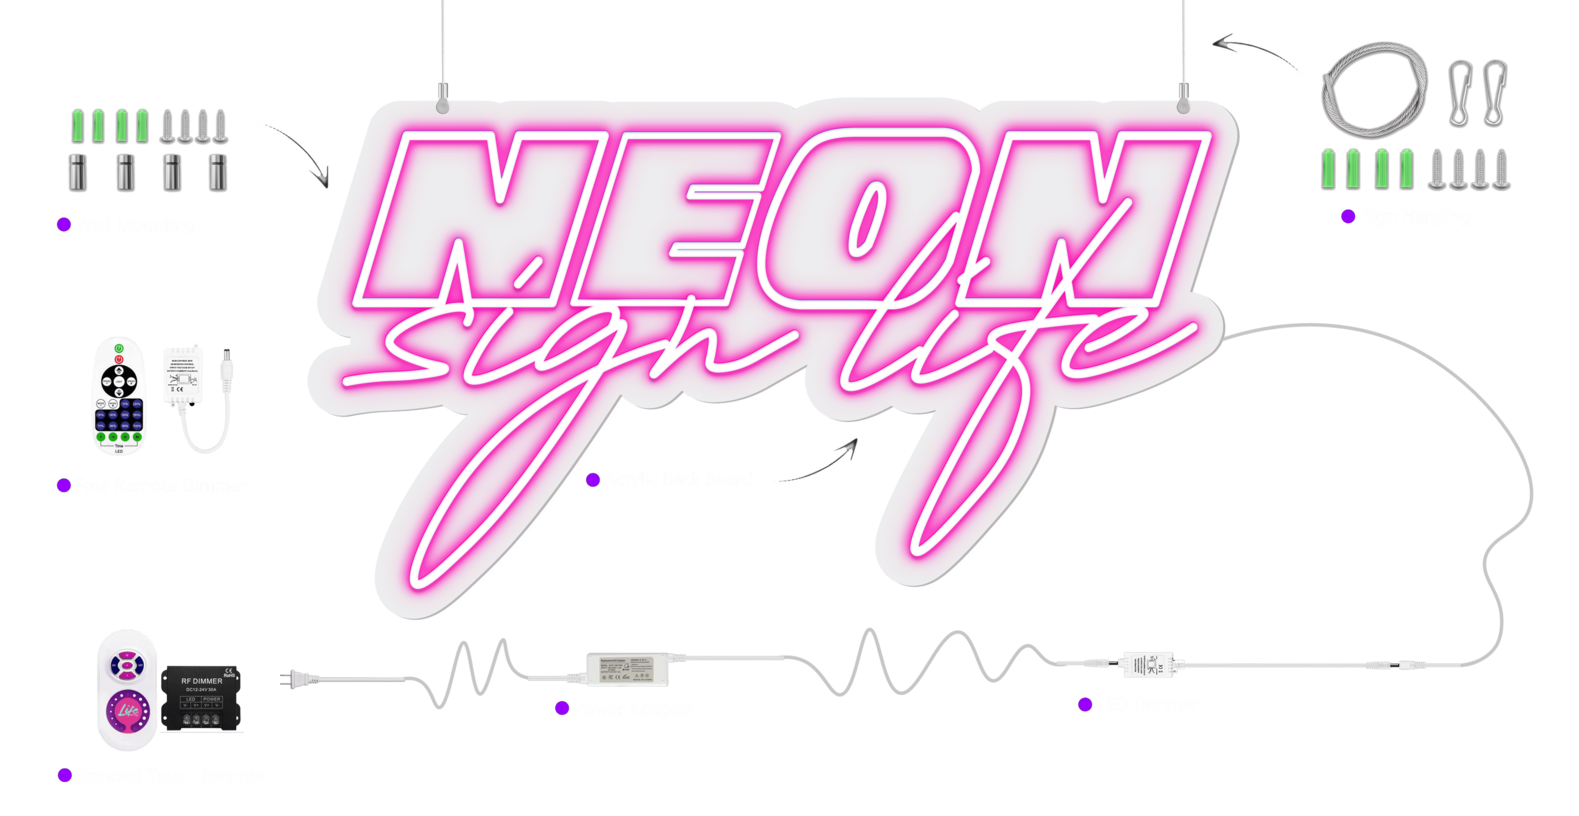
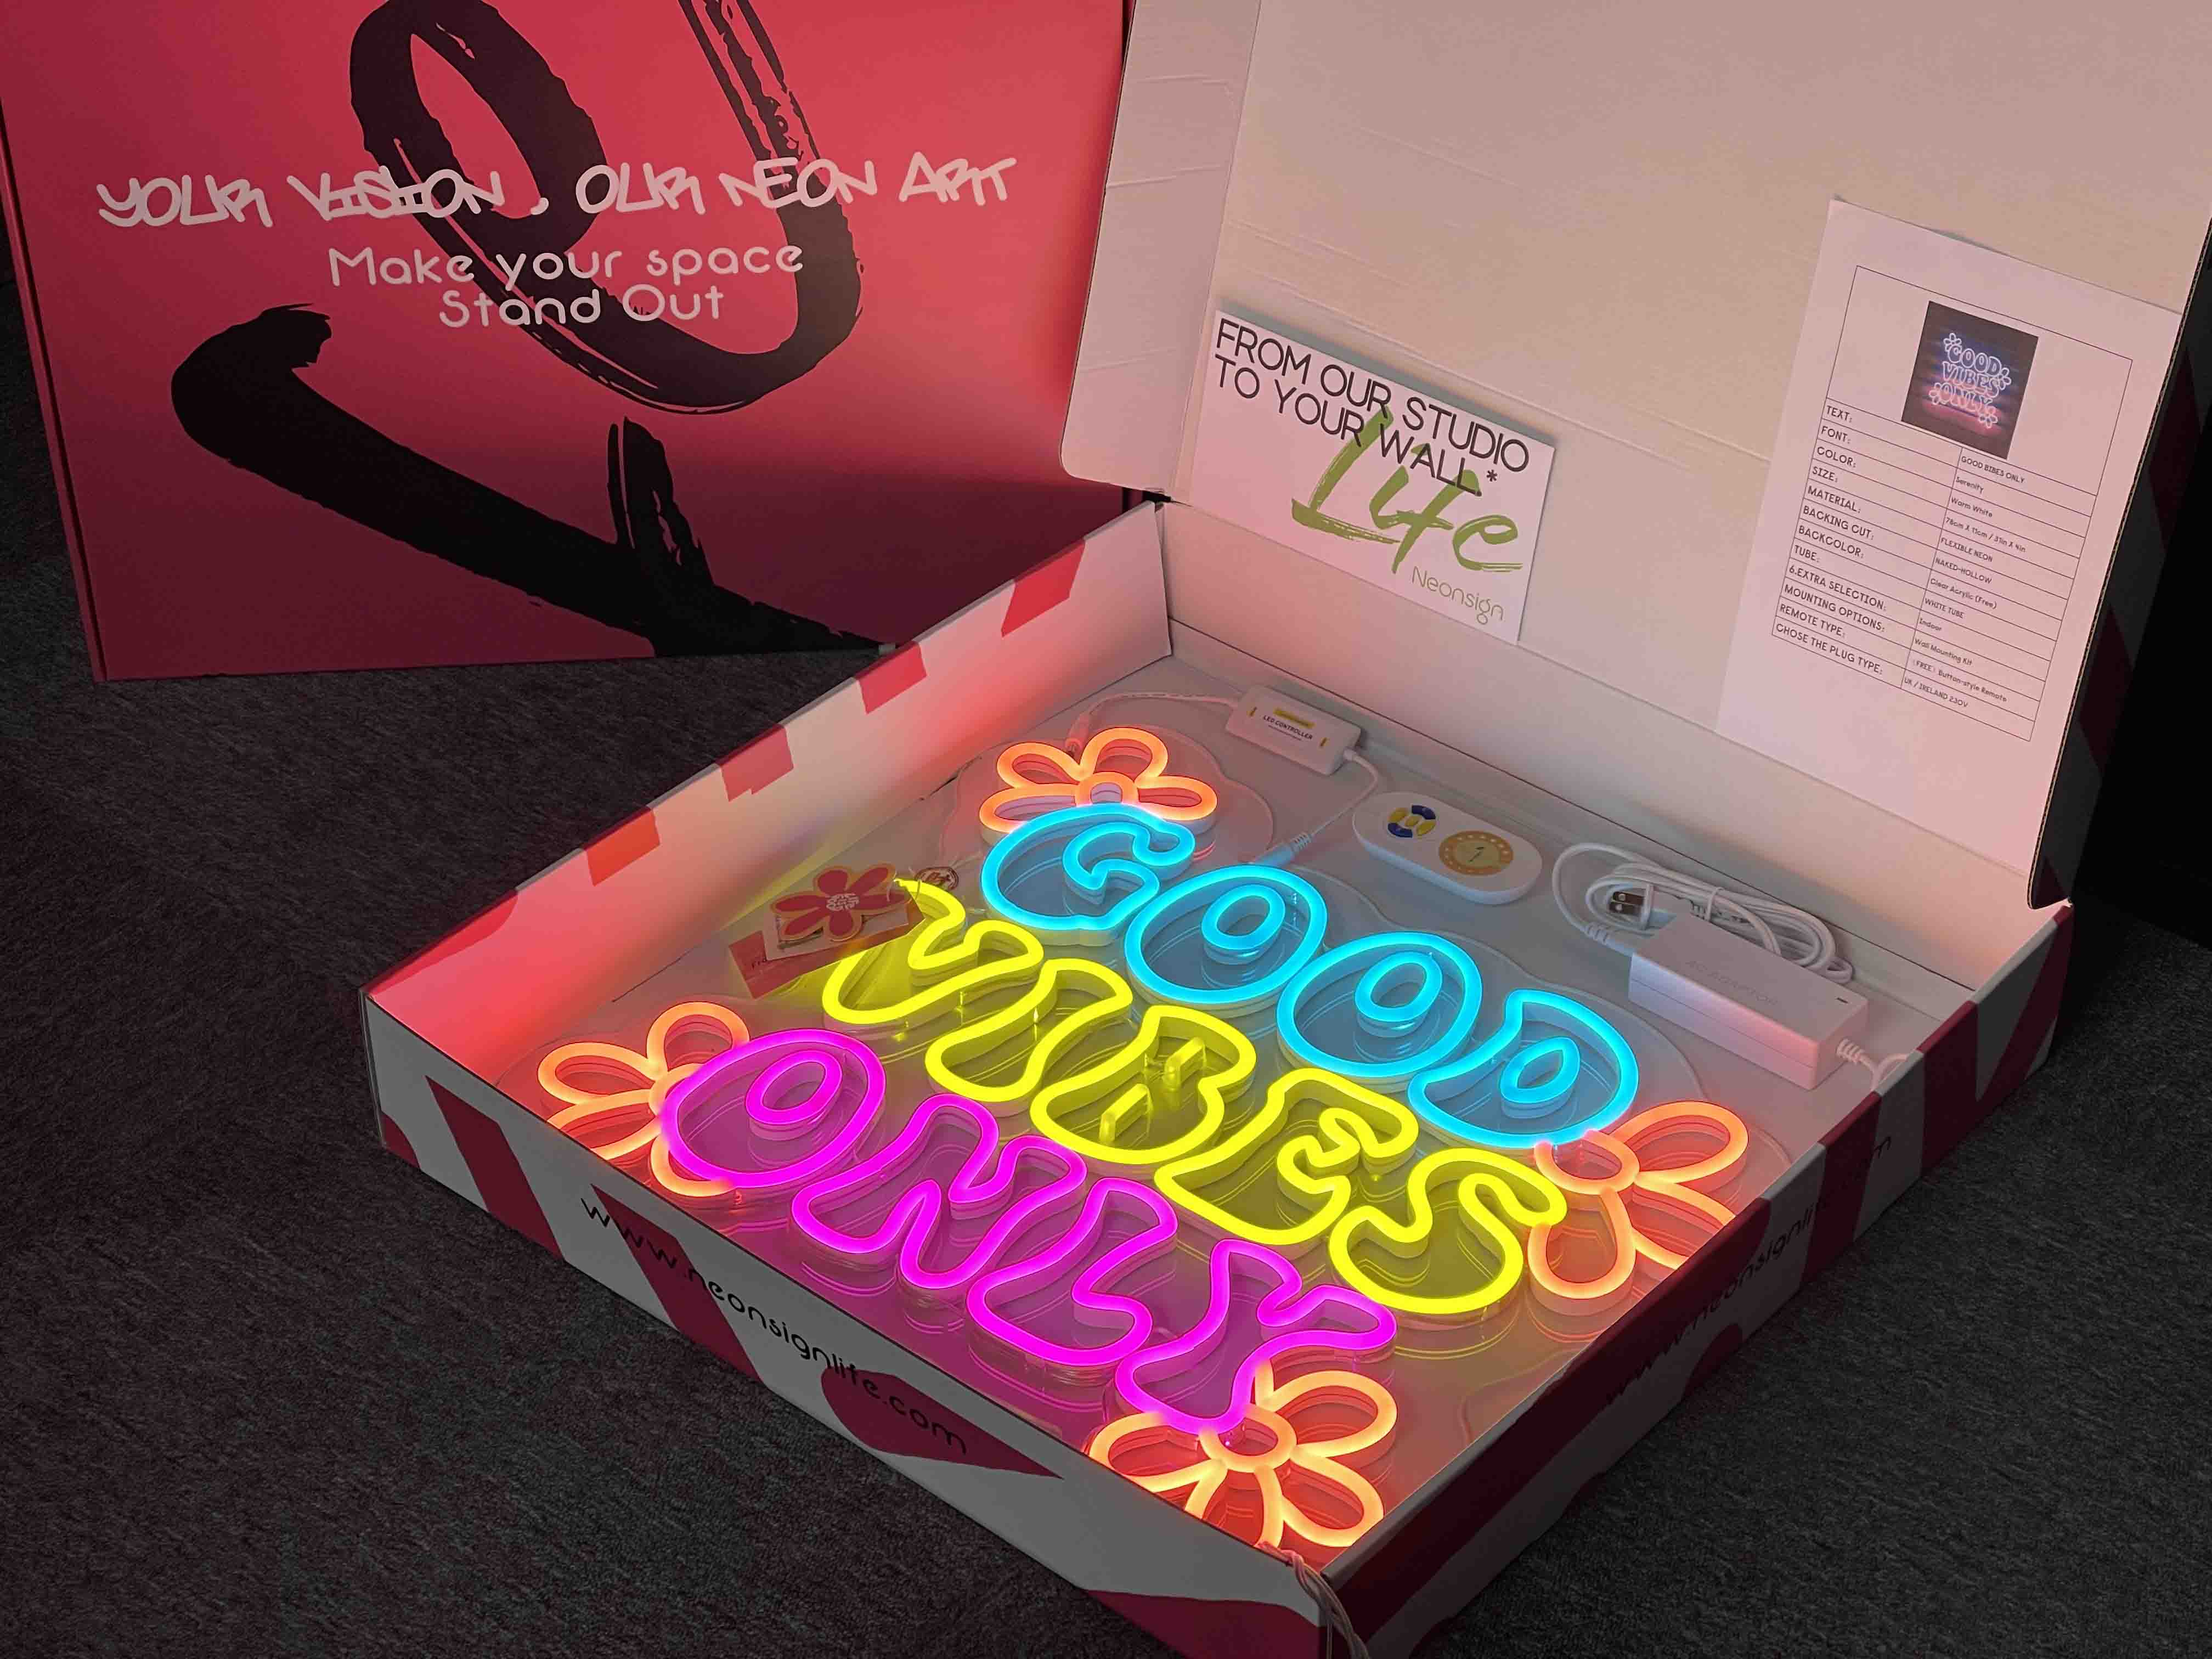
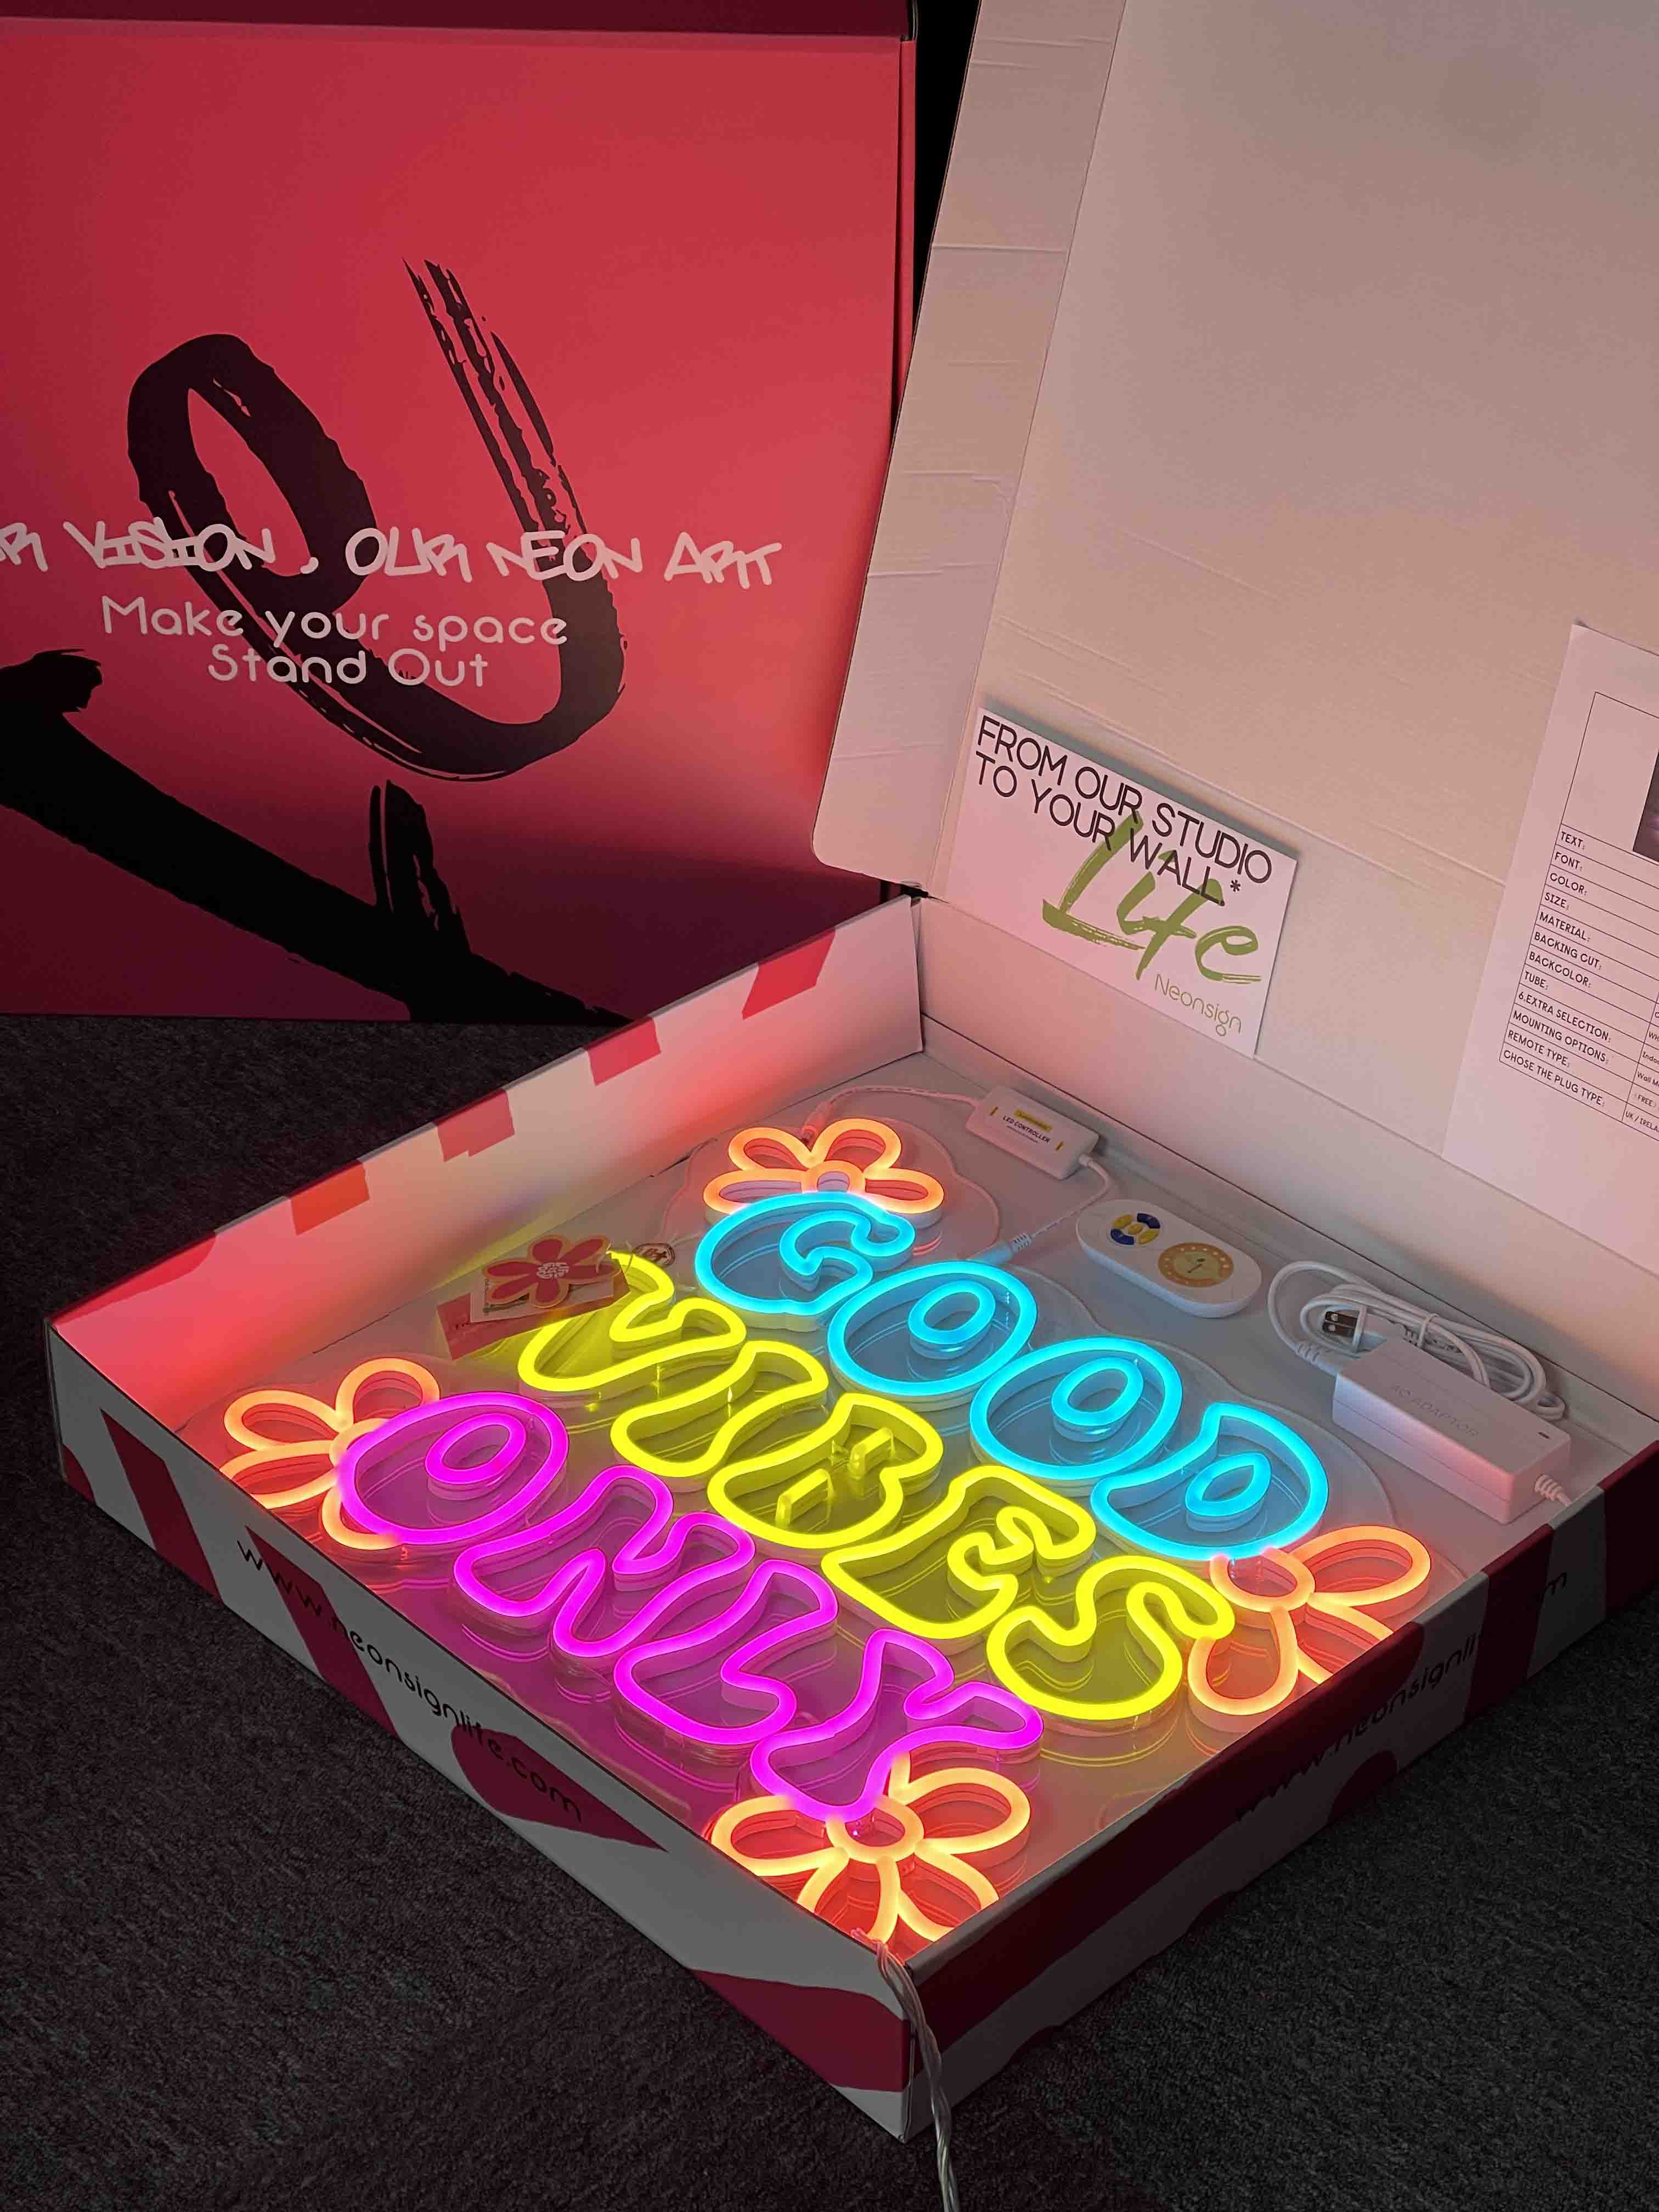
What's in the box
1.LED neon piece ; 2. Extension cable ; 3. Installation screw kit ; 4. Dimmer switch ; 5. Power supply
easy to install
shop with our guarantee
THE BEST BITS


Shipping options will vary based on availability and can be confirmed during checkout:
- Free Shipping: Delivered Within 9 - 12 Business Days
- Express Shipping: Delivered Within 6 - 9 Business Days
- Rush Order: 4 - 6 Days (Contact us to make sure the date)
Shop with peace of mind: Our global delivery reach means we can bring your sign right to your doorstep.
Plus, with our Shipping Pection, rest assured that any damage incurred en route will be met with a hassle-free replacement at no additional cost to you!
Bootent™ LED Materials
Our neon signs are crafted from neon flex material—PVC or Silicon piping filled with LED lights—affixed to recycled acrylic boards.
This advanced composition not only replicates the vibrant and bright glow of traditional neon but also enhances durability and affordability. Crucially, it sets Bootent™ LED apart from the materials used by other sellers on platforms like Amazon or Etsy.
We are committed to sustainability:
- - Our LED lights consume 6 times less energy than traditional bulbs and boast a lifespan of up to 100,000 hours.
- - We incorporate recycled materials into all of our products.
- - Our packaging is 100% recycled, eliminating unnecessary plastic.
Bootent™ LED represents a pioneering technology in the neon sign industry.
Fully compliant with FCC, UL, and Prop 65 standards, Bootent™ LED ensures that our customers are investing in a product that not only leads the market in quality and safety but also adheres to the strictest environmental and regulatory standards globally.
DIE KOMPLETTE ANLEITUNG ZUR INSTALLATION UND ANZEIGE VON LED-Neonschildern
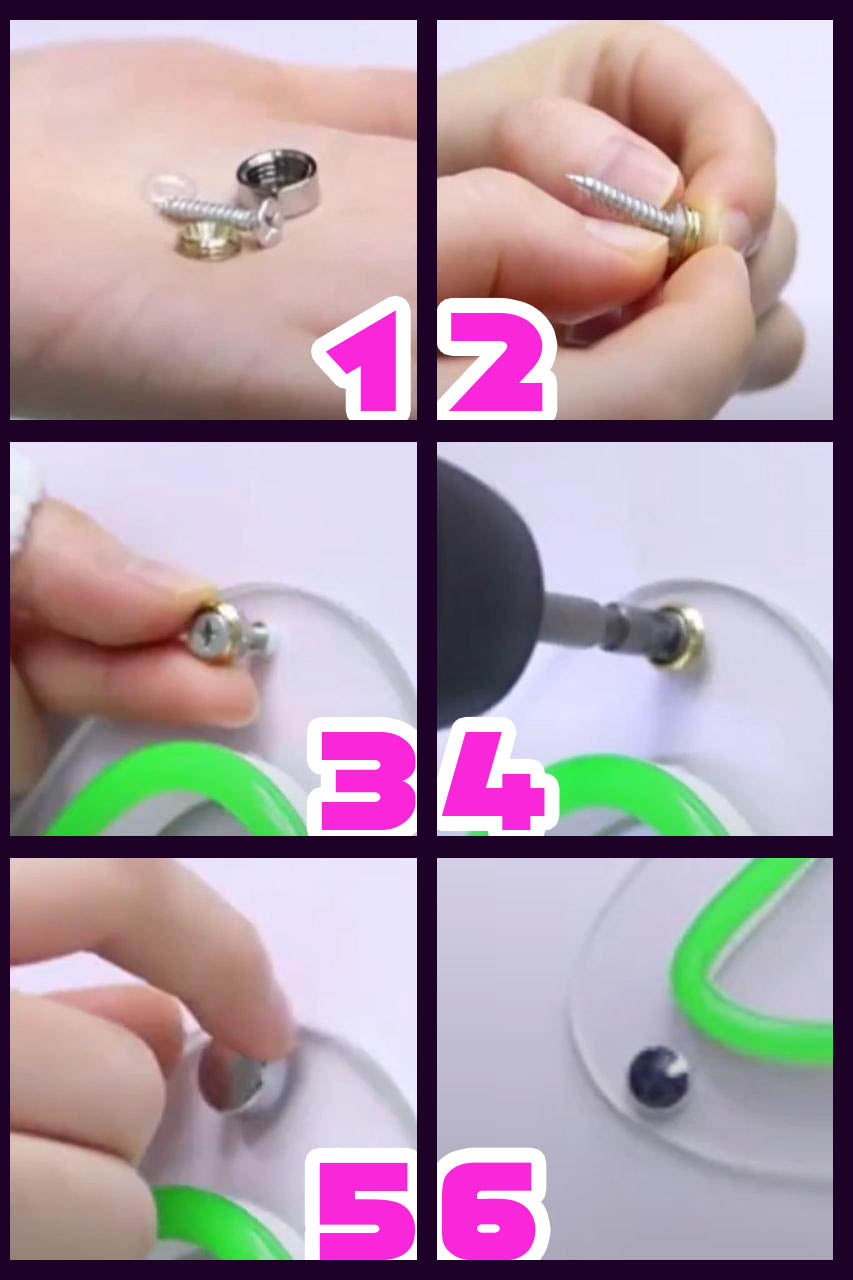
So installieren Sie Ihr LED-Neonschild mit Minischrauben:
Wenn Ihre Leuchtreklame mit geschnittener Acrylunterlage und Minischrauben geliefert wird. Befolgen Sie diese einfachen Schritte, um es in wenigen Minuten aufzuhängen:
1. Platzieren Sie die Leuchtreklame flach an der vorgesehenen Wand oder Stelle und heben Sie sie an, um Schäden zu vermeiden.
2. Bestimmen Sie den Aufhängeort. Markieren Sie mit einem Markierstift die vorgebohrten Löcher in der Wand, in die die Schrauben passen.
3. Legen Sie das Schild beiseite, um ein Zerkratzen der Acrylrückseite zu vermeiden. Verwenden Sie eine Bohrmaschine mit einem kleineren Spiralbohrer, um an den markierten Stellen in der Wand Pilotlöcher zu erstellen.
4. Richten Sie das Schild an den Bohrlöchern aus und platzieren Sie schwarze (oder goldene/silberne) Gummischeiben über den Löchern. Führen Sie die kleinen silbernen Schrauben durch die Löcher ein. Sichern Sie sie, indem Sie sie in die Führungslöcher bohren.
5. Wiederholen Sie den Vorgang für alle Schrauben und stellen Sie sicher, dass sie fest sitzen. Setzen Sie die kleinen silbernen Endkappen auf die schwarzen Gummischeiben, um den Look zu vervollständigen. Letzter Schritt: Stecken Sie das Schild in den Transformator und dann in die Steckdose. Ihre Leuchtreklame sollte problemlos leuchten.
So hängen Sie eine Leuchtreklame mit Abstandsschrauben auf:
Abstandsschrauben sind ideal für Oberflächeninstallationen wie Wände. Befolgen Sie diese Schritte, um Ihr Neonschild mit dieser Methode aufzuhängen:
1. Positionieren Sie die Leuchtreklame flach an der gewünschten Wand oder dem gewünschten Raum und achten Sie darauf, dass sie ausgerichtet ist.
2. Markieren Sie mit einem Markierstift die vorgebohrten Löcher in der Wand, in die die Schrauben passen. Bestätigen Sie den Aufhängeort, bevor Sie fortfahren.
3. Platzieren Sie das Schild an einem sicheren Ort, um die Acrylrückseite vor Kratzern zu schützen. Verwenden Sie eine Bohrmaschine mit einem kleineren Spiralbohrer, um an den markierten Stellen in der Wand Pilotlöcher zu erstellen.
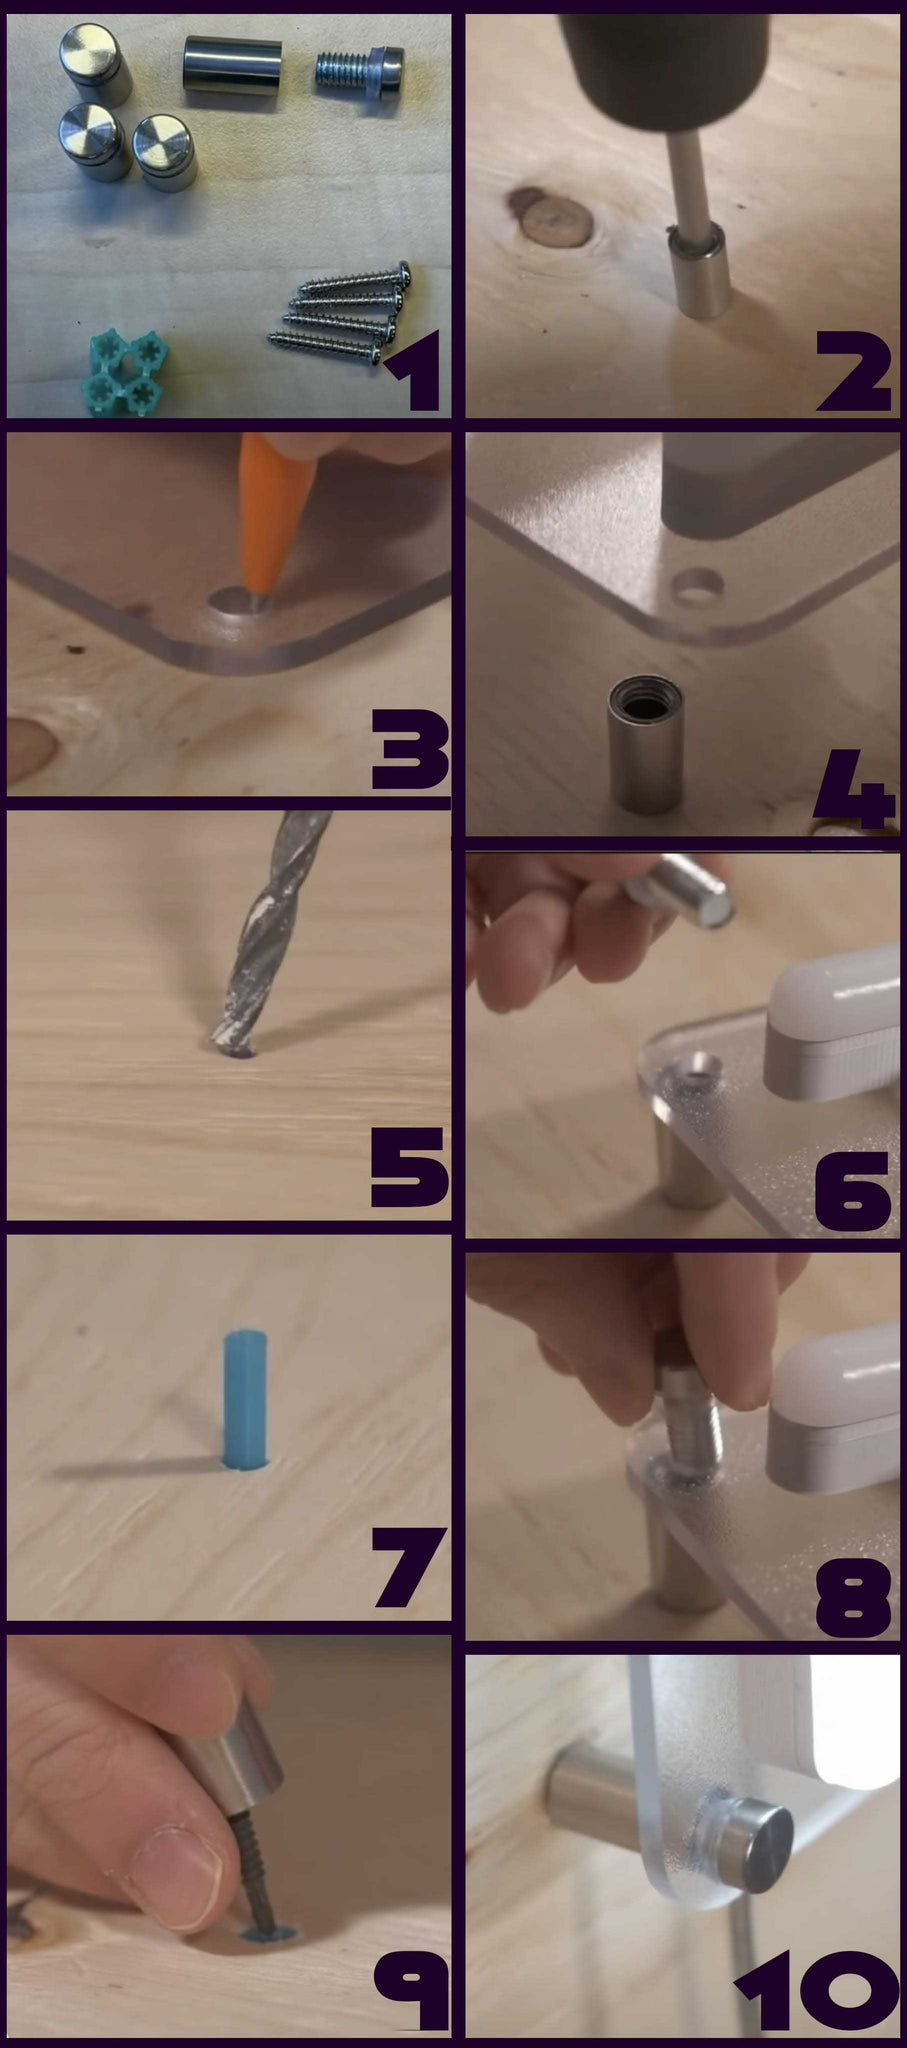
4. Schrauben Sie die Befestigungsstifte ab und positionieren Sie die Hohlsockel an den gebohrten Führungslöchern. Führen Sie die kleineren silbernen Befestigungsschrauben durch die hohlen Öffnungen der Montagestifte ein. Bohren Sie sie in die Wand und sichern Sie so die Hohlsockel. Wiederholen Sie diesen Vorgang für alle Hohlbasen.
5. Positionieren Sie das Schild an den gesicherten Sockeln und achten Sie dabei auf die richtige Ausrichtung. Befestigen Sie das Schild mit breiteren Schrauben an jedem Sockel und an der Wand. Überprüfen Sie noch einmal, ob alle Schrauben fest sitzen. Letzter Schritt: Stecken Sie die hängende Leuchtreklame in den Transformator und dann in die Steckdose. Es sollte aufleuchten.
Aufhängen der Leuchtreklamen mit Kabel:
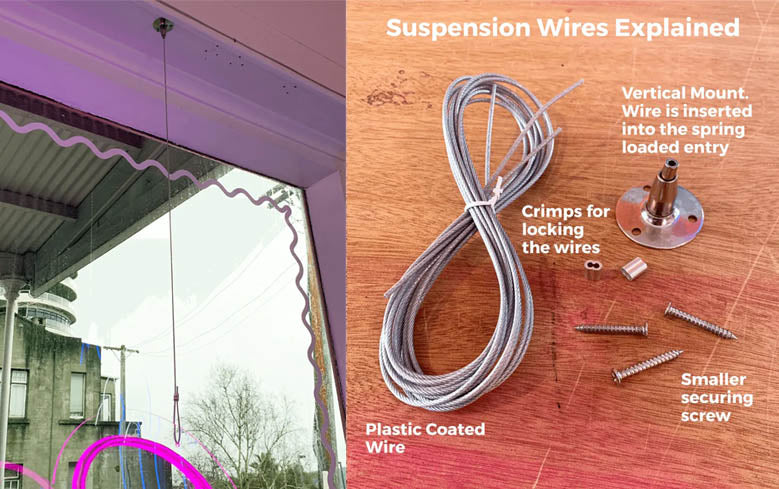
Schritt 1: Messen Sie den Abstand zwischen den vorgebohrten Löchern auf der Acrylrückseite Ihres Schildes. Markieren Sie diese Abstände für die silbernen vertikalen Halterungen auf der Oberseite.
Schritt 2: Positionieren Sie die silbernen vertikalen Halterungen an den markierten Punkten und markieren Sie die drei Schraubenlöcher an jeder Halterung zum Bohren.
Schritt 3: Bohren Sie Führungslöcher an den markierten Stellen und befestigen Sie dann die Halterungen mit Schrauben und einem Schraubenzieherbohrer.
Schritt 4: Messen Sie die kunststoffummantelten Aufhängedrähte ab und schneiden Sie sie auf die gewünschte Länge zu. Lassen Sie etwas übrig, um am Ende eine Schlaufe zu bilden.
Schritt 5: Befestigen Sie die Drähte an den Halterungen, indem Sie auf die federbetriebene Öffnung der Halterung drücken, den Draht hineinführen und die Öffnung loslassen, um den Draht zu greifen.
Schritt 6: Fädeln Sie ein Ende jedes Drahtes durch eine silberne Quetschklemme, dann durch das Loch auf der Rückseite Ihres Schildes und führen Sie es durch das andere Loch in der Quetschklemme zurück. Sichern Sie die Crimpverbindung mit einer Zange. Wiederholen Sie den Vorgang für andere Drähte.
Letzter Schritt: Schließen Sie Ihr Schild an den Transformator an und stecken Sie ihn dann in die Steckdose, um Ihre Leuchtreklame zum Leuchten zu bringen.
Jetzt können Sie Ihre Leuchtreklame mühelos mithilfe von Aufhängedrähten aufhängen!
FREQUENTLY ASKED QUESTIONS
Materials and prices
Our neon sign quotes include all taxes and shipping fees.
The cost varies by the LED material used. For example, our high-end Bootent LED, which has a five-year warranty, costs more than the standard flexible silicone LEDs.
We also offer budget-friendly options similar to materials on Etsy or Amazon, which are 18% cheaper than our regular neon lights.
We recommend choosing materials based on your specific needs, especially for one-time events.
1. Bootent LED Tech® Material
For those looking for the best in the market, our Bootent LED Tech® is the top choice. It offers a five-year warranty, exceptional energy efficiency, and high brightness levels, making it ideal for commercial or outdoor use. This material not only shines brighter but also lasts longer.
2. Flexible Neon Material
Commonly used by local businesses, Flexible Neon is a versatile material that features excellent water resistance. It contains 188 LED beads per meter and offers remote control capabilities via smartphone, making it perfect for large signage projects. Its brightness exceeds 250 lumens, providing clear visibility even from a distance.
3. Classic LED Strip
The Classic LED Strip is widely used for various events, including weddings. It offers good water resistance and has 182 LED beads per meter. We provide an extra 5% discount on this material, making it a cost-effective option for broader applications.
4. DIY LED Strip
Ideal for smaller projects, the DIY LED Strip is cost-efficient with about 118 beads per meter and suits neon signs smaller than 60cm in width. This material supports a 5V USB interface, making it easy to use and accessible for personal projects at home.
Other
You can contact us through our contact page! We will be happy to assist you.


