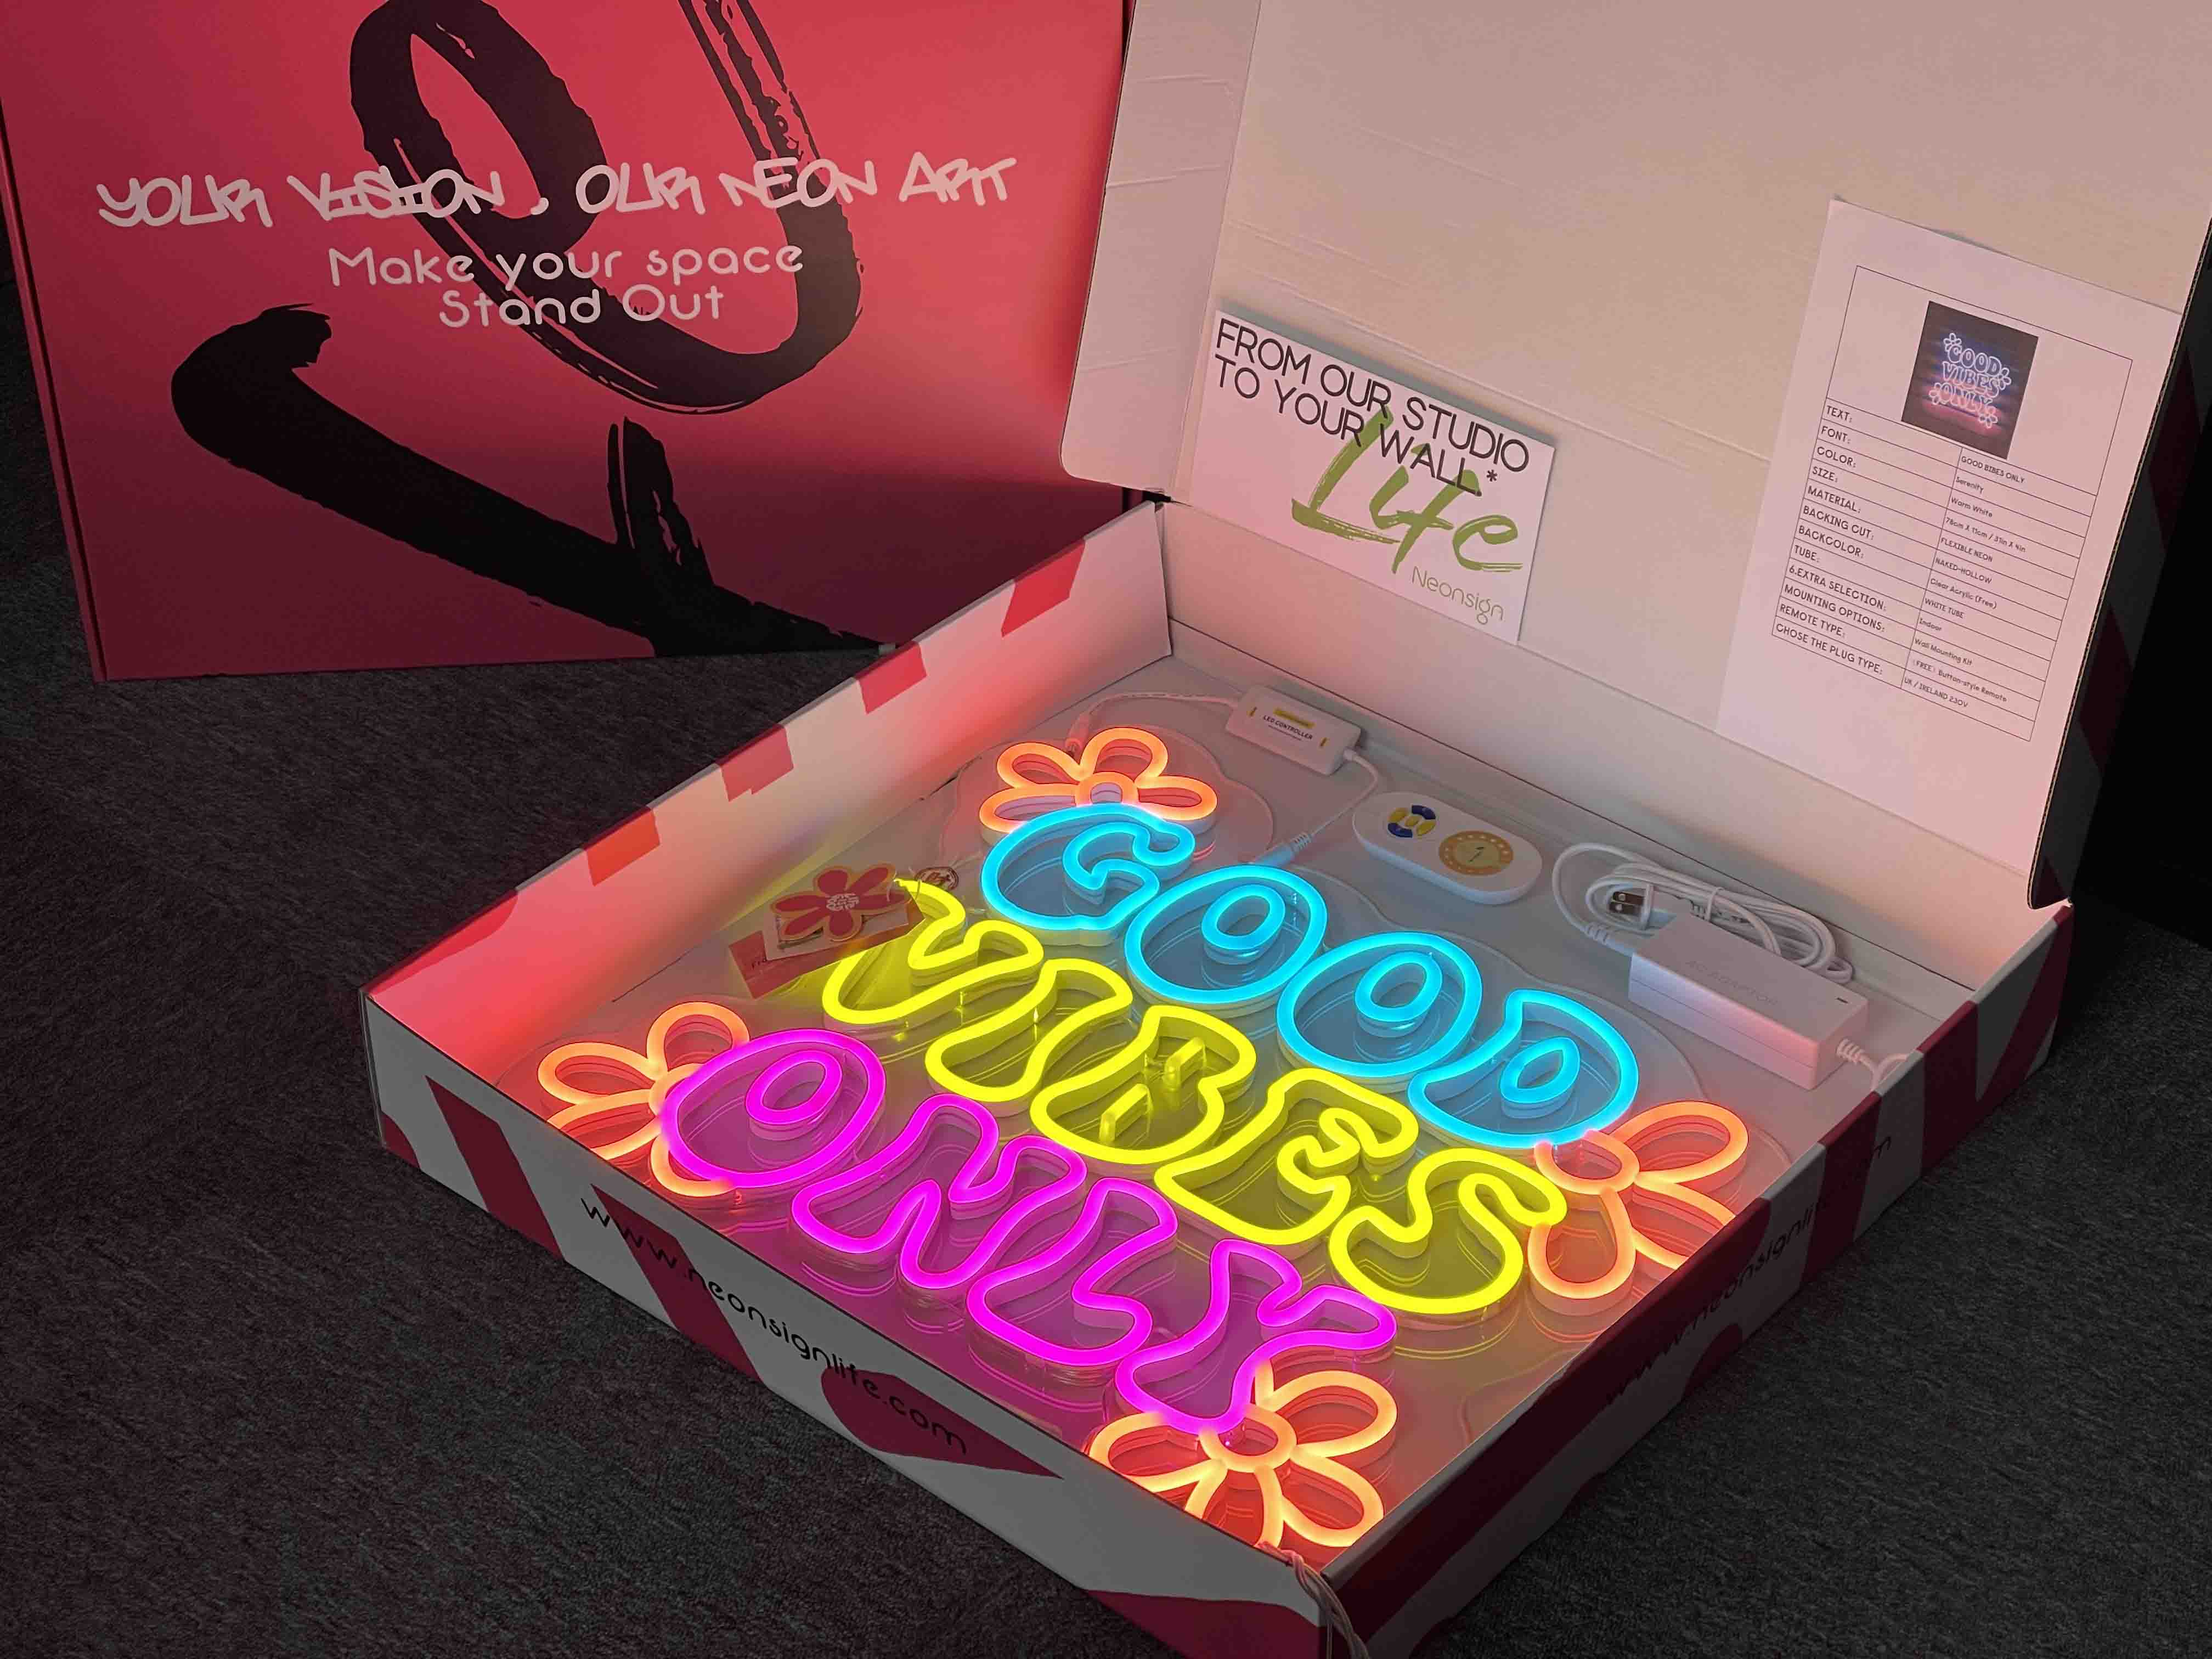
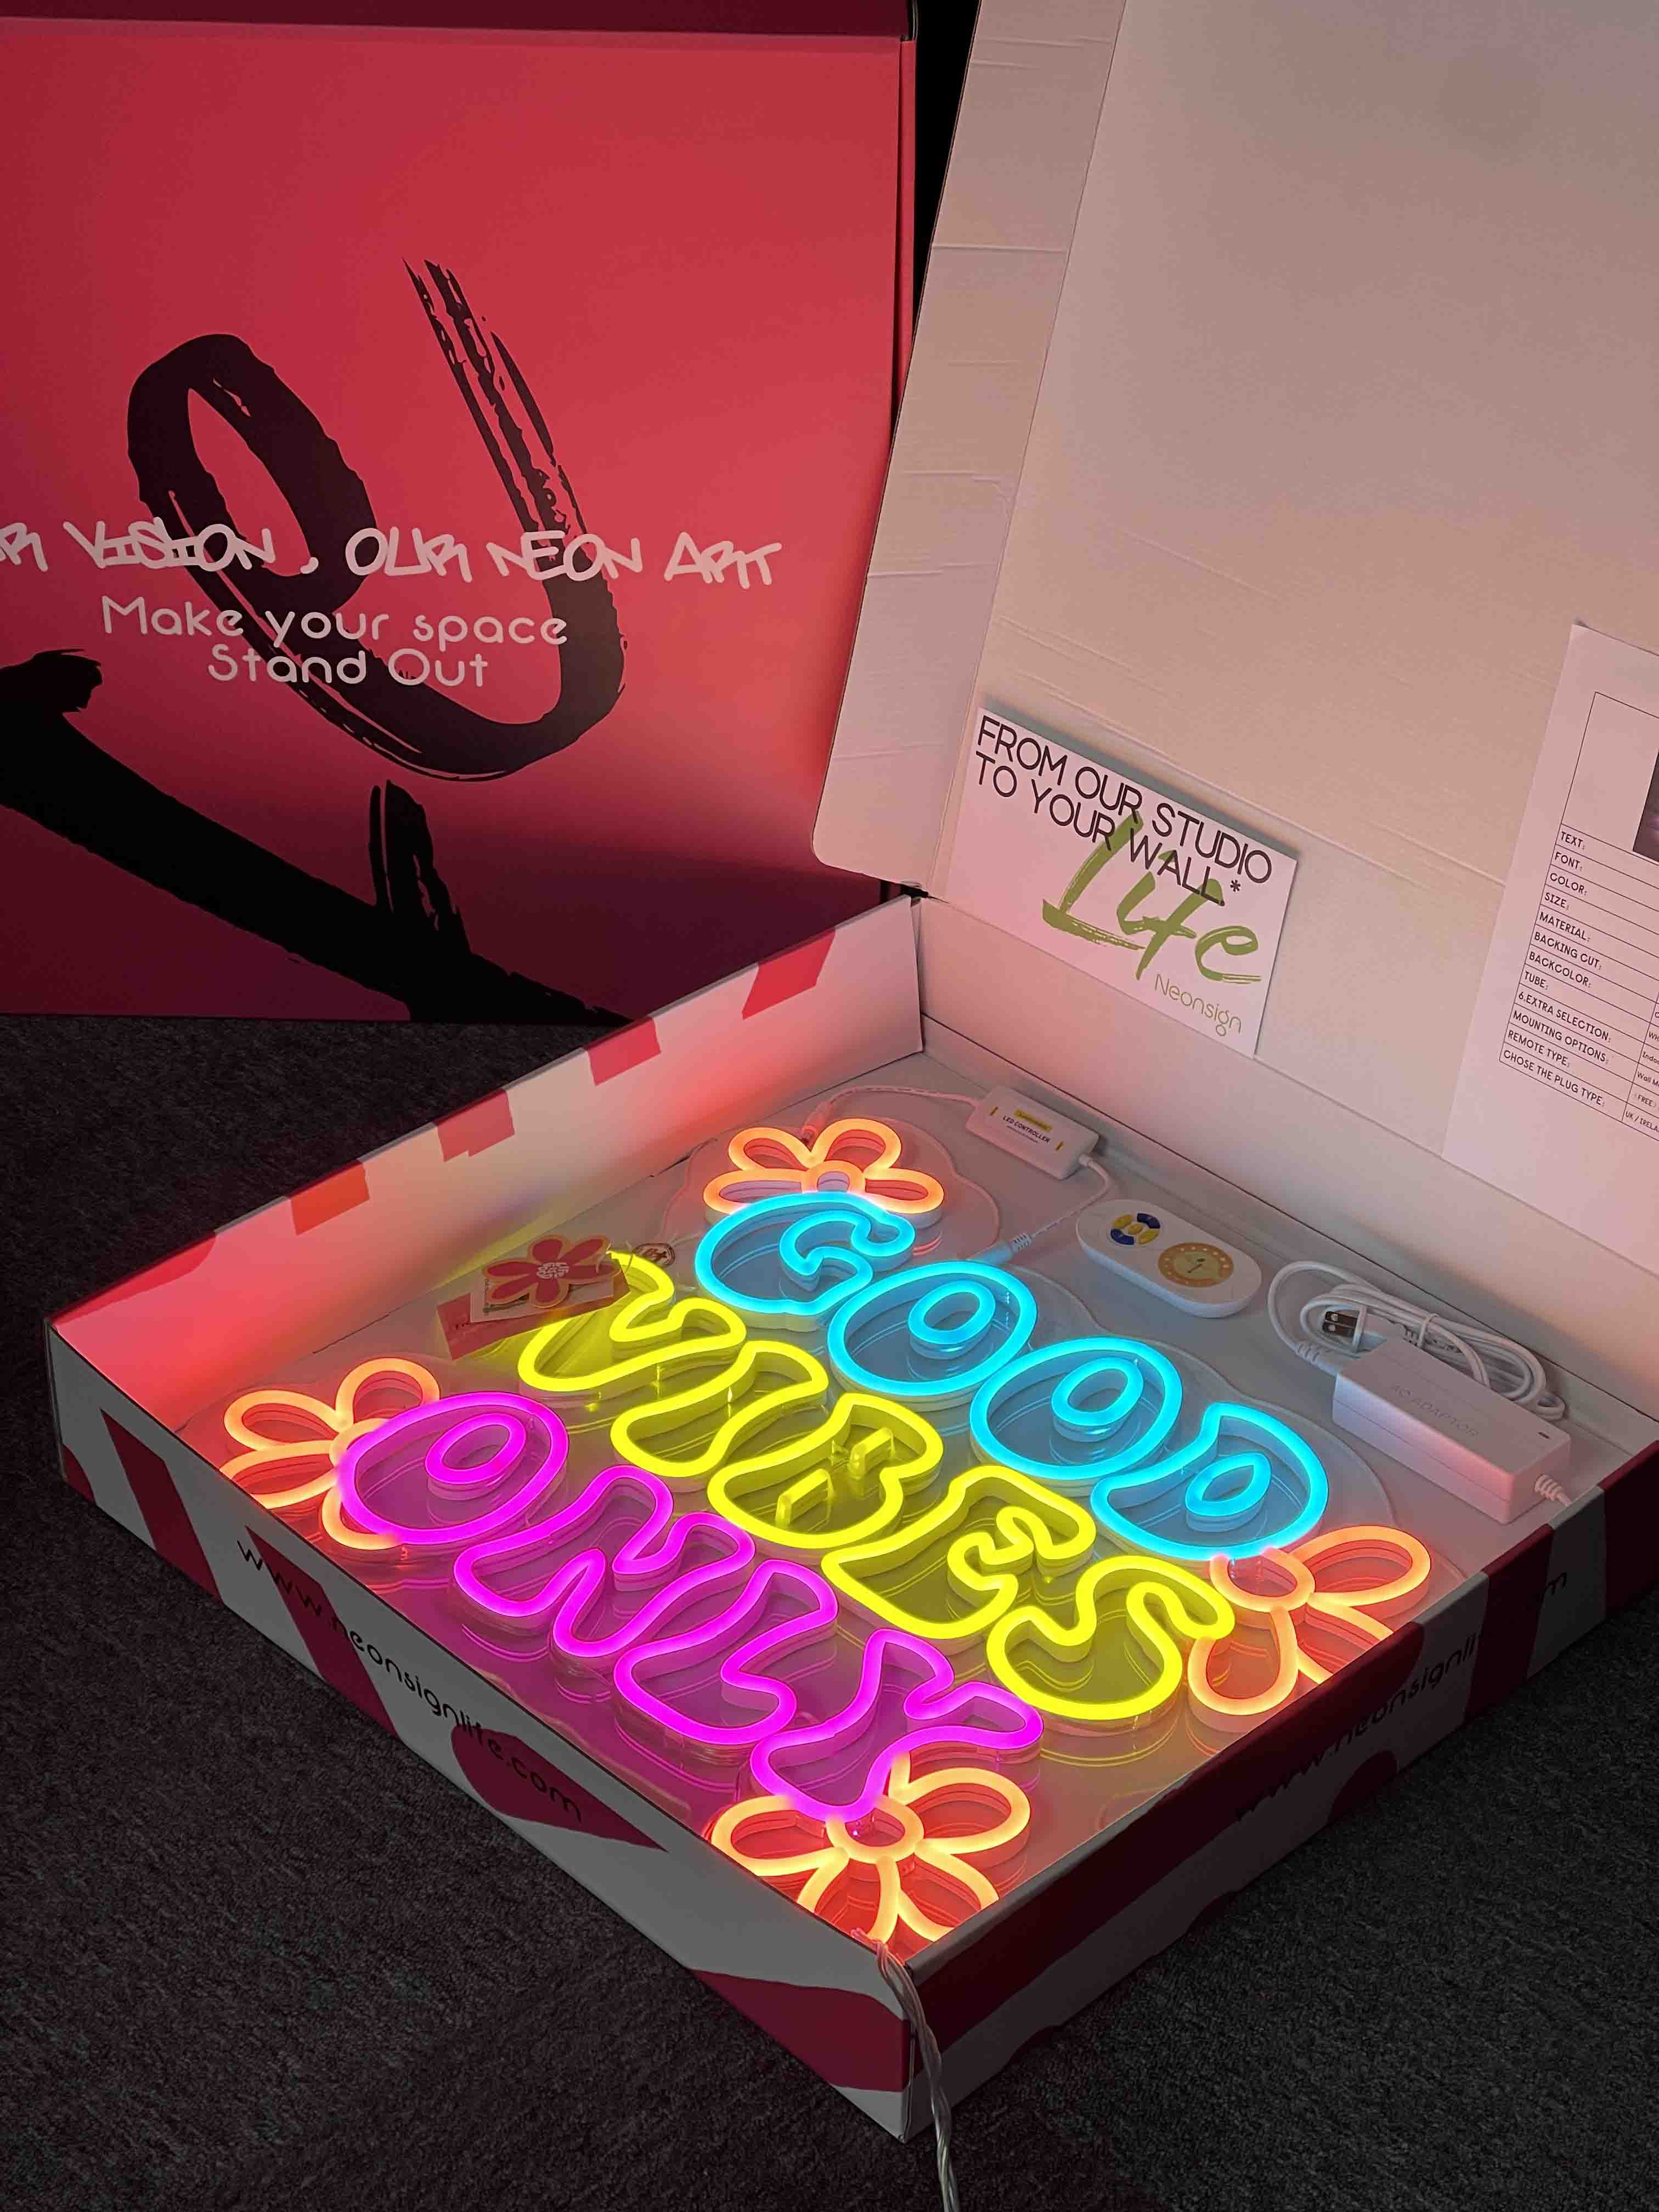
Shipping options will vary based on availability and can be confirmed during checkout:
- Free Shipping: Delivered Within 10 - 14 Business Days
- Express Shipping: Delivered Within 8 - 10 Business Days
- Rush Order: 6 - 8 Days (Contact us to make sure the date)
Shop with peace of mind: Our global delivery reach means we can bring your sign right to your doorstep.
Plus, with our Shipping Pection, rest assured that any damage incurred en route will be met with a hassle-free replacement at no additional cost to you!
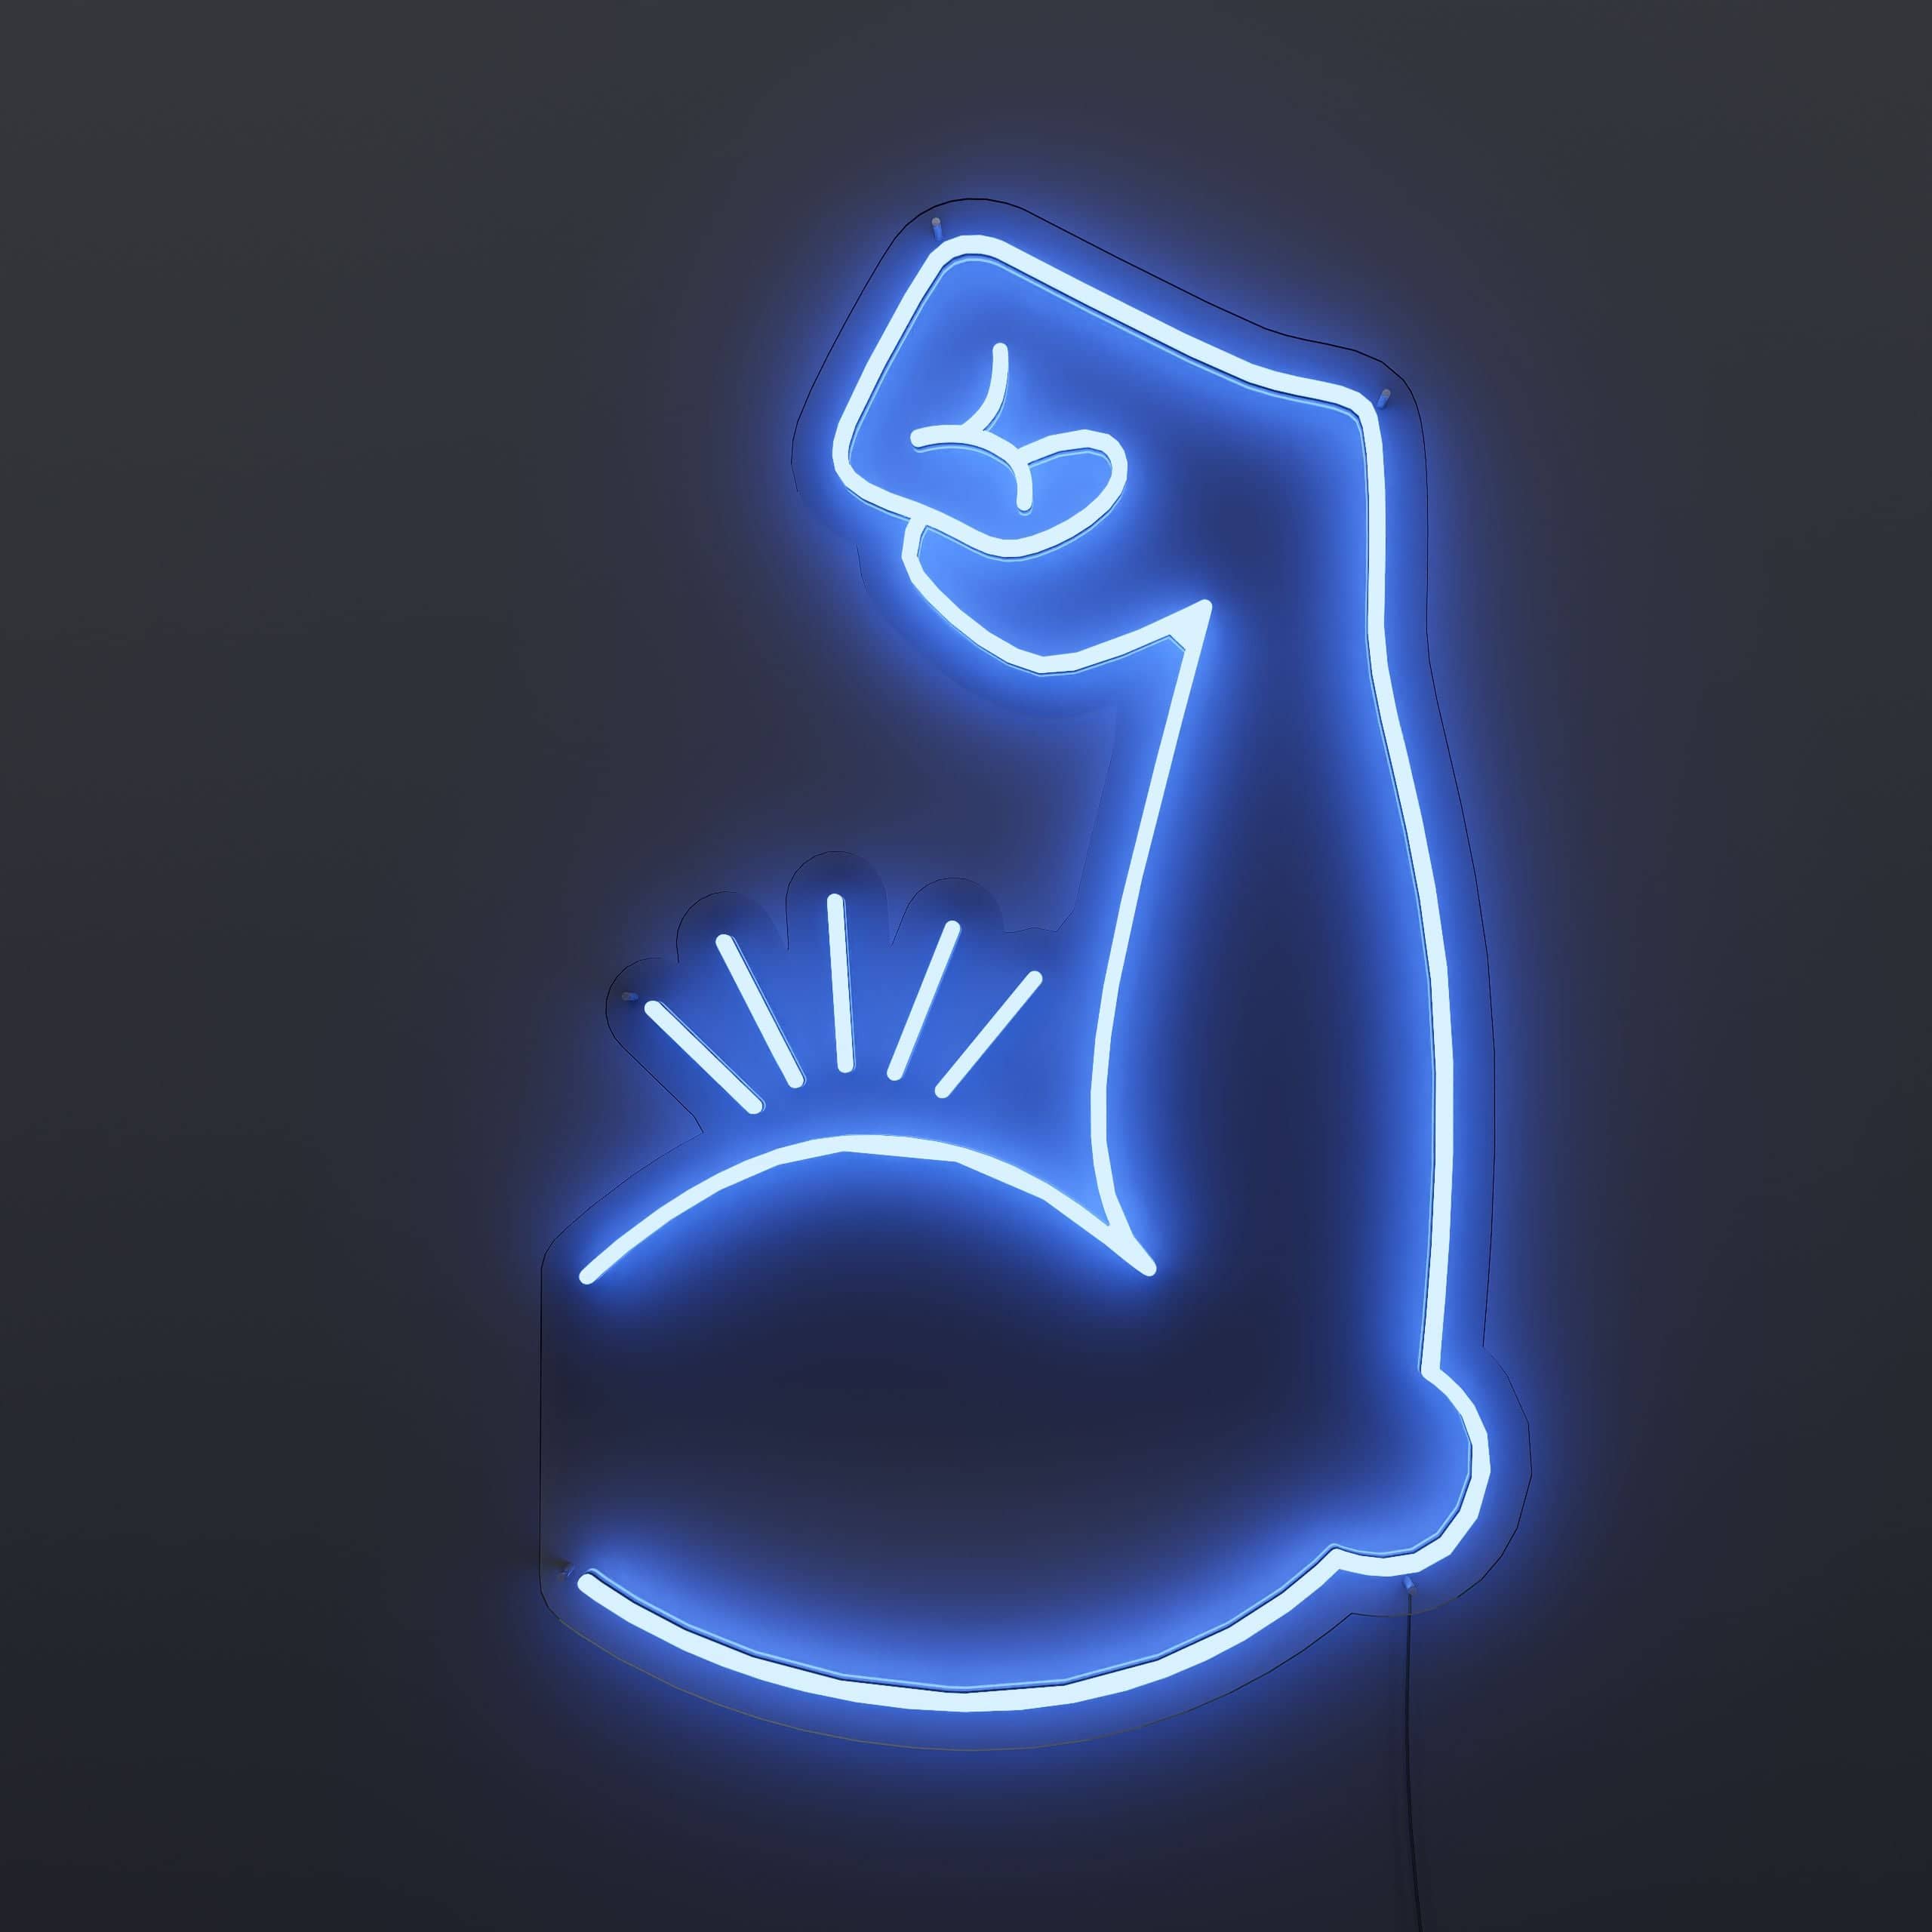
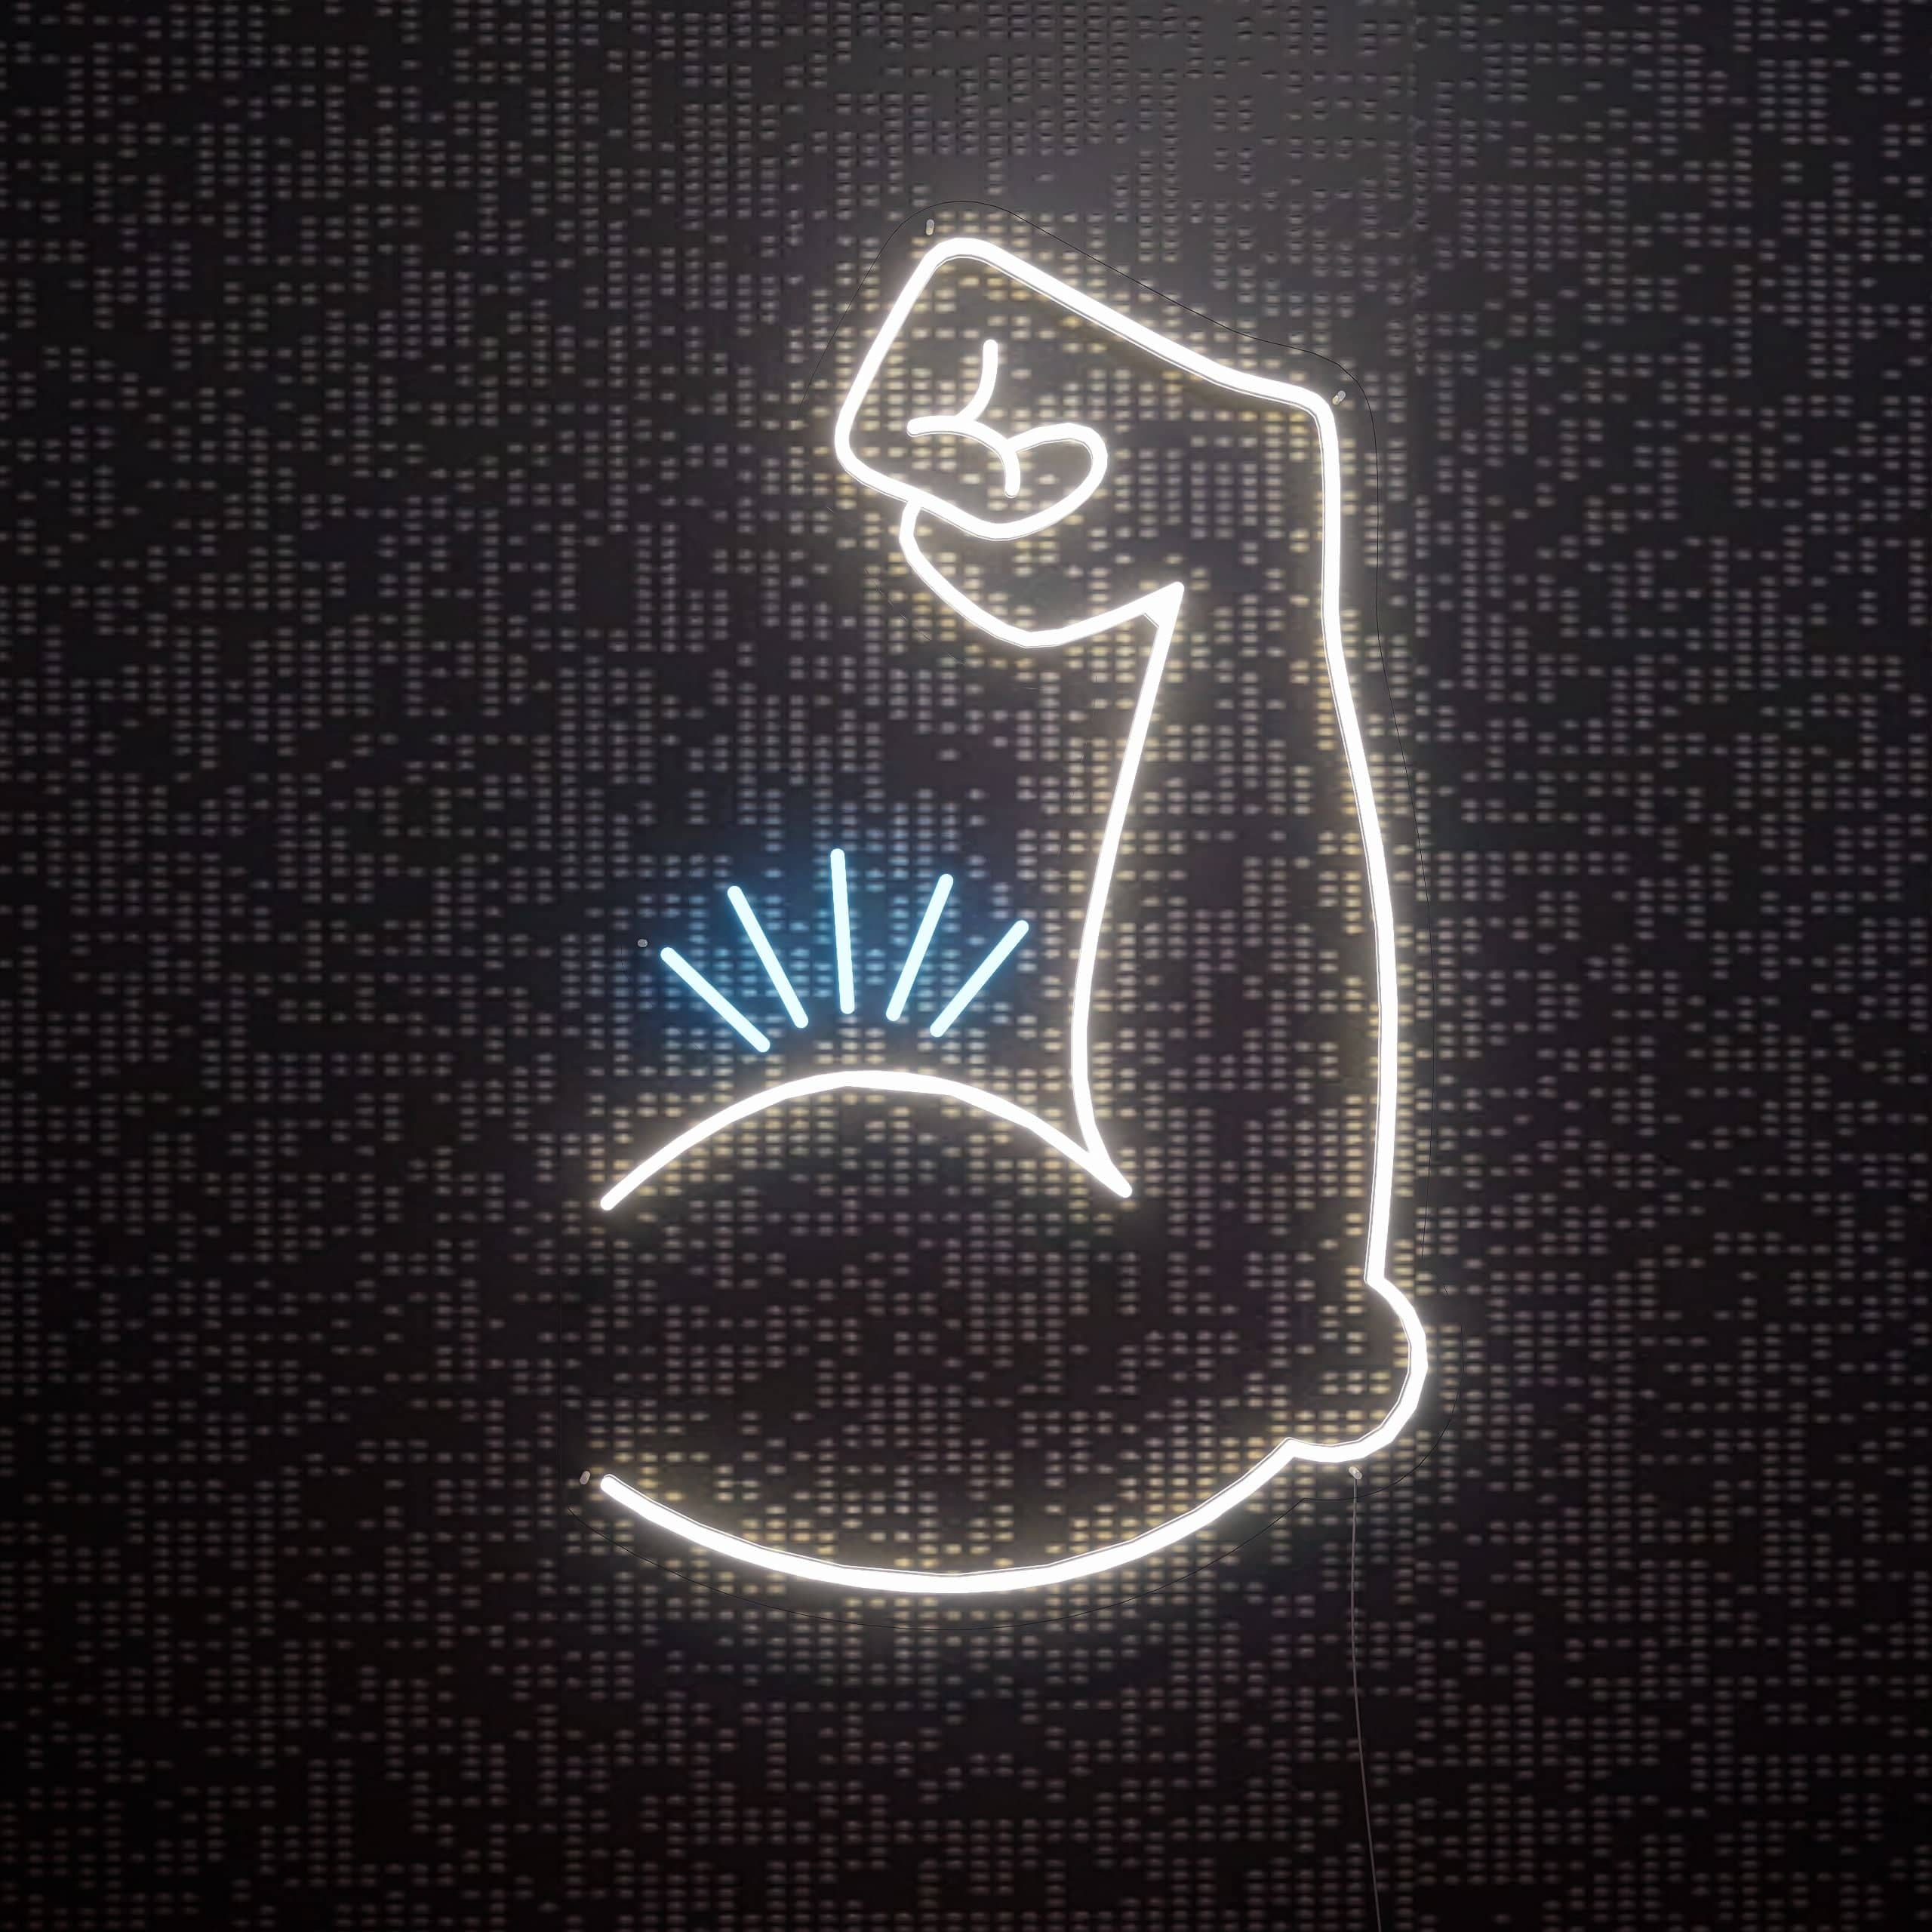
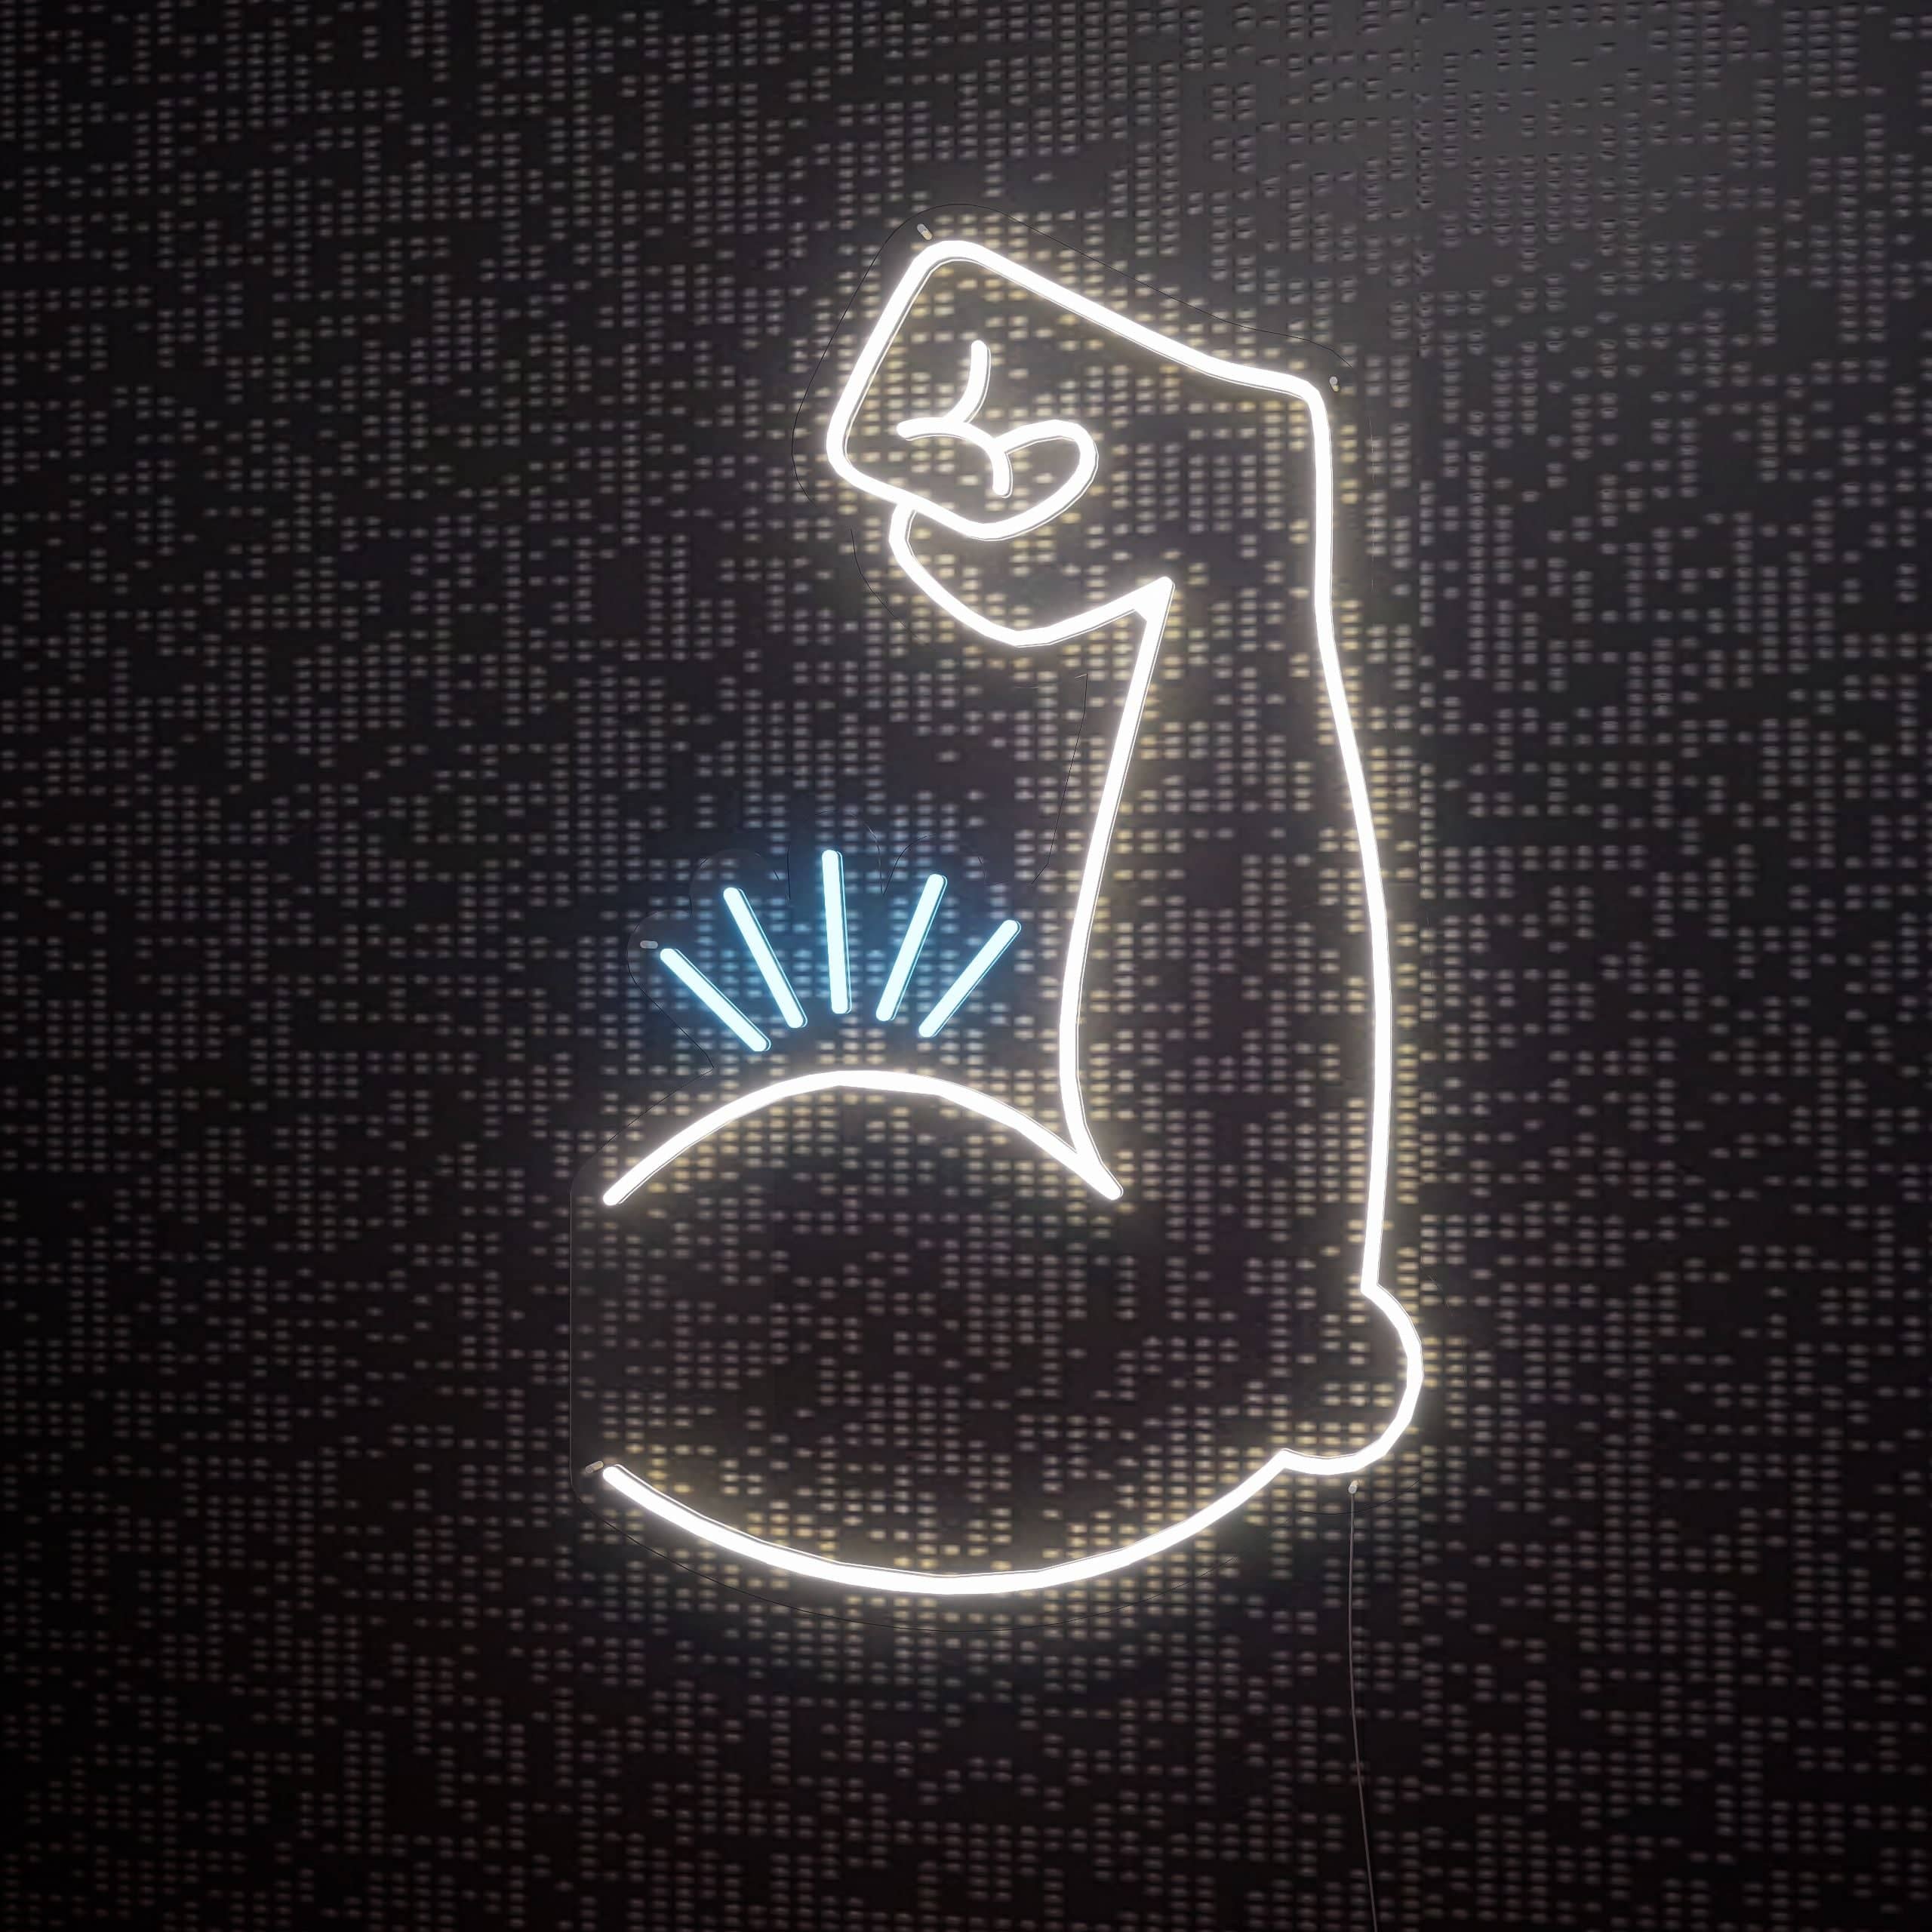
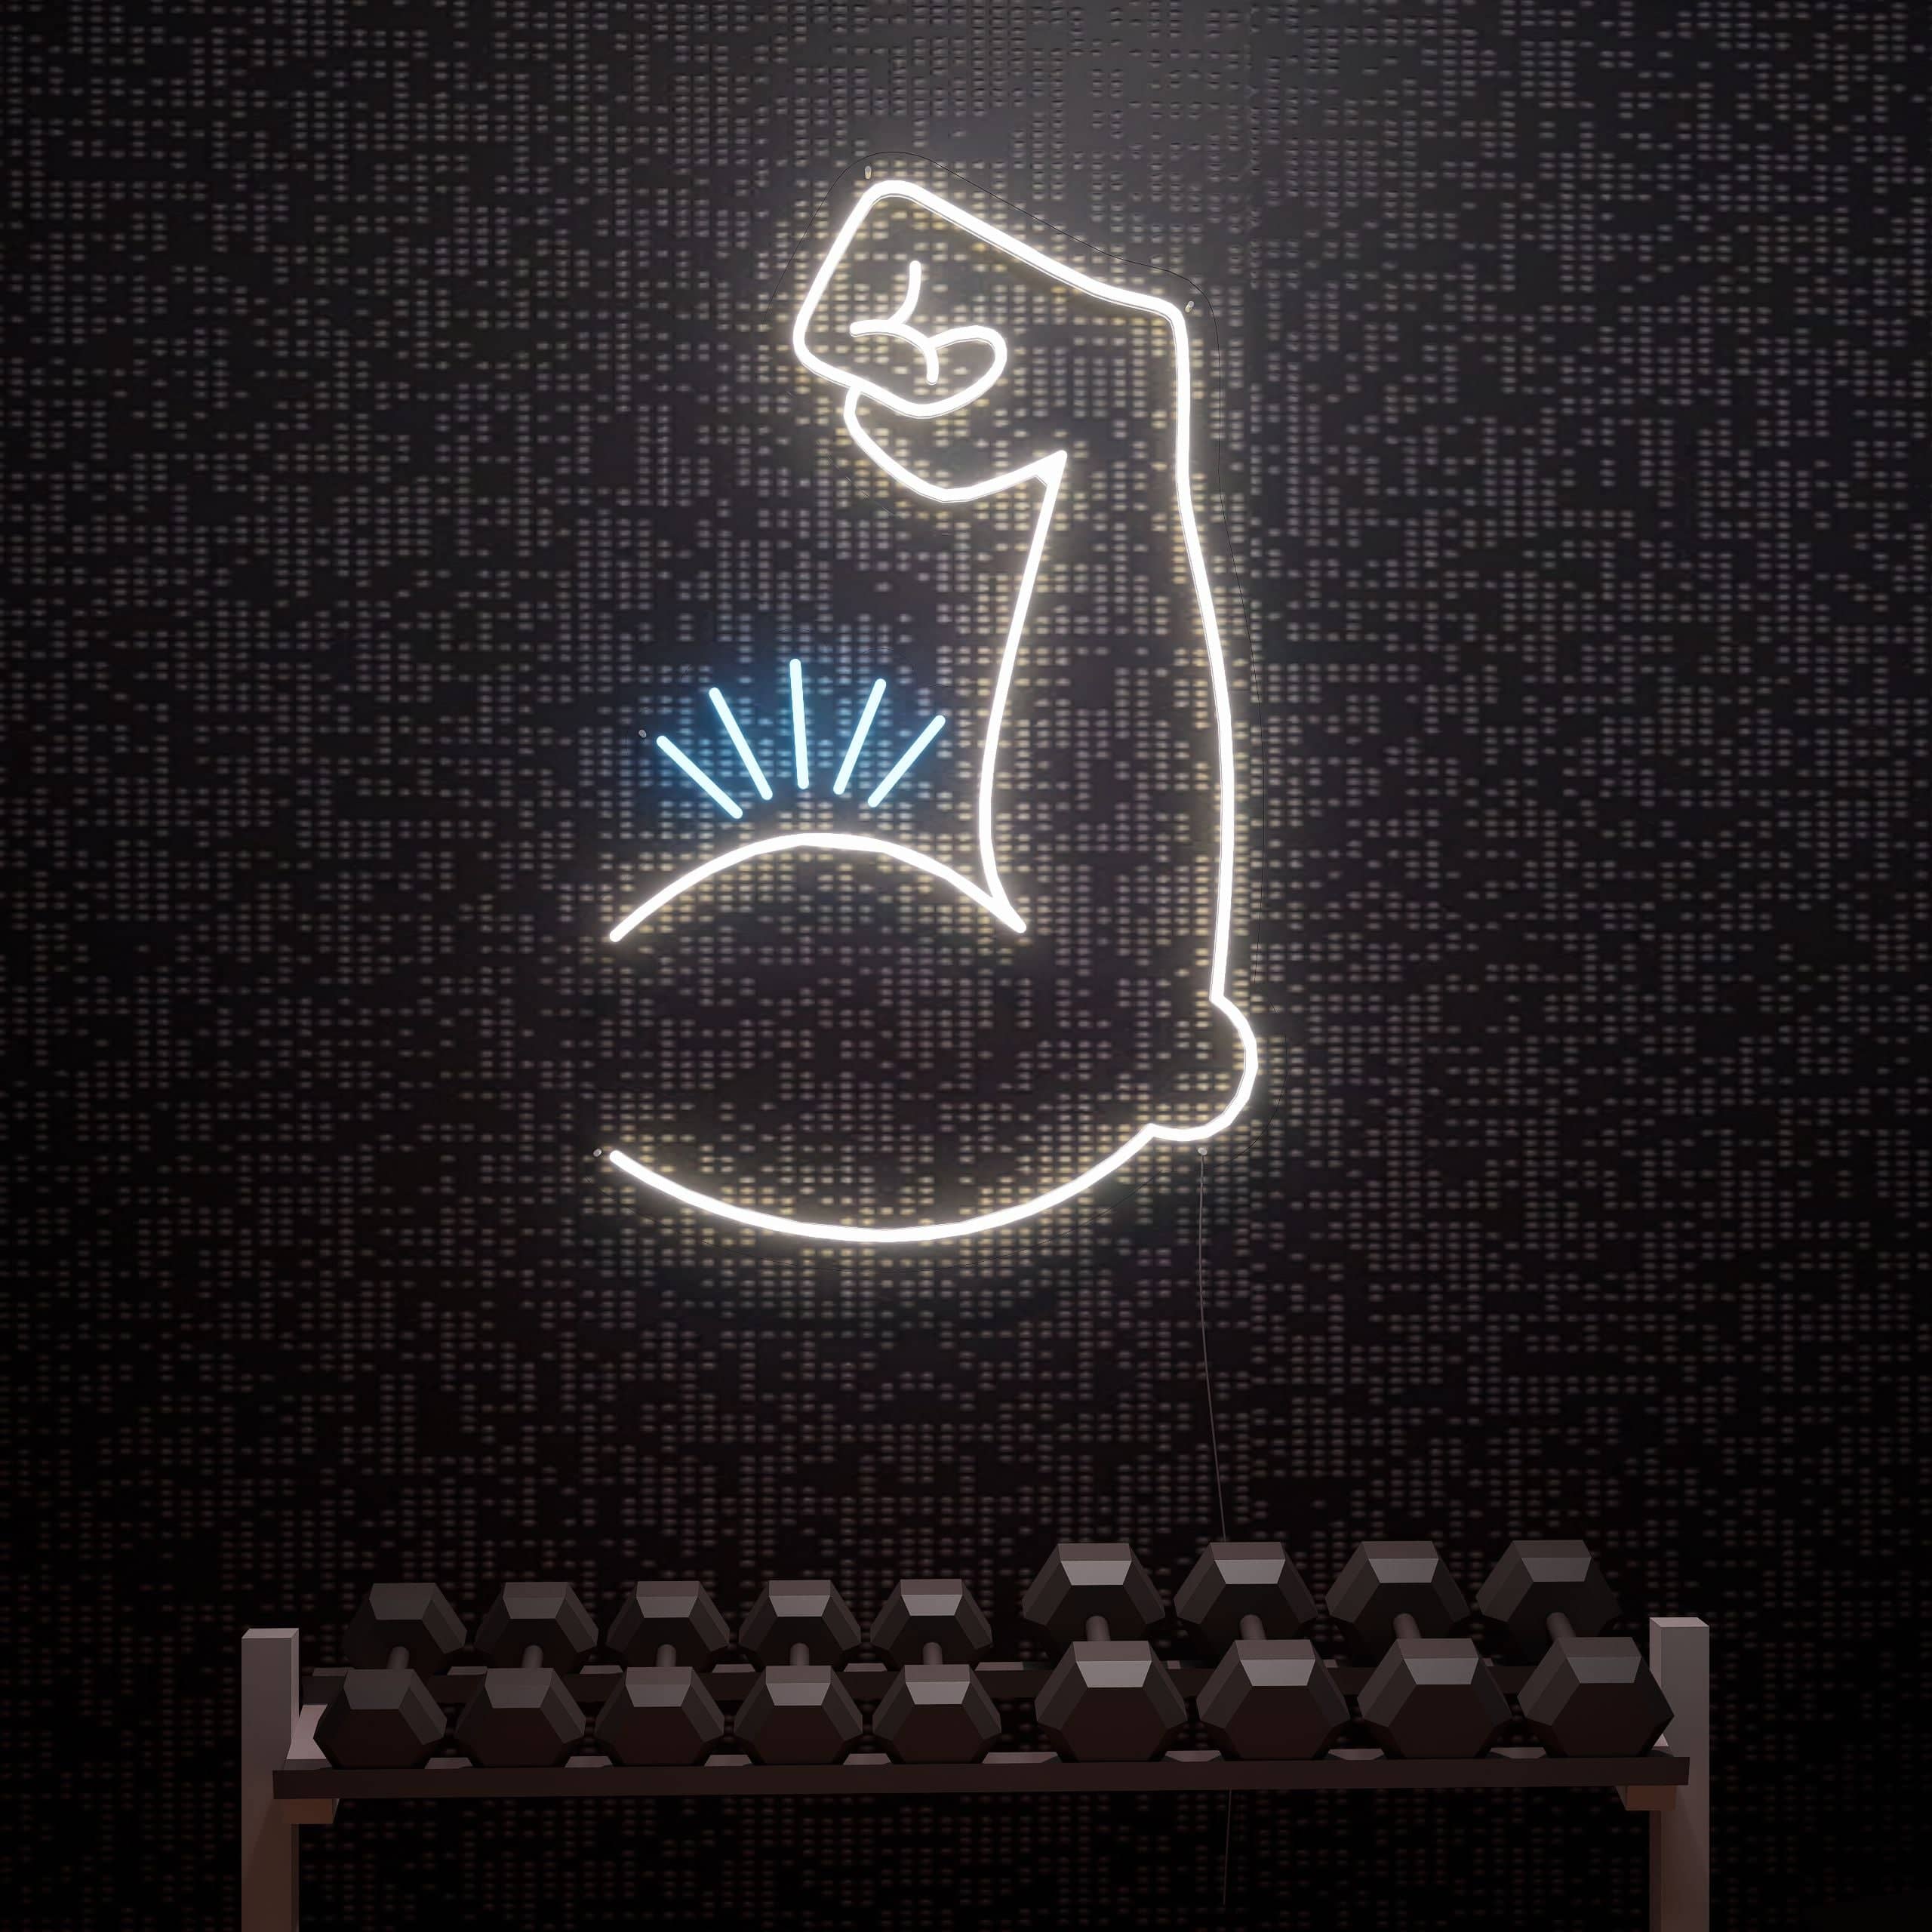
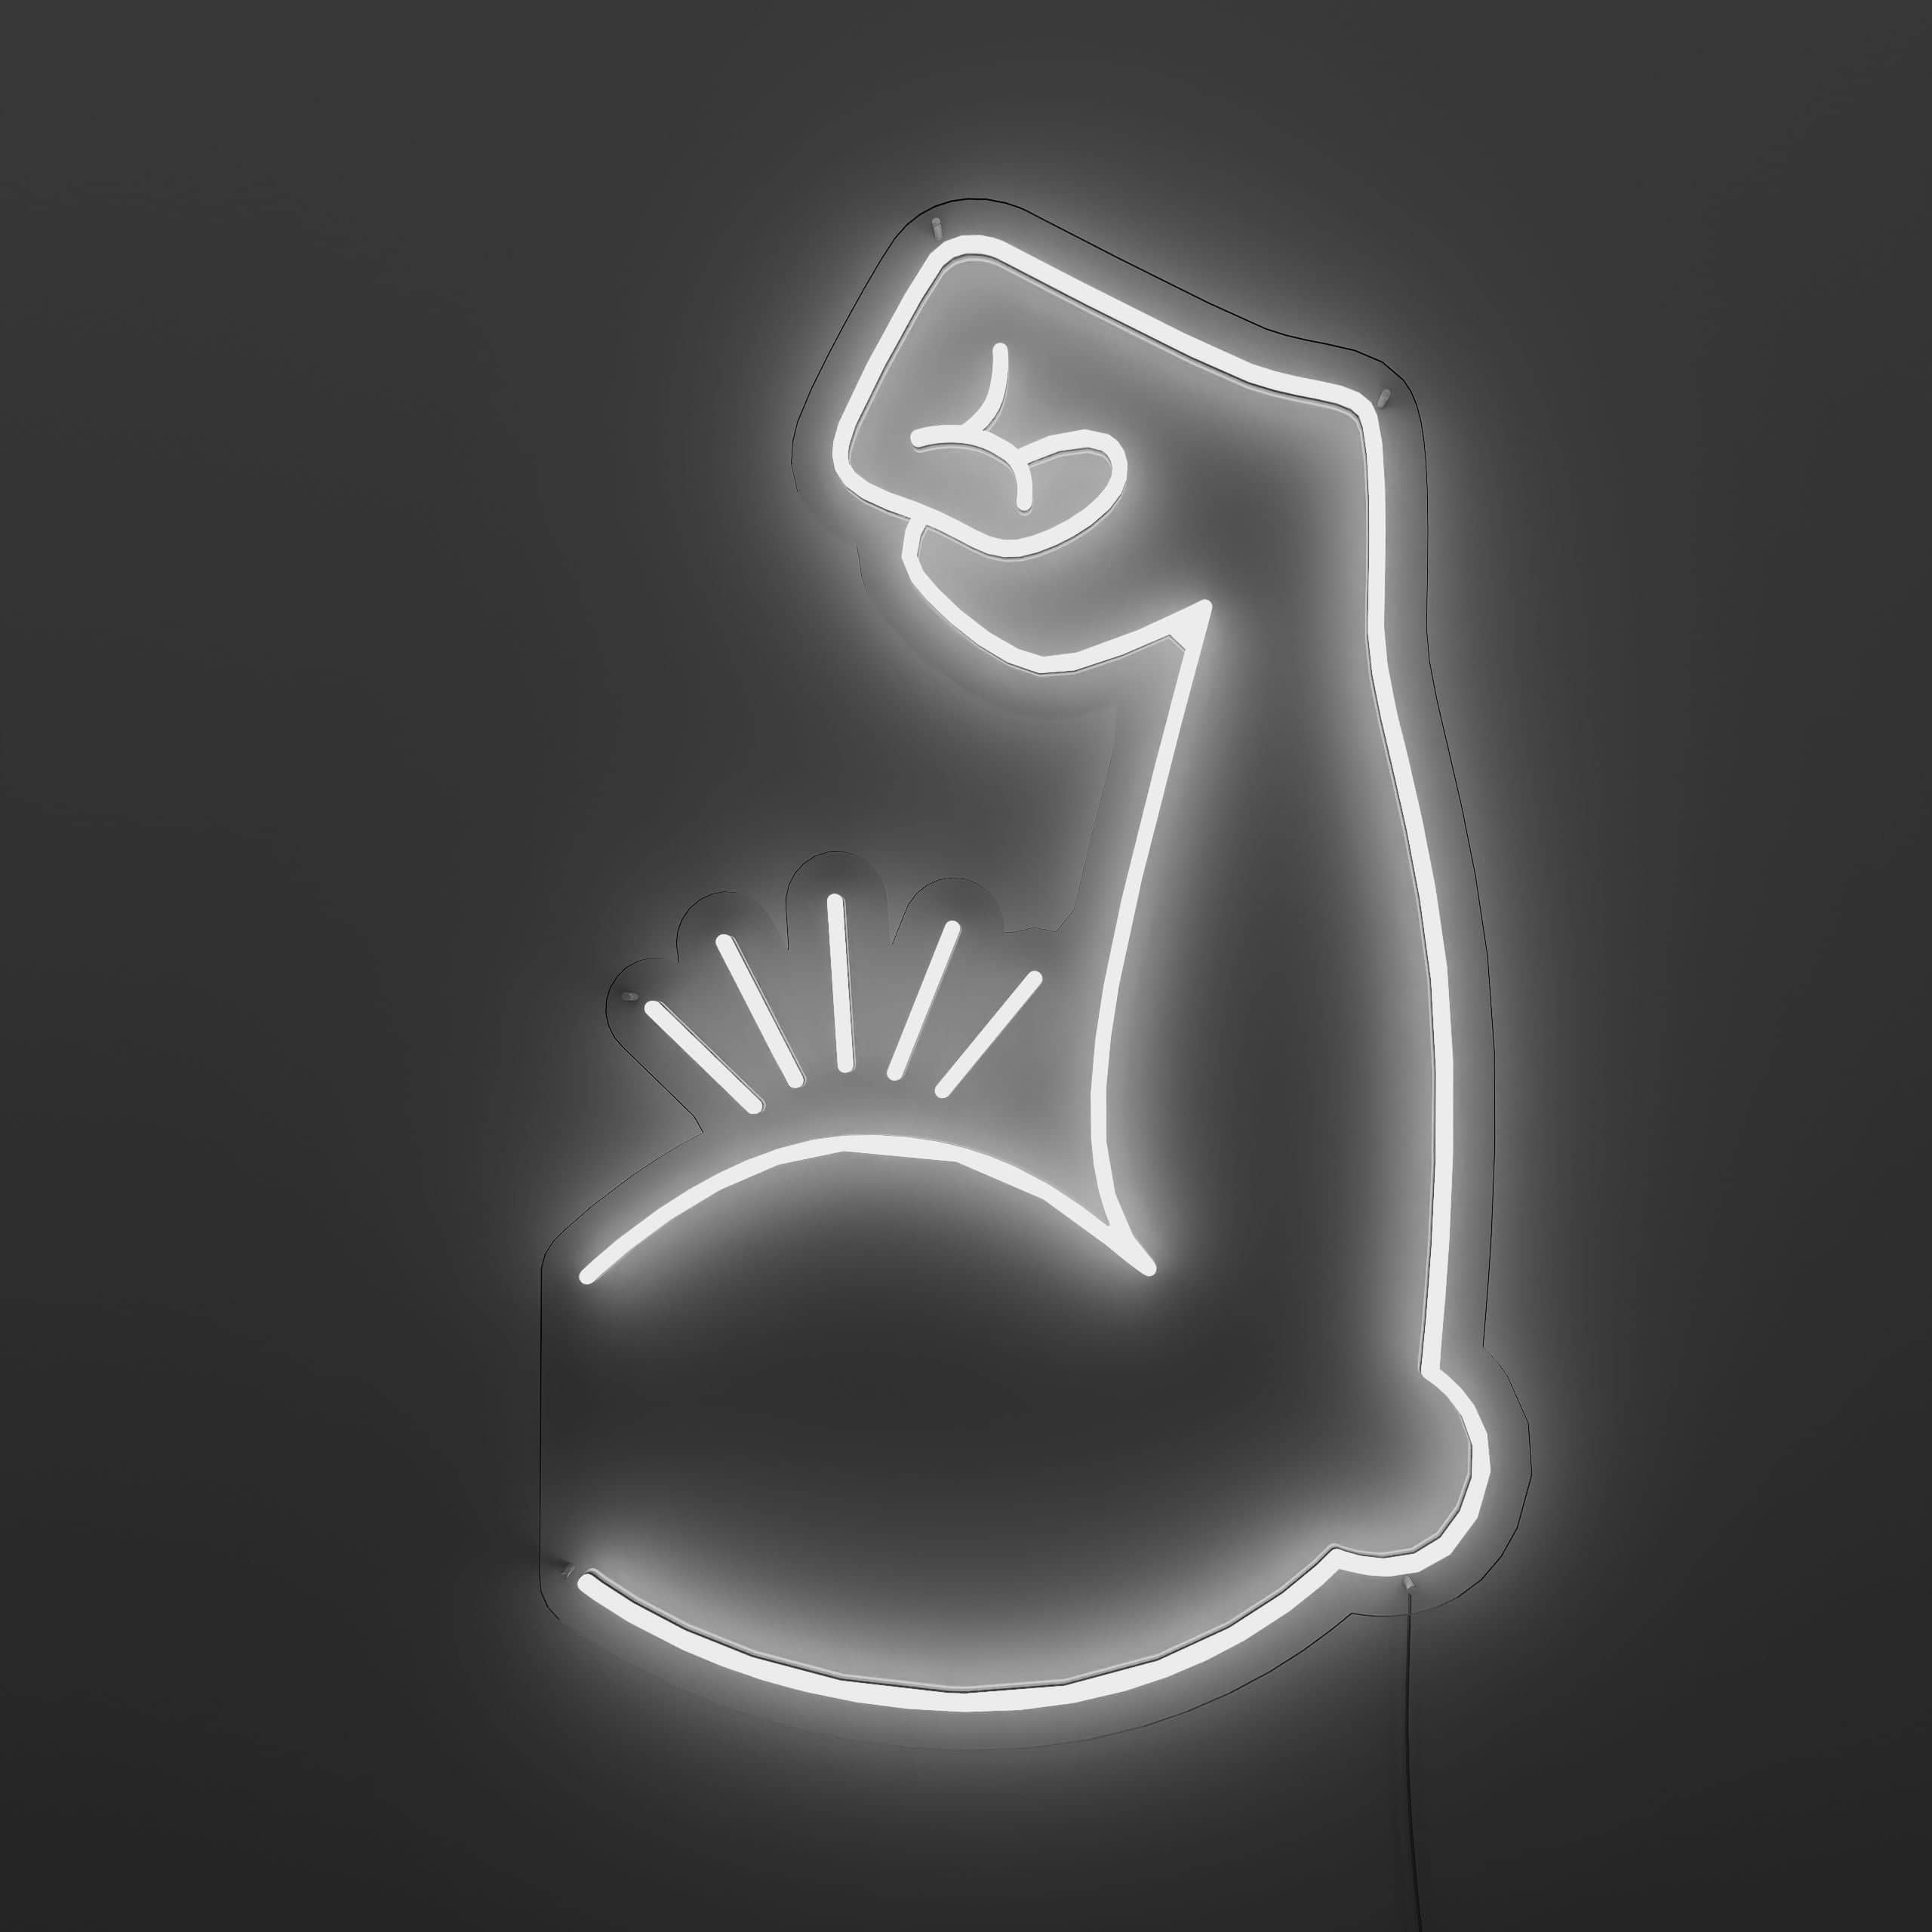
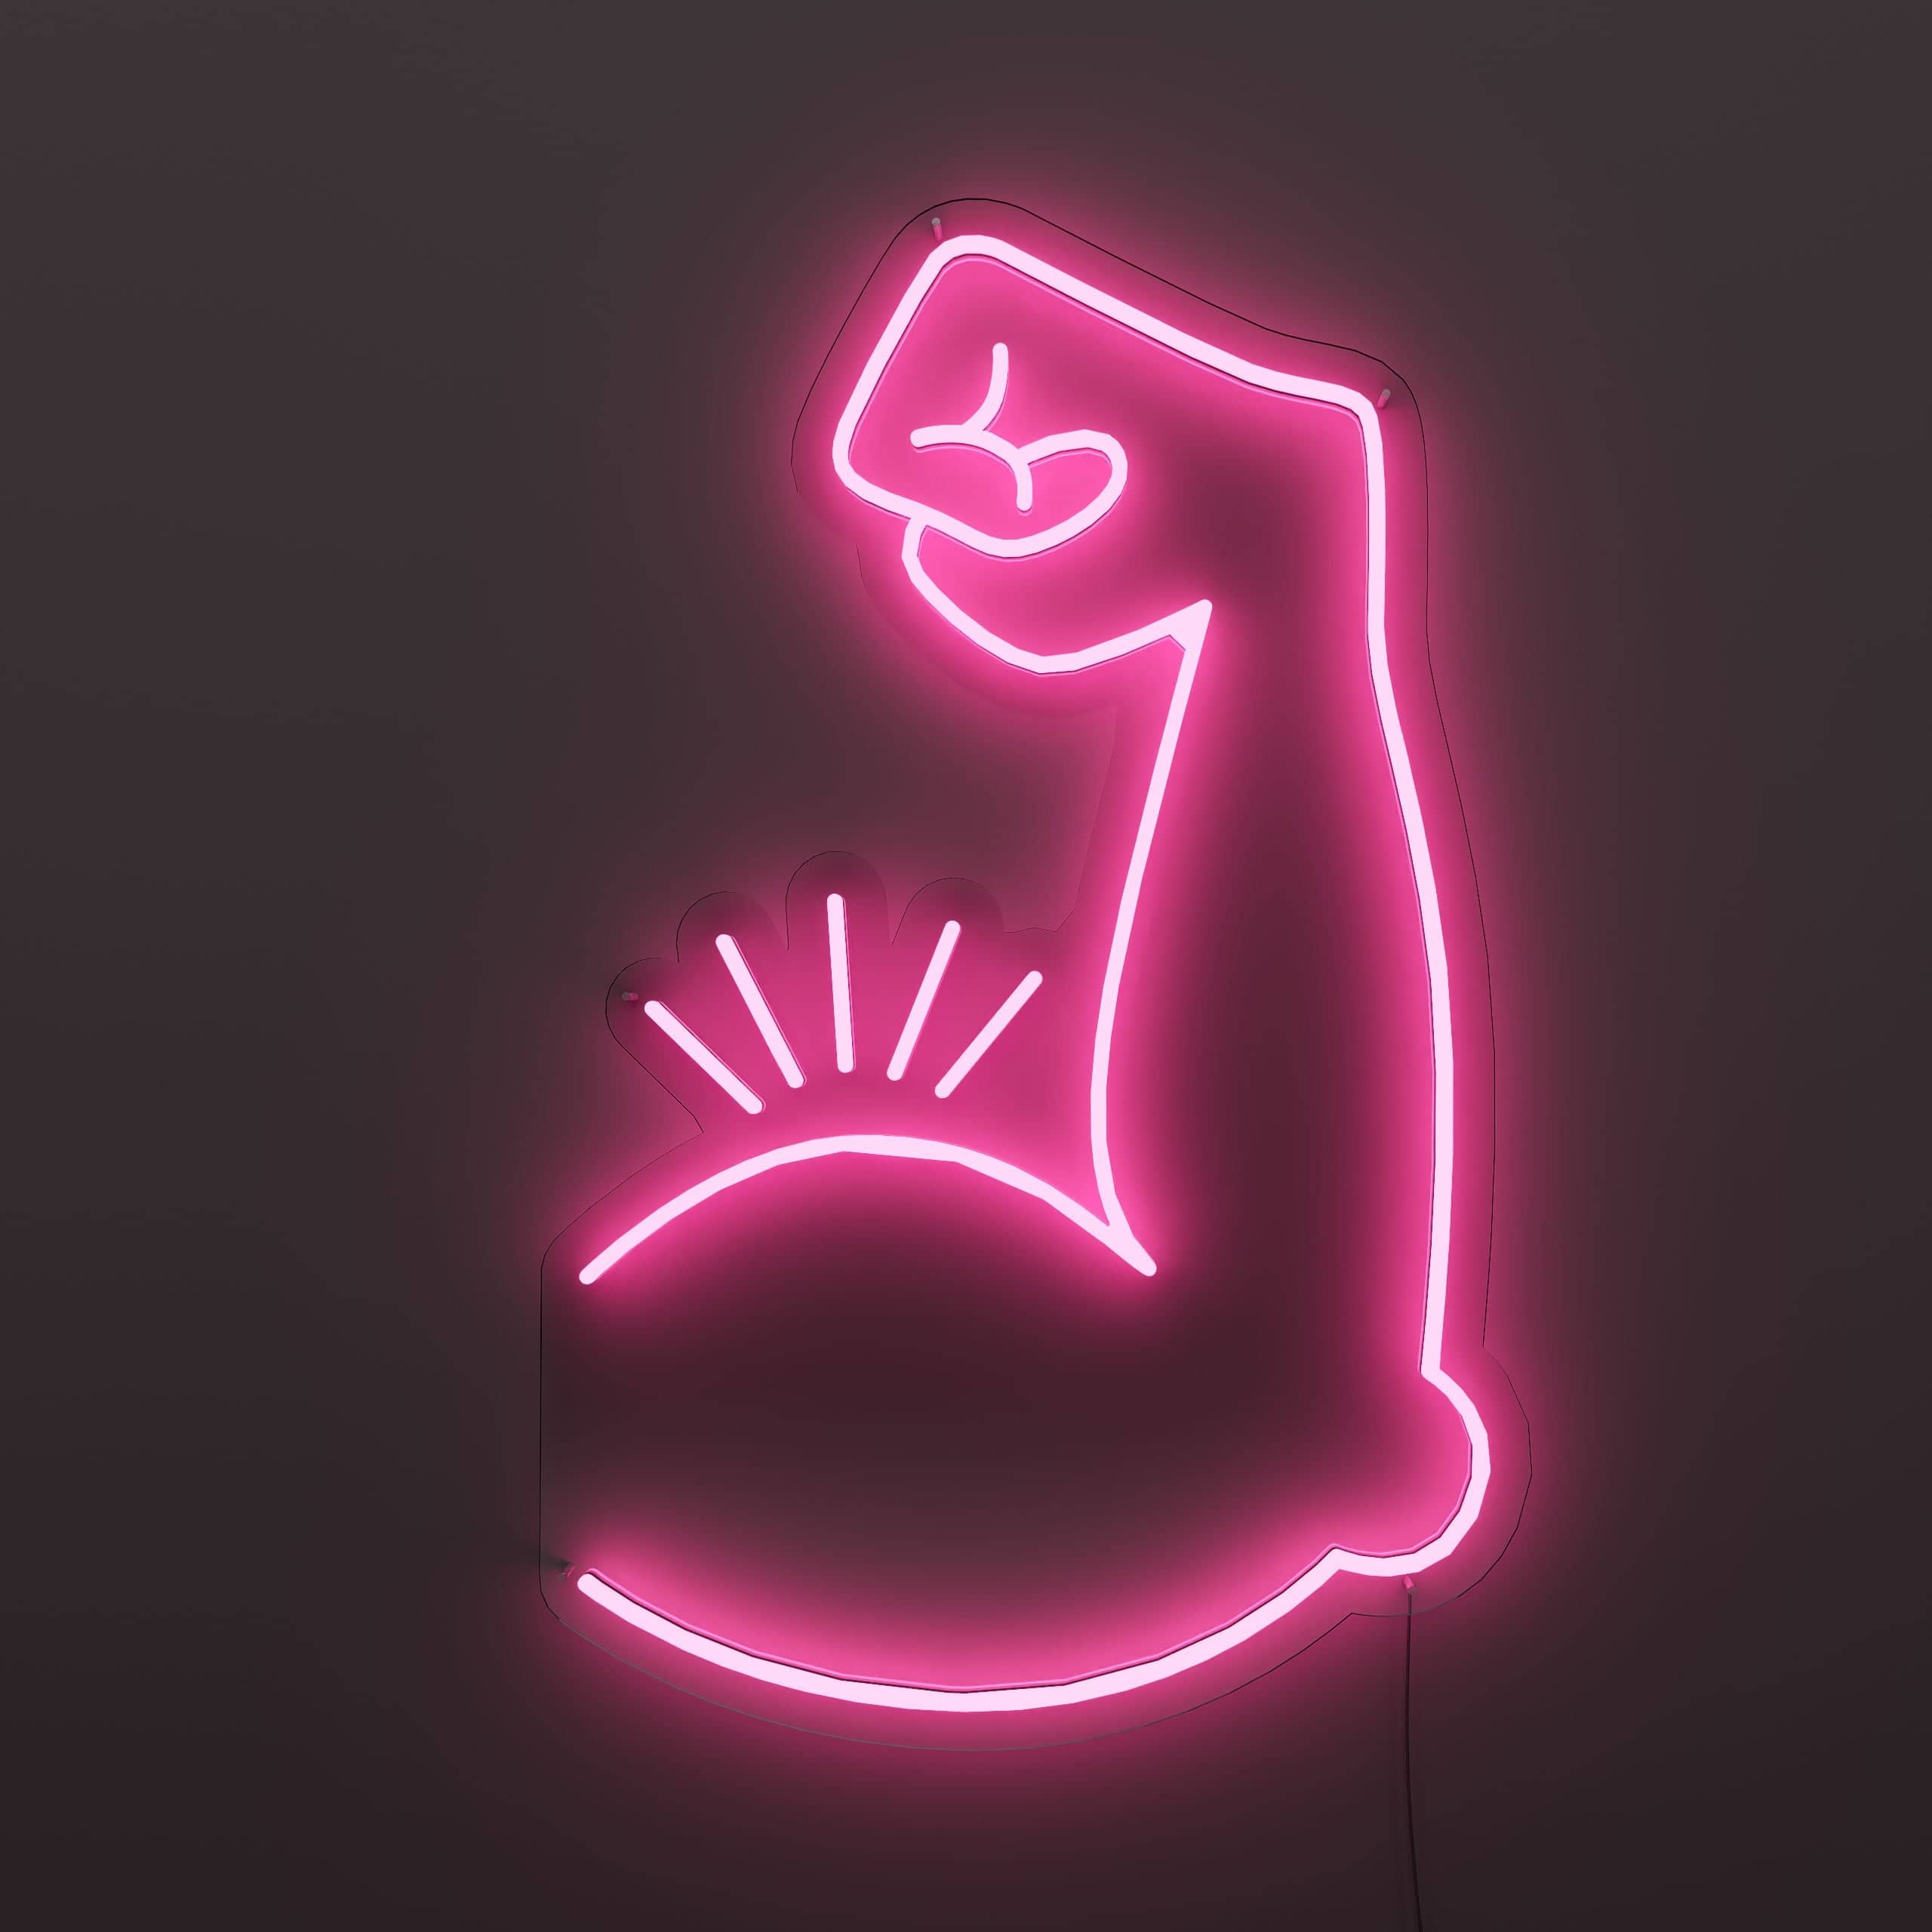
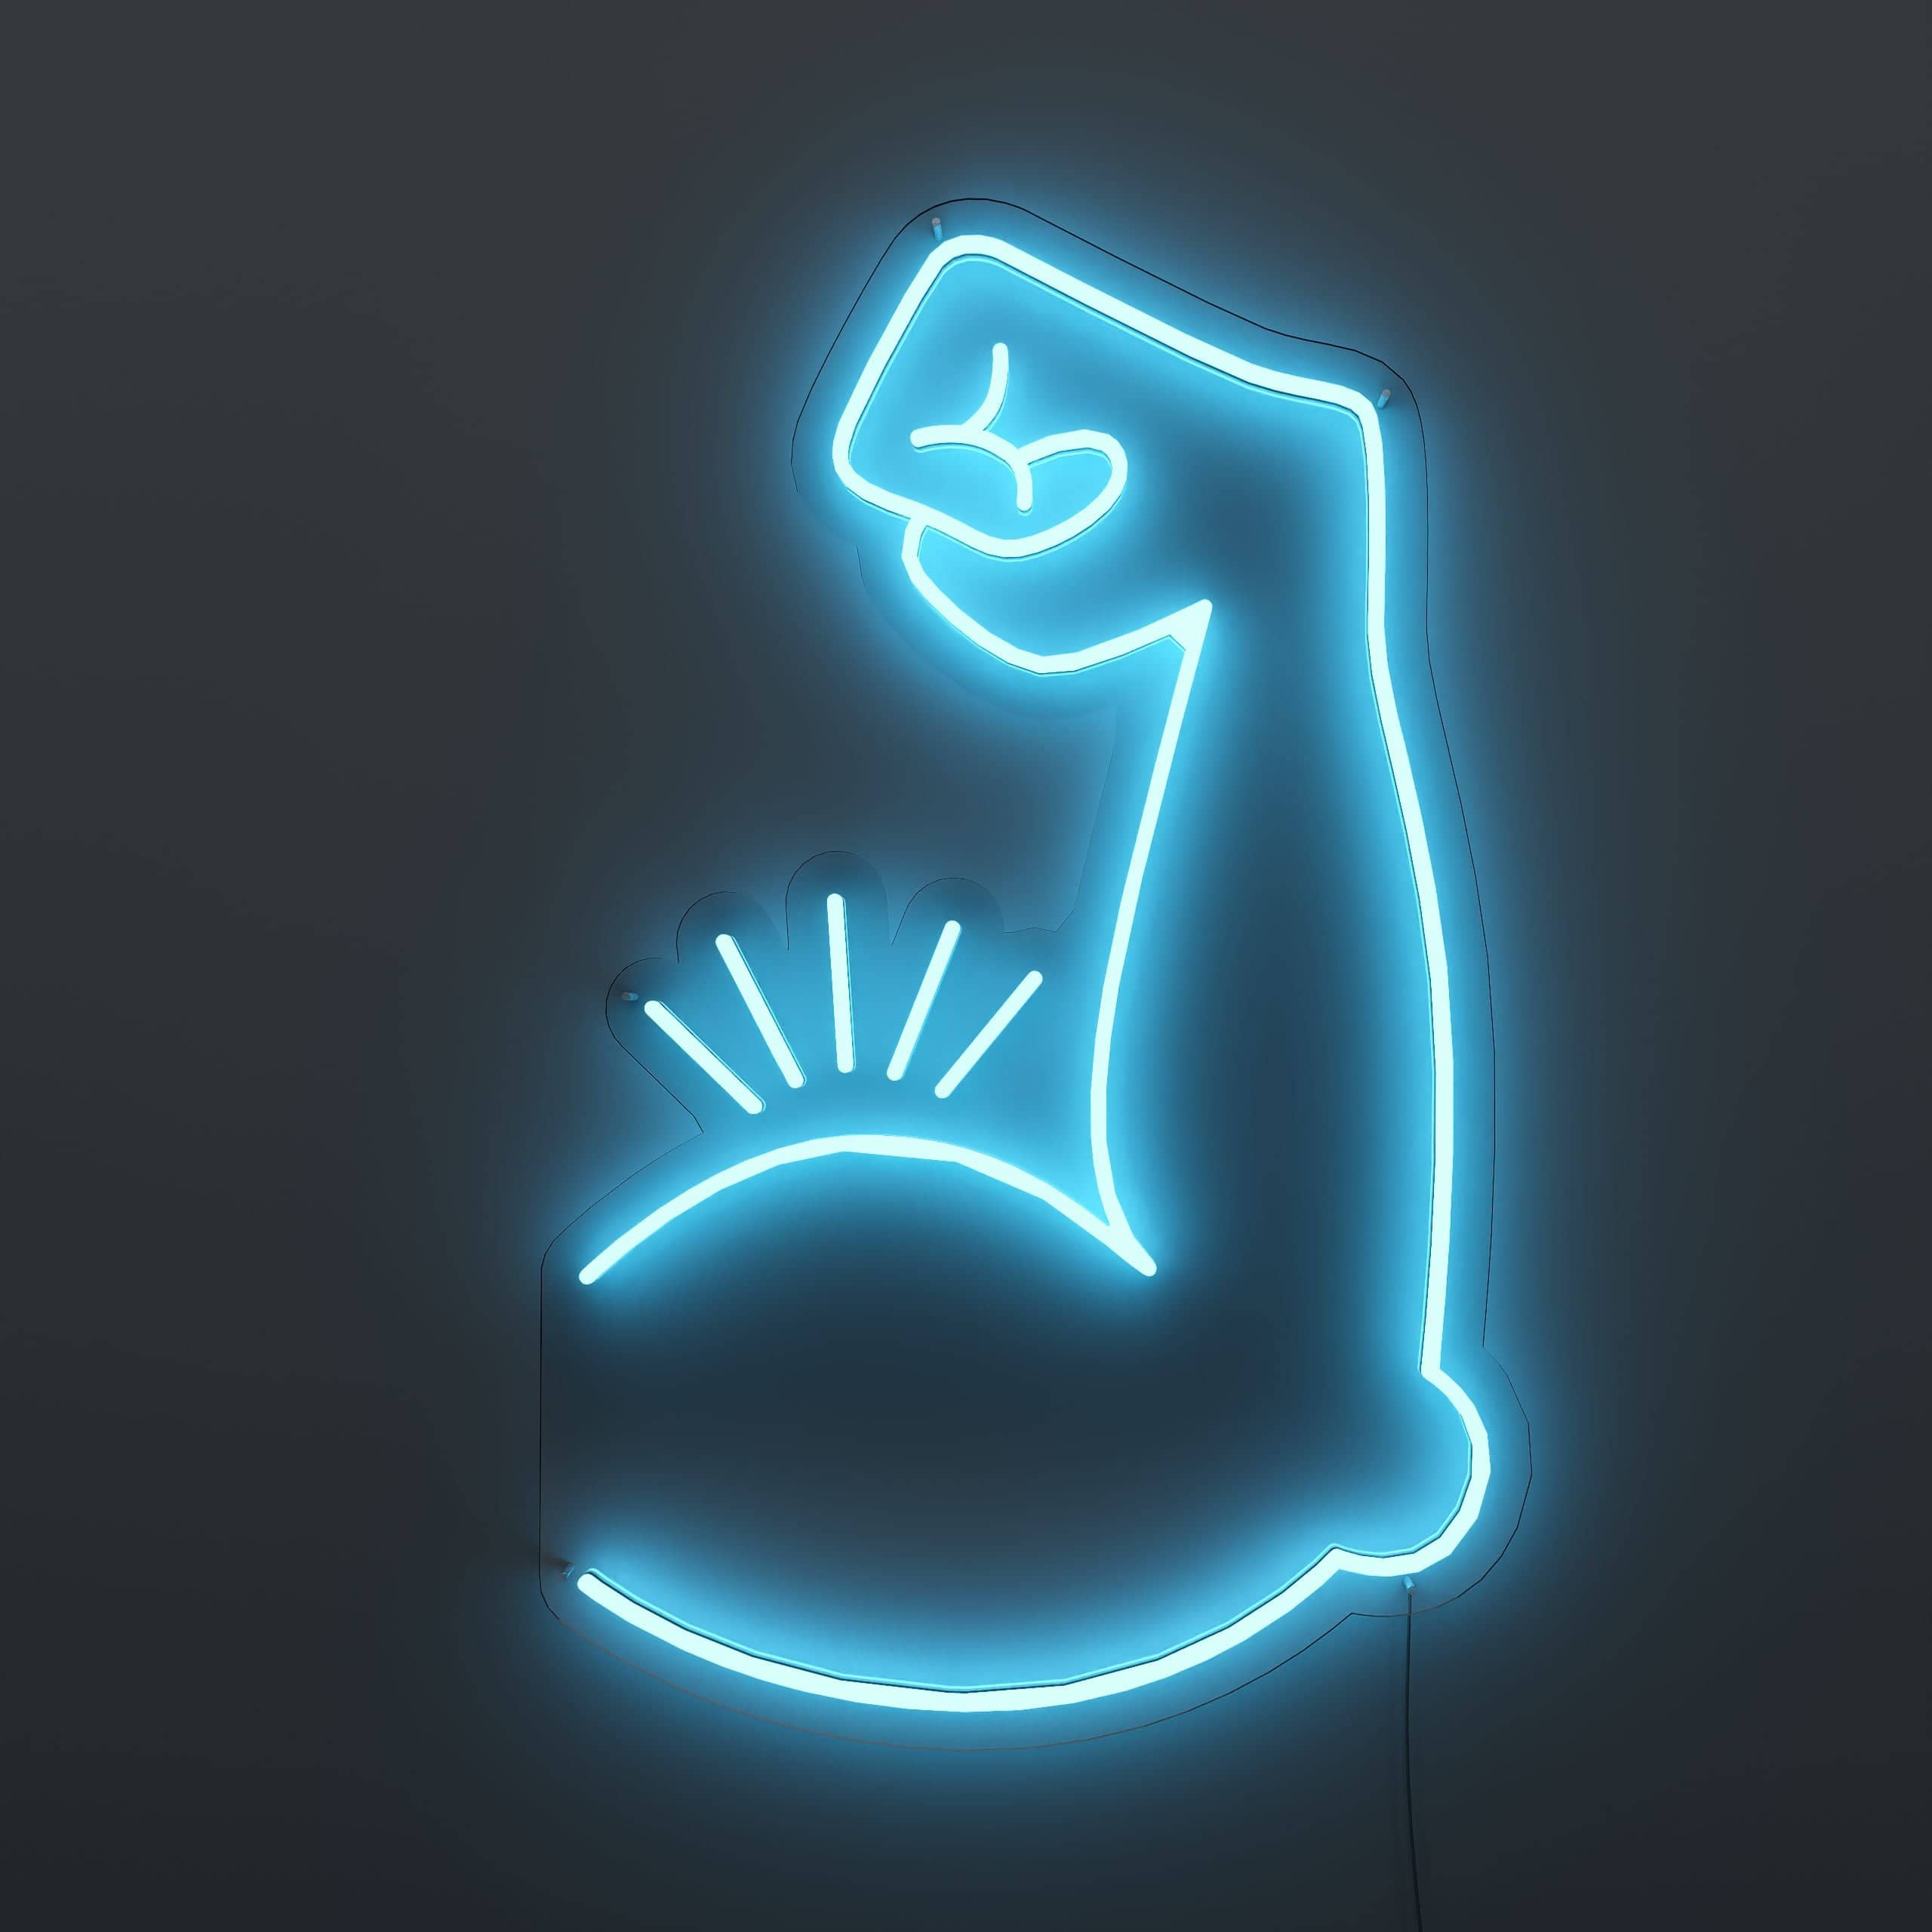
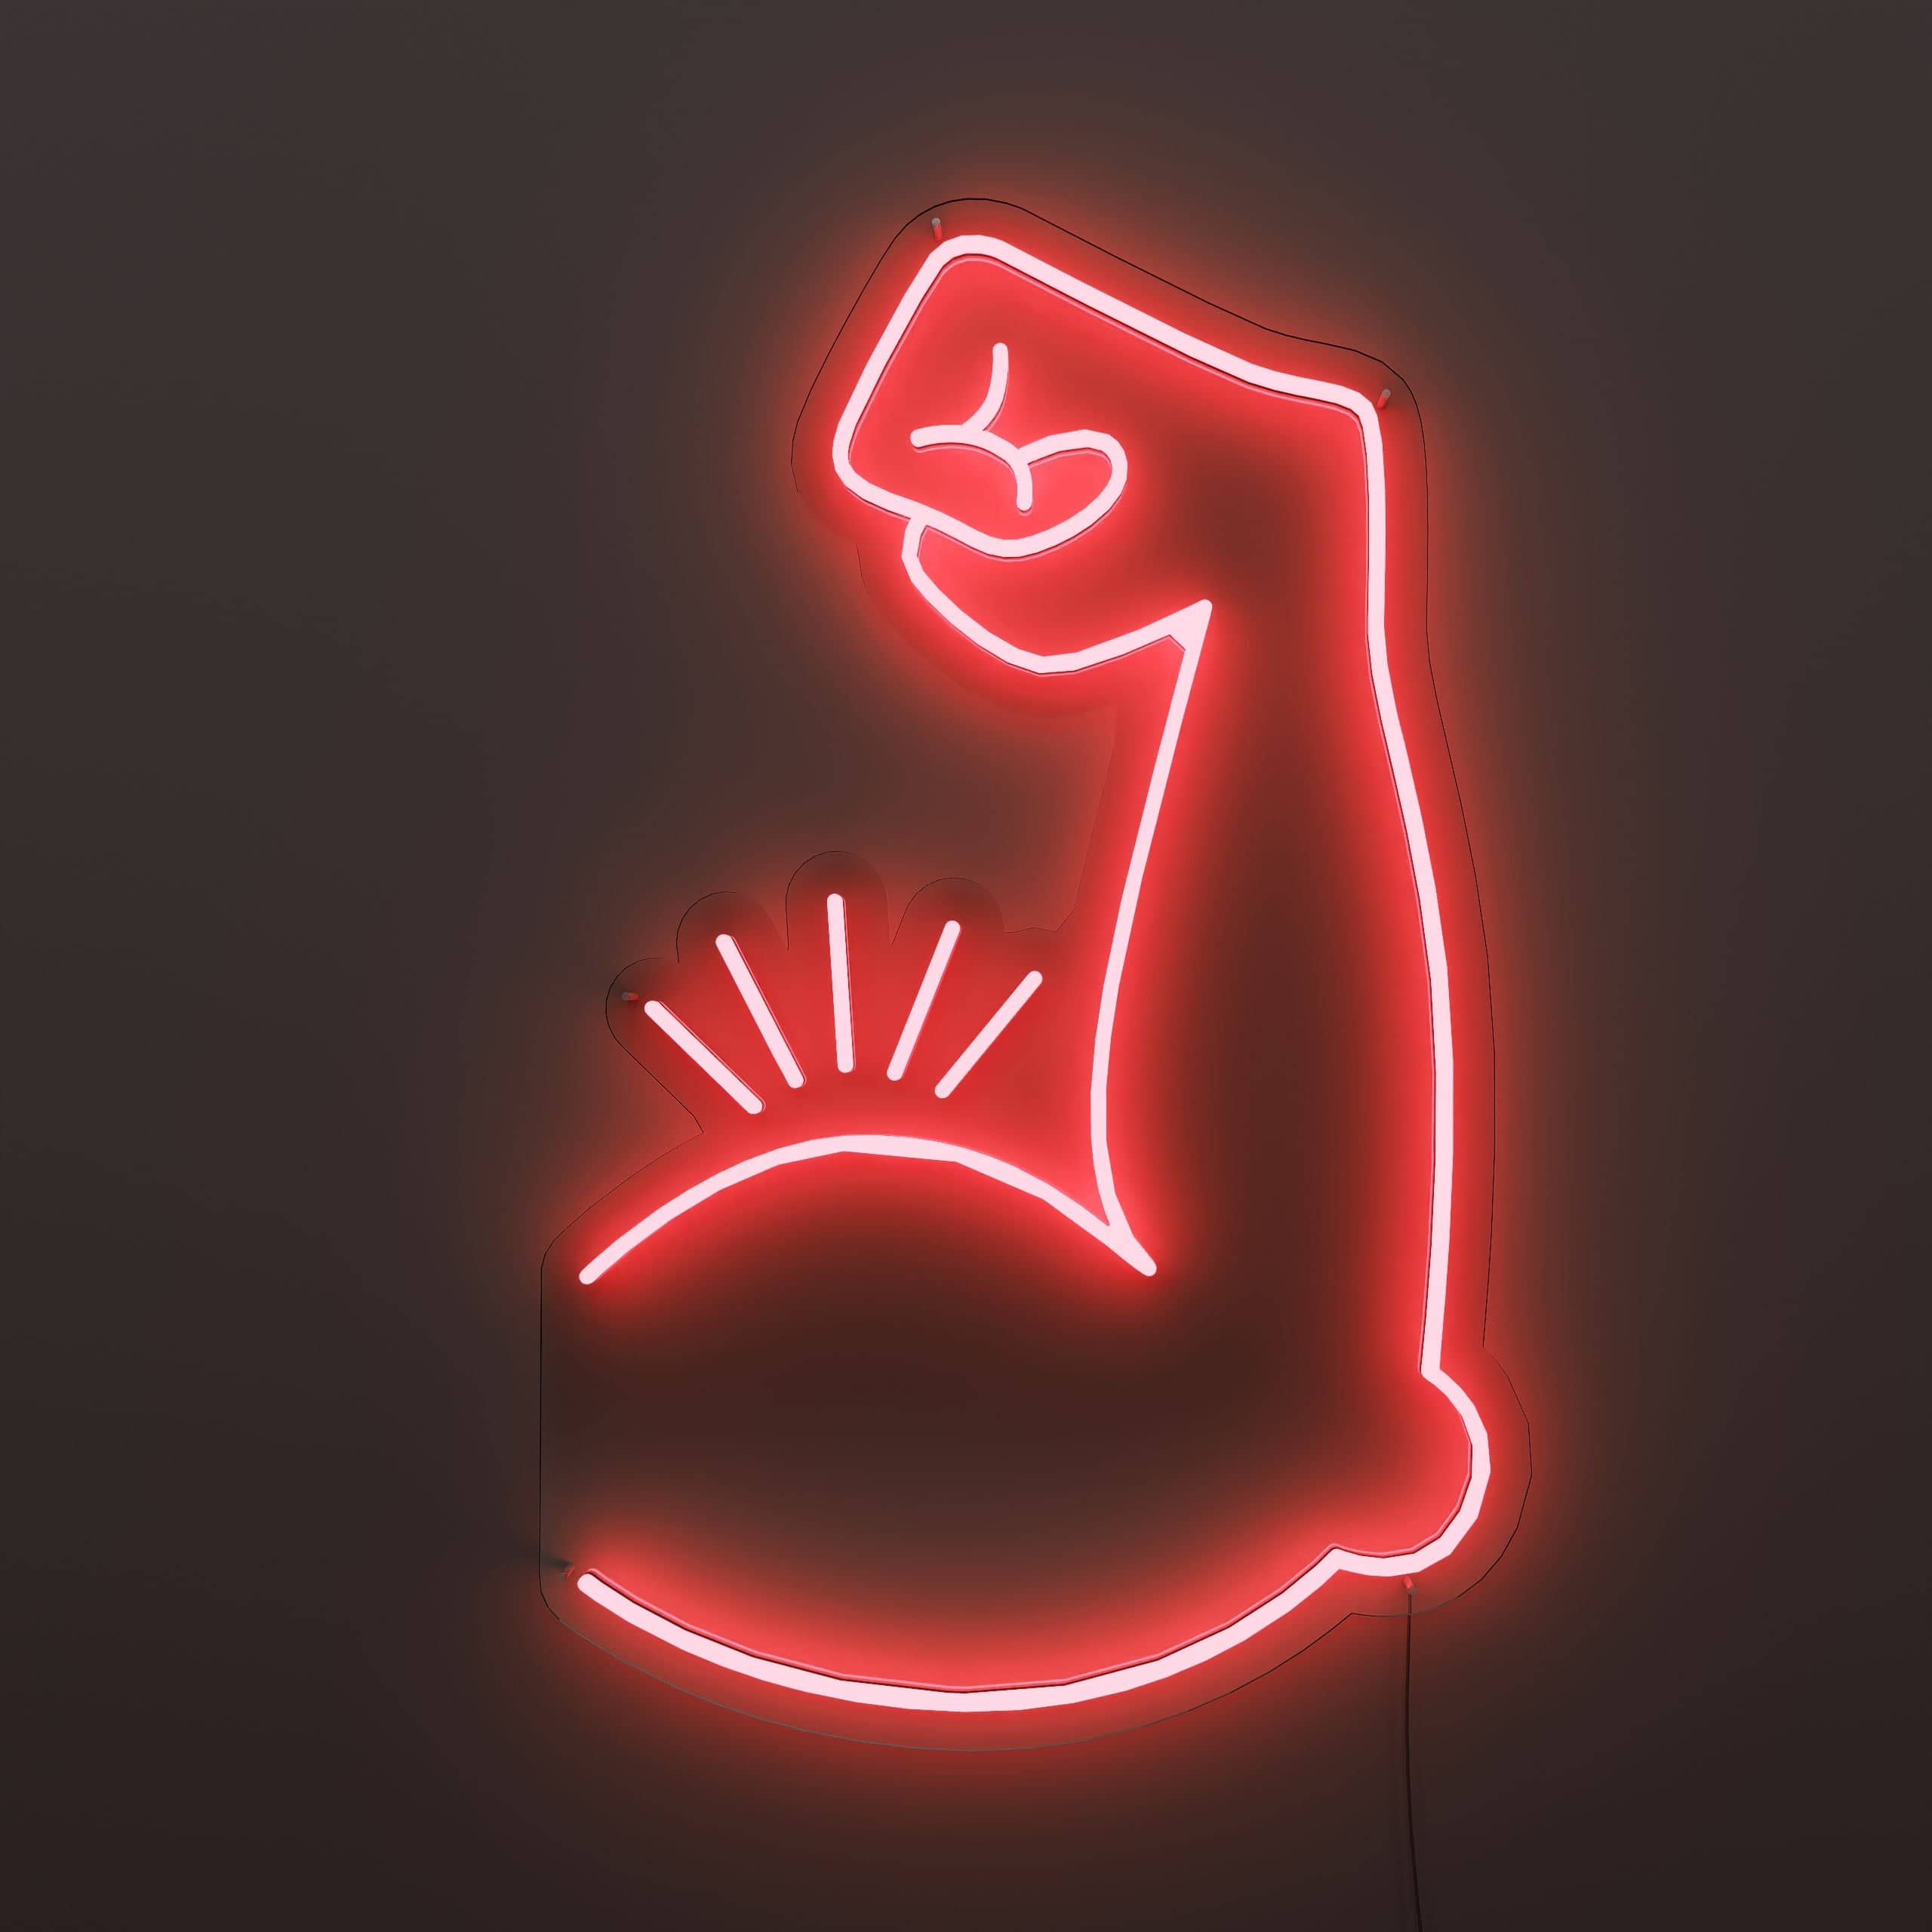
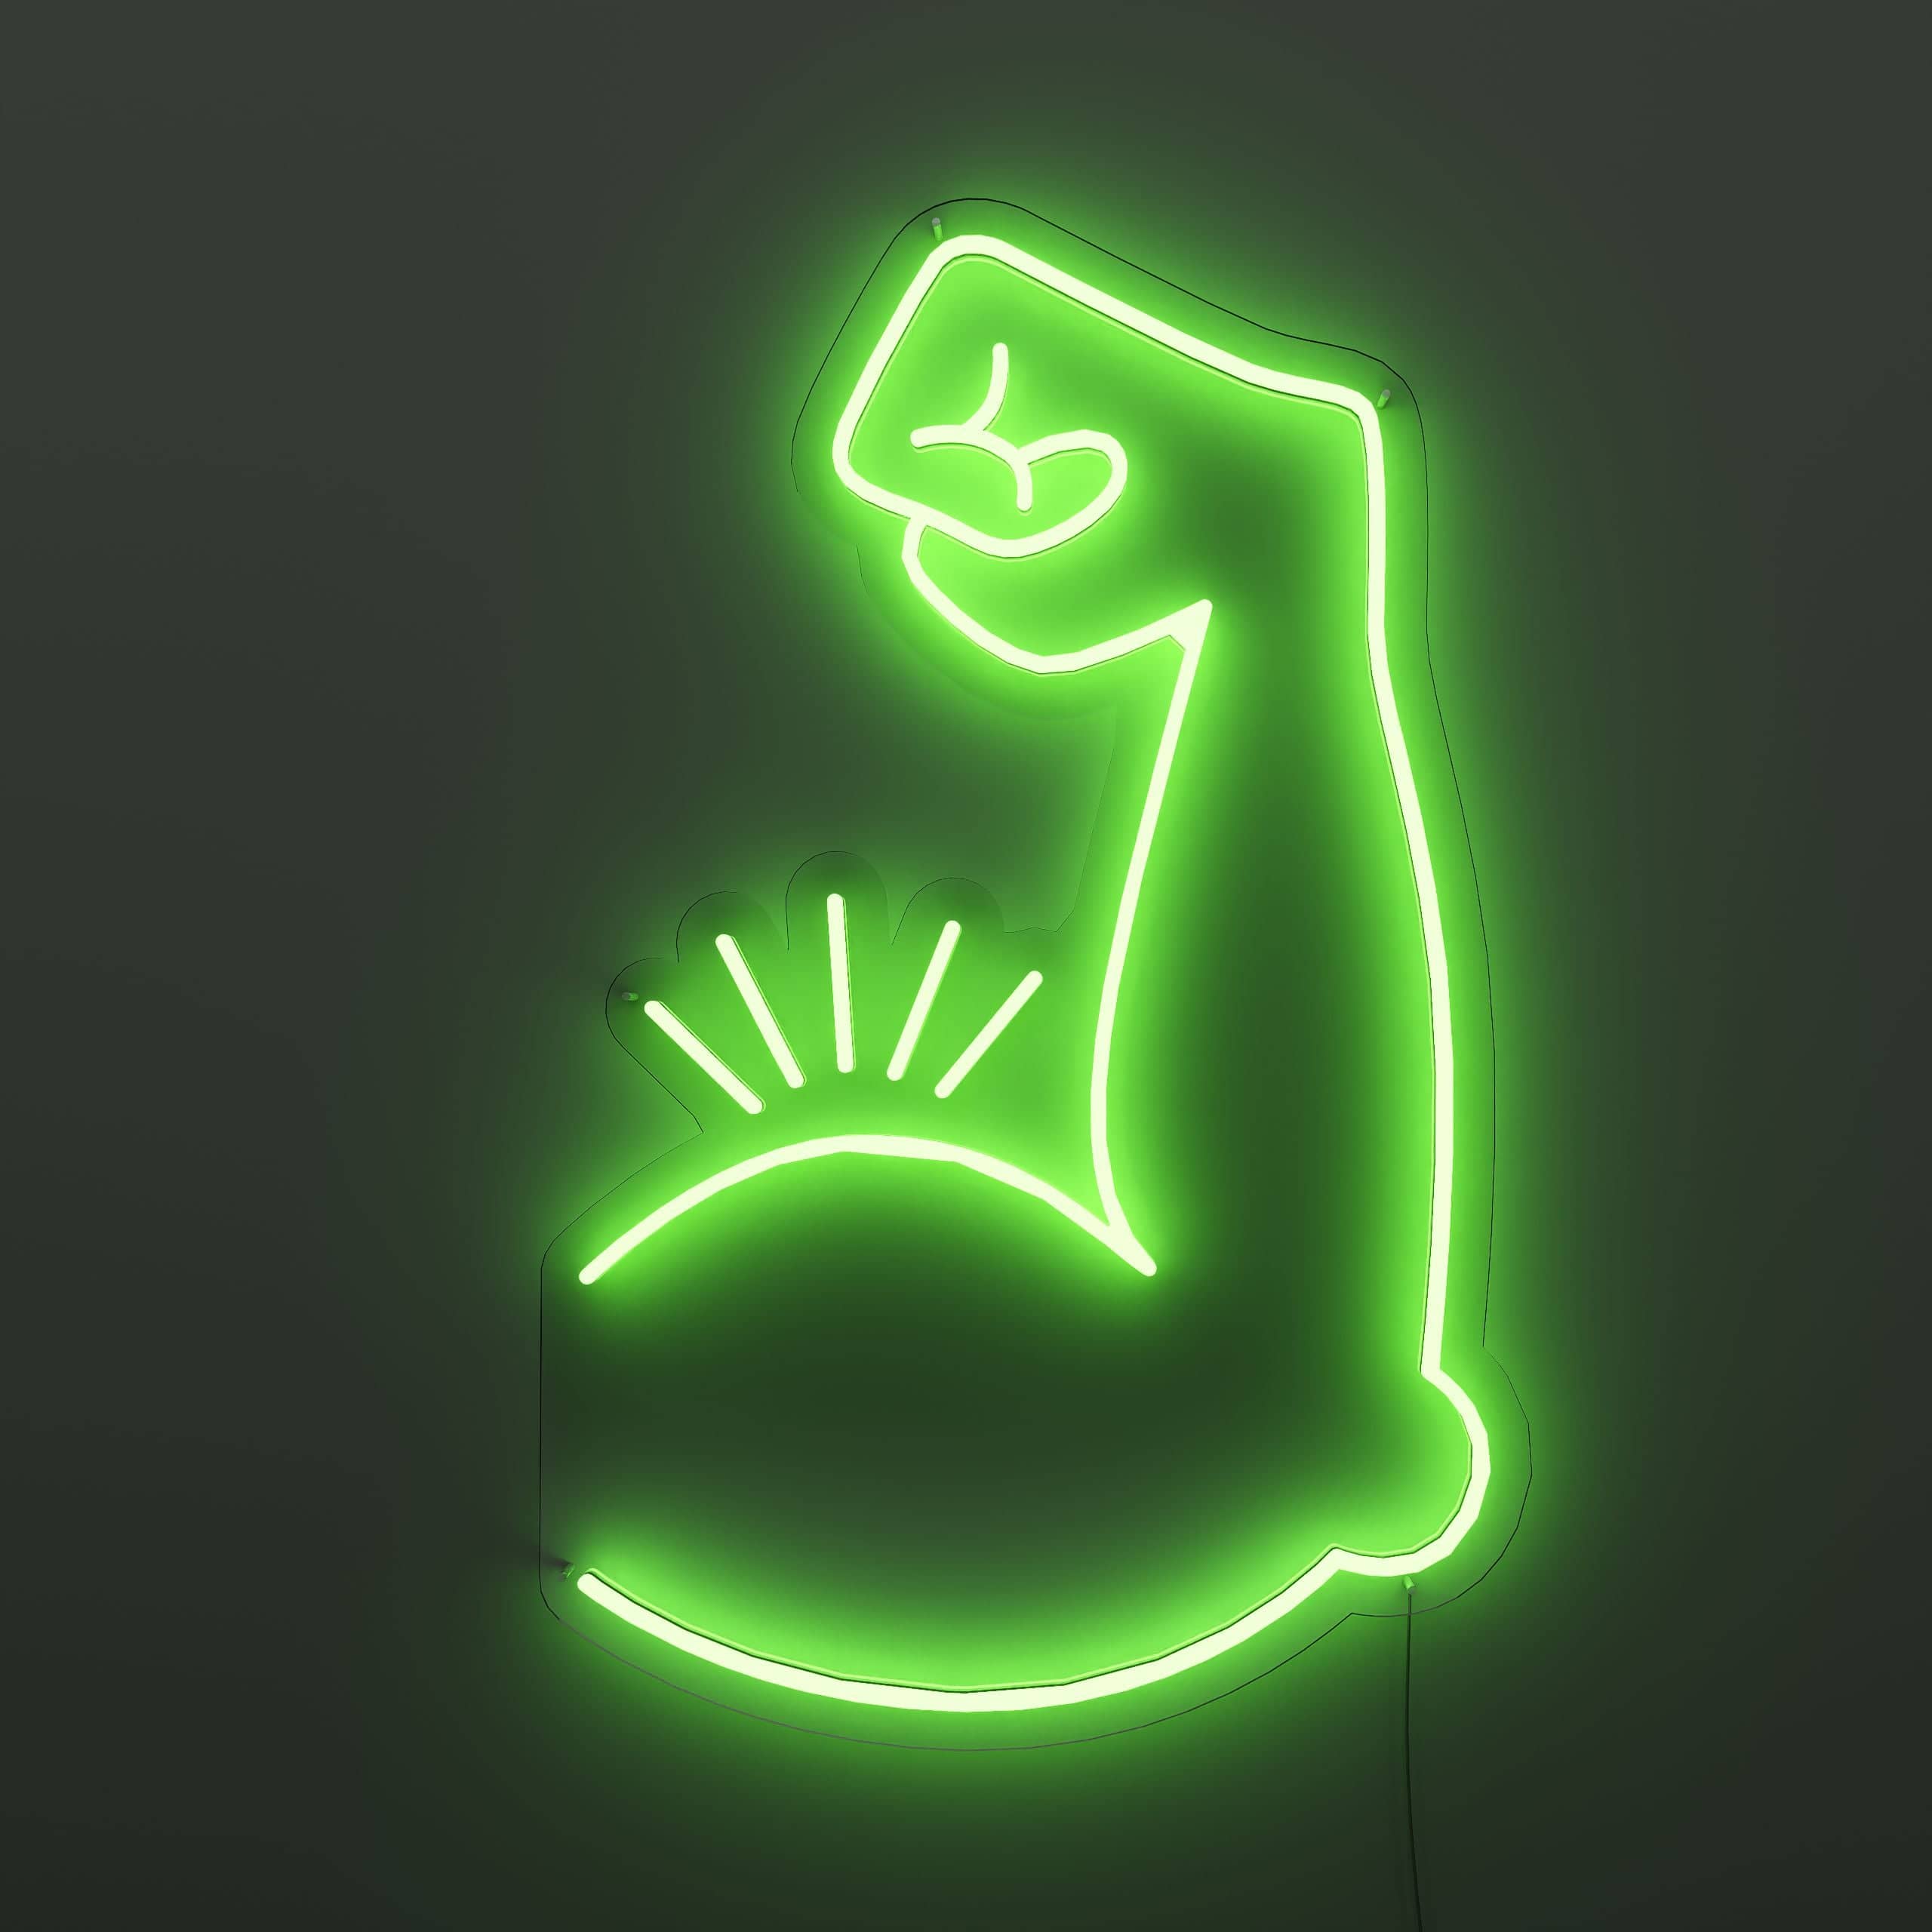
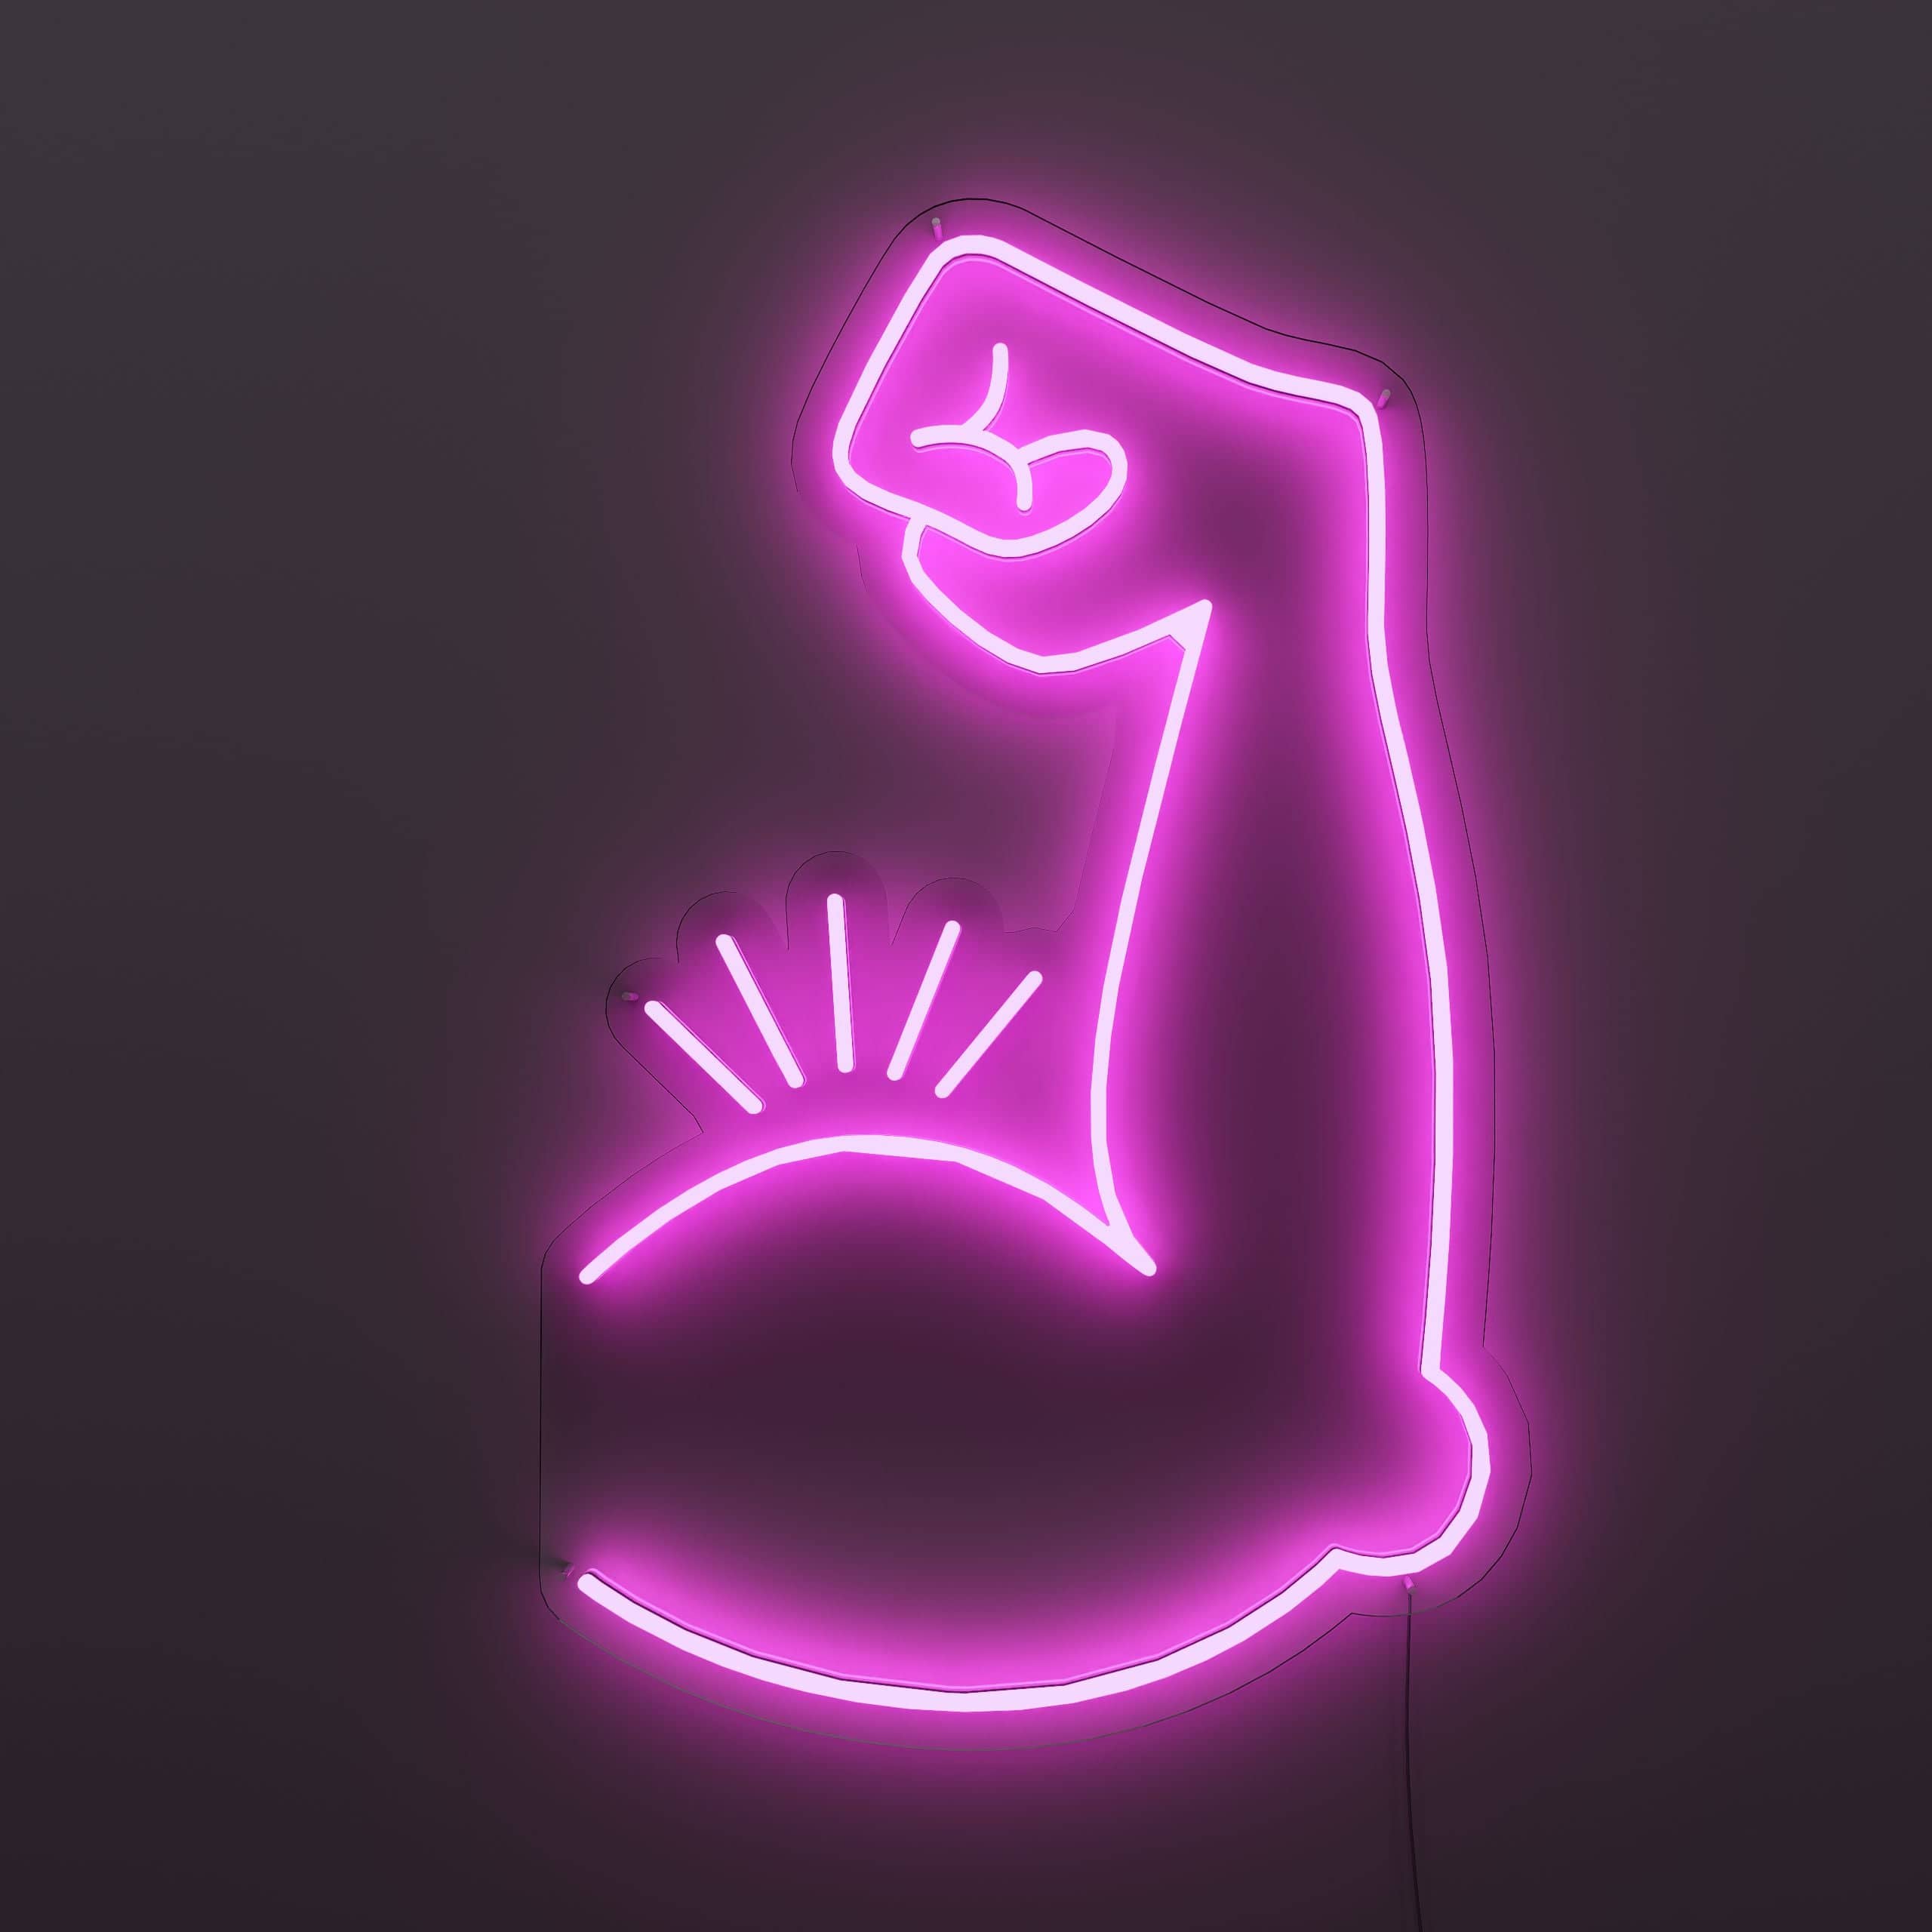
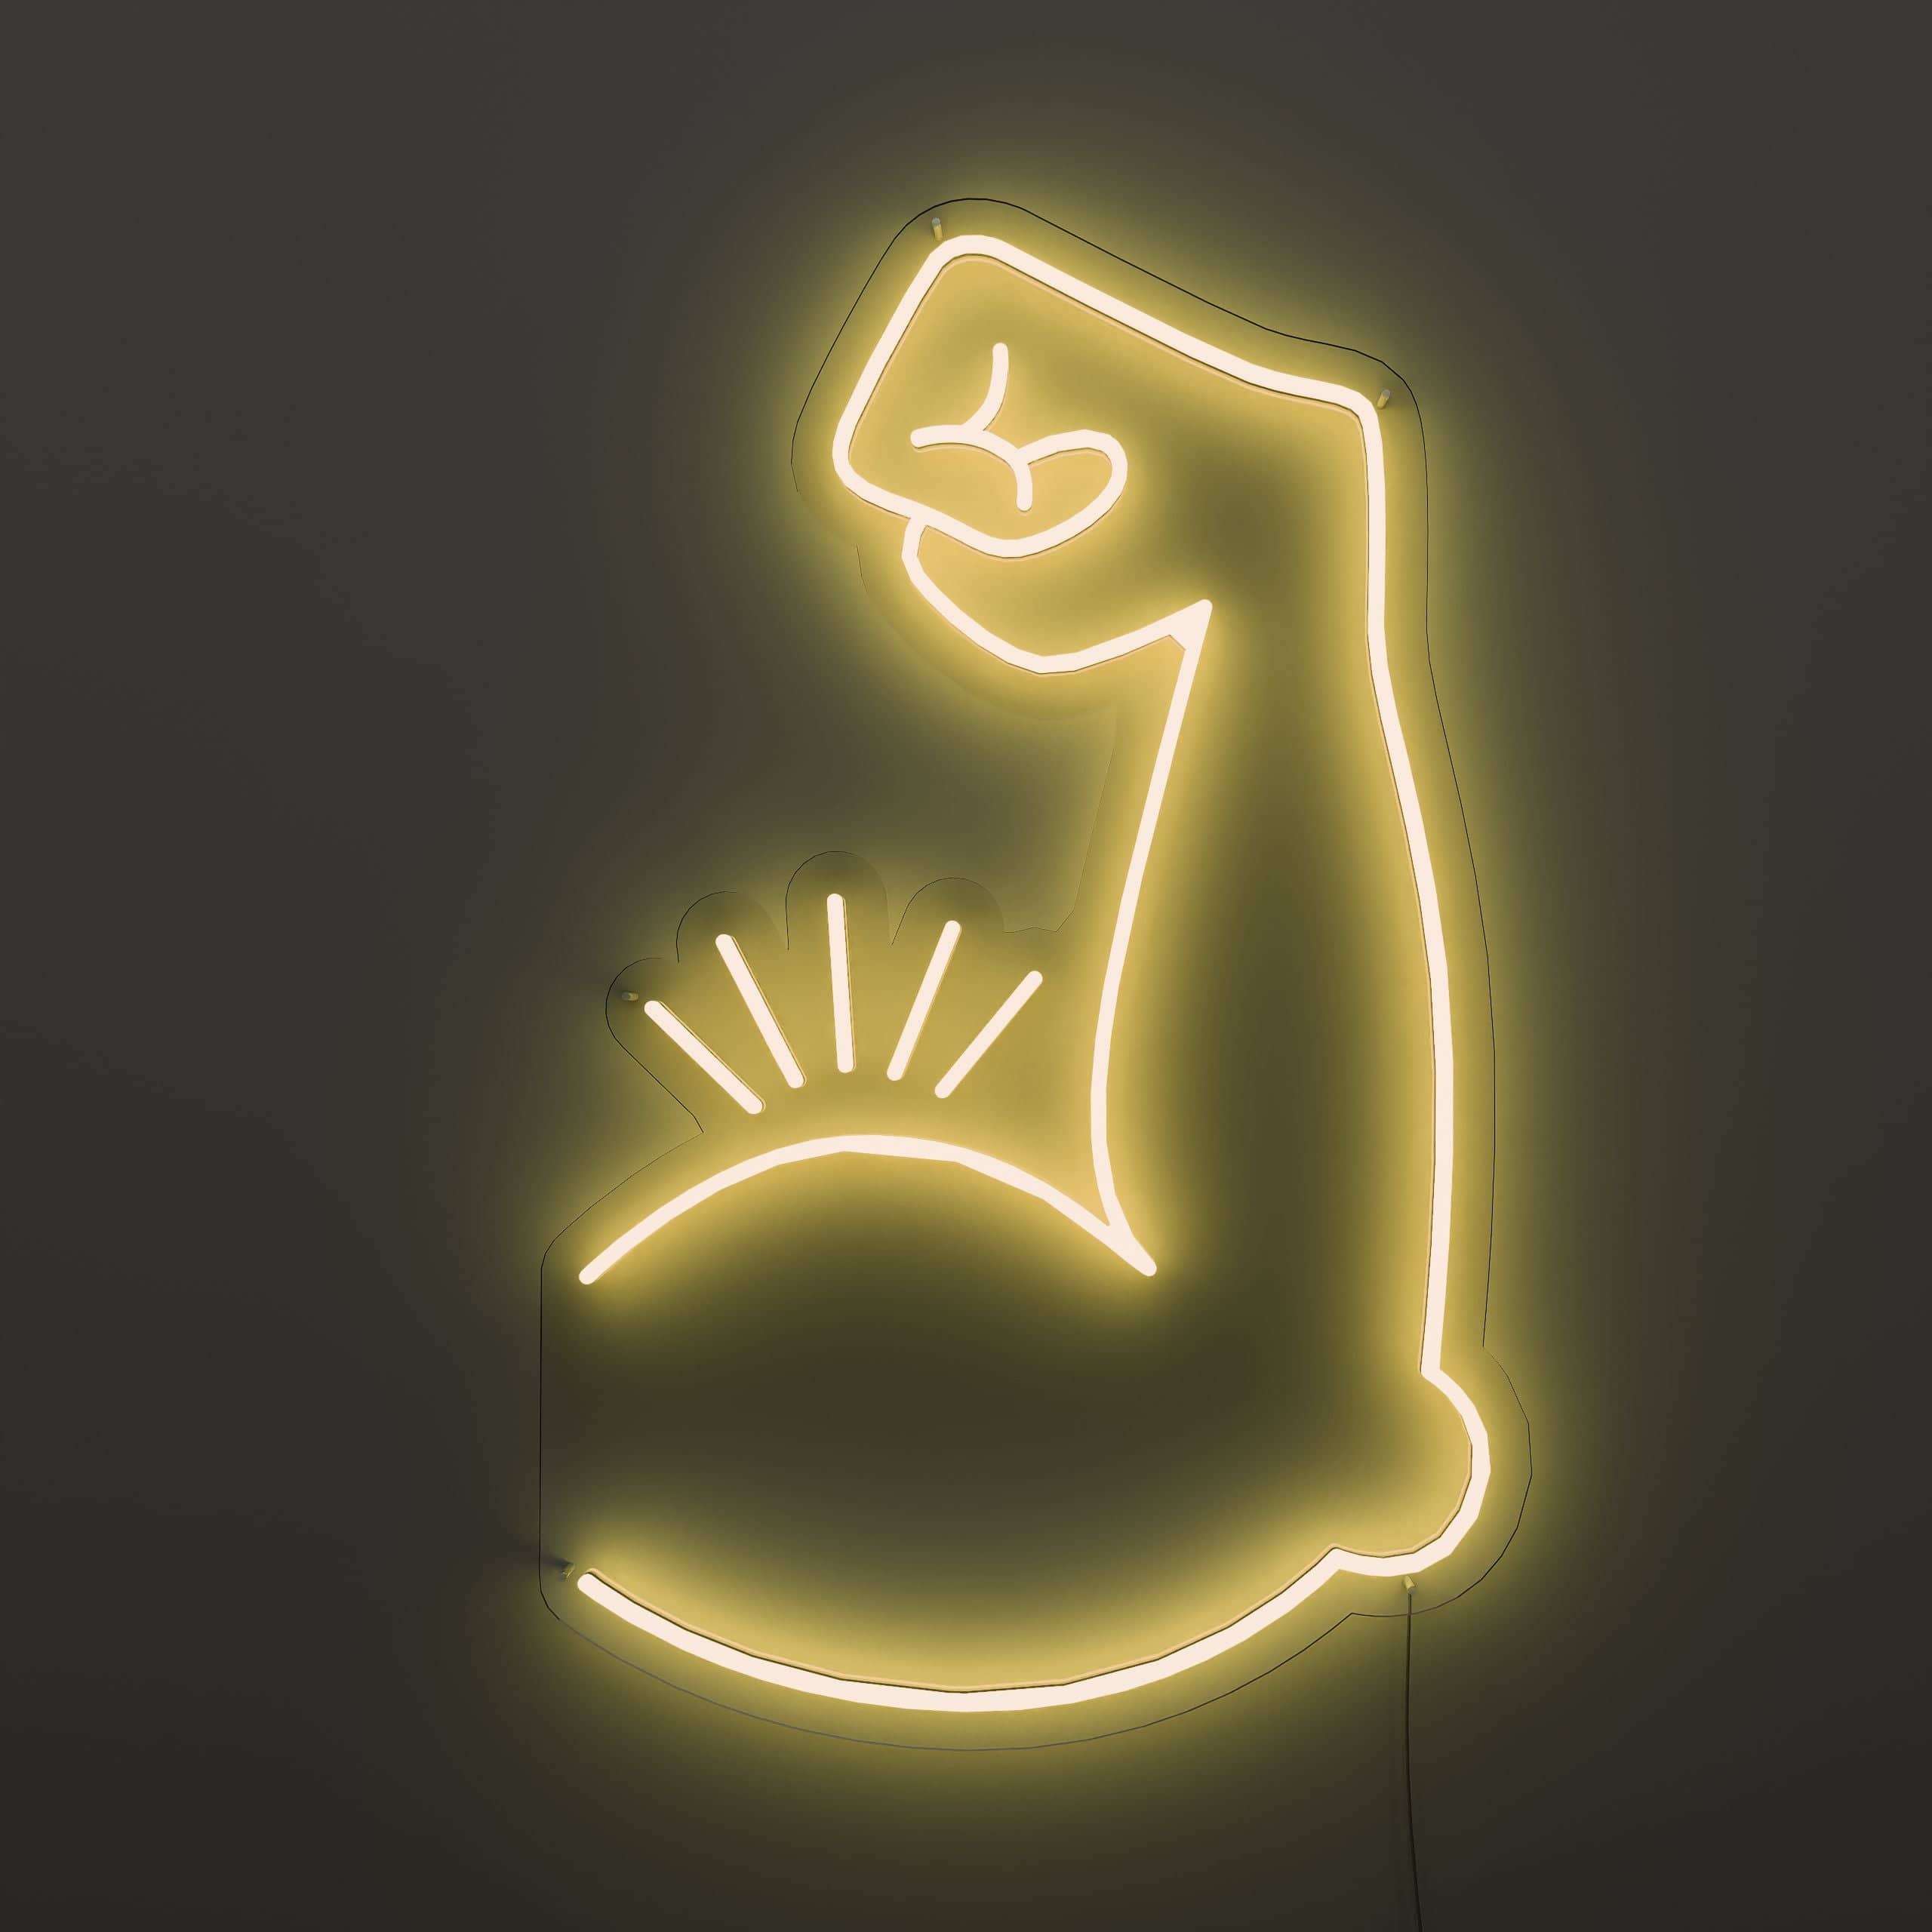
Gym Neon Sign ignites your muscle mission
Enter a gym where every corner radiates motivation. The 'Bodybuilding' flex custom led signs doesn't just illuminate; it inspires. Picture it casting a bold glow, a beacon for champions.This sign is more than light. It's a personal trainer in neon form, urging, 'Time to flex those muscles!' with every shimmer. It stands as a glowing testament to your strength journey, whispering, 'Yes, you can lift more!' with every glance.Installing this beacon of strength is as straightforward as your fitness goals.
In no time, it becomes a core part of your gym's ambiance, offering motivation with every glow. And worry not about distance this custom made neon signs reaches you anywhere on the globe, free of shipping charges. Moreover, it champions sustainability, ensuring your path to muscle greatness is lit up without weighing heavily on your energy bills. Each workout under its vibrant encouragement becomes a step closer to your bodybuilding dreams.
Elevate Your Workout Space with Body Muscle Gym Neon Sign
Additionally, this flex Neon Business Signs, 'Bodybuilding', transforms your gym into a stage where every rep is a performance, every sweat drop a badge of honor. It's like having a silent coach, always there, always glowing, ready to push you beyond your limits.And setting it up? While Effortless. It arrives at your doorstep, no matter where your gym calls home, without asking for a penny more.
Its energy-efficient glow not only lights up your space but also your spirit, fueling your workout with every light wave. So, let's make those muscles shine.With the Body Muscle Gym LED Neon Signs, your fitness journey glows bright, propelling you to flex, lift, and grow stronger, all under the watchful eye of your neon motivator.
Transform Your Space with the Gym Neon Sign
Elevate your workout zone with the Gym Neon Sign. It adds a bold, energetic glow, perfect for any fitness enthusiast. Picture the vibrant light illuminating your space, making every workout session feel dynamic. This sign is easy to set up, bringing the gym vibe straight to your home. Just like a motivational coach, it inspires you to push your limits.
This Gym Neon Sign uses minimal power, yet its impact is powerful. The Neon Signs for Room it emits is consistent and bright, giving your gym a professional touch. The sign is also built to last, ensuring it keeps shining through countless workout sessions. Whether you’re lifting weights or doing yoga, this sign complements any fitness routine, making the space feel more engaging.
The glowing letters catch the eye, drawing in clients
Moreover, it’s not just for personal use. Businesses can also benefit from this stylish decor. Neon Open Sign add a modern flair to gyms, fitness studios, or any commercial space. It’s a simple yet effective way to enhance your brand's image.Want something unique? Restaurant Sign to reflect your gym’s personality.
Tailor the design, color, and message to match your aesthetic, creating a one-of-a-kind piece. This customization ensures your gym stands out, offering a personalized touch that resonates with your clients.Whether for personal or professional use, the Cool Neon Signs is a reliable and stylish choice. It’s more than just a light—it’s a statement that enhances your space and energizes your environment. With this sign, your gym becomes more than a place to work out; it becomes a vibrant and inspiring haven.
Ignite Your Workout Space with Custom Neon Signs: Body Muscle Gym Neon Sign and More
Ready to give your gym or workout area a motivational boost? Our collection of custom neon signs, like the Body Muscle Gym Neon Sign, is here to do just that! Whether you're looking for powerful motivation or a unique vibe, these neon signs will energize any fitness space. The Dumbbell Gym Neon Sign is a perfect fit for anyone dedicated to lifting, bringing style and intensity to your gym. For a playful touch, the Barbell Neon Sign Gym Tonic adds fun and flair—ideal for a fitness studio or home workout room.
If you’re serious about pushing limits, the Lift the Barbell Neon Sign and Barbell Neon Sign Do It are just what you need to stay driven. These signs add bold reminders to keep striving for your goals. And for those who live by the motto “no pain, no gain,” we have two ultimate choices: the Barbell neon sign No Pain No Gain and the No Pain No Gain Barbell neon sign. These designs encapsulate the spirit of perseverance and make a striking statement in any space.
With brilliant colors and durable craftsmanship, our neon signs don’t just light up the room—they light up your motivation. Dive into our collection to find the design that fuels you or customize one that’s perfectly yours. Let these neon lights keep you inspired every step of the way!
- Easy install
- energy-efficient.
- free shipping worldwide
Bootent™ LED Materials
Our neon signs are crafted from neon flex material—PVC or Silicon piping filled with LED lights—affixed to recycled acrylic boards.
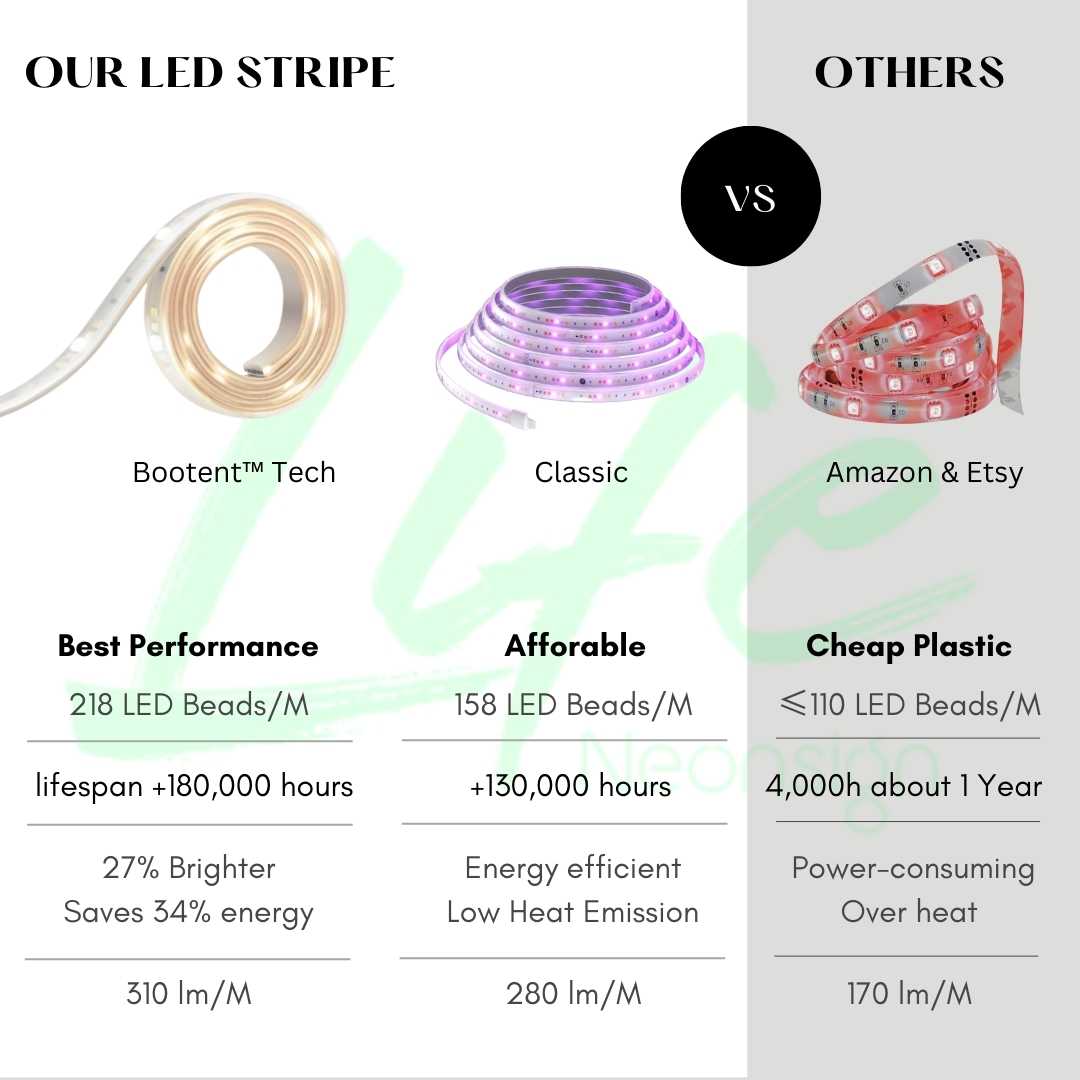
This advanced composition not only replicates the vibrant and bright glow of traditional neon but also enhances durability and affordability. Crucially, it sets Bootent™ LED apart from the materials used by other sellers on platforms like Amazon or Etsy.
We are committed to sustainability:
- - Our LED lights consume 6 times less energy than traditional bulbs and boast a lifespan of up to 100,000 hours.
- - We incorporate recycled materials into all of our products.
- - Our packaging is 100% recycled, eliminating unnecessary plastic.
Bootent™ LED represents a pioneering technology in the neon sign industry.
Fully compliant with FCC, UL, and Prop 65 standards, Bootent™ LED ensures that our customers are investing in a product that not only leads the market in quality and safety but also adheres to the strictest environmental and regulatory standards globally.
DIE KOMPLETTE ANLEITUNG ZUR INSTALLATION UND ANZEIGE VON LED-Neonschildern
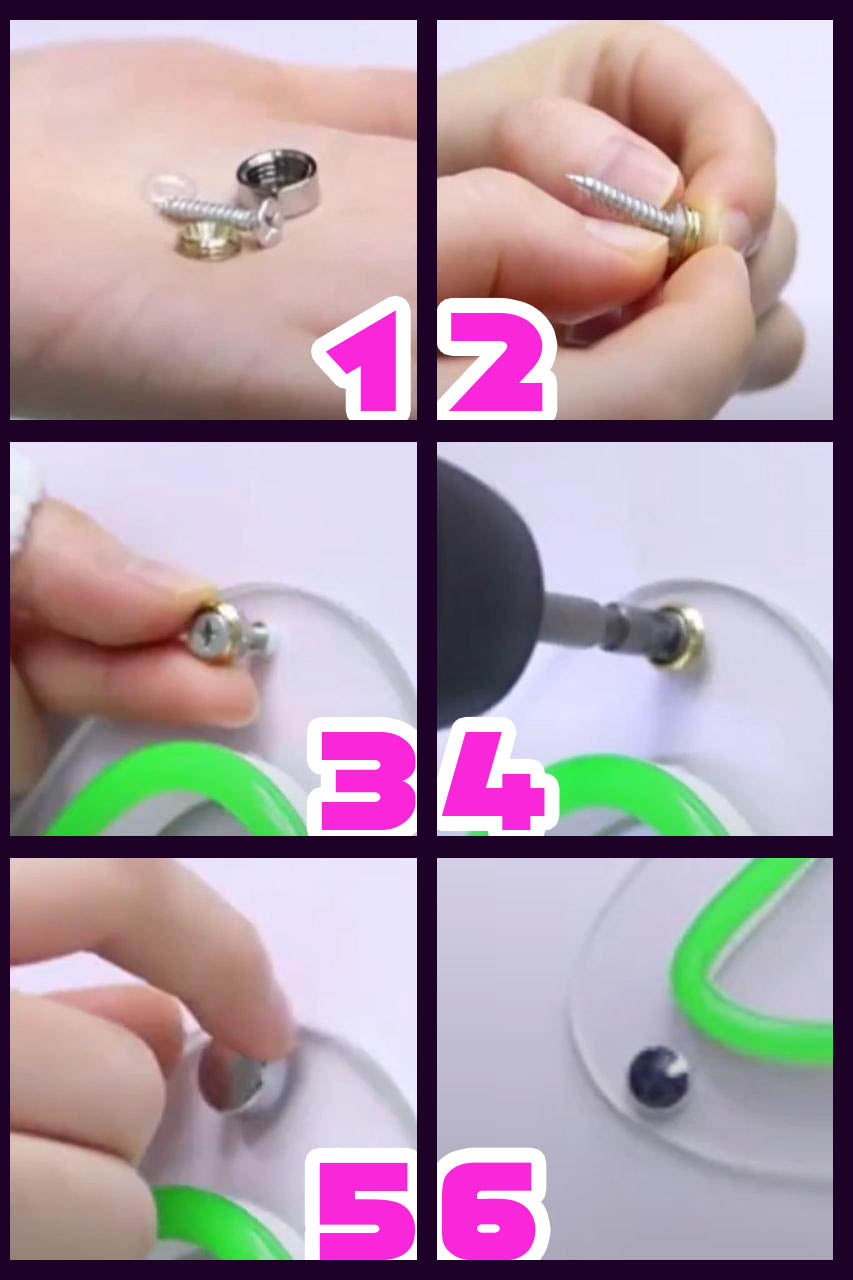
So installieren Sie Ihr LED-Neonschild mit Minischrauben:
Wenn Ihre Leuchtreklame mit geschnittener Acrylunterlage und Minischrauben geliefert wird. Befolgen Sie diese einfachen Schritte, um es in wenigen Minuten aufzuhängen:
1. Platzieren Sie die Leuchtreklame flach an der vorgesehenen Wand oder Stelle und heben Sie sie an, um Schäden zu vermeiden.
2. Bestimmen Sie den Aufhängeort. Markieren Sie mit einem Markierstift die vorgebohrten Löcher in der Wand, in die die Schrauben passen.
3. Legen Sie das Schild beiseite, um ein Zerkratzen der Acrylrückseite zu vermeiden. Verwenden Sie eine Bohrmaschine mit einem kleineren Spiralbohrer, um an den markierten Stellen in der Wand Pilotlöcher zu erstellen.
4. Richten Sie das Schild an den Bohrlöchern aus und platzieren Sie schwarze (oder goldene/silberne) Gummischeiben über den Löchern. Führen Sie die kleinen silbernen Schrauben durch die Löcher ein. Sichern Sie sie, indem Sie sie in die Führungslöcher bohren.
5. Wiederholen Sie den Vorgang für alle Schrauben und stellen Sie sicher, dass sie fest sitzen. Setzen Sie die kleinen silbernen Endkappen auf die schwarzen Gummischeiben, um den Look zu vervollständigen. Letzter Schritt: Stecken Sie das Schild in den Transformator und dann in die Steckdose. Ihre Leuchtreklame sollte problemlos leuchten.
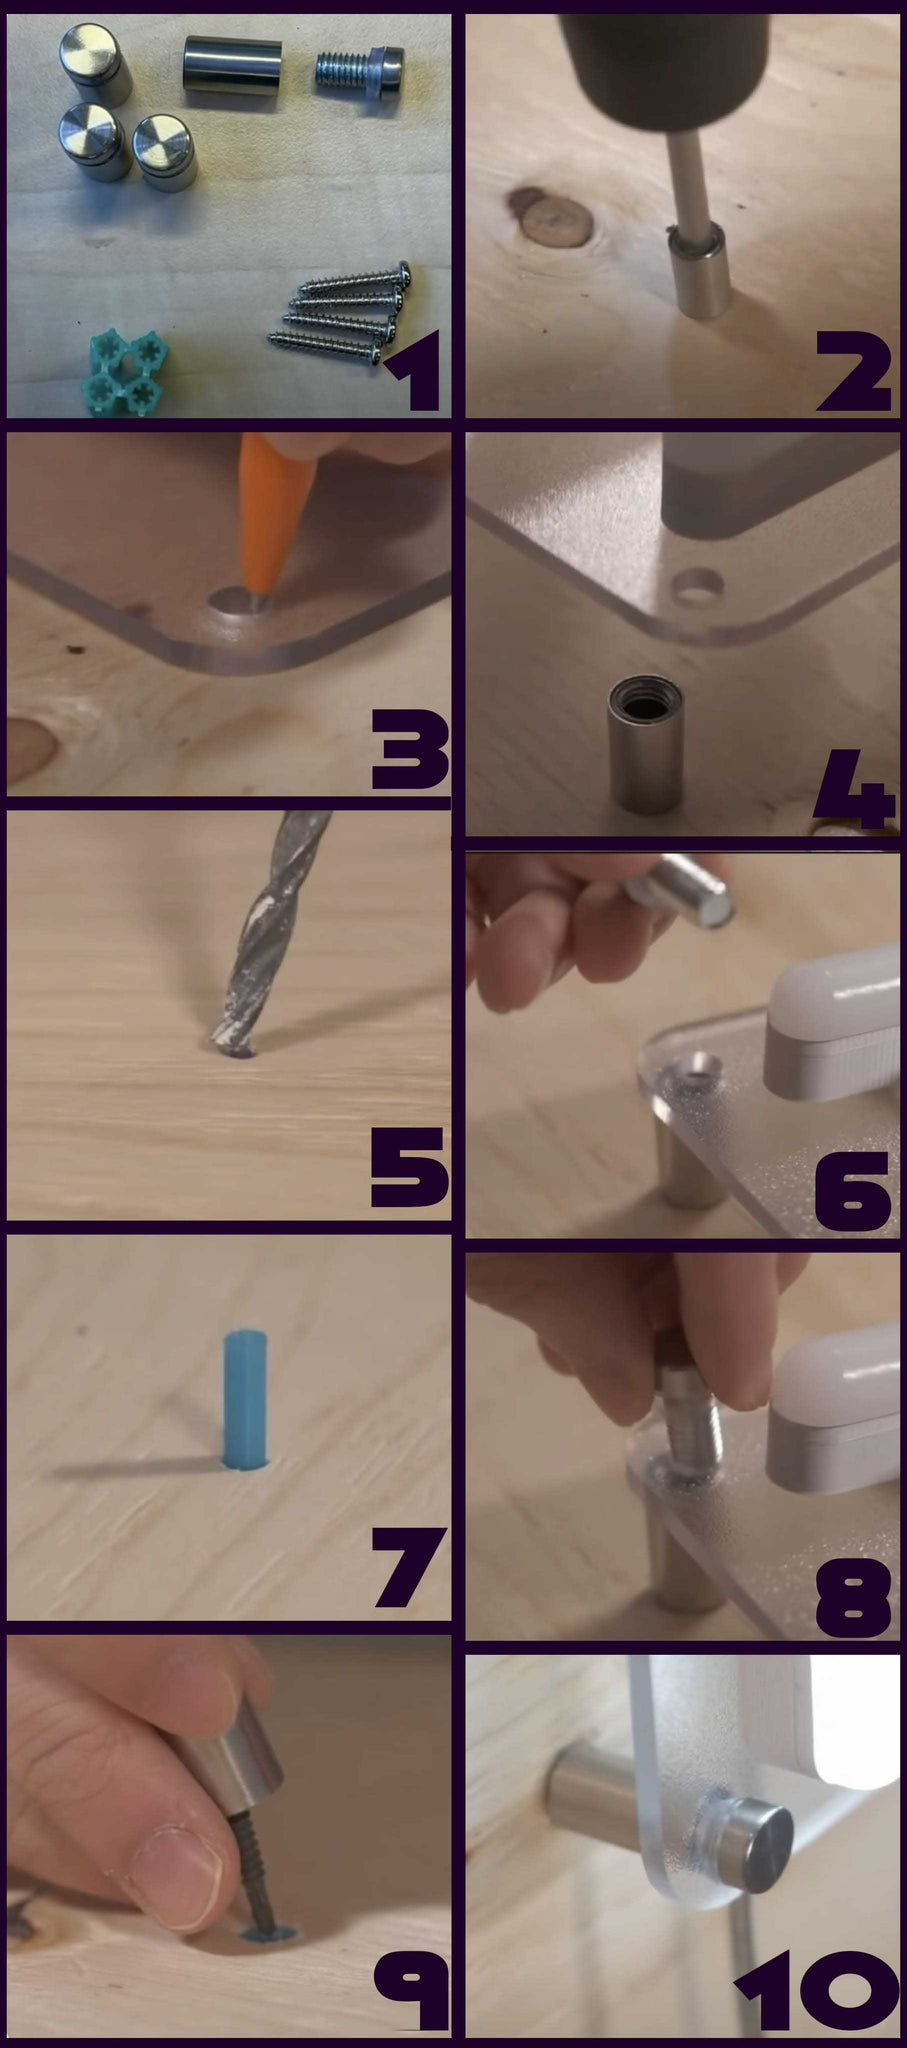
So hängen Sie eine Leuchtreklame mit Abstandsschrauben auf:
Abstandsschrauben sind ideal für Oberflächeninstallationen wie Wände. Befolgen Sie diese Schritte, um Ihr Neonschild mit dieser Methode aufzuhängen:
1. Positionieren Sie die Leuchtreklame flach an der gewünschten Wand oder dem gewünschten Raum und achten Sie darauf, dass sie ausgerichtet ist.
2. Markieren Sie mit einem Markierstift die vorgebohrten Löcher in der Wand, in die die Schrauben passen. Bestätigen Sie den Aufhängeort, bevor Sie fortfahren.
3. Platzieren Sie das Schild an einem sicheren Ort, um die Acrylrückseite vor Kratzern zu schützen. Verwenden Sie eine Bohrmaschine mit einem kleineren Spiralbohrer, um an den markierten Stellen in der Wand Pilotlöcher zu erstellen.
4. Schrauben Sie die Befestigungsstifte ab und positionieren Sie die Hohlsockel an den gebohrten Führungslöchern. Führen Sie die kleineren silbernen Befestigungsschrauben durch die hohlen Öffnungen der Montagestifte ein. Bohren Sie sie in die Wand und sichern Sie so die Hohlsockel. Wiederholen Sie diesen Vorgang für alle Hohlbasen.
5. Positionieren Sie das Schild an den gesicherten Sockeln und achten Sie dabei auf die richtige Ausrichtung. Befestigen Sie das Schild mit breiteren Schrauben an jedem Sockel und an der Wand. Überprüfen Sie noch einmal, ob alle Schrauben fest sitzen. Letzter Schritt: Stecken Sie die hängende Leuchtreklame in den Transformator und dann in die Steckdose. Es sollte aufleuchten.
Aufhängen der Leuchtreklamen mit Kabel:
Schritt 1: Messen Sie den Abstand zwischen den vorgebohrten Löchern auf der Acrylrückseite Ihres Schildes. Markieren Sie diese Abstände für die silbernen vertikalen Halterungen auf der Oberseite.
Schritt 2: Positionieren Sie die silbernen vertikalen Halterungen an den markierten Punkten und markieren Sie die drei Schraubenlöcher an jeder Halterung zum Bohren.
Schritt 3: Bohren Sie Führungslöcher an den markierten Stellen und befestigen Sie dann die Halterungen mit Schrauben und einem Schraubenzieherbohrer.
Schritt 4: Messen Sie die kunststoffummantelten Aufhängedrähte ab und schneiden Sie sie auf die gewünschte Länge zu. Lassen Sie etwas übrig, um am Ende eine Schlaufe zu bilden.
Schritt 5: Befestigen Sie die Drähte an den Halterungen, indem Sie auf die federbetriebene Öffnung der Halterung drücken, den Draht hineinführen und die Öffnung loslassen, um den Draht zu greifen.
Schritt 6: Fädeln Sie ein Ende jedes Drahtes durch eine silberne Quetschklemme, dann durch das Loch auf der Rückseite Ihres Schildes und führen Sie es durch das andere Loch in der Quetschklemme zurück. Sichern Sie die Crimpverbindung mit einer Zange. Wiederholen Sie den Vorgang für andere Drähte.
Letzter Schritt: Schließen Sie Ihr Schild an den Transformator an und stecken Sie ihn dann in die Steckdose, um Ihre Leuchtreklame zum Leuchten zu bringen.
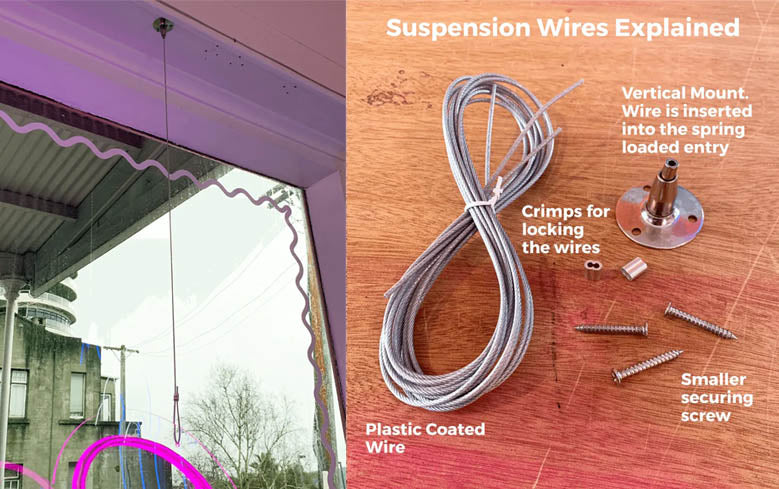
Jetzt können Sie Ihre Leuchtreklame mühelos mithilfe von Aufhängedrähten aufhängen!
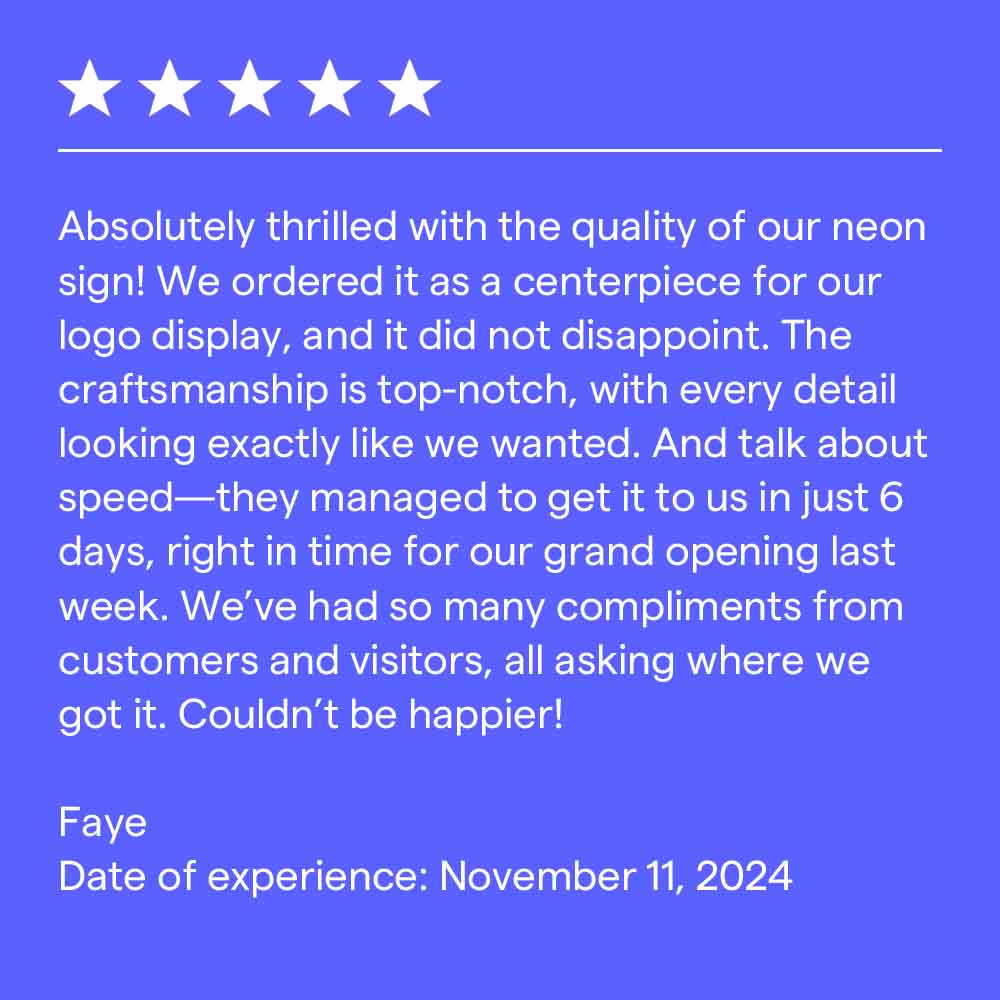
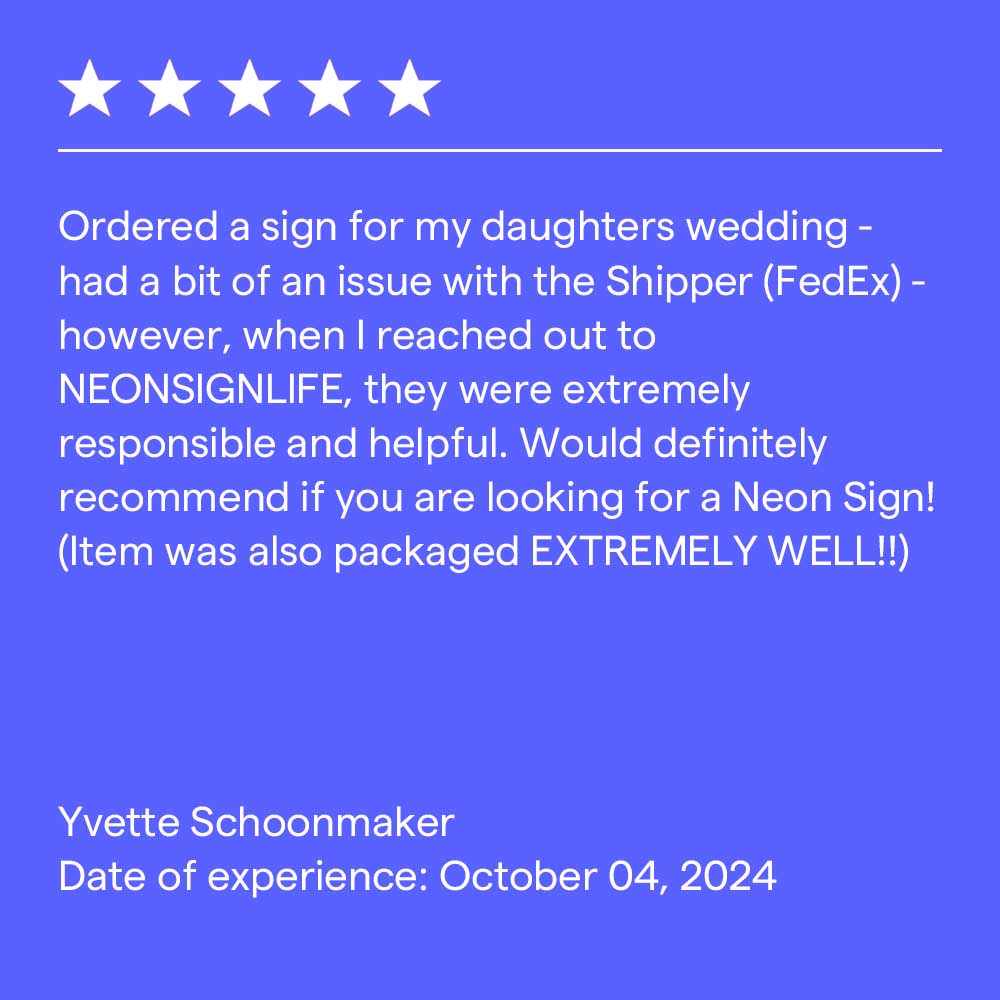
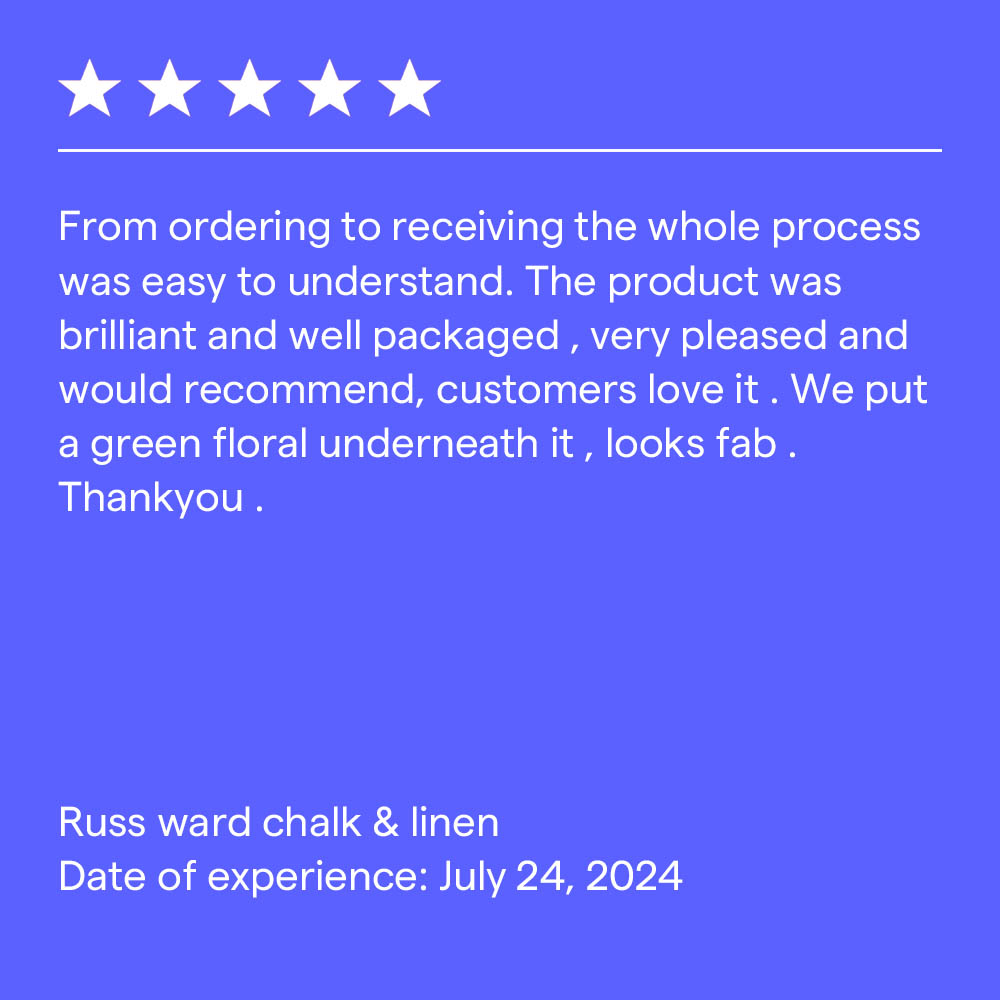
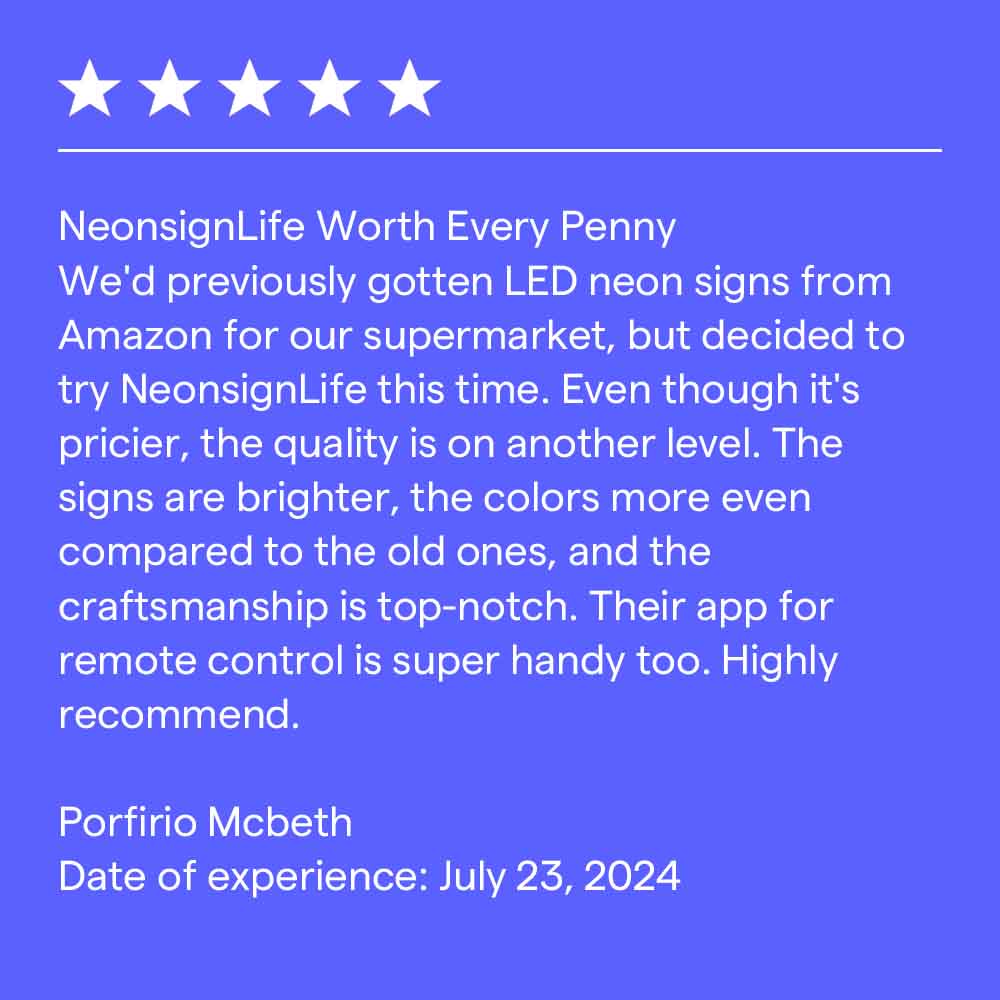
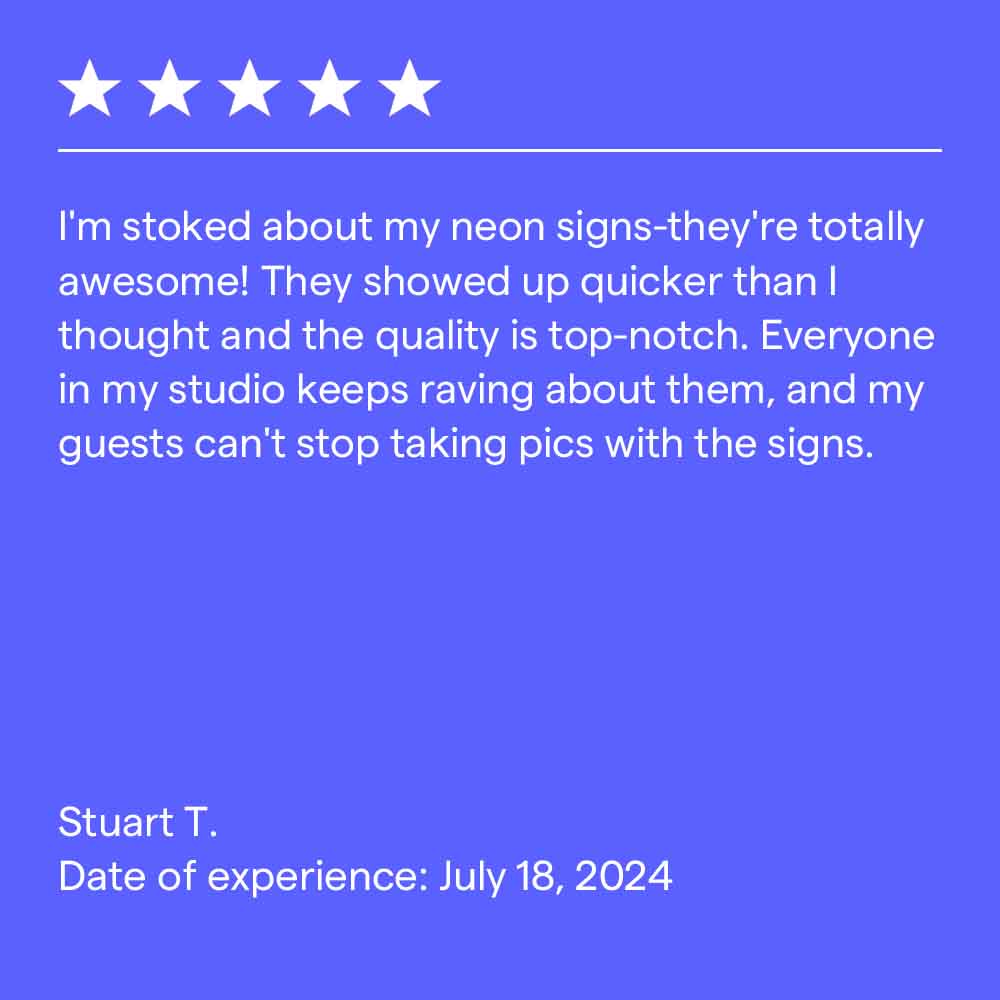
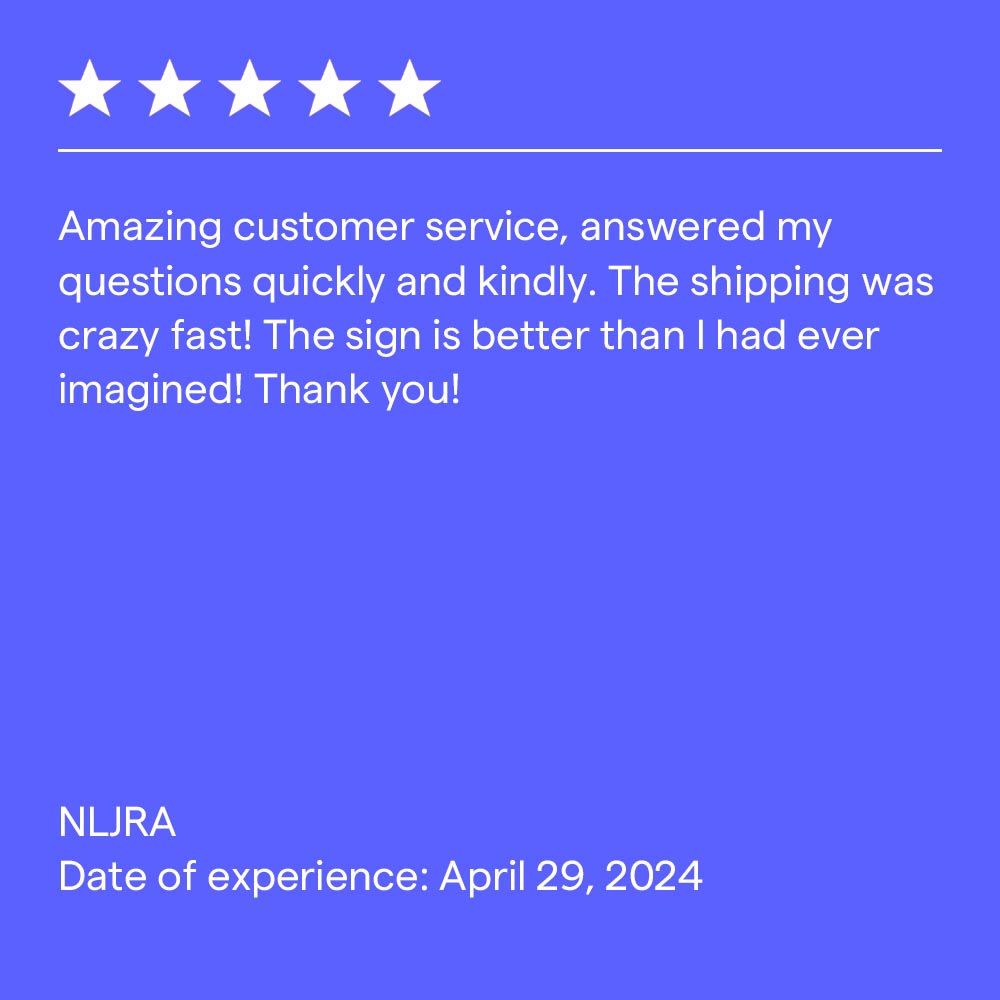
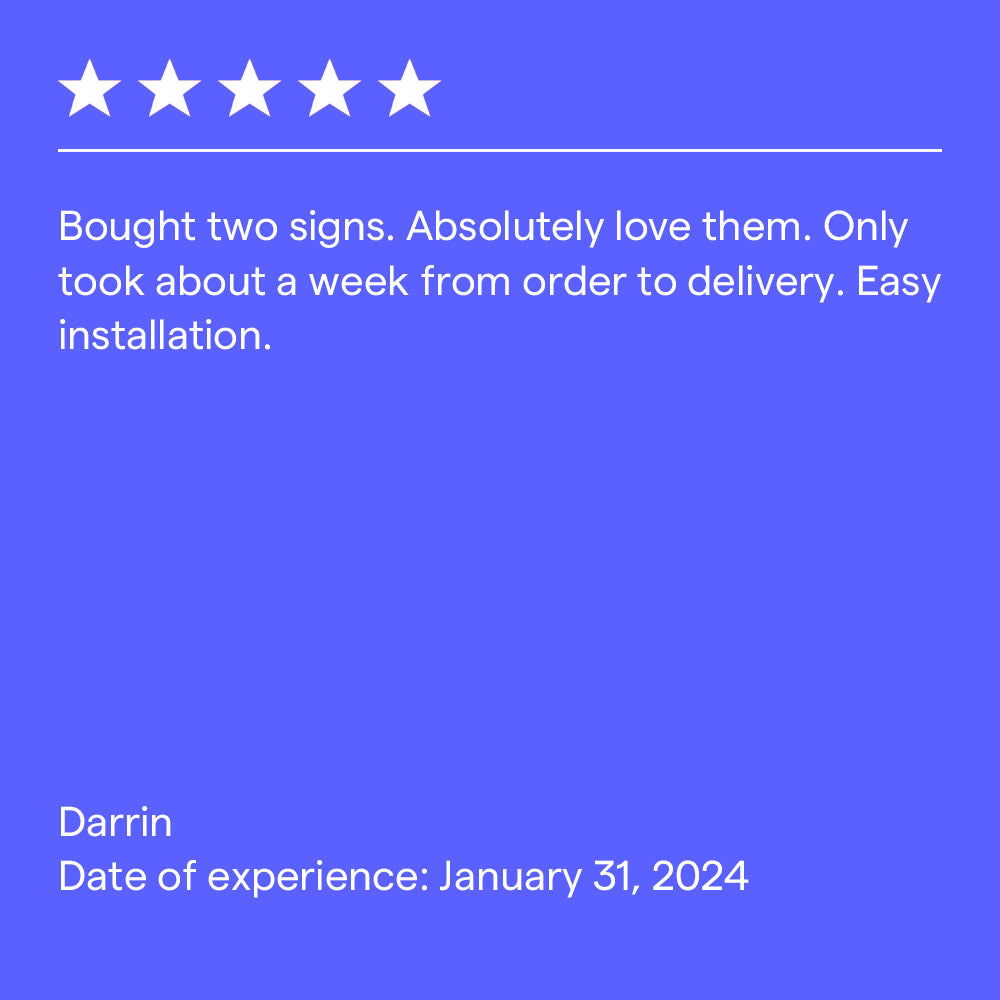
CUSTOMERS LOVE US OVER 500+ 5 START REVIEWS
What is Bootent™ LED Tech
27% brighter + saves 34% energy
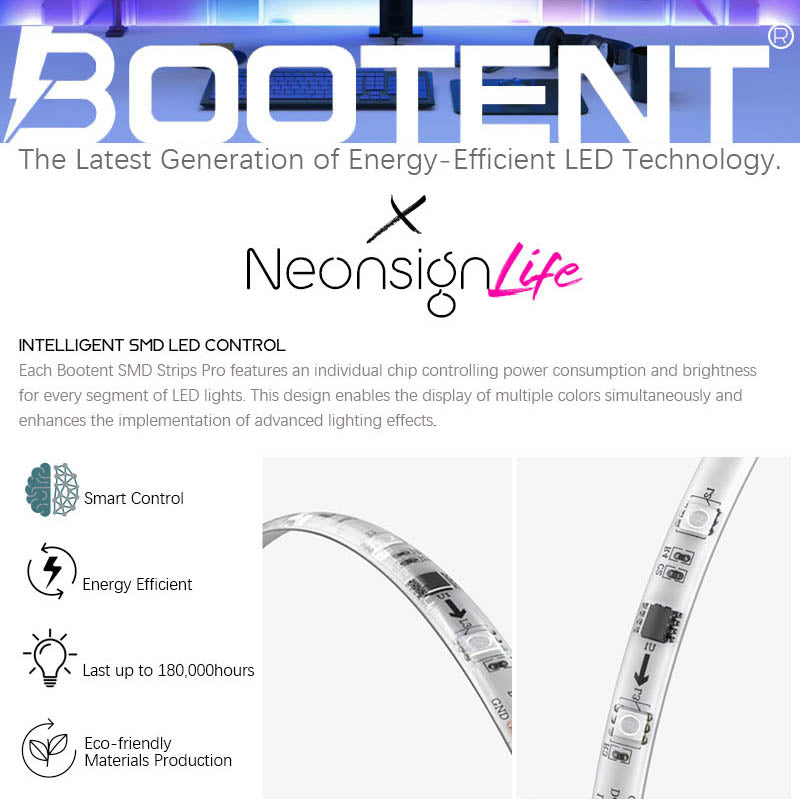
When it comes to LED neon signs, quality, safety, and sustainability are non-negotiable. That's why we've developed Bootent™ LED Tech - a groundbreaking technology that sets the new standard for the industry.
What is Bootent™ LED Tech
27% brighter + saves 34% energy
The result is an LED neon sign that lasts. Bootent™ LED Tech significantly reduces energy transfer, so your sign won’t even get warm, let alone hot.This protects you and the sign from damage!
What is Bootent™ LED Tech
27% brighter + saves 34% energy
Our hand-crafted LED neons receive careful attention as they are cut and shaped into the masterpieces of light you’re looking for
What's in the box
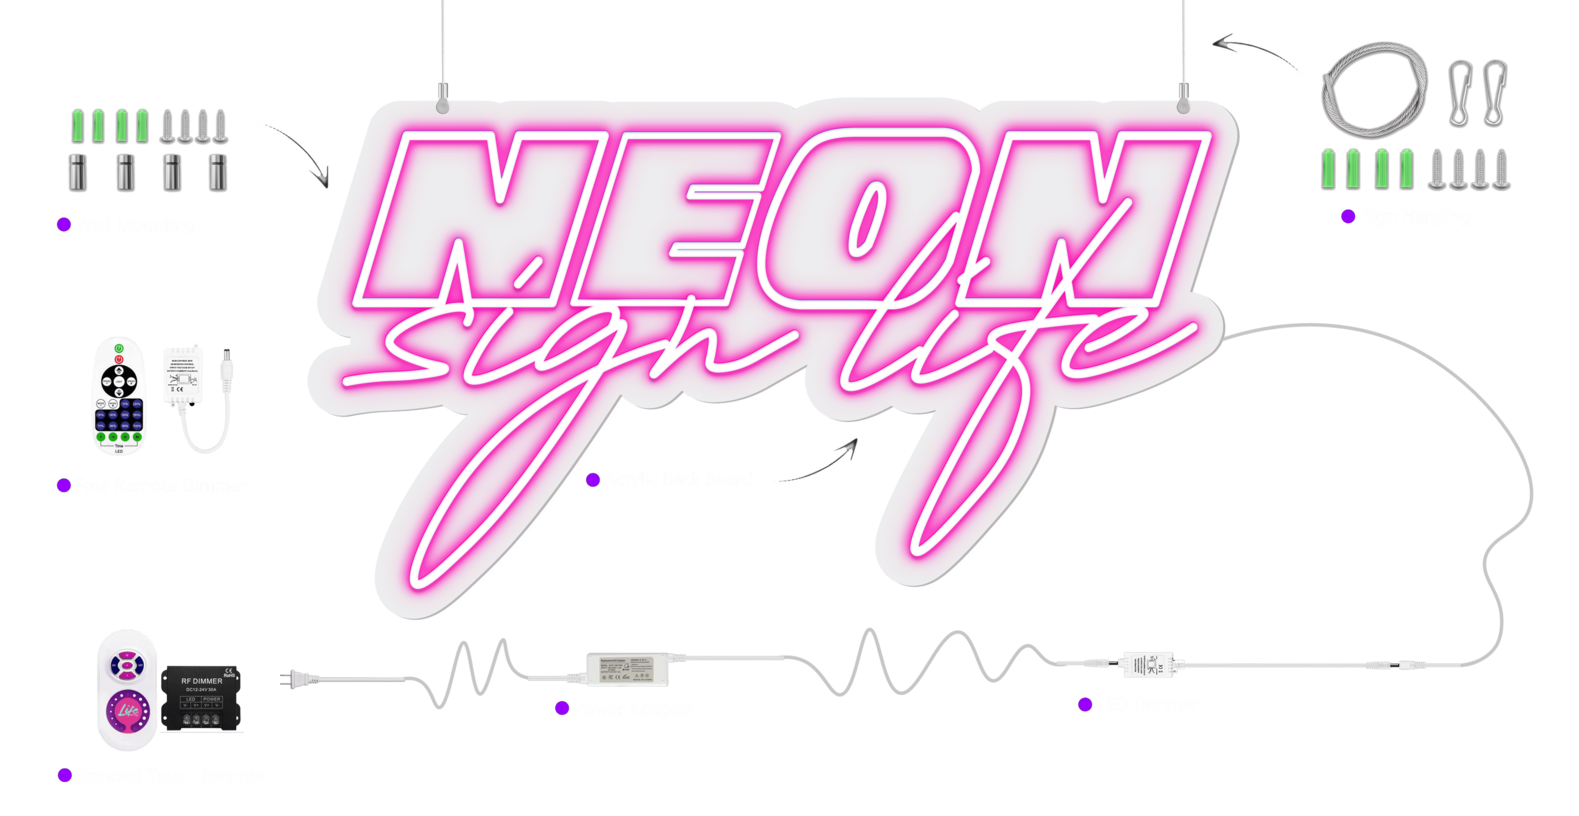
Included with Your LED Neon Piece; Extension cable; Installation screw kit; Dimmer switch;Power supply
SIMPLE INSTALLATION


FREQUENTLY ASKED QUESTIONS
Your sign is like a beautiful painting, but even easier to hang. You have three convenient options to choose from:
1. **Mount it to the wall:** Secure your sign directly onto the wall for a sleek and stable display. This option is perfect for showcasing your sign prominently in any room.
2. **Hang it from the ceiling:** Create a floating effect by hanging your sign from the ceiling. This method adds a unique and eye-catching dimension to your space.
3. **Use 3M strips:** For a hassle-free and non-invasive solution, use 3M strips to adhere your sign to the wall. These strips are strong and easy to remove, making them an excellent choice for renters or those who prefer not to drill holes.
If you cannot mount or hang your sign, we can offer you a stand option, providing flexibility and ease of placement. See examples of how to hang your sign here.
Every piece we create is 100% handmade, ensuring the highest standard of craftsmanship and quality. This meticulous process requires some time, and we appreciate your patience as we bring your vision to life.
**Standard Production and Delivery:**
- Generally, it takes 1 to 2 weeks to produce and deliver your beautiful piece after payment. This timeframe allows us to carefully craft and test each sign to ensure it meets our rigorous standards.
**Express Delivery Option:**
- If you need your sign sooner, we offer an express delivery option for an extra charge. This option ensures that your sign will be produced and delivered within 10-14 business days. You can select this option at checkout to expedite the process.
**Special Events and Dates:**
- If you require your sign for a specific event or special date, please make sure to contact us at contact@neonsignlife.com. We understand the importance of timely delivery for special occasions, and we will do our best to ensure your sign arrives on time.
**Worldwide Free Shipping:**
- We are pleased to offer free shipping worldwide, making it easy and affordable for you to receive your custom LED neon sign no matter where you are.
By choosing us, you are investing in a high-quality, handmade product that is worth the wait. We take pride in our work and are committed to delivering exceptional neon signs that light up your life.
Plugging in your LED neon sign is a simple and straightforward process that will have your wall glowing in no time. Follow these steps:
1. **Connect the Dimmer Switch:** Start by plugging your dimmer switch between your LED neon sign and the power supply. The dimmer switch allows you to control the brightness of your sign, providing the perfect ambiance for any setting.
2. **Attach the Power Supply:** Once the dimmer switch is securely connected, plug the power supply into a nearby electrical outlet. Ensure the connections are tight and secure to avoid any interruptions in power.
3. **Light Up Your Space:** With everything connected, turn on the power supply and watch your wall come to life with vibrant neon colors. Adjust the dimmer switch to achieve your desired brightness level, creating a captivating and personalized lighting experience.
Following these steps ensures a seamless setup, allowing you to enjoy the mesmerizing glow of your LED neon sign immediately.
Our standard neon signs are designed for indoor use only. However, we can make your sign outdoor compatible if you plan to hang it outside. Once you've placed your order, please let us know via email at contact@neonsignlife.com. Your sign will need to be specially made with a unique power supply, and there may be additional charges. Our team will provide all the details via email.
Please note that dimmers cannot be used on outdoor signs. Additionally, it's important to protect your sign from extreme weather conditions. Outdoor signs should not be mounted on metal structures to avoid potential issues.
We offer a 2-year warranty with all our LED neon signs. This warranty ensures that any manufacturing defects or issues with the sign will be covered, providing you with peace of mind. However, please note that the warranty does not cover damage resulting from incorrect installation or physical damage during usage.
If you encounter any issues with your sign, please contact us. We are committed to finding the best solution for you and ensuring your complete satisfaction.
Sometimes it's hard to imagine what your neon sign will look like in real life or decide on the best color. Don't worry—our designers will send you a mockup before finalizing your design. This way, you can see exactly how your sign will look, including size and colors, and make any necessary adjustments. This process ensures your sign is perfect and matches your vision before production begins.


