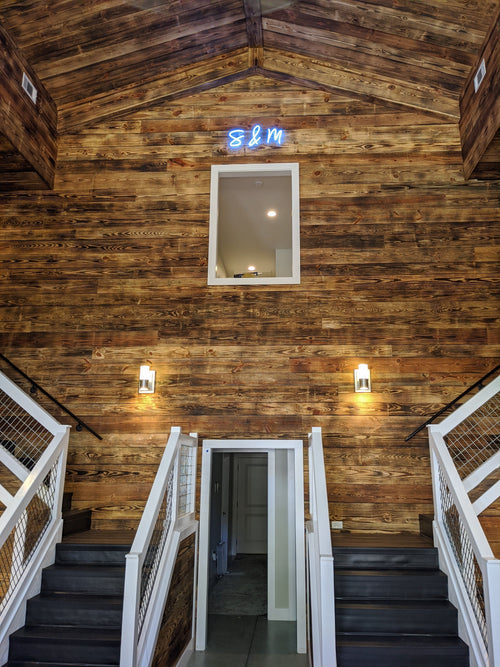
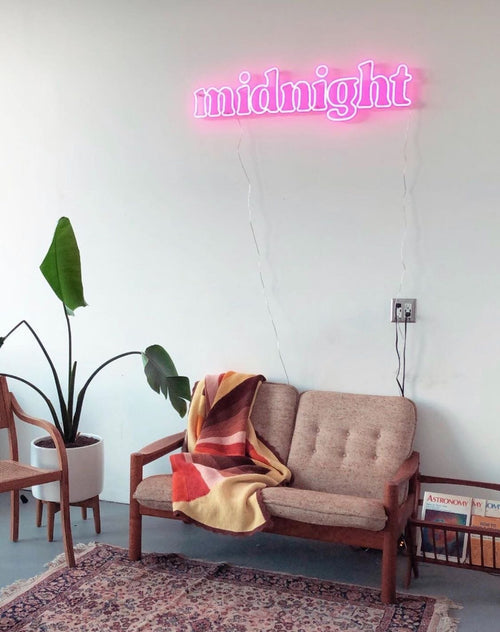
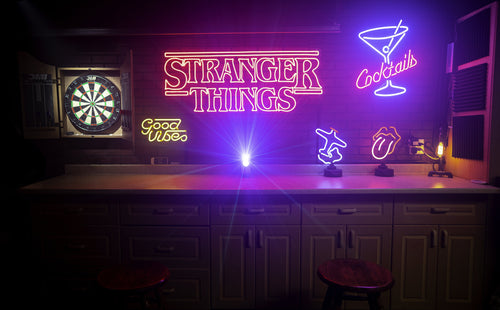
Neon signs have been a popular decorative choice for many years, known for their vibrant colors and eye-catching designs. With advancements in LED technology, creating a custom neon LED sign has become more accessible, allowing individuals and businesses to incorporate unique signage into their spaces. Whether you're looking to enhance your home decor, promote your business, or create a special gift, this guide will cover everything you need to know about making your own custom neon LED sign.
Step 1: Conceptualizing Your Design
1.1 Brainstorm Ideas
Before diving into the technical aspects, start by brainstorming ideas for your sign. Consider the following:
- Purpose: What is the primary purpose of the neon sign? Is it for personal decoration, a business logo, or an inspirational quote?
- Audience: Who will see this sign? Tailor your design to appeal to your target audience, whether it’s friends, family, customers, or potential clients.
- Style: What style resonates with you or your brand? Consider if you want something playful, elegant, modern, or vintage.
1.2 Sketch Your Ideas
Once you have a few ideas, sketch them out. This doesn’t have to be a professional drawing; simple sketches can help you visualize how the final product will look. Think about:
- Text: If your sign includes text, choose a font style that matches your intended vibe. Script fonts may convey elegance, while bold fonts can express strength.
- Color Palette: Neon signs are known for their bright colors. Decide on a color scheme that fits your theme.
- Shape and Size: Determine the dimensions of your sign based on where you plan to display it. Consider how it will fit into the surrounding decor.
Step 2: Choosing the Right Materials

2.1 Neon Flex vs. Traditional Glass Neon
When creating a neon sign, you have two primary material options:
- Neon Flex: This is a flexible custom neon LED sign tubing that mimics the look of traditional neon but is much safer and easier to work with. It's lightweight, can be cut and shaped, and is available in various colors.
- Traditional Glass Neon: This is the classic neon option but requires specialized skills and equipment to bend glass tubing and fill it with gas. This option is generally not recommended for DIY projects.
For most DIY projects, neon flex is the way to go due to its versatility and ease of use.
2.2 Additional Materials Needed
Here’s a list of materials you might need for your neon LED sign:
- Neon Flex LED tubing: Available in different colors and lengths.
- Power supply: Make sure it’s compatible with your LED tubing.
- Backing board: This can be acrylic, wood, or metal, depending on your aesthetic.
- Mounting materials: Use adhesive, screws, or brackets to secure your sign.
- Wiring tools: Scissors, wire strippers, and connectors.
- Soldering iron (if needed): For connecting wires if you're customizing your sign further.
Step 3: Creating the Sign
3.1 Preparing Your Backing
Choose a backing that complements your design. Here are some options:
- Acrylic: A lightweight option that can be illuminated from behind for added effect of custom neon LED sign.
- Wood: Gives a rustic feel and can be painted to match your design.
- Metal: Provides a modern look and durability.
Cut the backing material to your desired dimensions. If you’re using acrylic, you may want to use a router or laser cutter for clean edges.
3.2 Designing the Layout
-
Transfer Your Design: Use transfer paper or directly sketch your design onto the backing. If you're using a printed design, consider printing it out and adhering it to the backing for reference.
-
Position the Neon Flex: Before securing it, lay out the neon flex tubing on the backing according to your design. This will allow you to make adjustments before finalizing the placement.
3.3 Securing the Neon Flex
Once you’re satisfied with the layout:
-
Attach the Neon Flex: Use a strong adhesive designed for the backing material. Apply the adhesive carefully and press the neon flex into place.
-
Follow the Design: Ensure the neon flex follows the design accurately, making adjustments as necessary.
3.4 Wiring the Sign
-
Connect the Power Supply: If you’re using pre-made custom neon LED sign flex, follow the manufacturer’s instructions for connecting the power supply. Most kits will have clear instructions.
-
Wire Connections: If you're customizing or connecting multiple strands, you might need to solder wires. Use wire strippers to expose the ends, and connect them securely.
-
Test the Sign: Before finalizing everything, plug in the sign to test whether it lights up properly. This step is crucial to ensure all connections are secure.
Step 4: Final Touches
4.1 Mounting the Sign
Decide how you want to display your sign:
- Wall-Mounted: Use brackets or adhesive mounts to secure it to the wall. Ensure it is level and securely fastened.
- Tabletop Display: If your sign is intended for a table, consider using a stand or ensuring it’s stable on its own.
4.2 Add Finishing Touches
- Cables: Organize any visible wires using cable clips or ties to create a clean look.
- Lighting Effects: Consider adding a dimmer switch or additional custom neon LED sign behind the sign for added effect.
Step 5: Maintenance and Care
To keep your custom neon LED sign looking fresh:
- Regular Cleaning: Dust it regularly with a soft cloth. For tougher stains, use a mild cleaning solution.
- Check Connections: Periodically check the electrical connections to ensure they remain secure.
- Storage: If you plan to store the sign, carefully disassemble it and keep it in a safe place to prevent damage.
Conclusion
Making your own custom neon LED sign is a fun project as you can make it look like anything from the logo of some cool startup to an evil eye. This guide will walk you through the process of creating your sign so that it can either match what speaks to you or help get your brand out there for people to remember. Follow the steps below and be prepared if you want to avoid disappoint, or either choose from a selection of teak garden furniture available in our online shop: If you are patient and a little creative, this neon light will become an absolute beauty in your space.


