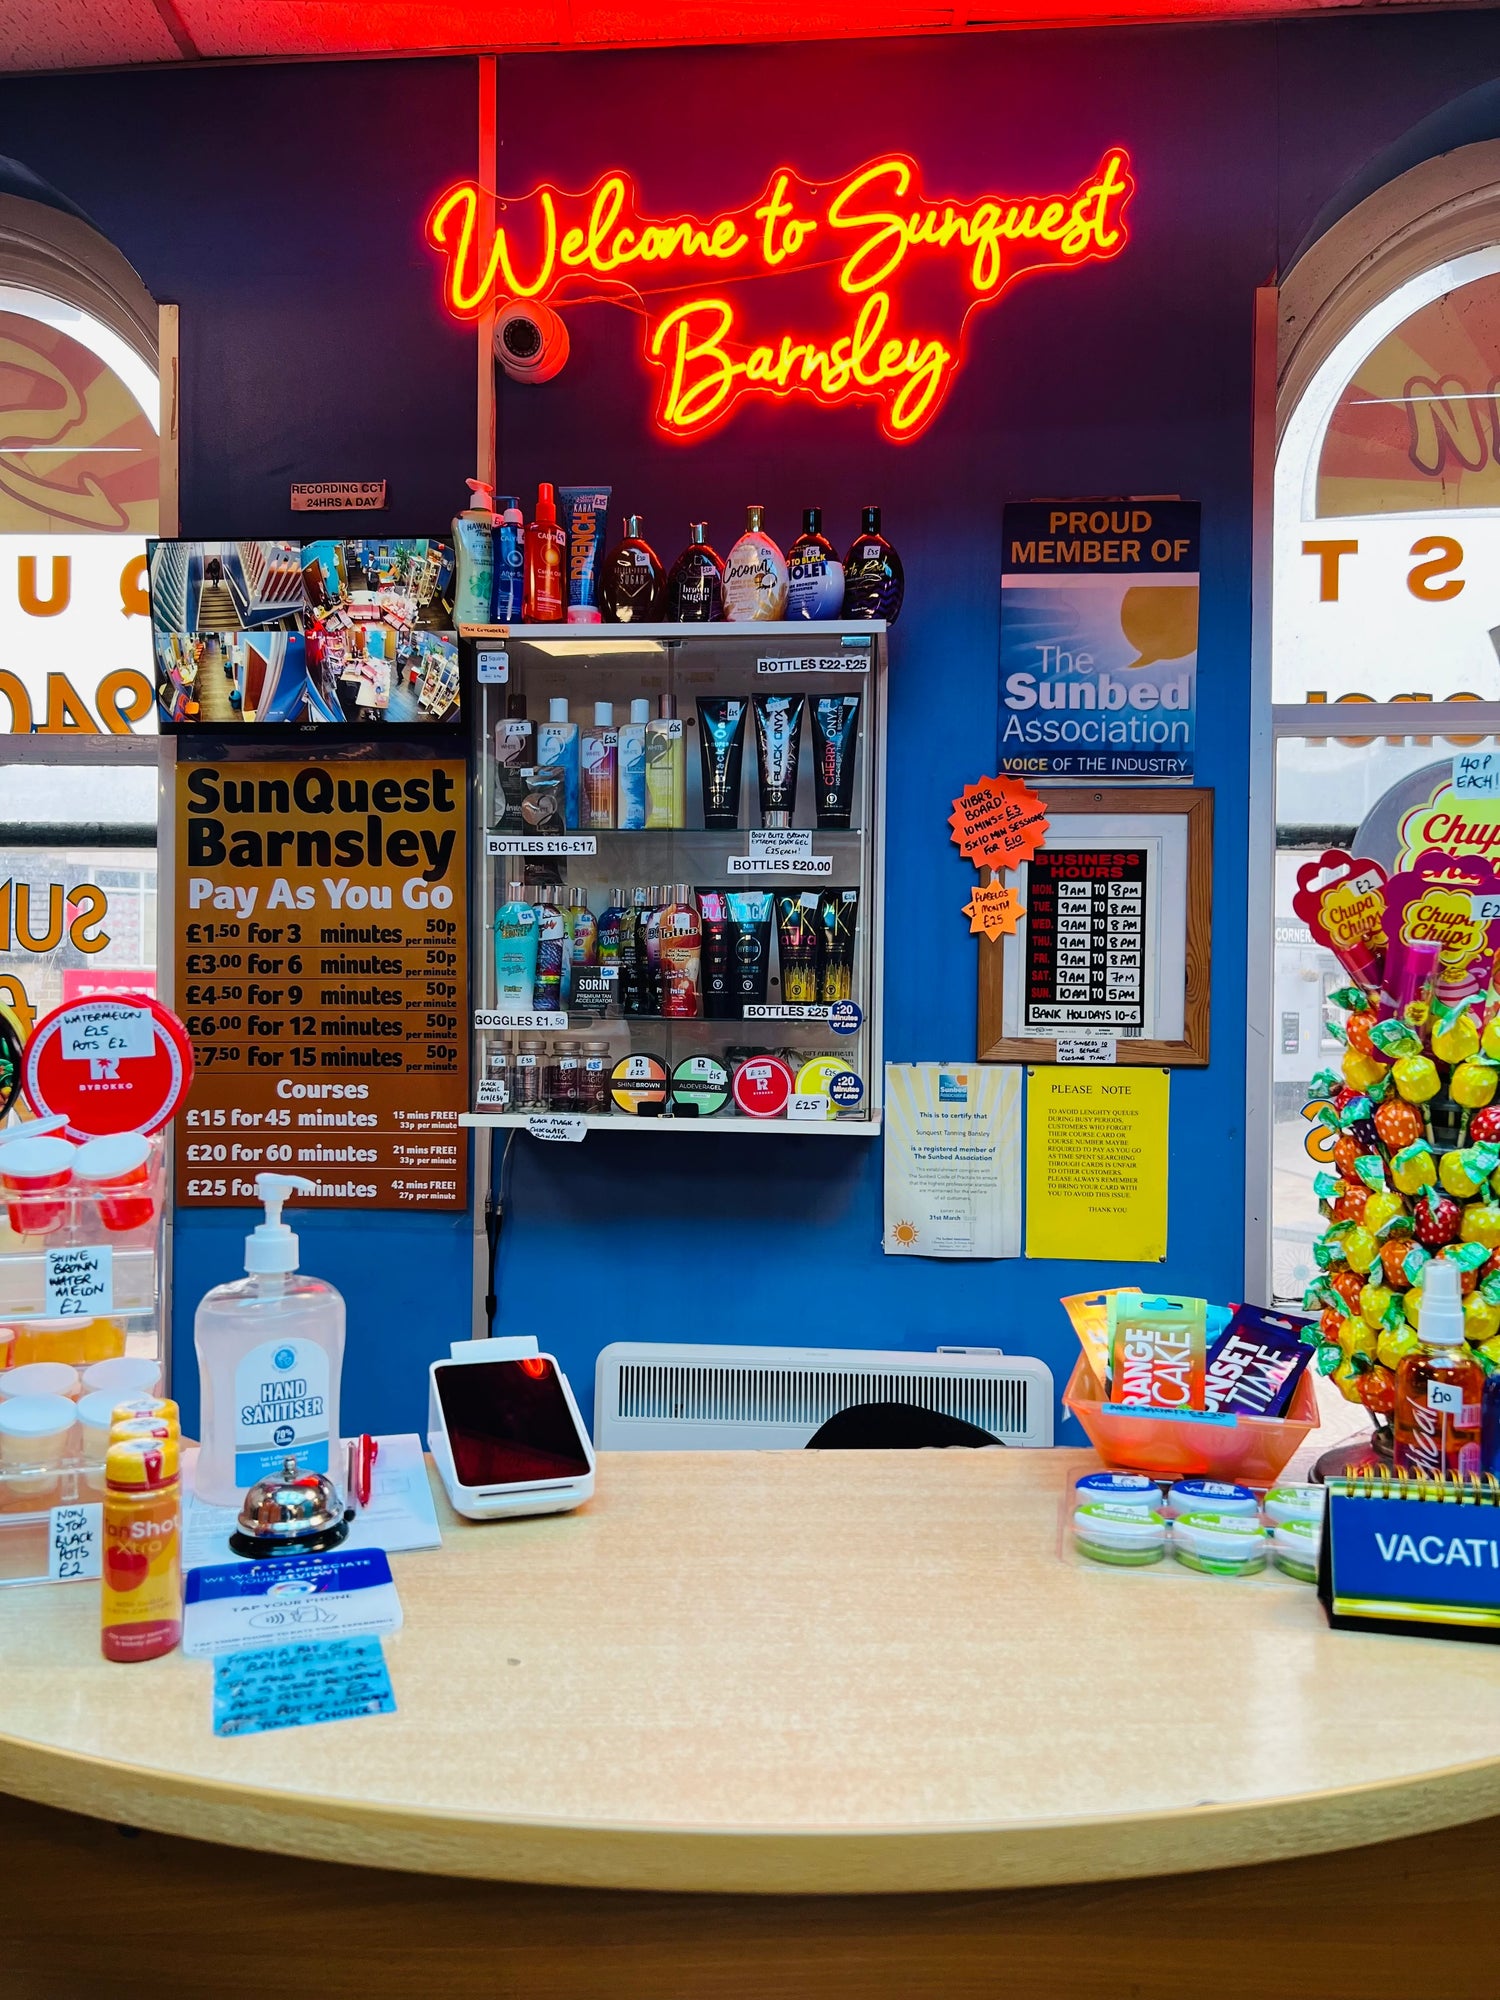
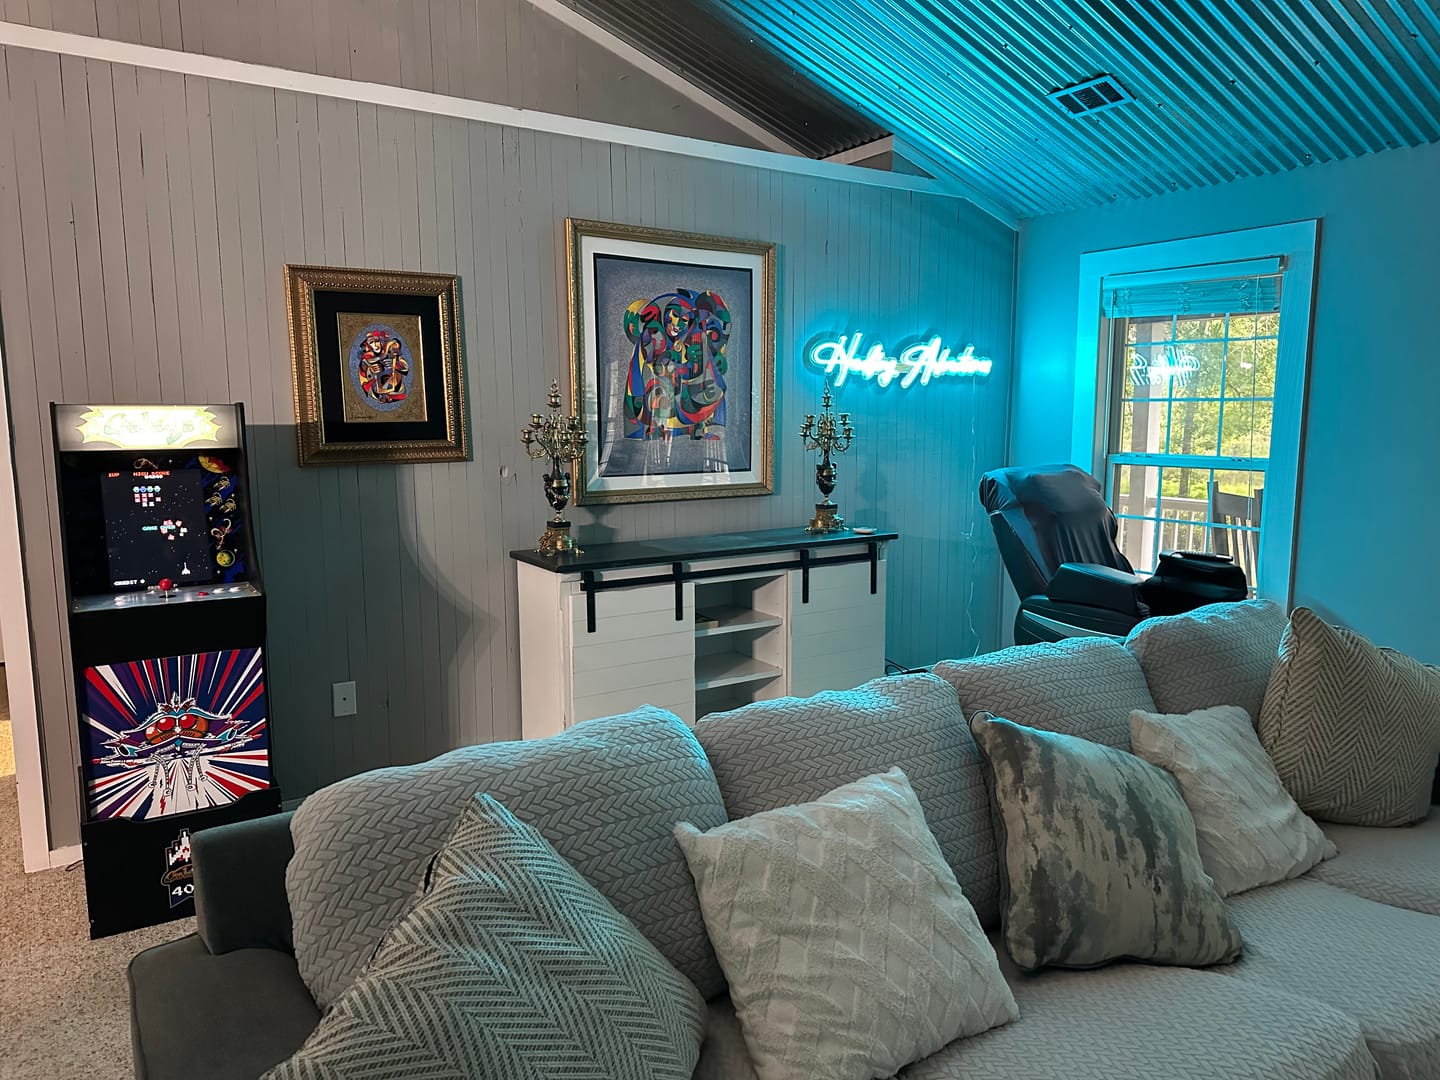
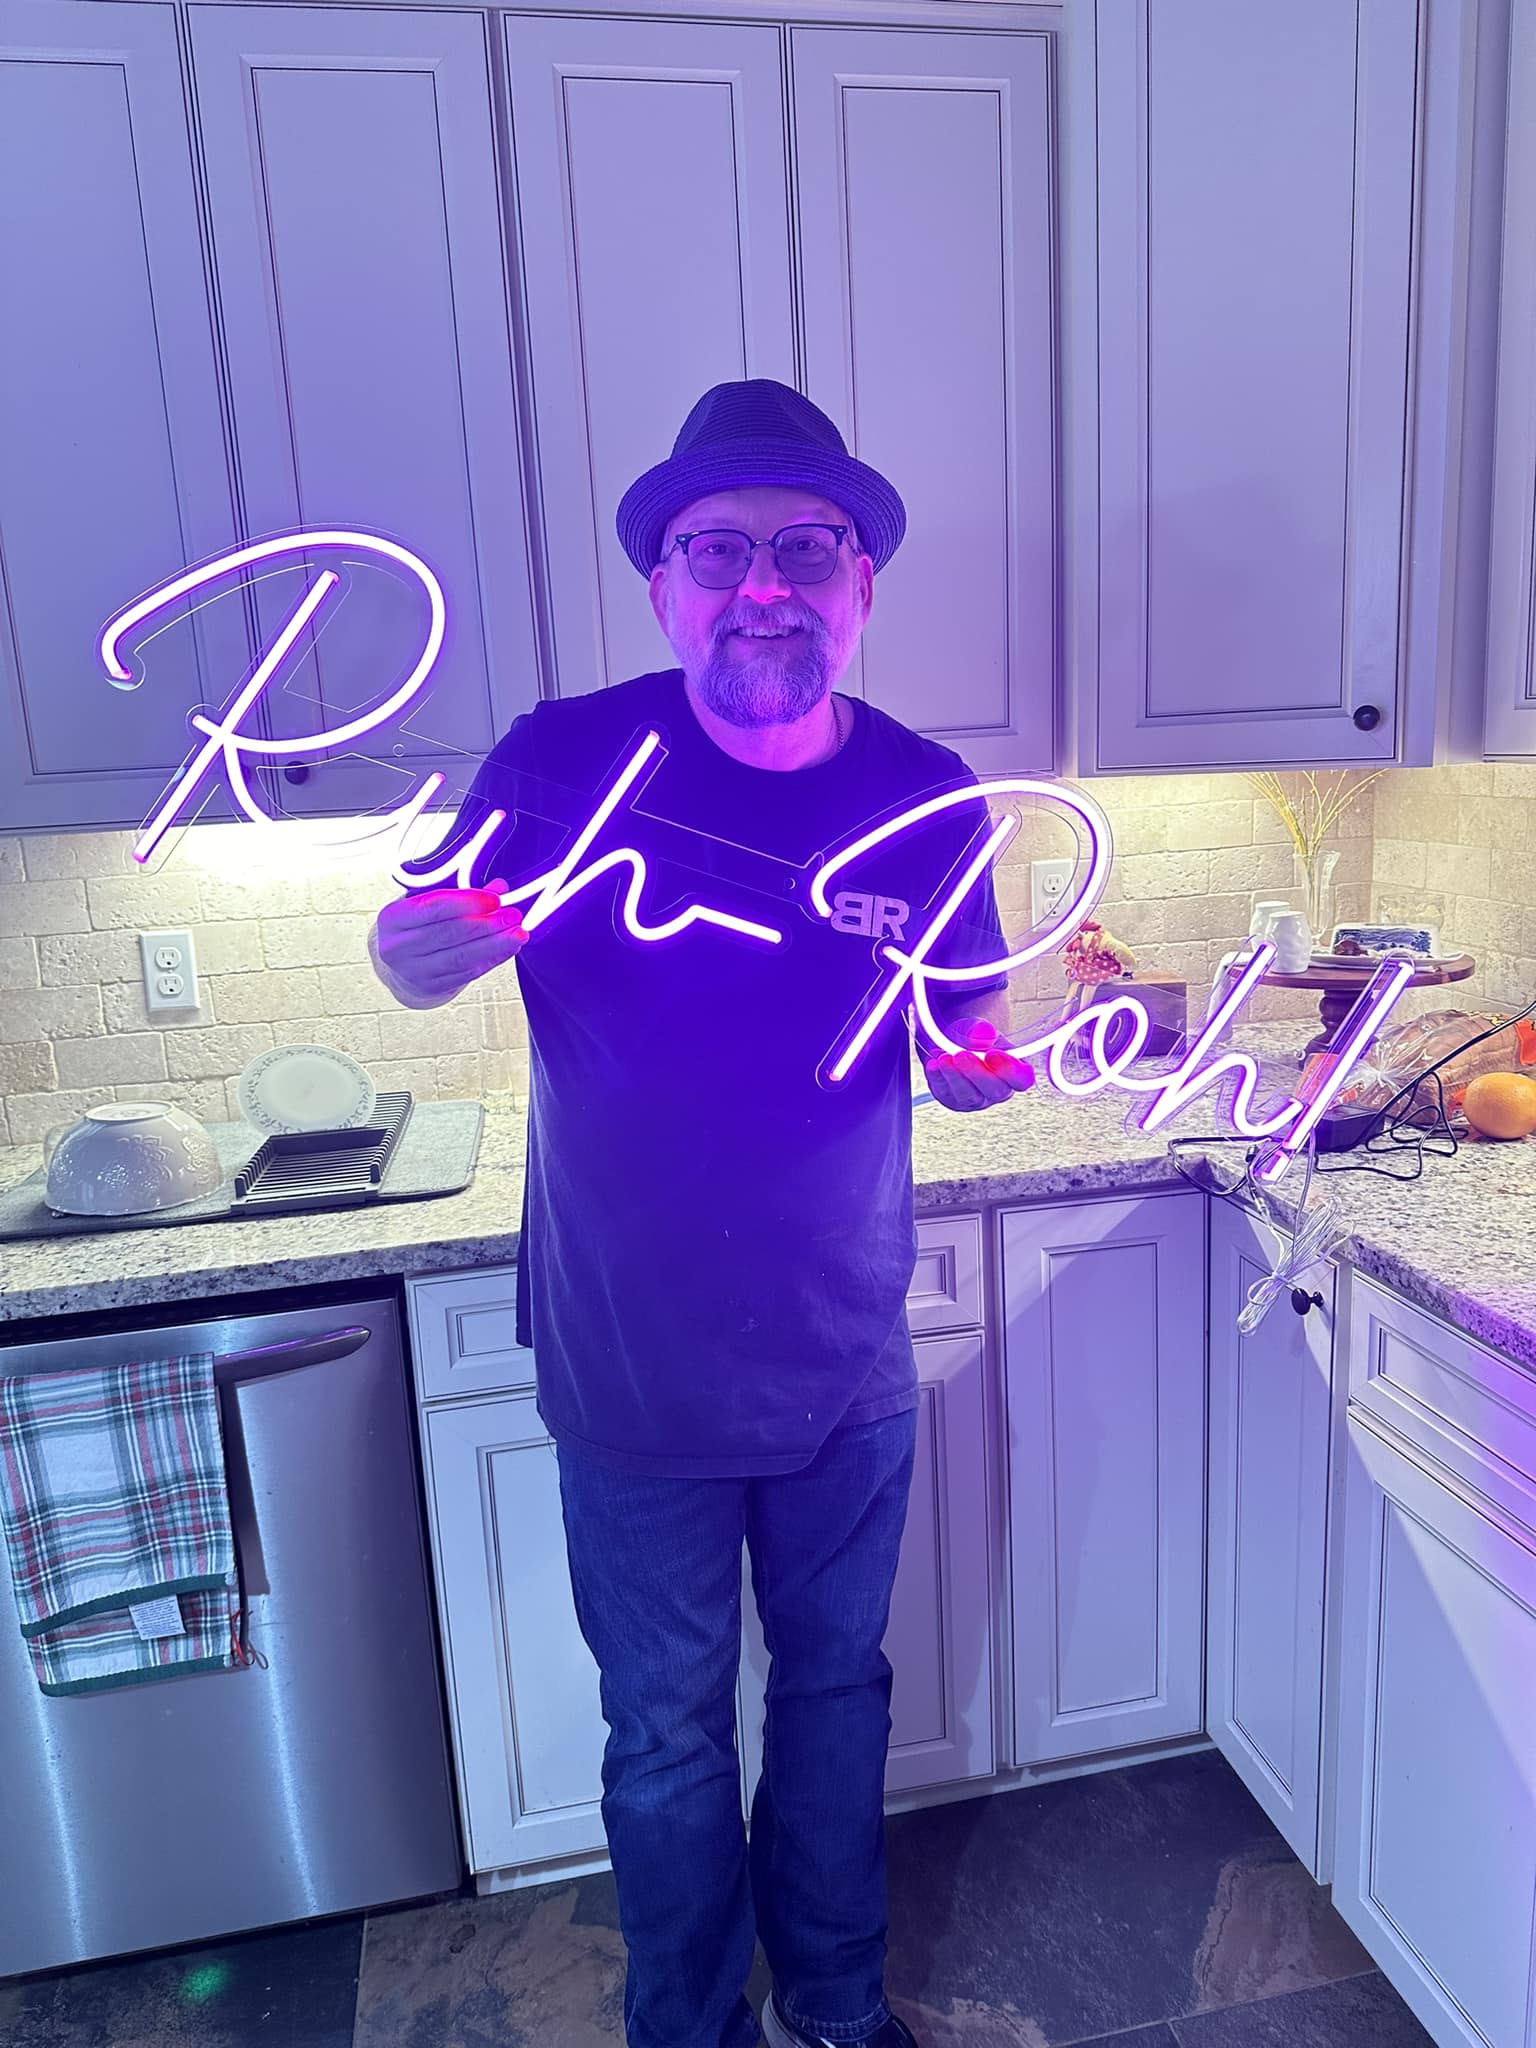
Designing a custom neon light is an exciting way to express individuality, enhance an environment, or represent a brand or personal sentiment. Whether it's for a business, a home decor piece, or a gift, a custom neon light can make a bold and lasting impression. Below is a step-by-step guide, from ideation to installation, ensuring your neon light is both functional and visually captivating.
1. Define Your Purpose and Inspiration
The first step is to determine why you want a neon signs and what message or feeling you want it to convey. Ask yourself:
-
What’s the purpose of this light?
- Is it for business branding, personal decor, or a special event like a wedding or party?
-
What mood do you want to create?
- Neon lights can evoke nostalgia, energy, or modern elegance.
-
What’s your style?
- Consider whether you prefer sleek minimalism, retro vibes, or playful designs.
Look for inspiration in various sources such as:
- Pinterest boards.
- Neon lights in stores, restaurants, or clubs.
- Fonts, logos, or meaningful symbols.
- Favorite quotes, song lyrics, or personal mantras.
For instance, a cozy home office might call for a soft script reading "Dream Big," while a trendy café could use a vibrant, bold font stating "But First, Coffee."
2. Choose Your Message and Font Style

The centerpiece of your custom neon light design is the message. It can be text, an image, or a combination of both. Once you’ve finalized the content, think about how to display it:
-
Typography Options:
- Choose fonts that match your theme. Cursive or handwritten styles evoke intimacy and warmth, while block letters convey strength and simplicity.
- Keep readability in mind. For intricate designs or longer messages, simplicity ensures clarity.
If you're unsure, many neon light companies offer a range of pre-designed fonts to choose from. Alternatively, you can upload custom fonts or handwriting to make it even more personal.
3. Pick Colors That Reflect Your Vision
The choice of colors is crucial to the visual impact of your neon light. Consider:
- Primary Colors: Classic options like white, red, and blue are timeless and highly visible.
- Pastel Shades: Softer tones like pastel pink or mint green create a calming ambiance.
- Multicolor Designs: If your message or image uses multiple elements, combining complementary colors can make it pop.
Ensure that the color fits the space where the neon sign will be displayed. Bright neon pink might work for a party vibe, while cool blues or warm whites suit elegant interiors.
4. Decide on Size and Placement
The physical dimensions of your neon light should align with its intended location and purpose. Think about:
- Viewing Distance: Will people see the light up close or from across the room? Larger text is better for faraway viewing.
- Available Wall Space: Measure the area where the light will hang. Ensure the design complements the surrounding decor without overwhelming the space.
- Portability Needs: If you plan to move the neon sign frequently (e.g., for events), opt for a lightweight and compact design.
Pro tip: Use painter’s tape or cardboard to map the approximate size on your wall before finalizing the dimensions.
5. Understand the Technical Aspects
Modern neon lights use either traditional glass tubing or LED flex neon. Here’s a comparison to help you decide:
-
Glass Tube Neon:
- Made from gas-filled tubes that emit light when electrified.
- Offers a classic, authentic neon glow but is fragile and requires more maintenance.
-
LED Neon Flex:
- Made from flexible silicone or PVC tubing with LED lights inside.
- Energy-efficient, durable, and available in more colors and designs.
- Safer for home use, especially in households with children or pets.
6. Design the Layout
At this stage, bring your ideas together into a coherent layout. Most neon sign makers offer design tools on their websites, allowing you to:
- Experiment with fonts, colors, and layouts.
- Visualize the design in 2D or even augmented reality (AR) to see how it would look on your wall.
You can also work with a professional designer if your concept is complex or requires intricate graphics.
7. Collaborate with a Manufacturer
Choose a reputable manufacturer or service provider specializing in custom neon lights. When selecting one:
- Check Reviews and Portfolios: Look for high customer satisfaction and diverse project samples.
- Understand Pricing: Custom neon lights can range from $200 to $2,000 depending on size, complexity, and materials.
- Inquire About Turnaround Time: Production can take anywhere from a few days to several weeks, so plan ahead.
Provide them with your finalized design or share a detailed brief. Many companies offer design consultations to refine your concept.
8. Installation Planning
Once the neon sign is ready, think about how you’ll install it. Manufacturers typically include installation kits, which may include:
- Pre-drilled holes and mounting hardware for wall mounting.
- Adhesive options for lighter signs.
- Stands or bases for tabletop or floor designs.
For larger or more intricate installations, consider hiring a professional to ensure safety and proper placement.
9. Maintenance and Longevity
Proper care ensures your neon light lasts for years. Here’s how to maintain it:
- Cleaning: Use a soft, dry cloth to dust the tubes or LEDs. Avoid harsh chemicals.
- Electrical Safety: Ensure the transformer and cables are not exposed to water or excessive heat.
-
Lifespan Expectations:
- Traditional neon lights last 8-15 years with proper care.
- LED neon lights can last up to 50,000 hours.
10. Creative Uses Beyond Decor
Custom neon lights are versatile and can serve purposes beyond aesthetics. Consider these creative applications:
- Event Decor: Custom signs like "Forever Starts Here" or "Cheers" are popular for weddings and parties.
- Brand Promotion: A business logo in neon draws attention and enhances brand recognition.
- Photography Backdrops: Neon designs add vibrant energy to photoshoots and social media posts.
- Gift Ideas: A custom neon sign with a personal message makes for a thoughtful and memorable present.
11. Budgeting and Cost Considerations
Understanding the cost breakdown is key to budgeting for your neon light. Factors influencing the price include:
- Design complexity (text vs. intricate graphics).
- Size and number of colors.
- Type of materials (glass or LED).
Set aside extra funds for shipping and installation costs.
12. Real-World Examples for Inspiration
Here are a few real-world applications to inspire your project:
- Home Office: A motivational quote in soft white LED, like "Hustle Harder."
- Cafés and Bars: A playful message like "Sip Happens" in bright yellow.
- Personal Gifts: A heart-shaped neon light with a couple’s initials.
Conclusion
Designing a custom neon light is a blend of art, technical know-how, and personal expression. By following the steps outlined above, you can create a piece that not only enhances your space but also tells a story. From choosing the right message and color palette to working with skilled manufacturers, every decision contributes to the final product's charm and functionality. With proper planning and care, your neon light will shine brightly for years to come, serving as both a visual statement and a meaningful keepsake.


