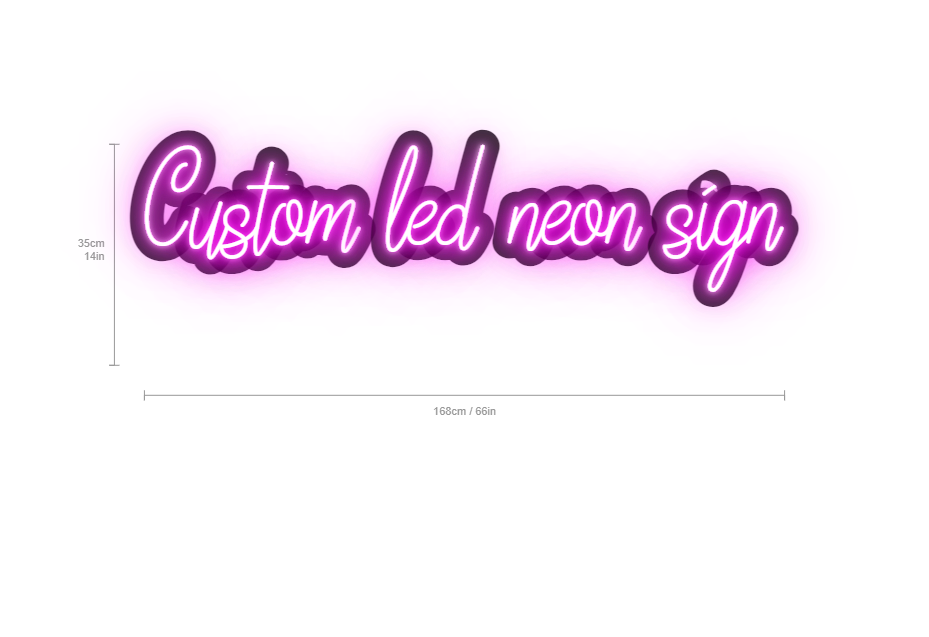
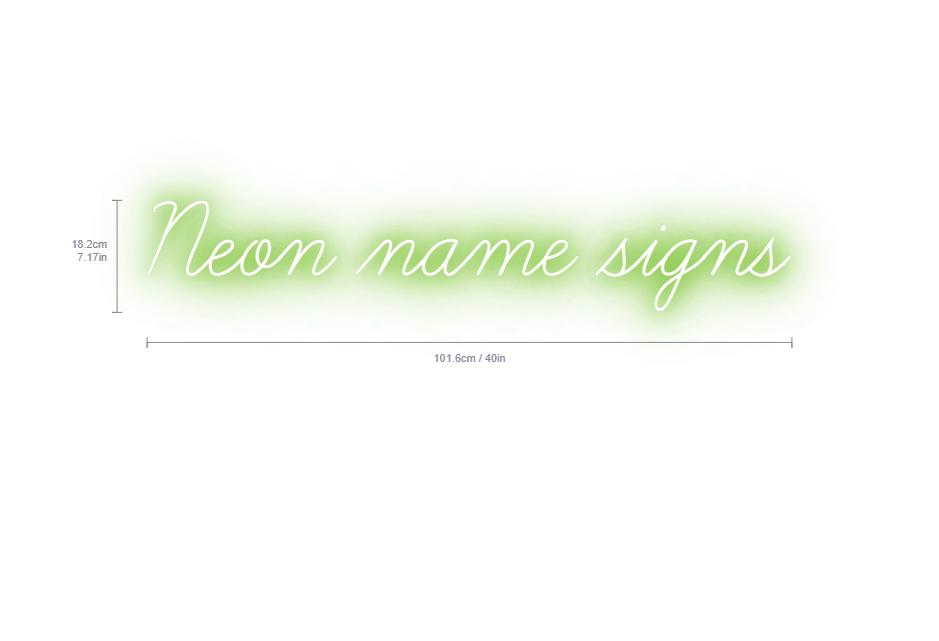
Creating a custom LED neon sign is an engaging process that combines creativity, technology, and personalization. This guide will walk you through the essential steps involved in designing and producing a custom LED neon sign, covering everything from the initial concept to installation.
1. Define Your Purpose and Audience
The first step in creating a custom LED neon sign is to determine its purpose and target audience. Whether it's for a business, a wedding, a party, or personal decor, your sign's design should align with its intended use. Ask yourself:
- What message do I want to convey?
- Who will see the sign?
- What mood or atmosphere do I want to create?
For example, a sign for a coffee shop might feature warm colors and a welcoming message, while a sign for a nightclub might use bold, vibrant hues to attract a younger crowd.
2. Choose the Right Text and Font

Once you have a clear purpose, it's time to think about the text for your sign. Consider the following:
- What message or slogan will be displayed? Keep it short and memorable.
- What font style resonates with your brand or theme? Bold, cursive, or minimalist fonts can evoke different feelings. For instance, a playful font might suit a children’s party, while a sleek font may work better for a corporate event.
Research various font styles and consider how they will look in neon. Some fonts may be more legible than others, especially from a distance.
3. Select Colors and Design Elements
Color selection is crucial in creating an impactful custom LED neon sign. The colors should complement the message and fit the overall theme. Consider the psychological effects of colors:
- Red: Passion, energy
- Blue: Trust, calmness
- Green: Nature, tranquility
- Yellow: Happiness, optimism
Additionally, think about incorporating design elements like symbols or icons. For example, a bar sign might include a cocktail glass icon alongside the name of the establishment.
4. Size and Placement Considerations
Next, determine the size of your sign based on where it will be placed. Measure the available space and consider:
- Visibility: The sign should be easily readable from a distance.
- Proportions: Ensure the sign's proportions are harmonious with its surroundings.
Standard sizes range from small, 12-inch signs for indoor use to large, 48-inch signs for outdoor visibility.
5. Material Selection
Modern LED neon signs are typically made from flexible LED neon tubing, which mimics the look of traditional glass neon. When choosing materials, consider durability, flexibility, and ease of installation. LED tubing comes in various colors and can be cut to create custom shapes and designs.
6. Work with a Designer or DIY
Depending on your skills and resources, you have two main options for bringing your design to life:
-
Hire a Professional Designer: If you're not confident in your design skills, consider hiring a graphic designer who specializes in signage. They can provide expert advice and create a digital mockup of your sign.
-
DIY Approach: If you’re feeling creative, you can design your sign using design software like Adobe Illustrator or Canva. Many online retailers offer customizable templates where you can input your text and colors, making it easier to visualize your sign.
7. Ordering Your Custom Sign
Once you have a finalized design, it's time to order your custom LED neon sign. Here are a few tips:
-
Choose a Reputable Supplier: Research suppliers that specialize in custom LED neon signs. Read reviews and request samples if possible.
-
Check the Warranty: Ensure the supplier offers a warranty on their products. This can be crucial for protecting your investment.
-
Confirm Lead Times: Depending on the complexity of your sign, production times may vary. Plan ahead to ensure your sign arrives when needed.
8. Installation Tips
After your sign arrives, it’s time for installation. Here are some considerations:
-
Mounting Options: Determine how you’ll hang or mount the sign. Common methods include wall mounts, adhesive strips, or stands.
-
Power Source: Ensure there’s an accessible power source nearby. LED neon signs usually come with a power adapter, but you may need extension cords for larger signs.
-
Safety First: If you’re not comfortable installing the sign yourself, hire a professional to ensure it’s safely and securely mounted.
9. Maintenance and Care
To keep your LED neon sign looking vibrant, regular maintenance is essential:
-
Dust Regularly: Use a soft cloth to wipe away dust and debris that can accumulate over time.
-
Check Connections: Periodically inspect the power connections and cords for any signs of wear or damage.
-
Store Properly: If you plan to store your sign, ensure it’s kept in a dry, safe place to prevent damage.
10. Showcase and Enjoy Your Sign
Finally, once your sign is installed, it’s time to enjoy it! Whether it’s enhancing the ambiance of your space or serving as a unique marketing tool, your custom LED neon sign should reflect your style and purpose.
Conclusion
Creating a custom LED neon sign is an exciting journey that allows for personal expression and creativity. By carefully considering your design elements, choosing the right materials, and ensuring proper installation, you can create a stunning sign that captures attention and conveys your message effectively. Whether you’re a business owner looking to attract customers or an individual seeking to add flair to your home, a custom LED neon sign is a fantastic way to light up your space and showcase your unique identity.


