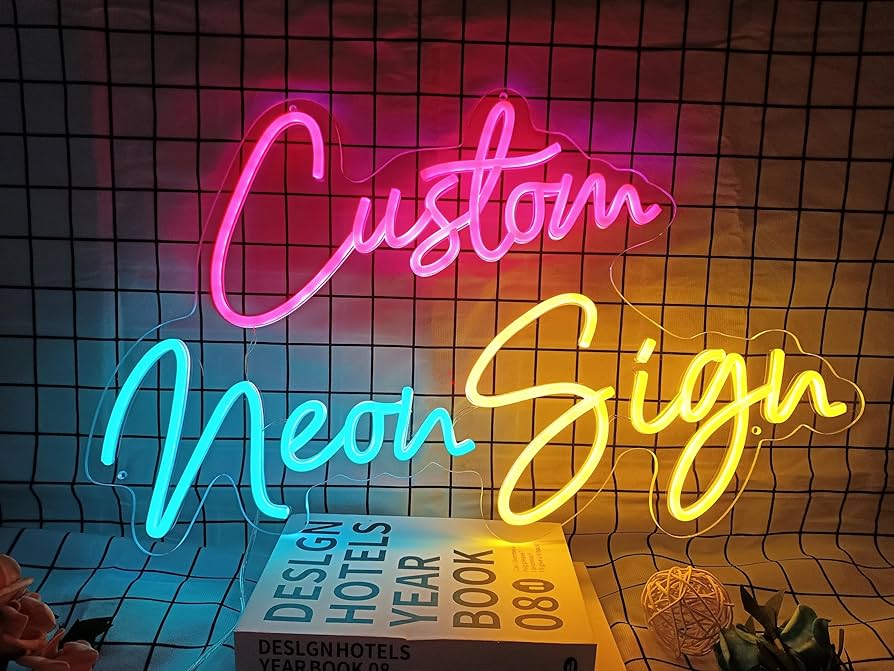

Neon signs have made a grand comeback, illuminating spaces with their vibrant colors and playful designs. Whether you want to brighten your room, attract customers to your business, or create a memorable event atmosphere, customizing a neon sign can be a fun and creative project. This blog will guide you through the steps to create a personalized customize neon sign that reflects your unique style.
Why Customize a Neon Sign?
Before diving into the customization process, let’s explore the reasons why creating a personalized neon sign is a fantastic idea.
1. Express Your Personality
A customized neon sign allows you to showcase your individuality. Whether it's your name, a favorite quote, or a meaningful symbol, a neon sign can reflect who you are and what you love.
2. Enhance Your Space
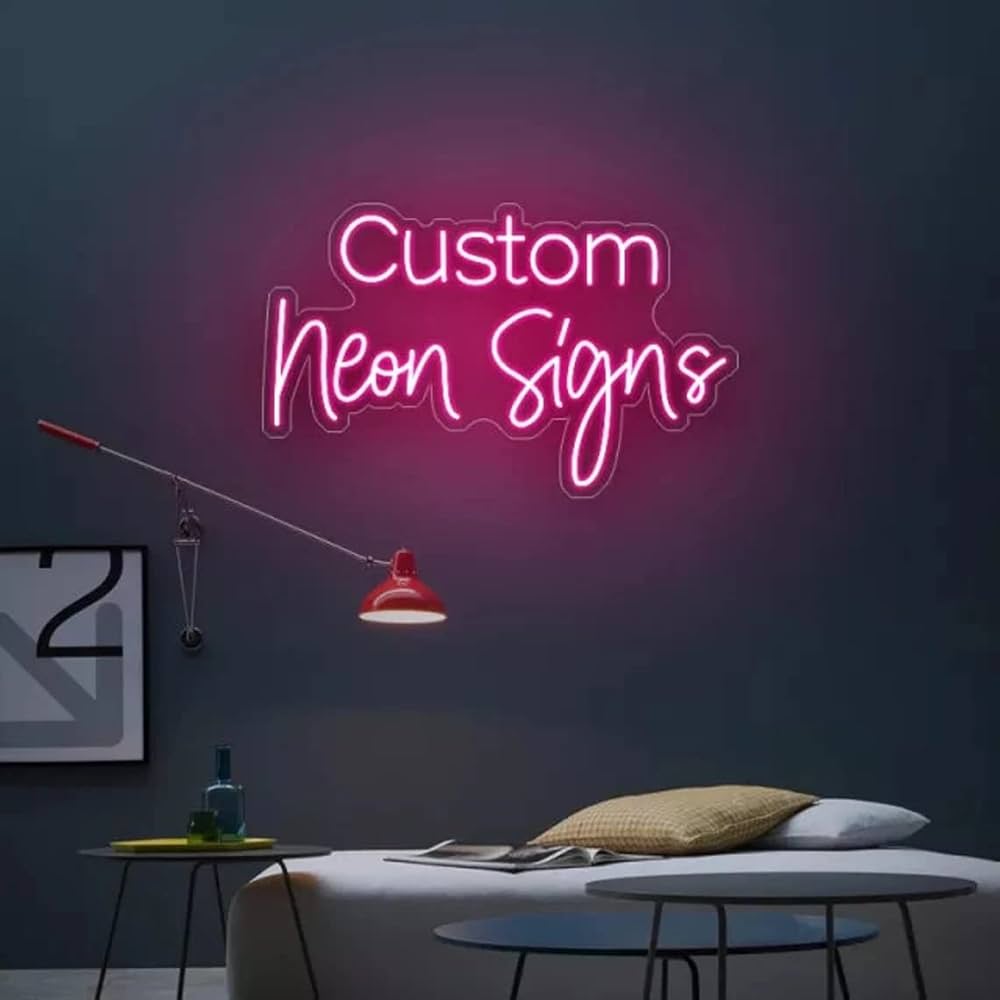
Adding a neon sign to your home or business can enhance the overall ambiance. Neon lights create a warm, inviting atmosphere, perfect for a living room, bedroom, or workspace. For businesses, a custom neon sign can attract customers and help establish brand identity.
3. Perfect for Events
Customize neon signs are perfect for events such as weddings, birthday parties, or corporate gatherings. A personalized sign can add a unique touch to your celebration, making it memorable for you and your guests.
4. A Unique Gift Idea
Looking for a thoughtful gift? A customized neon sign makes for a great present for friends or loved ones, showing them how much you care. You can create a sign featuring a shared memory, inside joke, or a favorite saying.
Steps to Customize Your Neon Sign

Creating a customized neon sign may seem challenging, but with the right steps, it can be an enjoyable experience. Here’s how to do it:
Step 1: Choose Your Design
The first step in customizing a neon sign is deciding what you want it to say or depict. Here are some ideas to get you started:
- Names: Personalize the sign with your name, initials, or the name of a loved one.
- Quotes: Select a quote that resonates with you or inspires you. This could be a motivational quote, a song lyric, or a phrase that holds special meaning.
- Symbols: Incorporate symbols or graphics that reflect your interests, such as hearts, stars, or other images that speak to you.
Step 2: Pick Your Colors
Neon signs are known for their bright, vibrant colors. Consider the following when selecting colors for your sign:
- Personal Preference: Choose colors that resonate with your personality.
- Environment: Think about the colors in the space where the sign will be displayed. Complementary colors can create a harmonious look.
- Mood: Different colors evoke different feelings. For example, blue can create a calming atmosphere, while red can evoke energy and excitement.
Step 3: Select a Font
If your neon sign will include text, the font choice is crucial. Here are some tips:
- Readability: Ensure that the font is easy to read from a distance. Script fonts may look beautiful, but they can be harder to decipher.
- Style: Choose a font that matches the overall vibe of your sign. For instance, a modern sans-serif font might work well for a contemporary look, while a vintage font might suit a retro design.
- Customization: Don’t be afraid to combine different fonts for a unique touch, but keep it to a maximum of two or three to avoid visual clutter.
Step 4: Create a Layout
Once you have your design, colors, and font, it's time to create a layout. Here’s how to do it:
- Sketch It Out: Use pencil and paper to sketch your design. This helps you visualize how everything will come together.
- Digital Tools: Consider using design software like Adobe Illustrator, Canva, or even free online customize neon sign generators to create a digital version of your layout.
- Get Feedback: Share your design with friends or family for feedback. They might offer valuable insights or suggestions.
Step 5: Choose Your Neon Sign Type
When it comes to actual neon signs, you have a few options to choose from:
- Glass Neon Signs: These are traditional neon signs made from glass tubes filled with neon gas. They offer vibrant colors and a classic look but can be more fragile and expensive.
- LED Neon Flex Signs: These are made from flexible LED lights that mimic the look of traditional neon. They are more durable, energy-efficient, and safer, making them a popular choice for modern designs.
- DIY Kits: If you're feeling adventurous, you can purchase a DIY neon sign kit that allows you to create your own design. This can be a fun project, especially for creative individuals.
Step 6: Consider Size and Placement
The size of your neon sign should be proportional to the space where it will be displayed. Here are some things to consider:
- Room Size: In a large room, a bigger sign may be more visually impactful, while a smaller sign might be better suited for cozy spaces.
- Wall Space: Assess the wall or area where you plan to hang the sign. Ensure there’s enough space for your design without overcrowding the wall.
- Visibility: Think about how visible the sign will be. Place it in a spot where it can be easily seen and appreciated.
Step 7: Order or Create Your Sign
Once you have your design and specifications, it’s time to get your neon sign made.
- Ordering: If you’re ordering from a vendor, provide them with your design and specifications. Ensure you check their reviews and past work to ensure quality.
- DIY: If you’re making the sign yourself, gather all the materials needed. Follow the instructions carefully, and take your time to ensure a polished finish.
Step 8: Install Your Neon Sign
After your sign is ready, it’s time to install it. Here are some tips:
- Mounting: Depending on the type of sign, you may need to mount it on a wall or use a stand. Make sure it’s securely fastened.
- Power Source: Ensure that there is a nearby power outlet if your sign requires electricity. Use extension cords if necessary but be mindful of safety.
- Positioning: Hang or place your sign at eye level for maximum impact. You want it to be a focal point in the room.
Step 9: Maintain Your Neon Sign
To keep your neon sign looking its best, consider the following maintenance tips:
- Cleaning: Regularly dust your sign to keep it clean. For glass neon signs, you may need to wipe the tubes gently with a soft cloth.
- Check for Damage: Periodically inspect your sign for any damage, especially if it’s a glass neon sign. If you notice any issues, consider contacting a professional for repairs.
- Replace Bulbs: If you’re using an LED neon sign, check the bulbs periodically and replace any that have burned out.
Conclusion
Customizing a neon sign is an exciting way to express yourself and enhance your space. Whether you’re looking to create a vibrant atmosphere at home, attract customers to your business, or add a unique touch to your next event, a personalized neon sign can make all the difference. By following the steps outlined in this guide, you can design a one-of-a-kind sign that perfectly reflects your style and personality.